How to Achieve a Restoration Hardware Weathered Oak Finish
When you’re looking for a great aged wood look, it’s hard to beat actual salvaged wood. But when you have a piece you just want to *look* old, how do you do that? Well, Karen is here today to show you! You’ll love her 3-step method (4 steps if you need to strip an existing finish) for creating a great weathered oak stain, just like those furniture catalogs we all love to ogle (I’m looking at you, Restoration Hardware!). Here’s Karen with the details (remember her from here and here and here? we kinda like her 🙂 ).

Getting a Restoration Hardware Style Weathered Oak Finish
by Karen from The Weekend Country Girl

Hello from Texas. My name is Karen from The Weekend Country Girl. Do you like the look of Restoration Hardware furnishings as much as I do? I like how they take inspiration from old furniture, buildings, and global styles. What I especially like is the way their weathered finish allows the wood grain to show through but has the faint look that at some point the wood was whitewashed.
Anyone who knows me knows I am a thrifty cheap. I hate to spend more money than I have to on things I know we can do ourselves. No way we would pay thousands for something we could do for hundreds or even better, less.
After a little experimenting I think I have found the right combination of stains to get that RH weathered oak finish look. The best part is that it is cheap, easy, and fast almost foolproof. The only trick to the finish is waiting between coats for the stain to dry, On a cold, rainy Friday evening I got busy making a sample board for you guys.
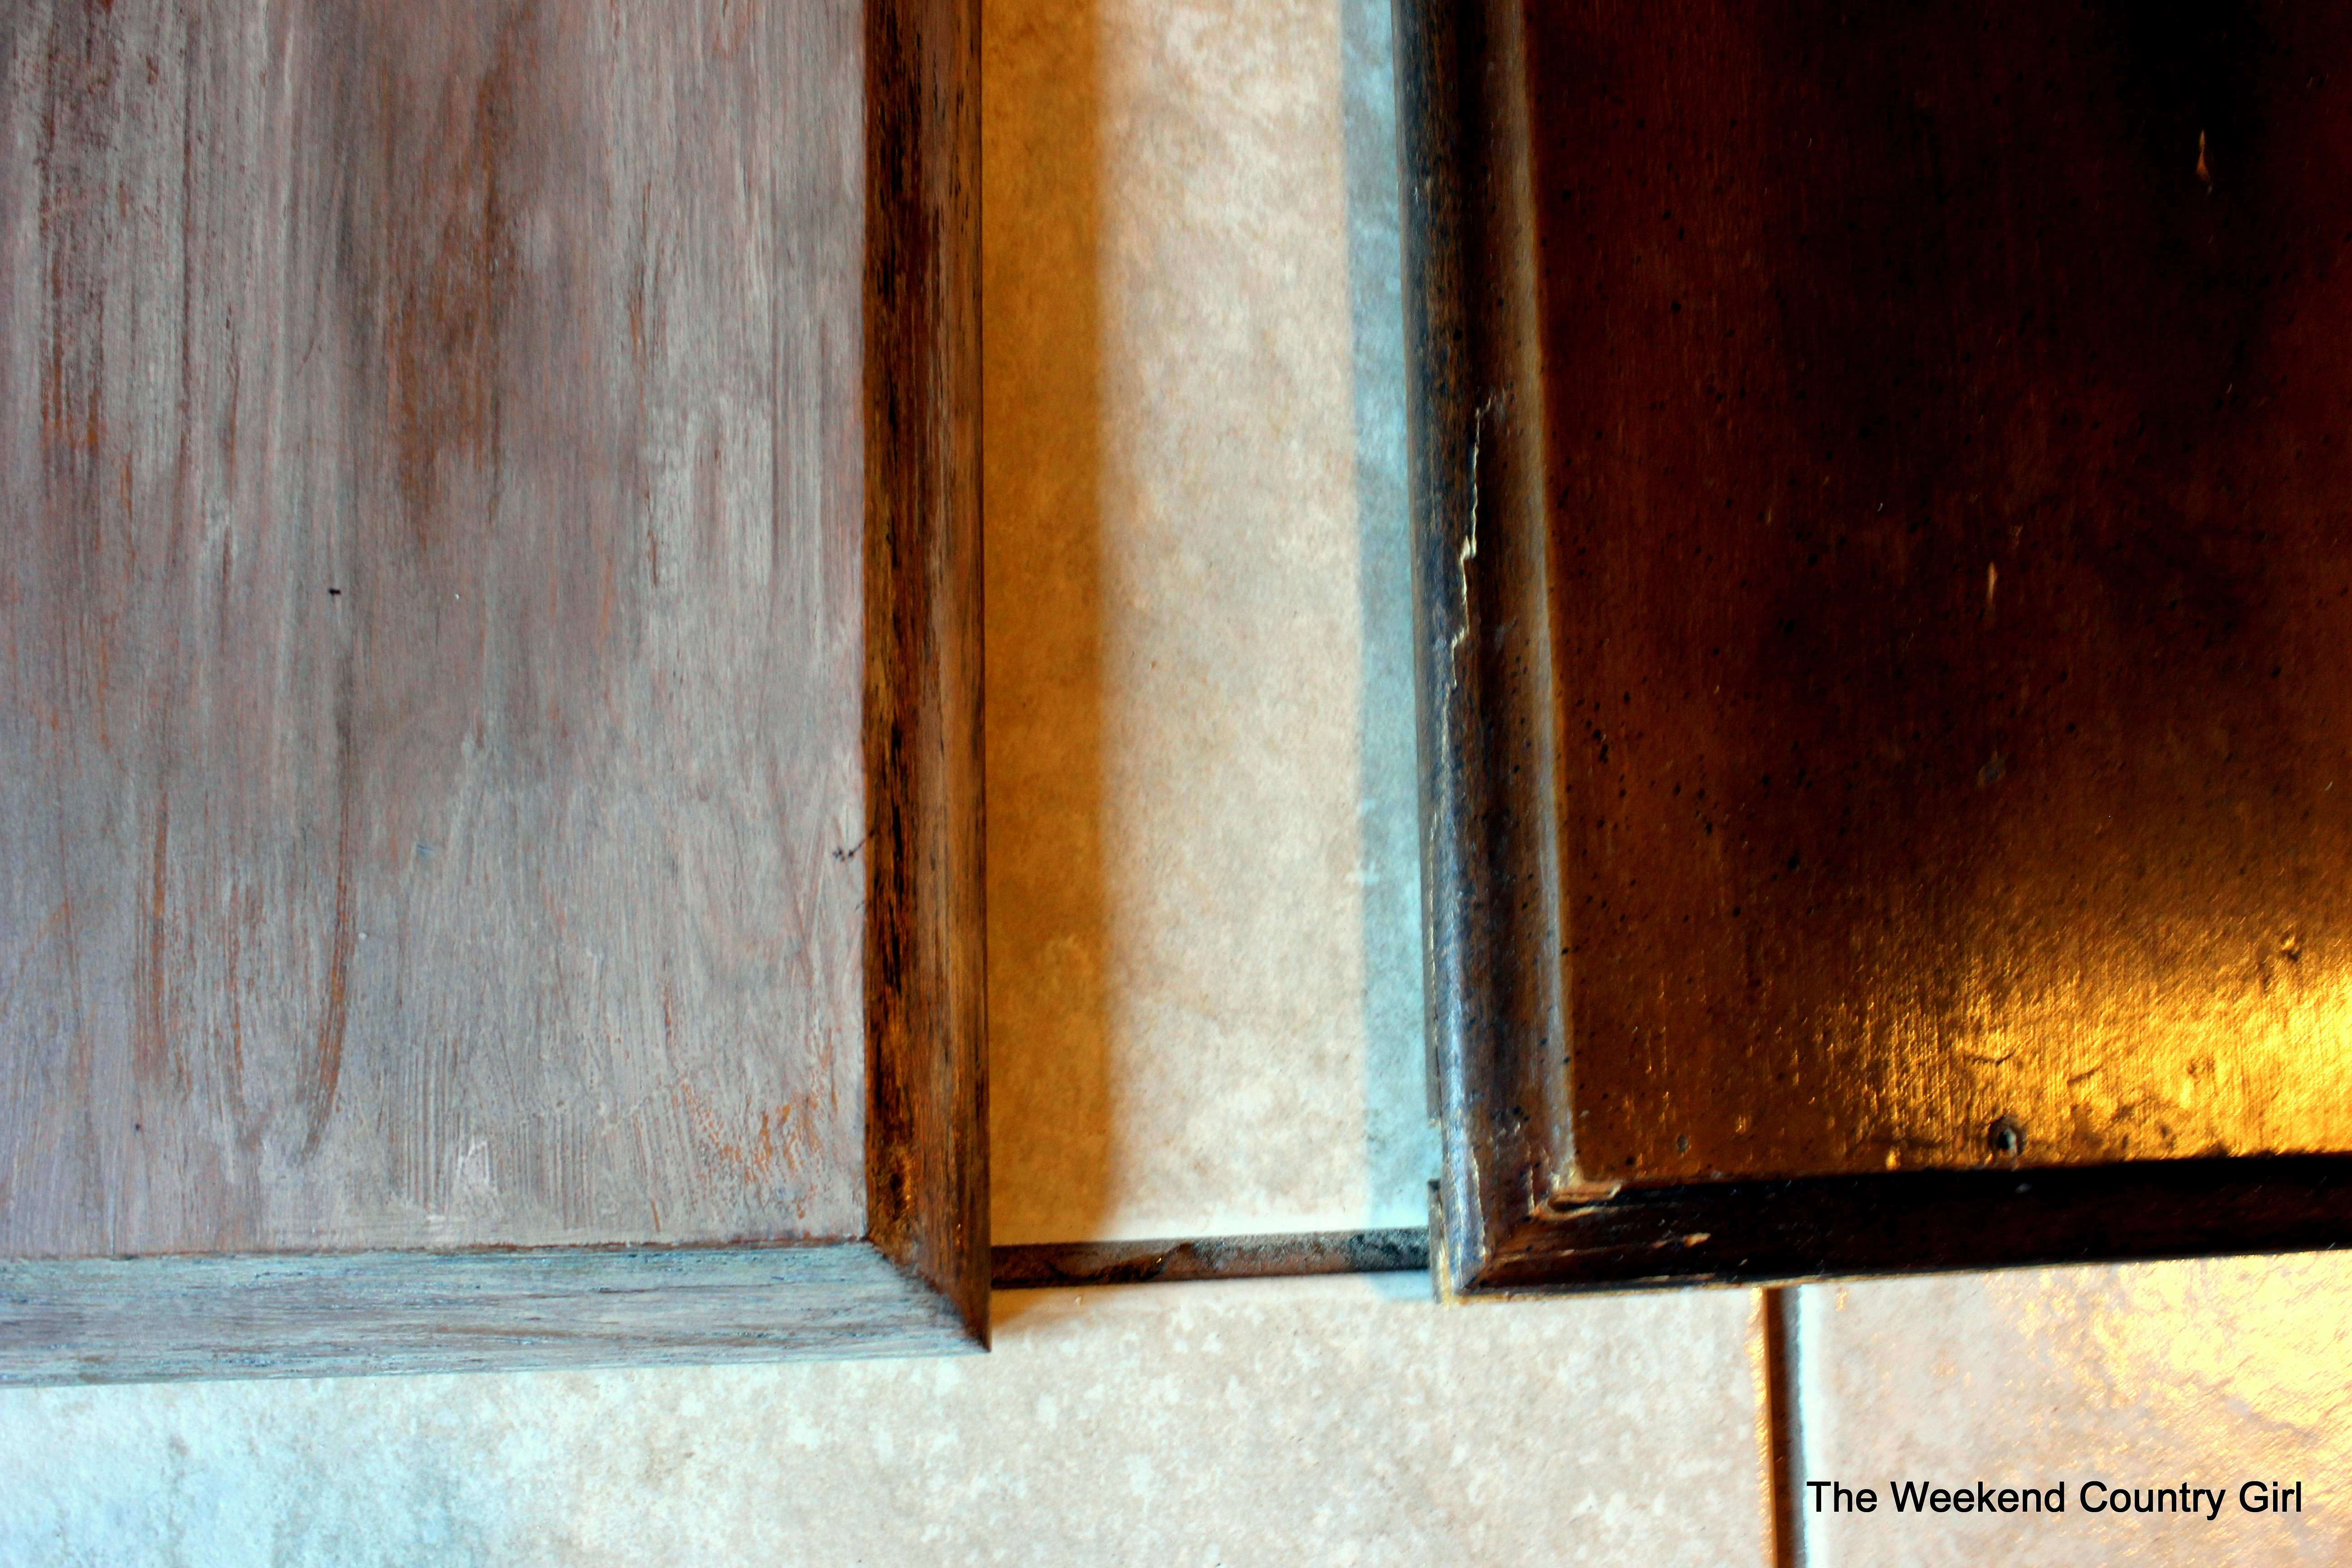
I started with this dresser drawer front. The dresser was a total mess that I picked up on the side of the road. The drawers and chest couldn’t be saved but I liked the drawer fronts even though they were not solid wood.

The first step was to strip the finish off the drawer front. I love Citri Strip. It can be used inside with no harmful fumes and it works well.

Paint the stripping gel on with a cheap but not foam brush, wear gloves and the wipe off after a few minutes with a plastic scraper and then wipe down with cotton rags. I always get one rag damp and wipe it down to make sure the residue is gone. The finished result is wood that still has a faint color but no sealer or varnish. Give it a quick sand with 220 grit sandpaper to make it feel smooth but not necessarily perfect.

At this point I let the wood sit overnight. I want to make sure it is totally dry before going any further.
Early the next morning I got busy staining.
The first layer is Minwax Weathered Oak.

I use a foam brush to put the stain down then wipe off with cotton rags.

The stain goes on dark but it wipes off and the color is faint.

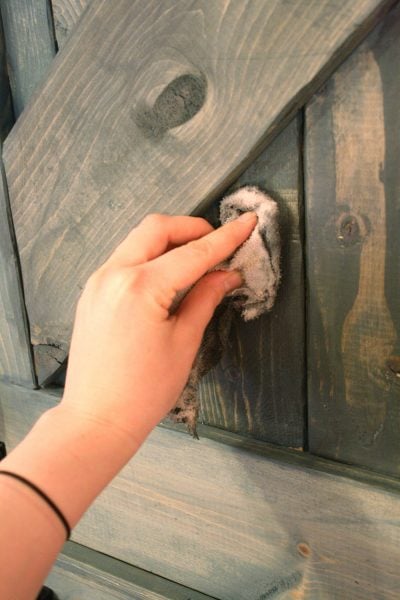
Once that coat of stain dries ( a couple of hours), the scariest step takes place. Paint on the white pickling stain and immediately wipe it off. If you are doing a really big job, two people make the job not as crazy. It is a paint on, wipe off process. Go with the grain in the wiping or in the case of the drawer front go in the direction that the wood would go, if it were real wood. I am really messy with this step because I like the really rustic look but if you want a consistent look take your time and make long strokes.


Here it is wiped off. the pickling stain sort of looks like bleached wood from the 80’s.

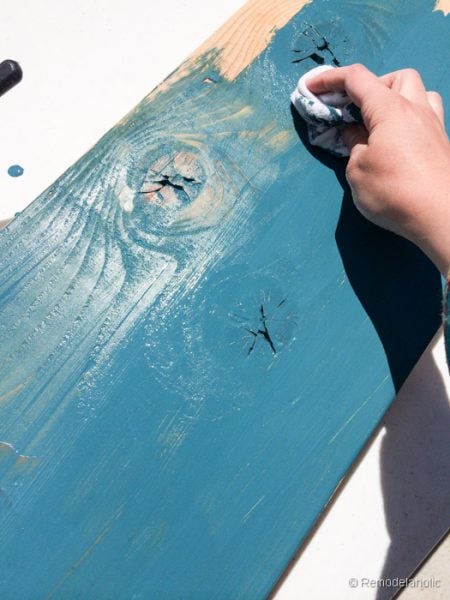
I wait a couple of hours again to make sure it is all dry, then I add the final coat. Jacobean stain over the top.


Wipe it off and make sure it is dry before adding another layer. To get the color as dark as you need, you have to keep layering the stain on making sure it is drying between coats or it will be sticky.
Here it is after two coats.

Perfect for me.
I had another drawer front so that you could see the comparison of the two colors.

Here is the finished drawer front. It will be a rack in our bathroom.
I also used the same process on our bathroom vanity and on a funky dresser. I have been thrilled with the look each time.. I have been able to use the same product on all three pieces.


The final coat is a coat of polyurethane. I used marine varnish on the bathroom vanity.
It is a really simple process that looks old and worn.
I hope you are able to reproduce this process yourself.
I would love to hear from you,
Blessings,
Karen
——————————————-
Thanks so much for sharing another project with us, Karen! We love what you do!

Remodelaholics, pay Karen a visit over at The Weekend Country Girl for more great projects, like this awesome suitcase wall in her office!

—————————————-
More ways to finish and refinish wood
Use a layered stain technique to make new wood look like reclaimed wood.

Color-wash wood to any color you want while still showing the wood grain
and it works with bright non-traditional stain colors, too!
Try this easy DIY faux driftwood finish.
Lorene has been behind the scenes here at Remodelaholic for more than a decade! She believes that planning projects and actually completing them are two different hobbies, but that doesn't stop her from planning at least a dozen projects at any given time. She spends her free time creating memories with her husband and 5 kids, traveling as far as she can afford, and partaking of books in any form available.


Thank you for featuring my work again!
You are so welcome, Karen! We love what you do! Thanks for being featured again!
Do you think the same finish could be accomplished starting with white cabinets? Paint them brown first?
MaryBeth,
I think as long as you don’t mind not seeing the woodgrain through the layers then painting them brown ( Behr Revival Mahogany is my go-to dark brown) then layering would give you a weathered look. Try it out on a sample board to see if you like the results.
hi Karen, regarding question about using this tech over painted cabinet. Painting base Revival Mahogany- what finish is best and is this water based or oil (paint) if so does it need to be de-glossed? Love you blog found you on Pinterest. Im in Texas too- Katy born and raised in Dallas
Well detailed tutorial. Looks easy enough so that anyone can pull it through. This finish is one of my favorites.
Karen, Thank you for the the faux RH refinishing tutorial! We have a family heirloom dining room table that has the original dark stain. I love the table but hate the outdated finish. Nobody in the family wanted the piece and I couldn’t bring myself to sell/donate it. Now I know what to do!
This is so helpful as I am about to do this to my table! Just curious, did you use all water based stains for this project? Or were the Weathered Oak and Jacobean oil based? I saw that the whitewash stain was water based. I just want to make sure I get that part right. 🙂
Hi Karen,
I have been looking everywhere on how to do this process. I have a restoration hardware mirror that I am trying to copy on a chair. It’s just the small pieces like arms and legs. It’s a very light wood though (I sanded it down completely). Would you recommend doing a darker stain as a first coat, maybe watered down. If so which color would you recommend? Also, how would I water it down. Anything you can tell me would be appreciated. The chair and fabric have been taking up space in my garage because I am just at a loss. Oh, by the way, I have used the pickling stain with walnut on top and that wasn’t quite what I was going for on the light wood. Thanks so much for your time
The darker stain under will give you an overall darker finish. I use really dark stain on top of the pickling. Good luck with your finish.
Karen, Thank you for this well detailed tutorial. I purchased a RH Saint James vanity (antiqued coffee finish) and would like to replicate the look on a new unfinished slab/pocket door. I believe its Oak. Would I adjust any steps for unfinished wood? Thank you in advance for your help 😉
Do you think this same method would work on plywood board? I’m making a thrifty (OK cheap) tiki bar. I found an old sheet of plywood in the shed that will work as the bar top, but I’d like it to look like weathered old drift wood if possible.
I am trying to get a more tidy look, where the grey looks fogged over except the grain which pops.. but this time round it isn’t working as well as last time I did it.. seems like the grey is wiping out of grain too much.. help?? Tips plz? I just want it to stay in the grain as much as possible after wiping it off. If you have an email addy I can send you pics of what I am talking about.
We are building a new home and have raw oak beams right now. Would this process work on unfinished wood?
Do I need to start with a darker stain?
I have a question. I have pine kitchen cabinets that have a pine stain on them. So they are a wam honey color. I’ve been wanting to paint them or make a change. I love this as our home is old world style. Do you think I could start with the color I have and then do the last two steps of white glaze and Jacobean? Or do I need to strip the existing stain and go from there?
When you say continue to layer. Are you layering all three stains over and over just the top stain or the white and top only? Thanks
Ash,
I usually just add the dark stain on top until I get the depth of color I want but occasionally it seems too dark so I have to add the pickling stain again then lightly gover it with dark stain. Dark stain always on top or it looks bleached.
I have a maple dresser and after only sanding off some of the varnish over the entire thing am wondering if this would work on top of what I’ve done. If there is still varnish here and there, will it work? Thank you!!!
Hi Katheryn: If there is still varnish on the piece, the finish won’t take as well or possibly at all. So I would be sure to use a stripping agent (like Citristrip) and if the finish is really persistent, try the method shared here to remove the rest of the original finish before refinishing: https://www.remodelaholic.com/step-by-step-refinish-wood-furniture/
open vs closed grain woods are going to react differently. a wire brush in the direction of the grain before and between coats, and a super light sanding between coats both help. for the rough RH finish, no wood filler before sealing, but for a smooth finish, 2-3 coats of a wood filler applied across the grain, and lightly sanded with the grain. should yield magical results.
Thanks for the tip, Brian!