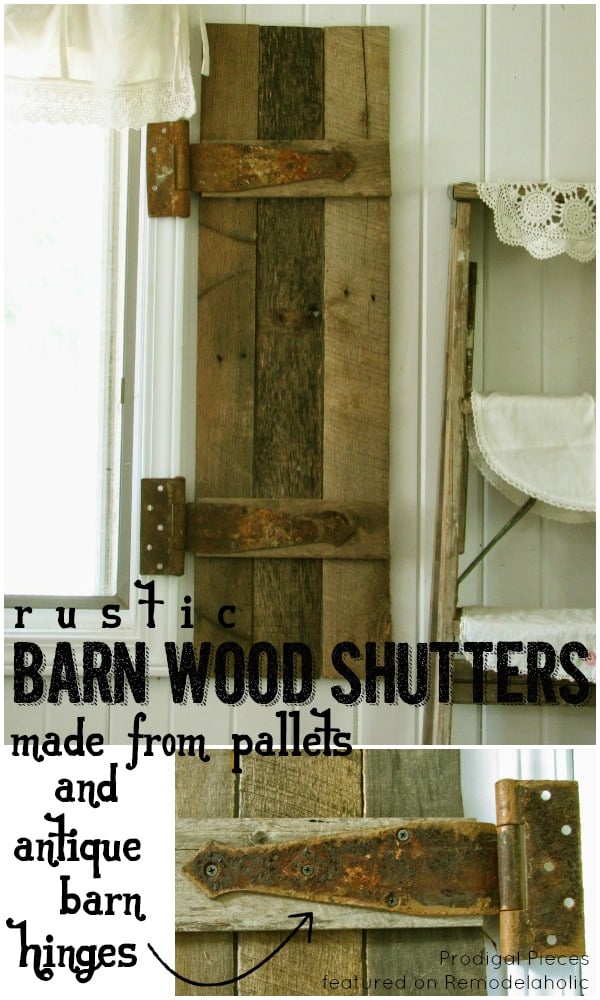
Build Rustic Barn Wood Shutters from Pallets
All you pallet wood loving builders are going to love this one! Larissa is an awesome “junker” who loves turning old things into new things, and today she’s here to show us how she turned a pile of pallet wood into a set of lovely rustic barn wood shutters.
Check out all of the All Things Windows goodness here, and share using #AllThingsWindows on social media. Don’t forget to come link up your window-related blog posts or Instagram photos at the party, too!
Related Reading: Build Wood DIY Shutters for Exterior Windows
Greetings, Remodelaholics!
I’m so excited to be able to be here, and I’d like to introduce myself and share a DIY project with you.

Do you crave the rustic appeal of barn wood in your home decor, but lack the barn? No worries, because I will show you how to take a weathered old shipping pallet and turn it into fabulous rusty, crusty shutters. No one will know they came from pallets once you’re done. (wicked smile appears…heeheehee)
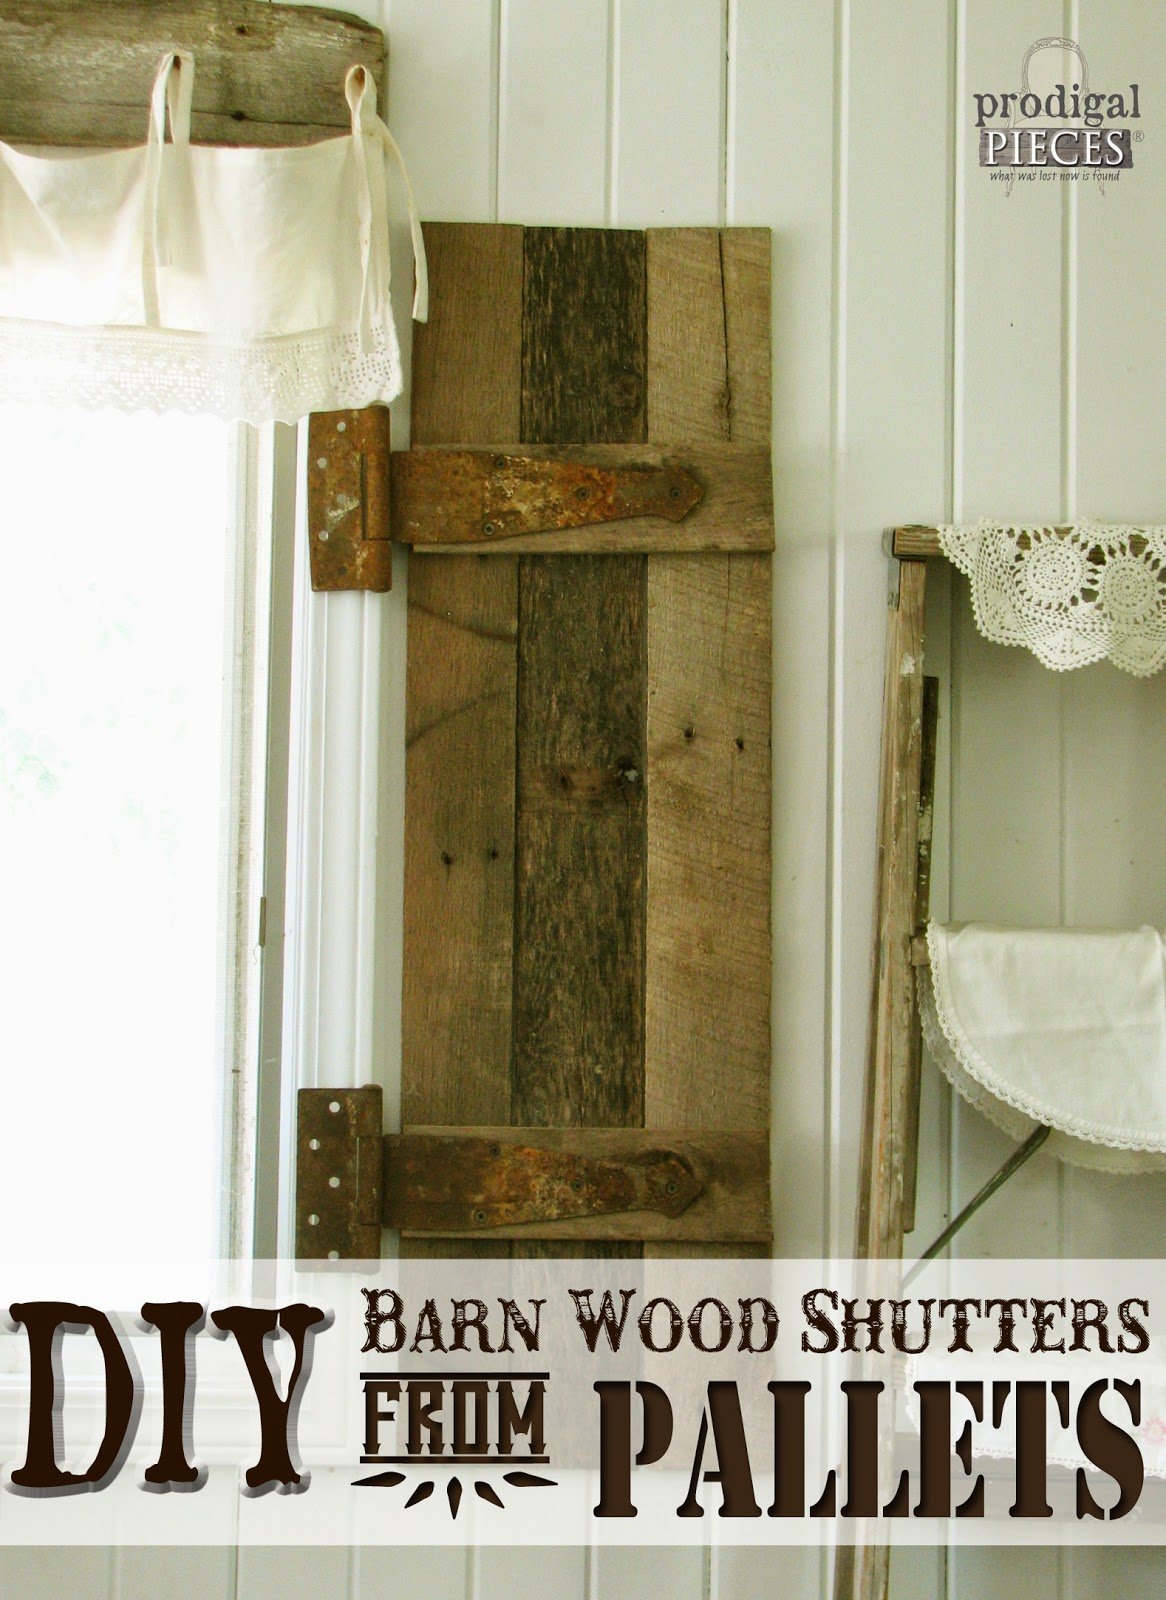
How to Make Barn Wood Shutters from Pallets
by Larissa of Prodigal Pieces
Seriously though, shipping pallets are one of the most versatile cast-off items you can get your hands on. You can build just about any piece of furniture with them, assuming you have basic tool knowledge. My treasure came via Craigslist, where I was able to acquire some weathered pallets that had an awesome gray patina and ready-made defects, which was just what I was after, for free – yes!
side note: Speaking of patina, I’ve got to share with you what one of my younger daughter, 5 yrs. old, said to me the other day. We were looking at the cat carrier we were given for our new kitten, which has a some rust on the door, and she said, “Ooh, I love the rusty look, how pretty!” Ha! She’s seeing beauty where most people wouldn’t – rust. Love it. Back to story…
When one is desiring to acquire pallets, one must have a truck (aka accomplice). So I called up my mom (owner of said truck) and she happily came over to follow my kids and I on a treasure hunt through two huge piles of wood, pallets included. (Don’t worry, my kids stayed clear of the mess and had fun picking flowers instead).
Let me tell you, I not only got pallets, but scored an awesome blue chippy antique ladder, some railroad ties, and a garden trowel. SCORE! I love treasure hunts…sigh.
Heads up! Before jumping into pallet disassembly, I do suggest you read this article about pallets found here. I also have some pallet safety related pins on my Pinterest pinboard found here.
Okay, back to said project.
It is totally possible to use a hammer, gloves, and safety goggles to do the work of disassembling. I’m sure my neighbors loved seeing me vent on the pallets. It does take a little elbow grease or a happy-to-please husband to dismantle one of these. (note: gift to self was a Sawzall at later point). You can also find an awesome dismantling tutorial here.
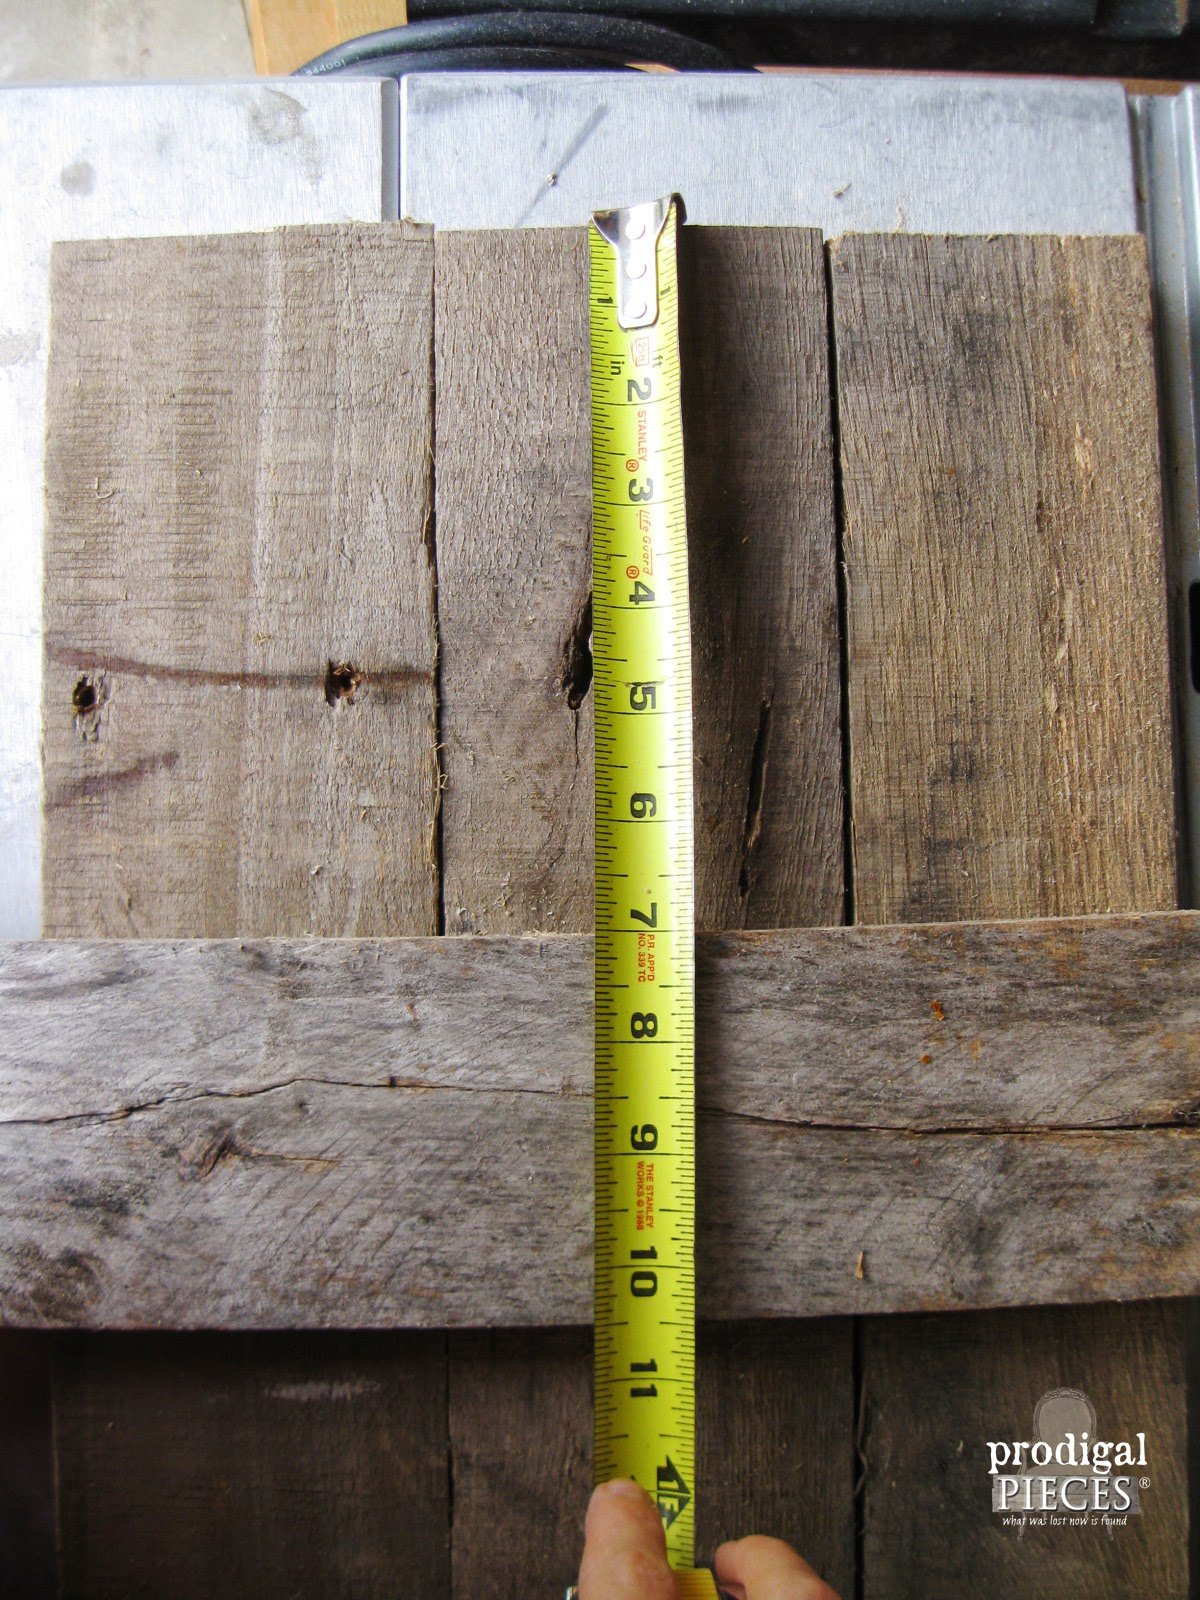
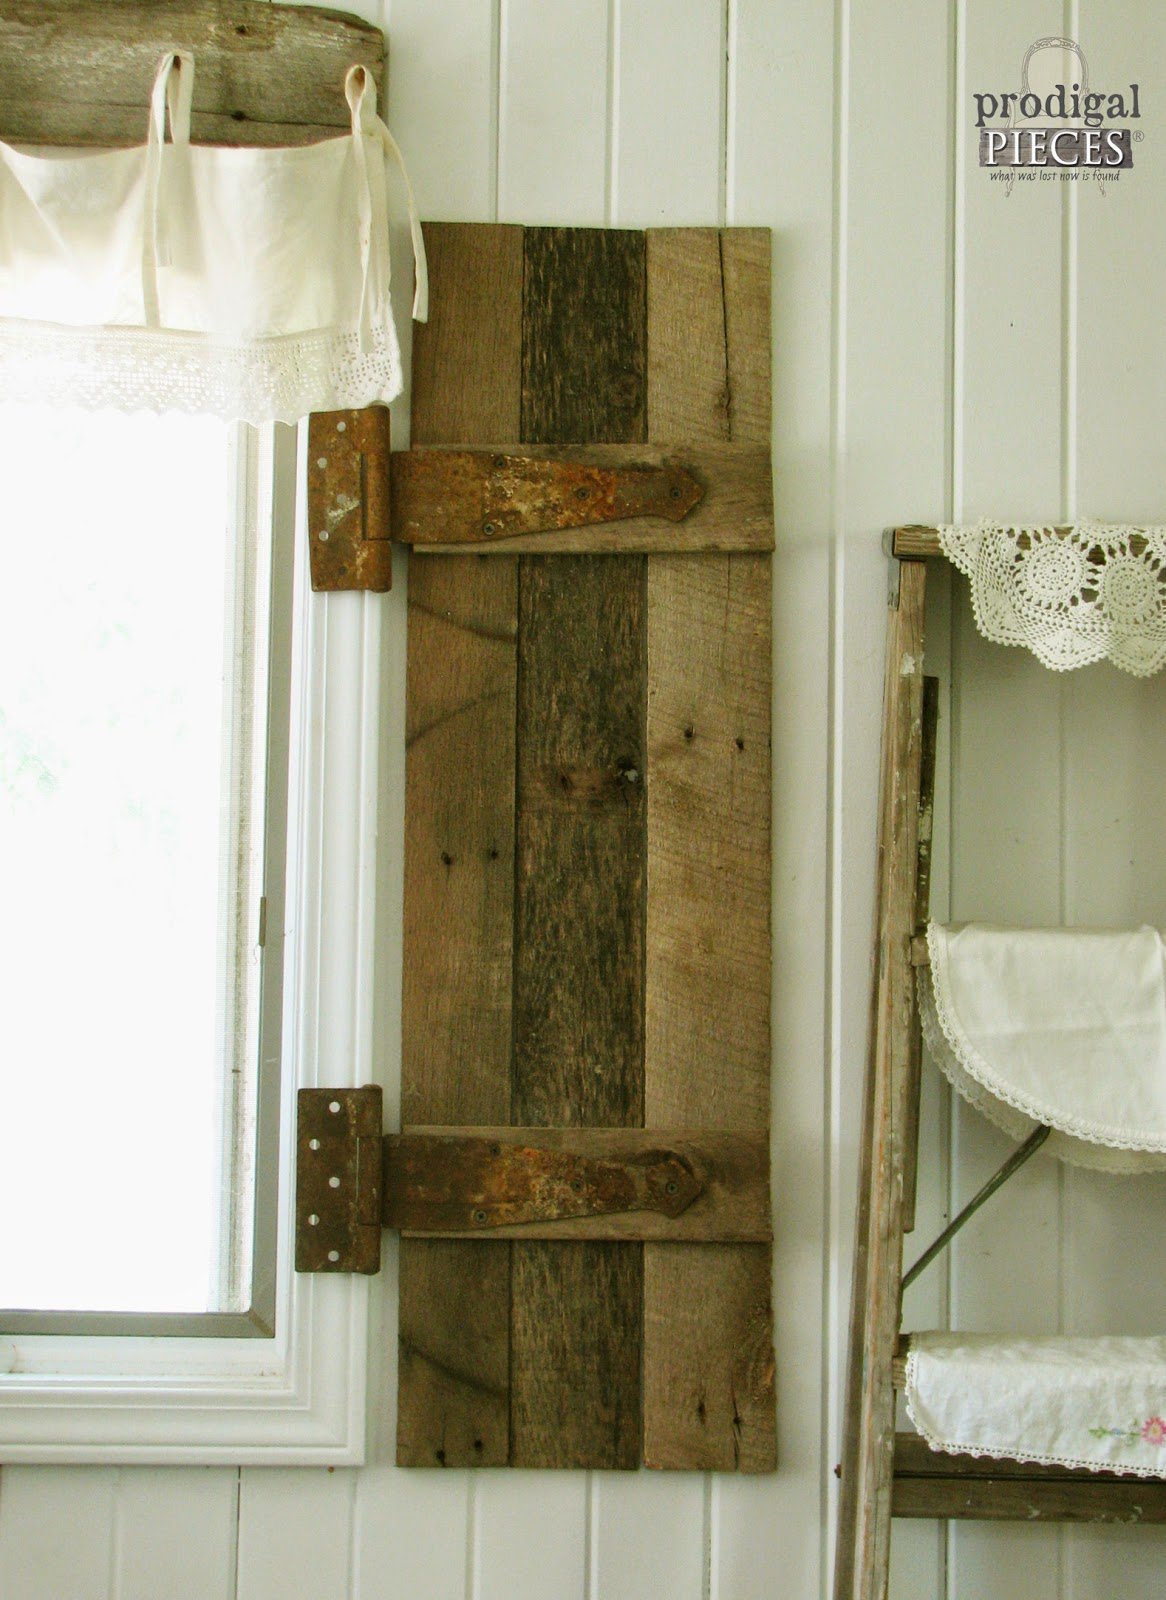
To get started on building, first you will need the height dimensions of the window you are going to be mounting the shutter next to. I included the trim in my measurement, but you can make it any size you like.
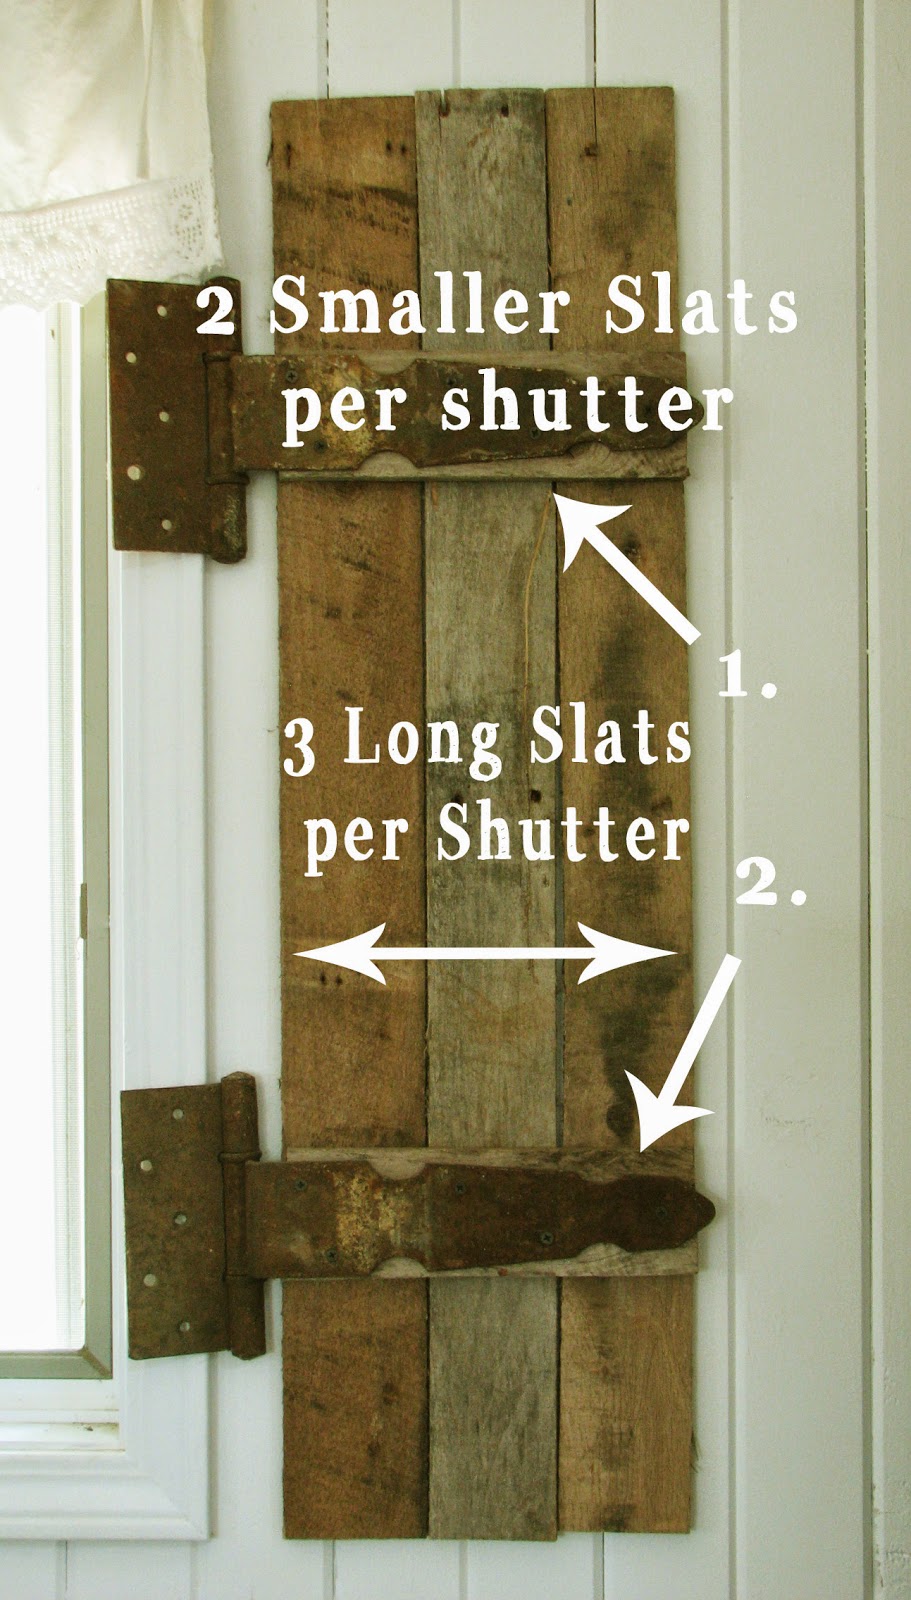
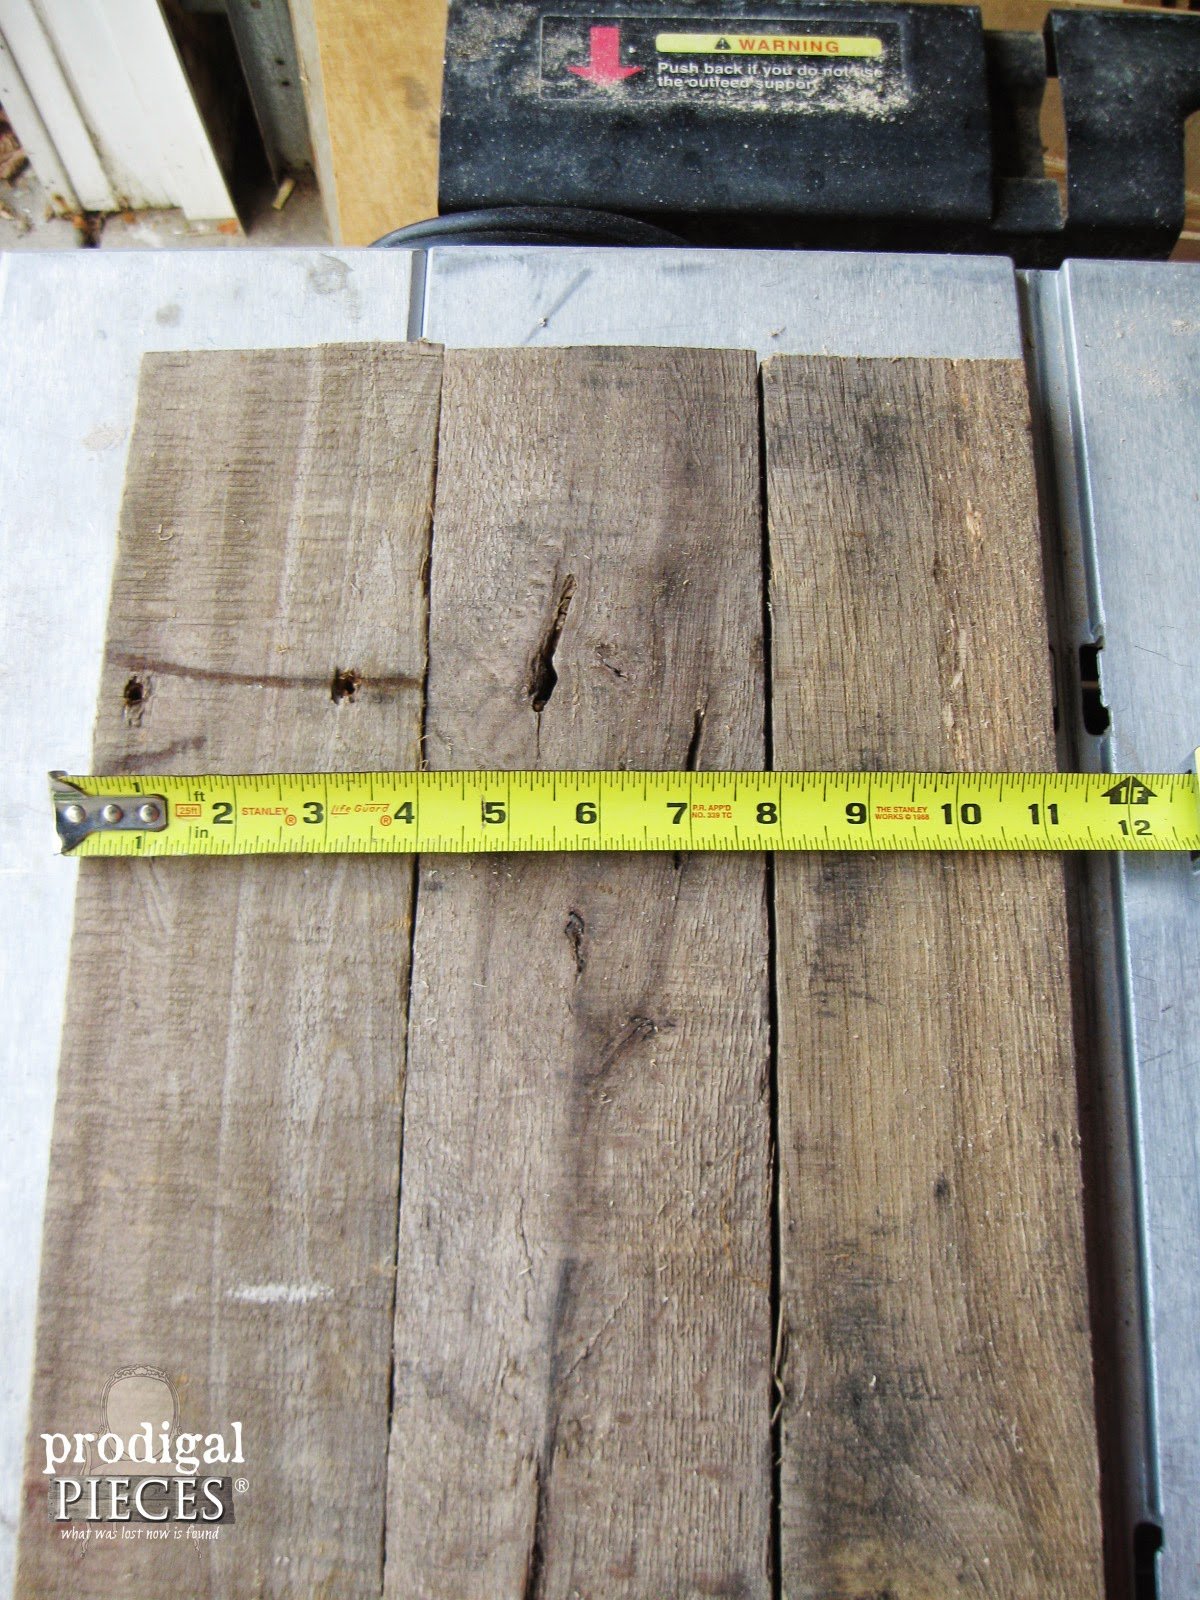
My window measured 38″ high. So, I cut three pallet slats 38″ long for ONE side of my window. Don’t forget! You will need to build two sets of shutters per window, so keep that in mind when counting how many slats to cut. For one window set you would need 6 slats.
Next, I measured the width of the three pallet slats laying side by side, which gave me 11.25″. Just a note: If you want to build exterior shutters using this same method, add 1/8″ gap between slats to allow them to flex with the temperatures.
Then, to hold the longer slats together, I cut two small slat pieces per shutter (you would need four of them for a complete window set) measuring 11.25″. These smaller pieces are the crosspieces to hold the shutter together.
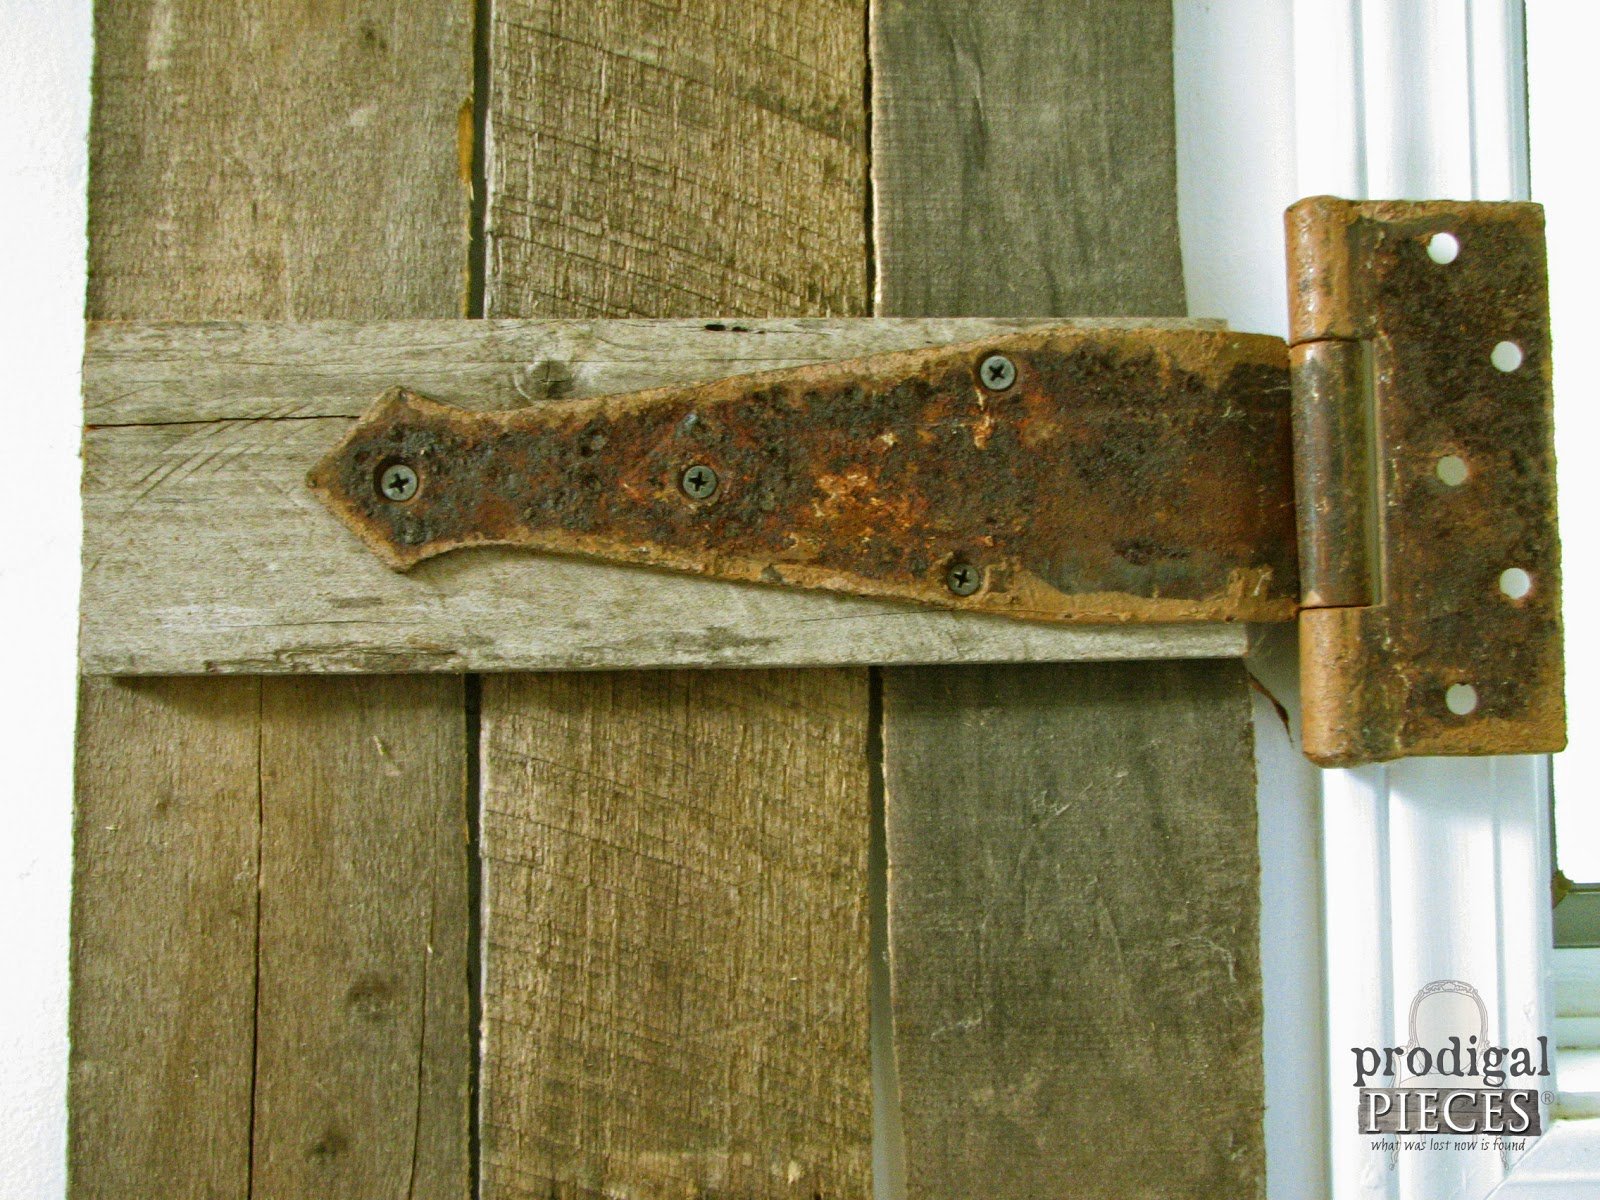
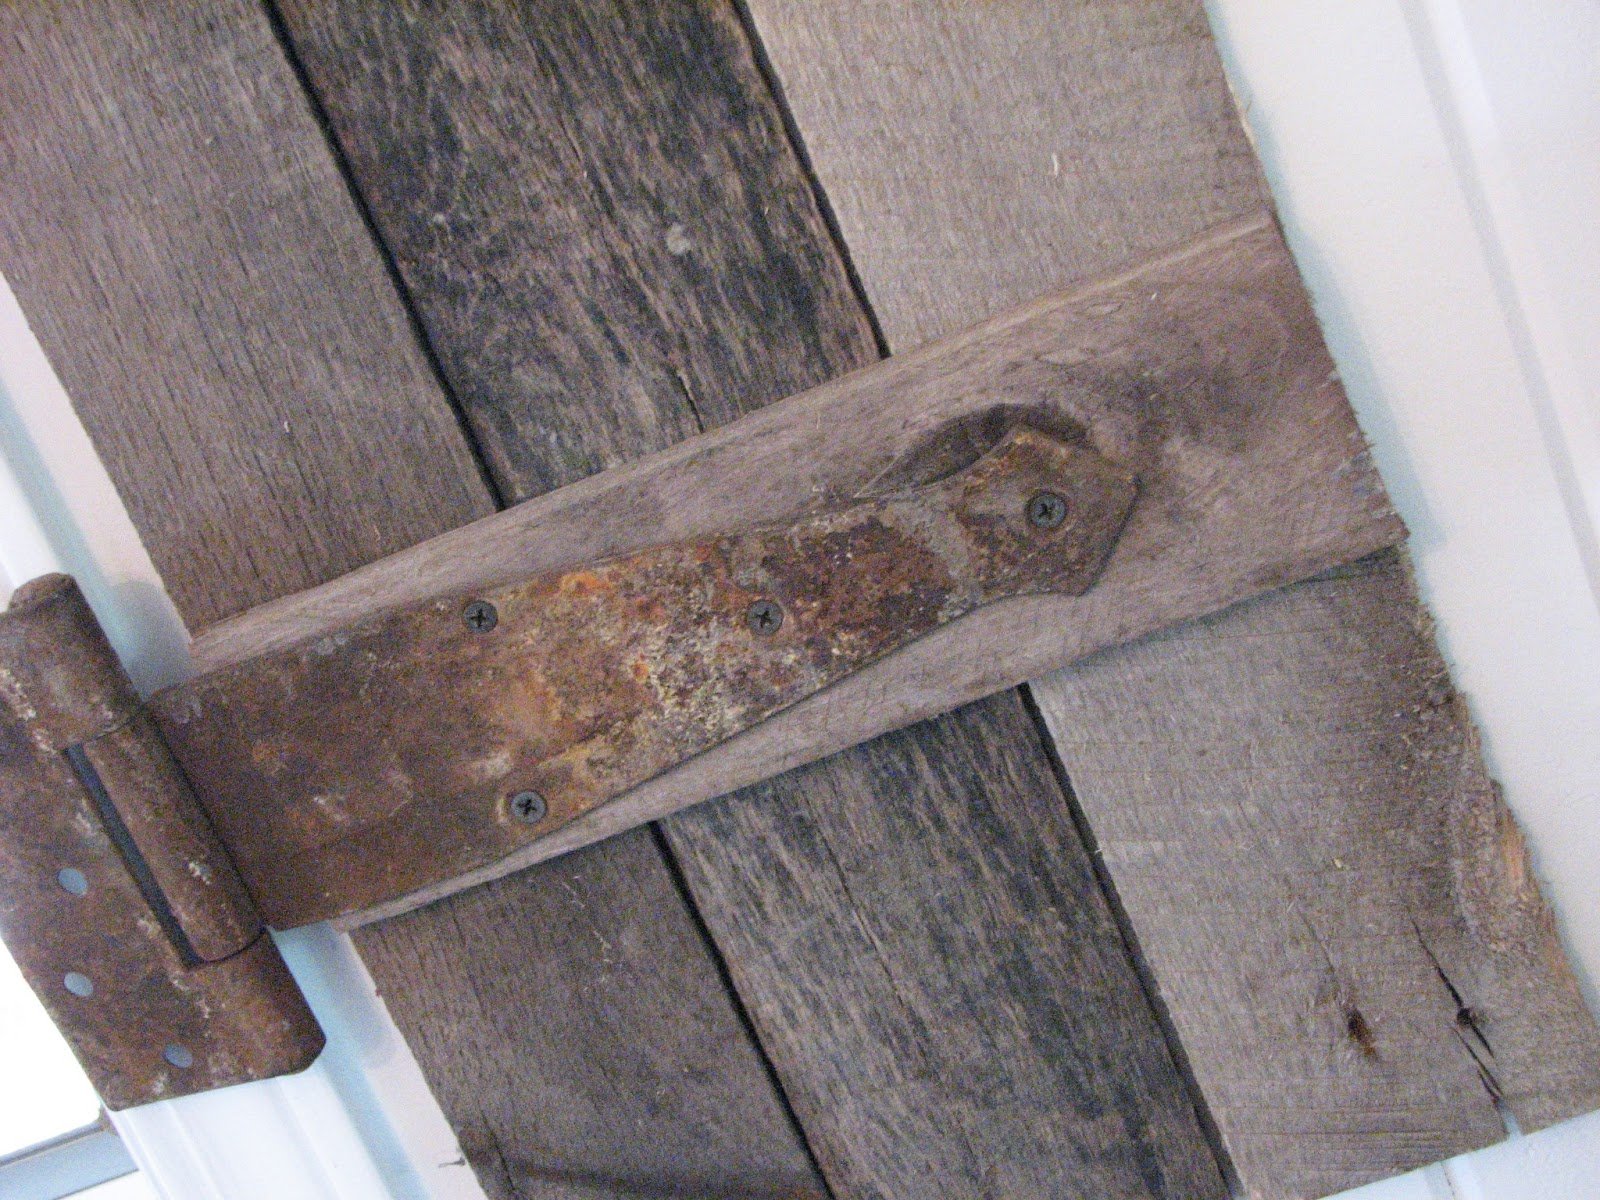
Last, lay the longer three pallet slats on the ground and position the two crosspieces 7″ in from both short ends. Attach them using a zig-zag screw pattern being sure to catch all three slats if you are not using a hinge, otherwise use the holes the hinge provides.
I left a couple blank screw spots in my hinge on my shutter so that when I attached my shutters to the wall, I could use a longer screw so there weren’t any extra screw heads showing.
note: If you don’t like the fresh cut color showing at the ends of your slats, just mix up some gray and brown paint with a touch of water to create a “wash”, and touch up the ends to make them blend in.
Last, mount your shutters to the wall and stand back in awe!
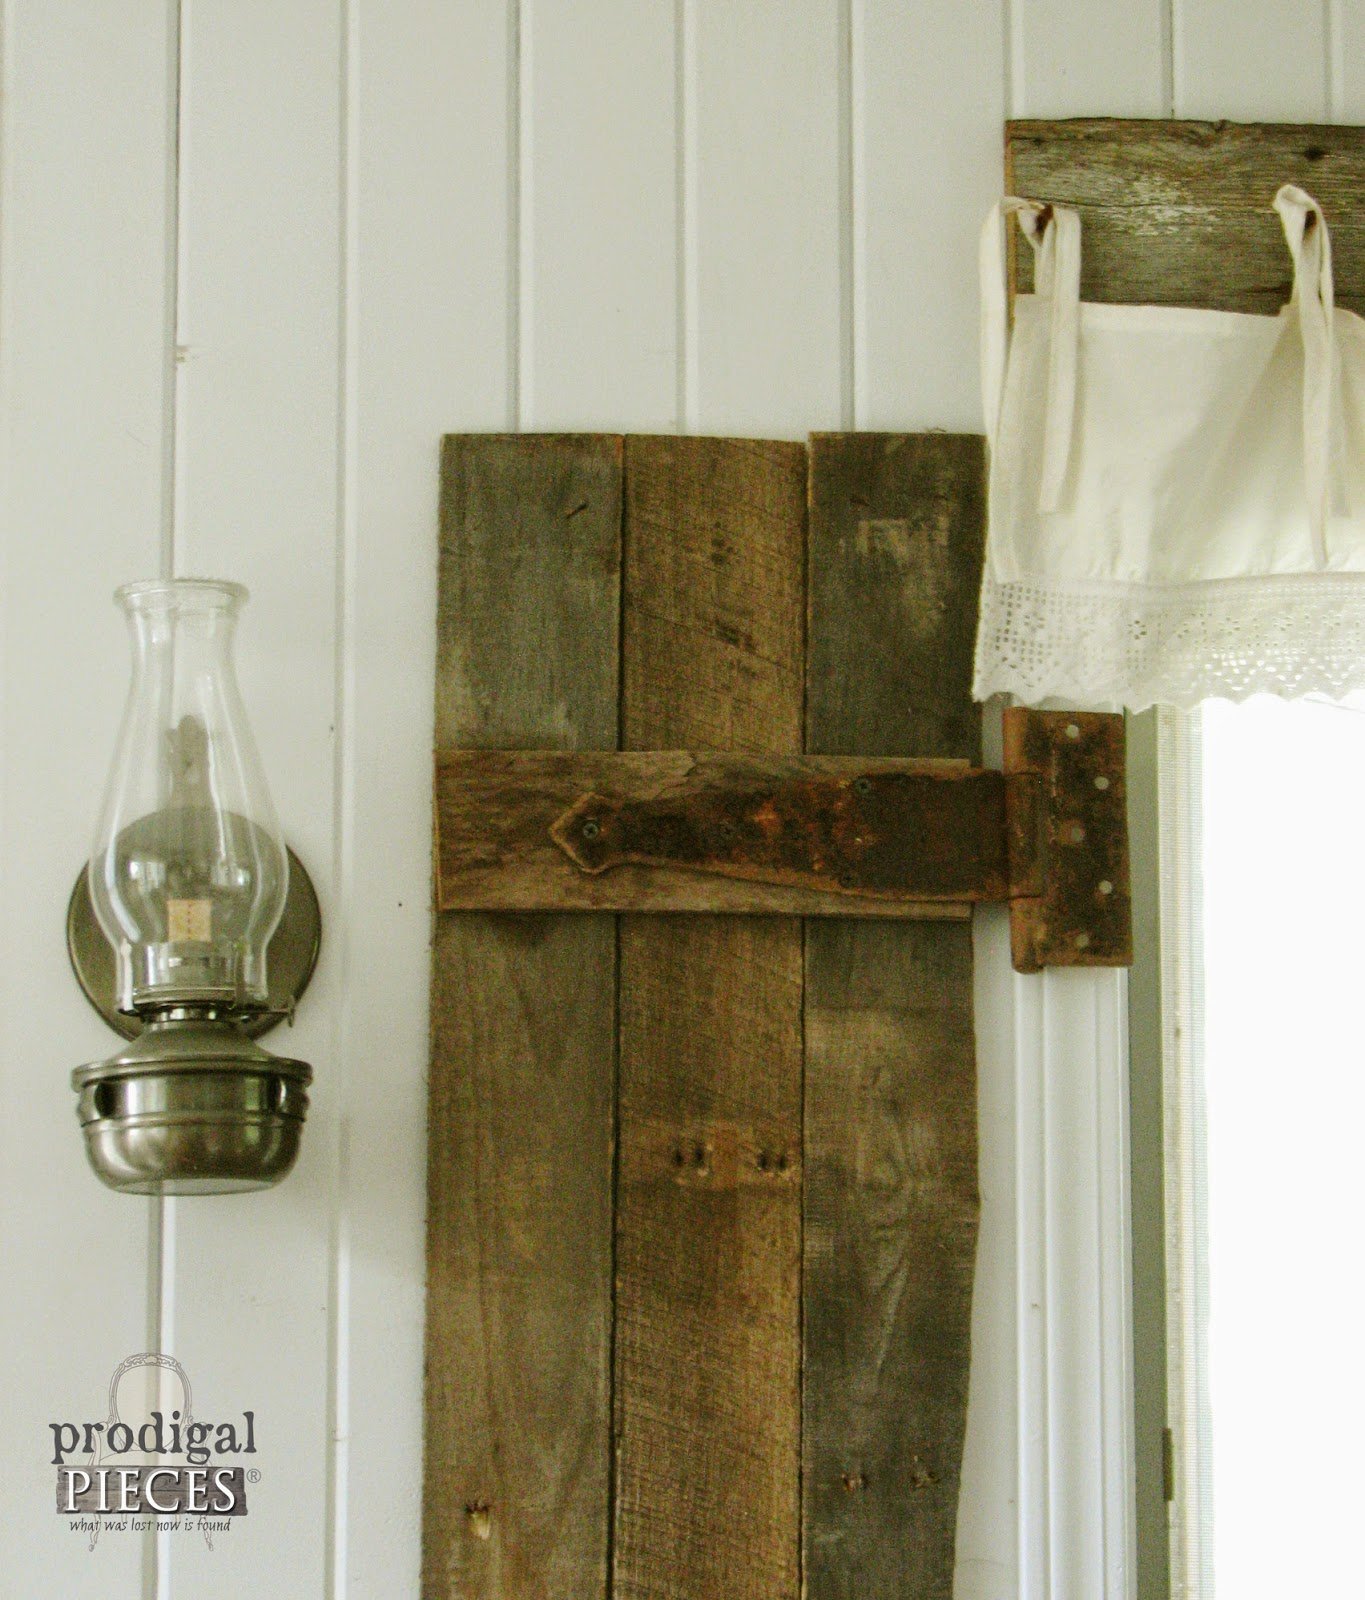
If you want to do like I did and rustify (like my new word?) them by adding antique barn hinges, just check ebay. Can you believe I found an entire lot that had just the right number of hinges I needed for less than $20?! God is good!
Viola! Not only did I help a local merchant clean up an unsightly pile, but was also able to create a lovely rustic touch to my home The best part was to teach my kids to be resourceful with all that we are given.
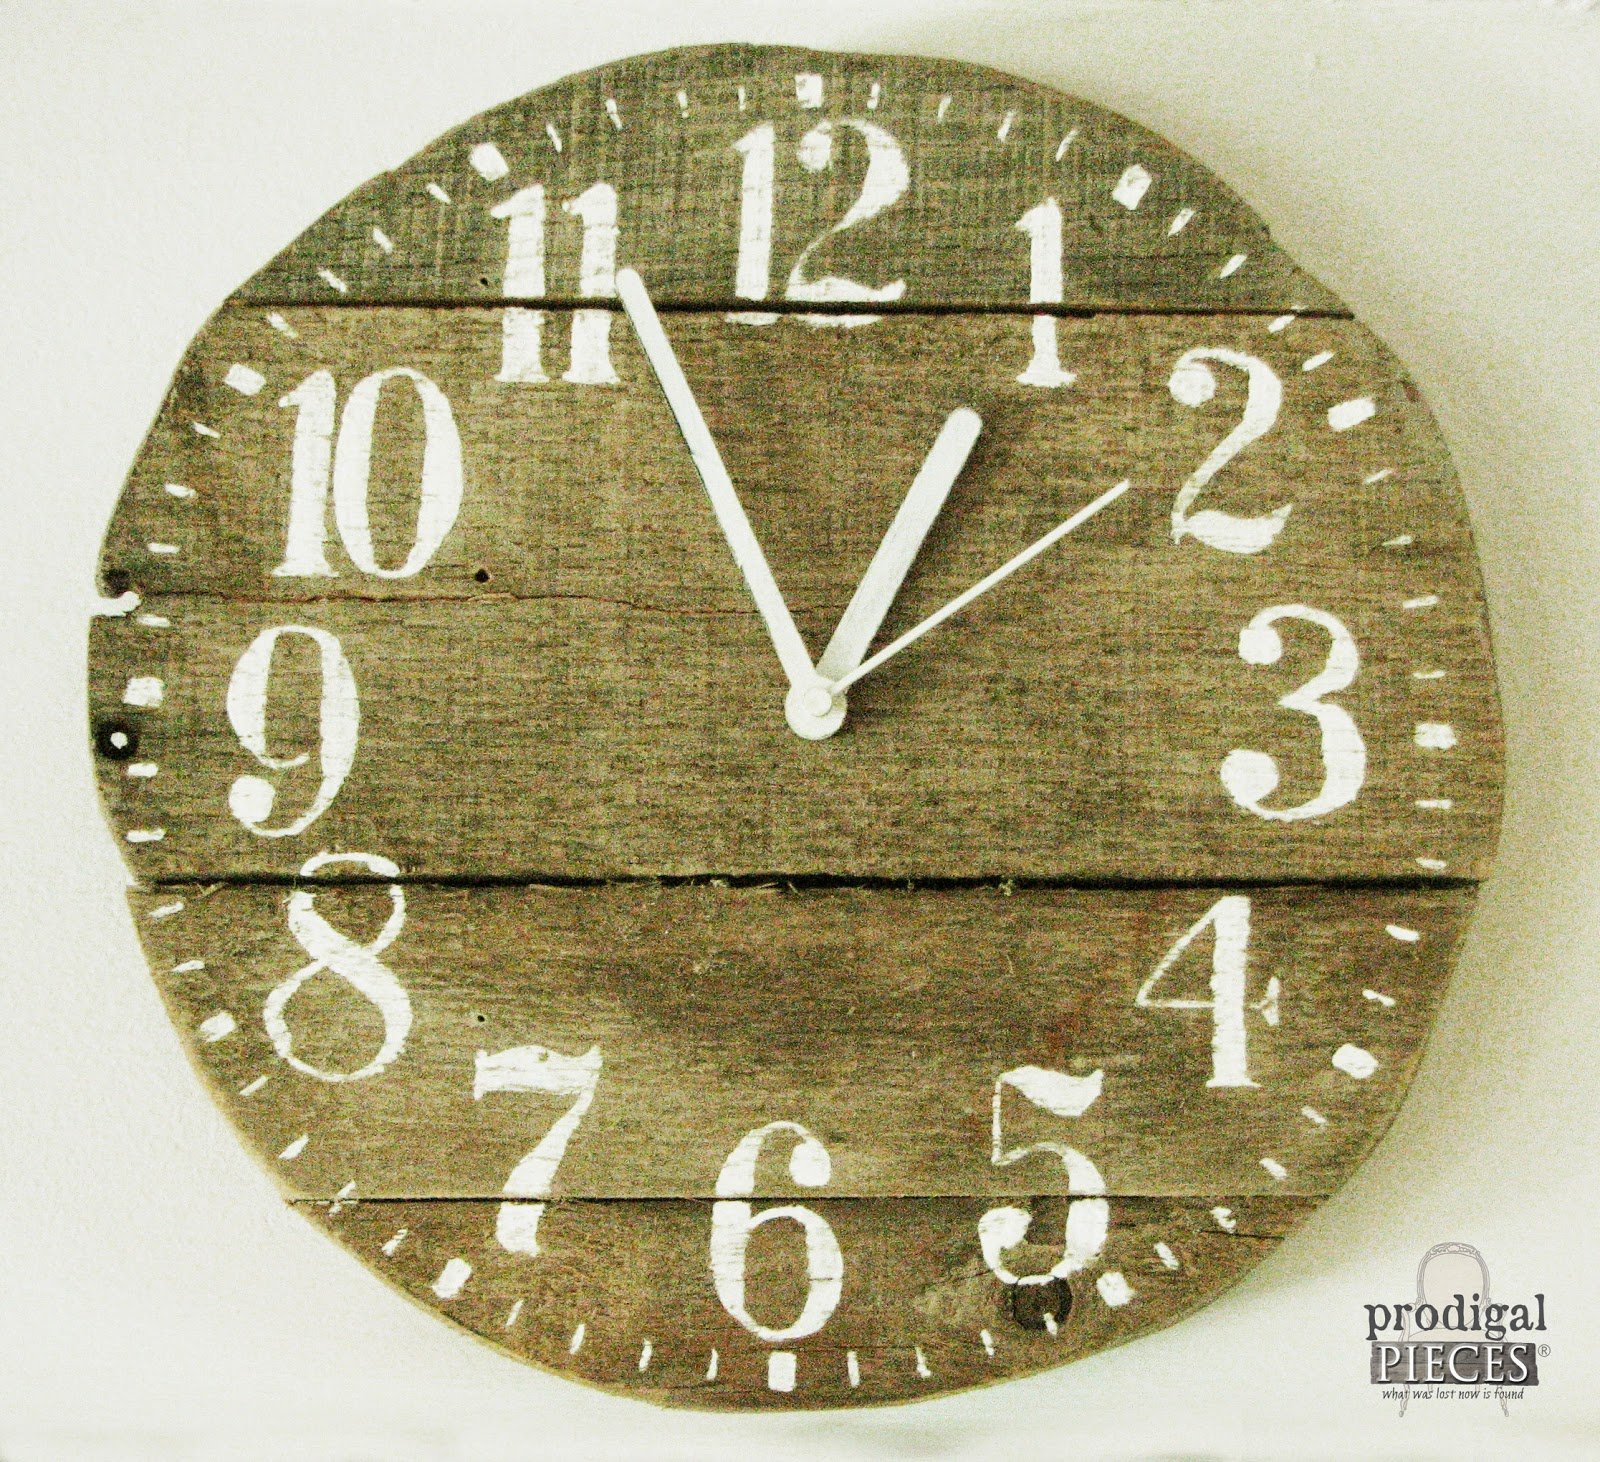
Even today I am still using some of that pallet wood to build more projects, like my table centerpiece, a plate rack, and my rustic clock found here.
Want to see how to make the valance too? Go to this post: DIY Barn Wood & Bedskirt Valance.
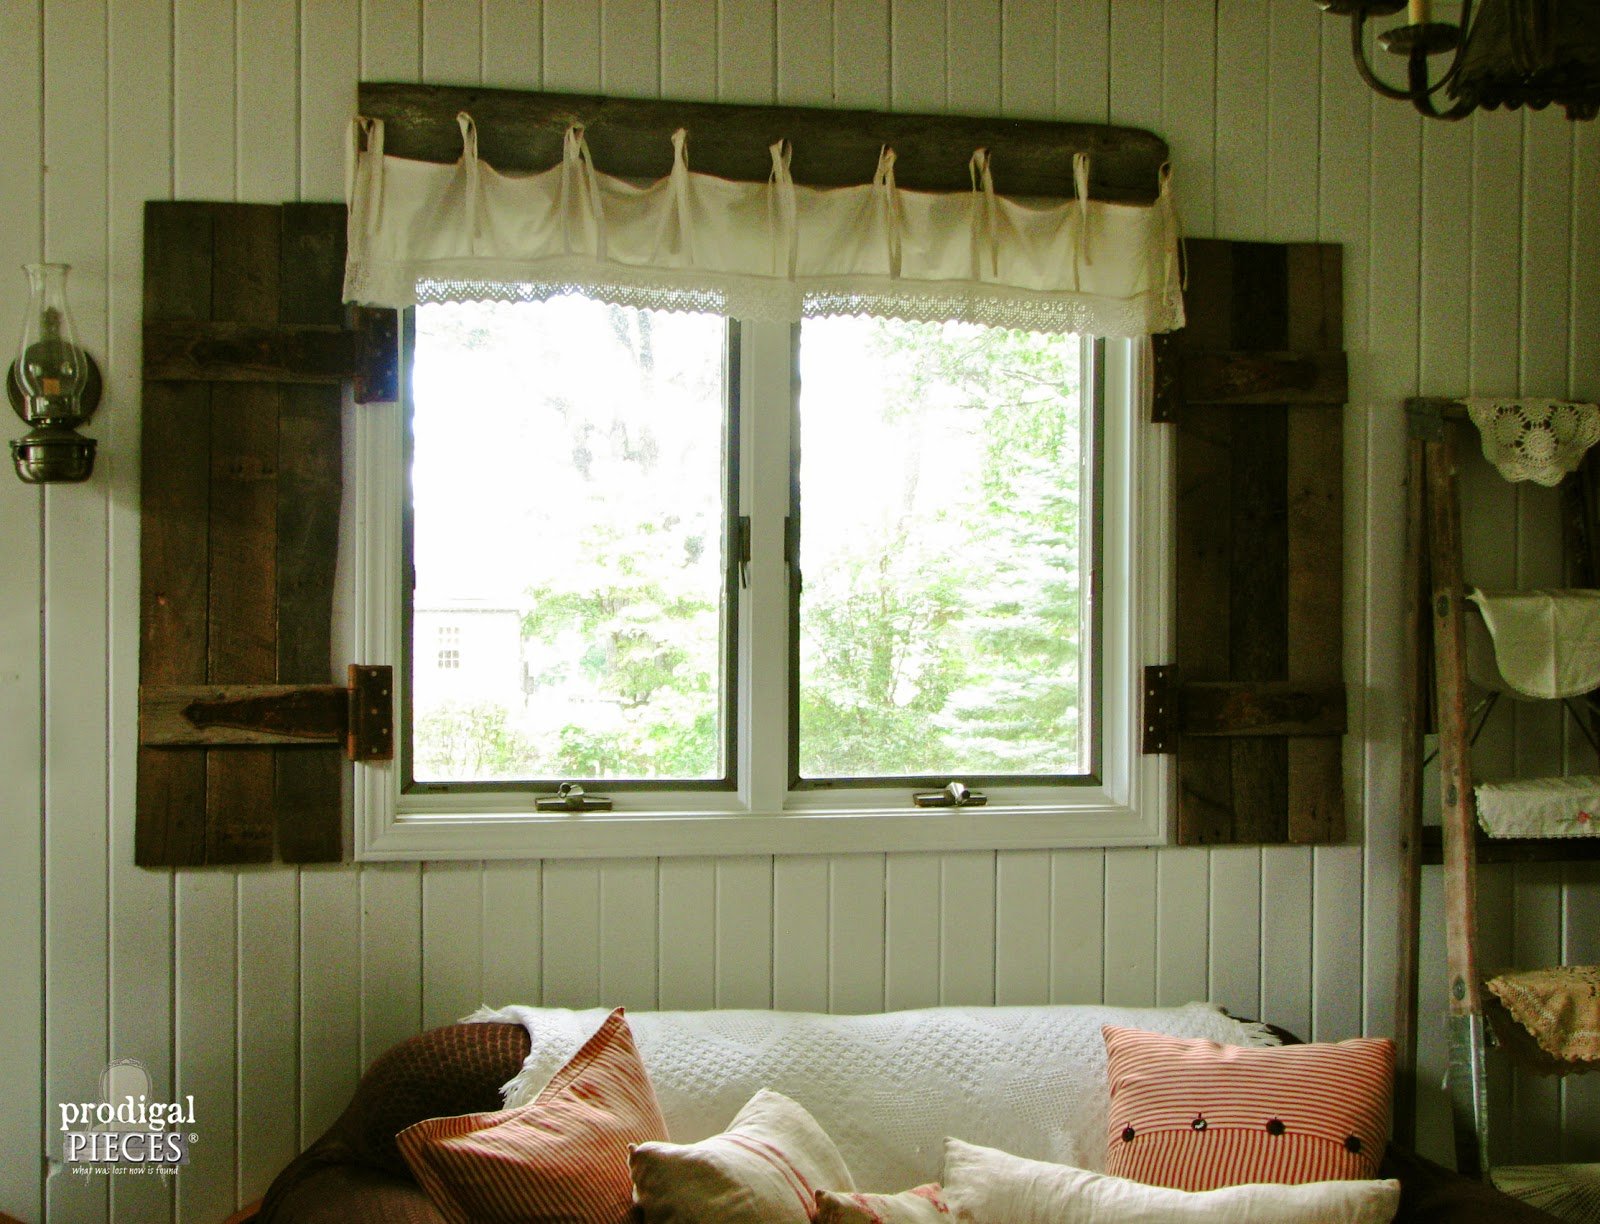
In the meantime, I’m using the same idea to make some shutters for the exterior of my home, which are painted and come from newer wood. Just think of what you could do with this is a very versatile project. Ta da!
More DIY shutter ideas:
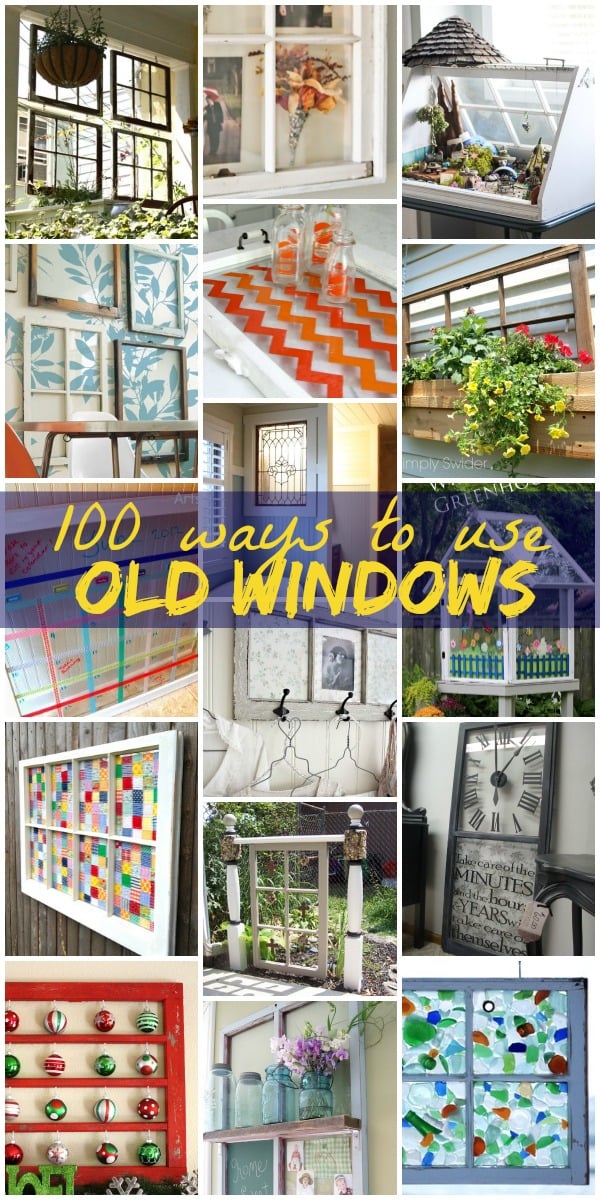
See also: 100 Ways to Use Old Windows
(be sure to subscribe by RSS or email to get updates for every post of All Things Windows)
[inlinkz_linkup id=450403 mode=1]
Lorene has been behind the scenes here at Remodelaholic for more than a decade! She believes that planning projects and actually completing them are two different hobbies, but that doesn't stop her from planning at least a dozen projects at any given time. She spends her free time creating memories with her husband and 5 kids, traveling as far as she can afford, and partaking of books in any form available.


So excited to share today! Thank you. :o)