Building Your Own Daybeds
Here is a great project from Kara of Kara’s Korner. She made two matching daybeds, and they look fabulous, check out her creations:
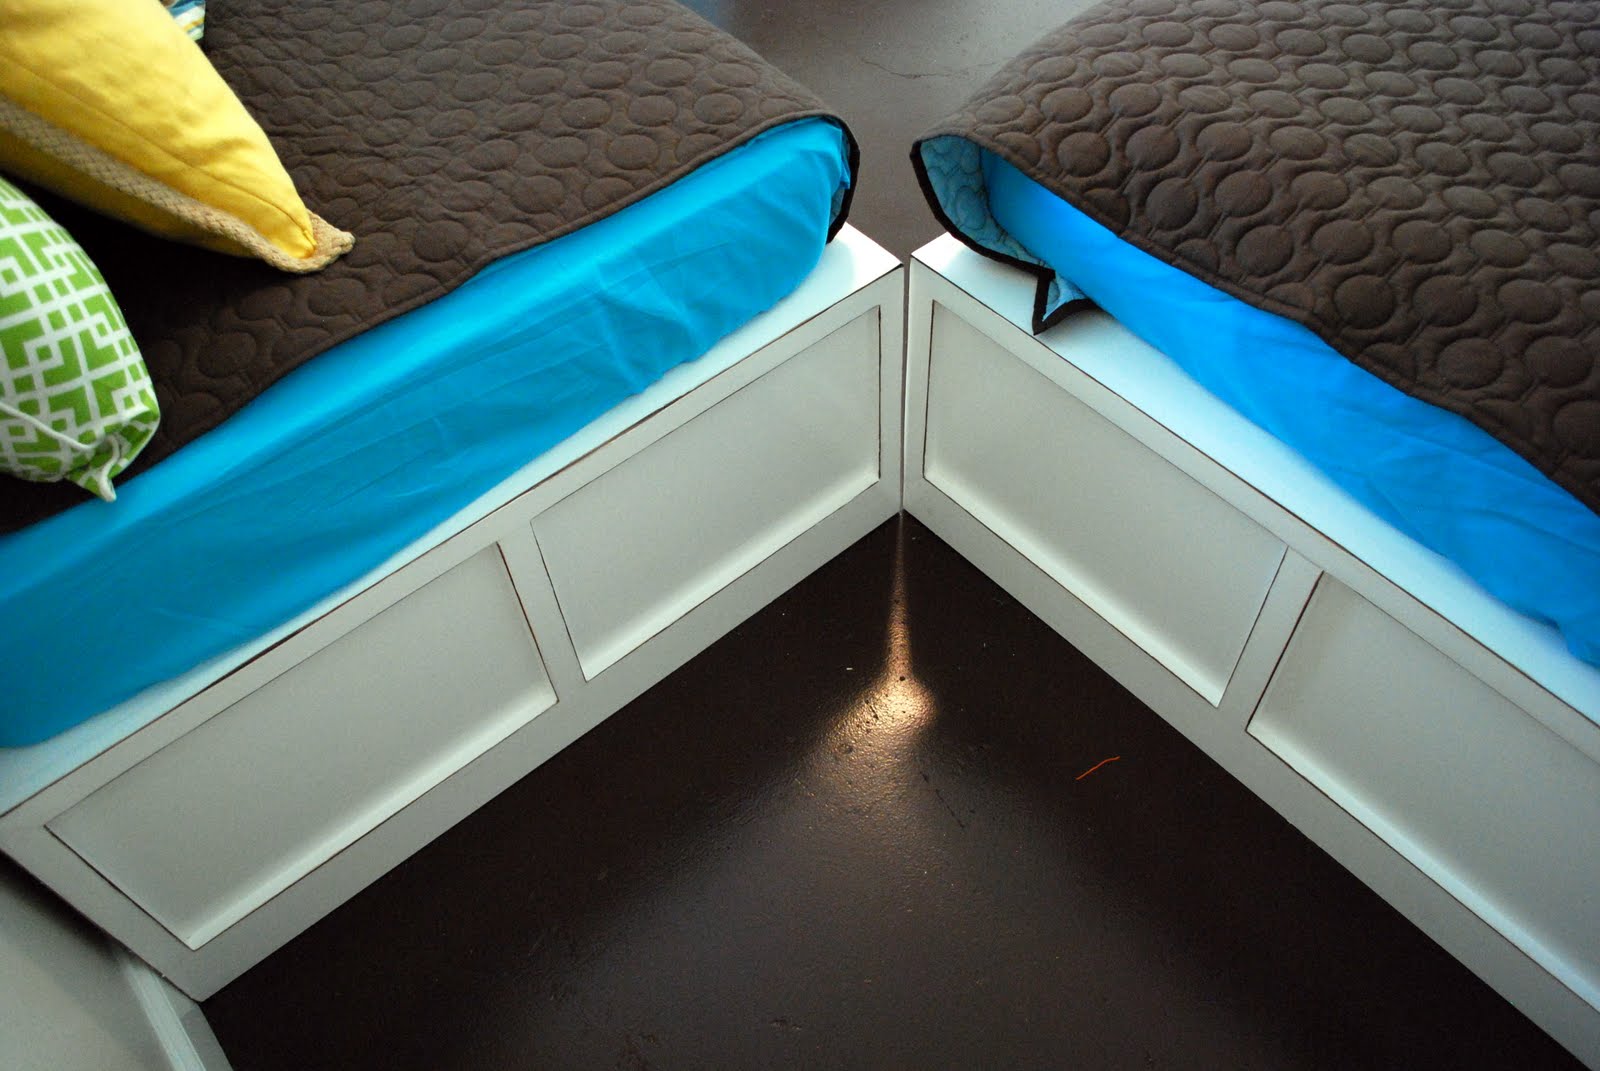
I made my first daybed back in May, and immediately decided I wanted to build another one for the same room. Ana White of Knock Off Wood is so amazing for providing free plans to make this possible. If you haven’t checked out her plans yet, please do so! I wanted the beds to match up like this picture and put a table in between them.
 |
| Image courtesy of Pottery Barn |
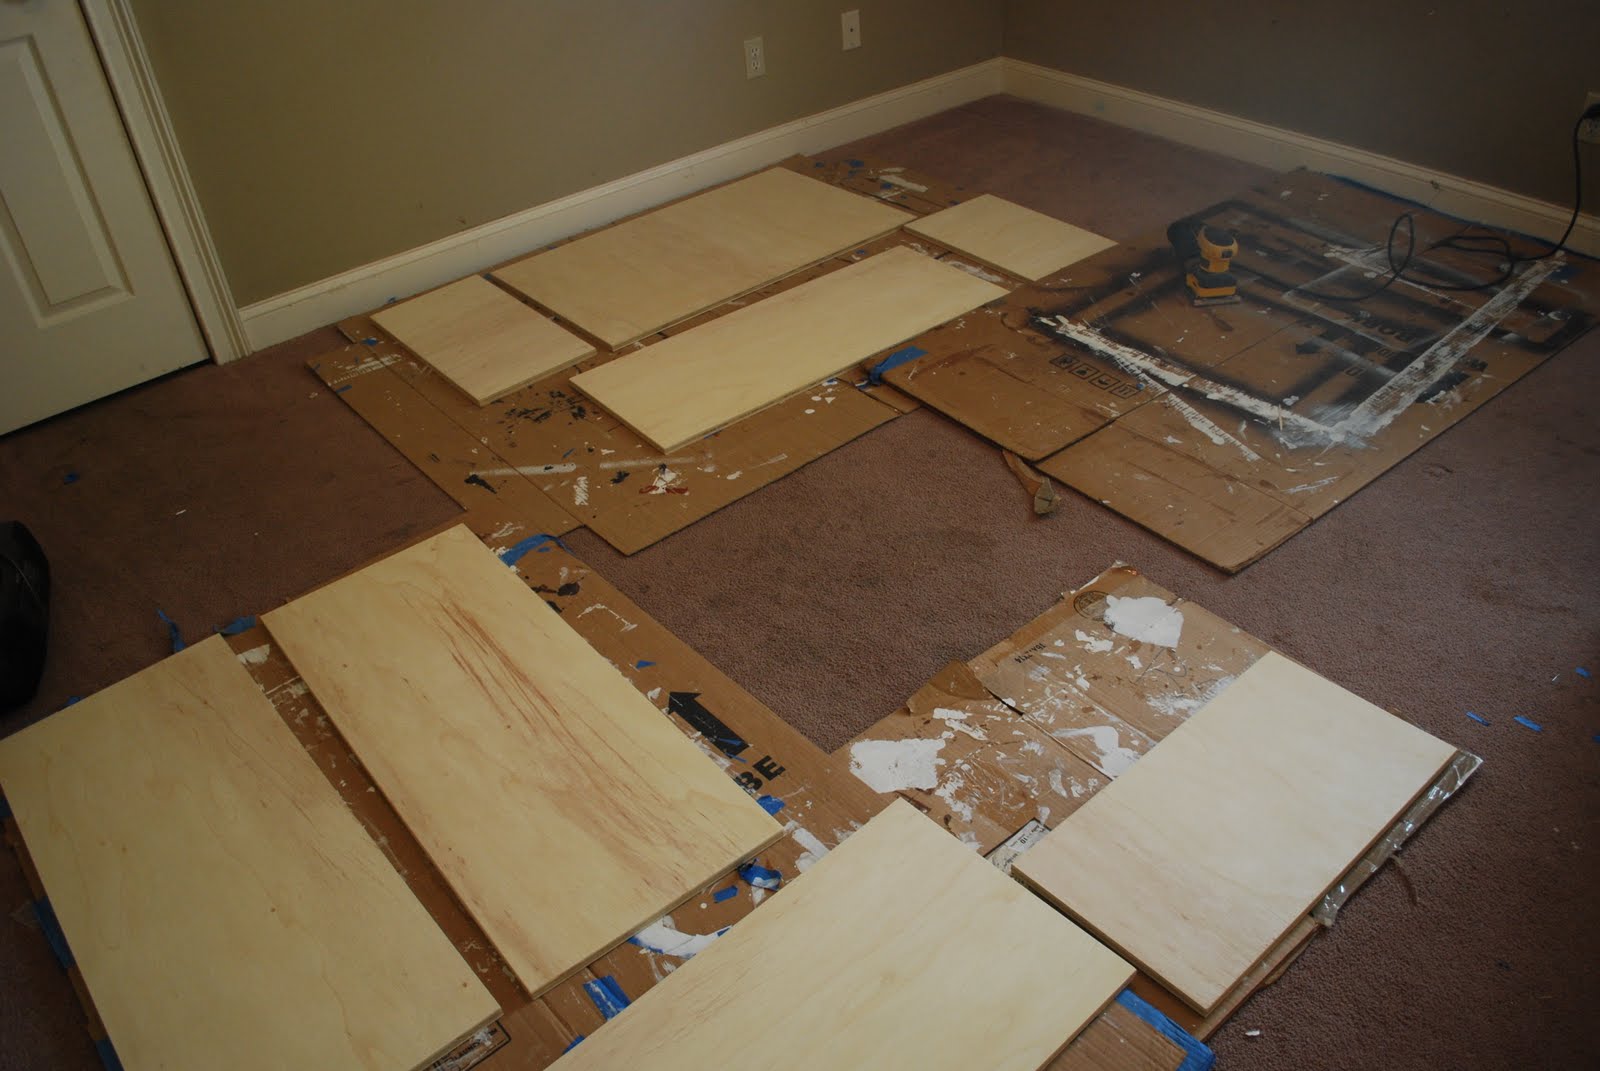
I have had this picture in my sneak peak section for forever…close to three months…entirely too long! In my first daybed post, I wrote that next time I’d paint before building. So that’s exactly what I did. I sanded, primed, sanded, painted, sanded, painted, and then built.
The problem with this approach for me is that I’m not a professional builder, and my pieces don’t go together perfectly. So, I sanded and sanded and sanded once I got the boxes together, which meant inevitably, I removed a lot of my paint and had to repaint the entire thing a million times (paint, sand, paint, sand, etc.)
I did manage to get the bed put together before my nieces came over, but I hadn’t re-painted any of it yet and you could definitely tell it needed quite a few more coats. I thought I took pictures of this, but I can’t find them, so you only get the finishing pictures. I did exactly the same as the daybed back in May, so if you’d like more step by step pictures, or the finishing details, go here to see them.
Ready to see the finished product?!
Here she is!

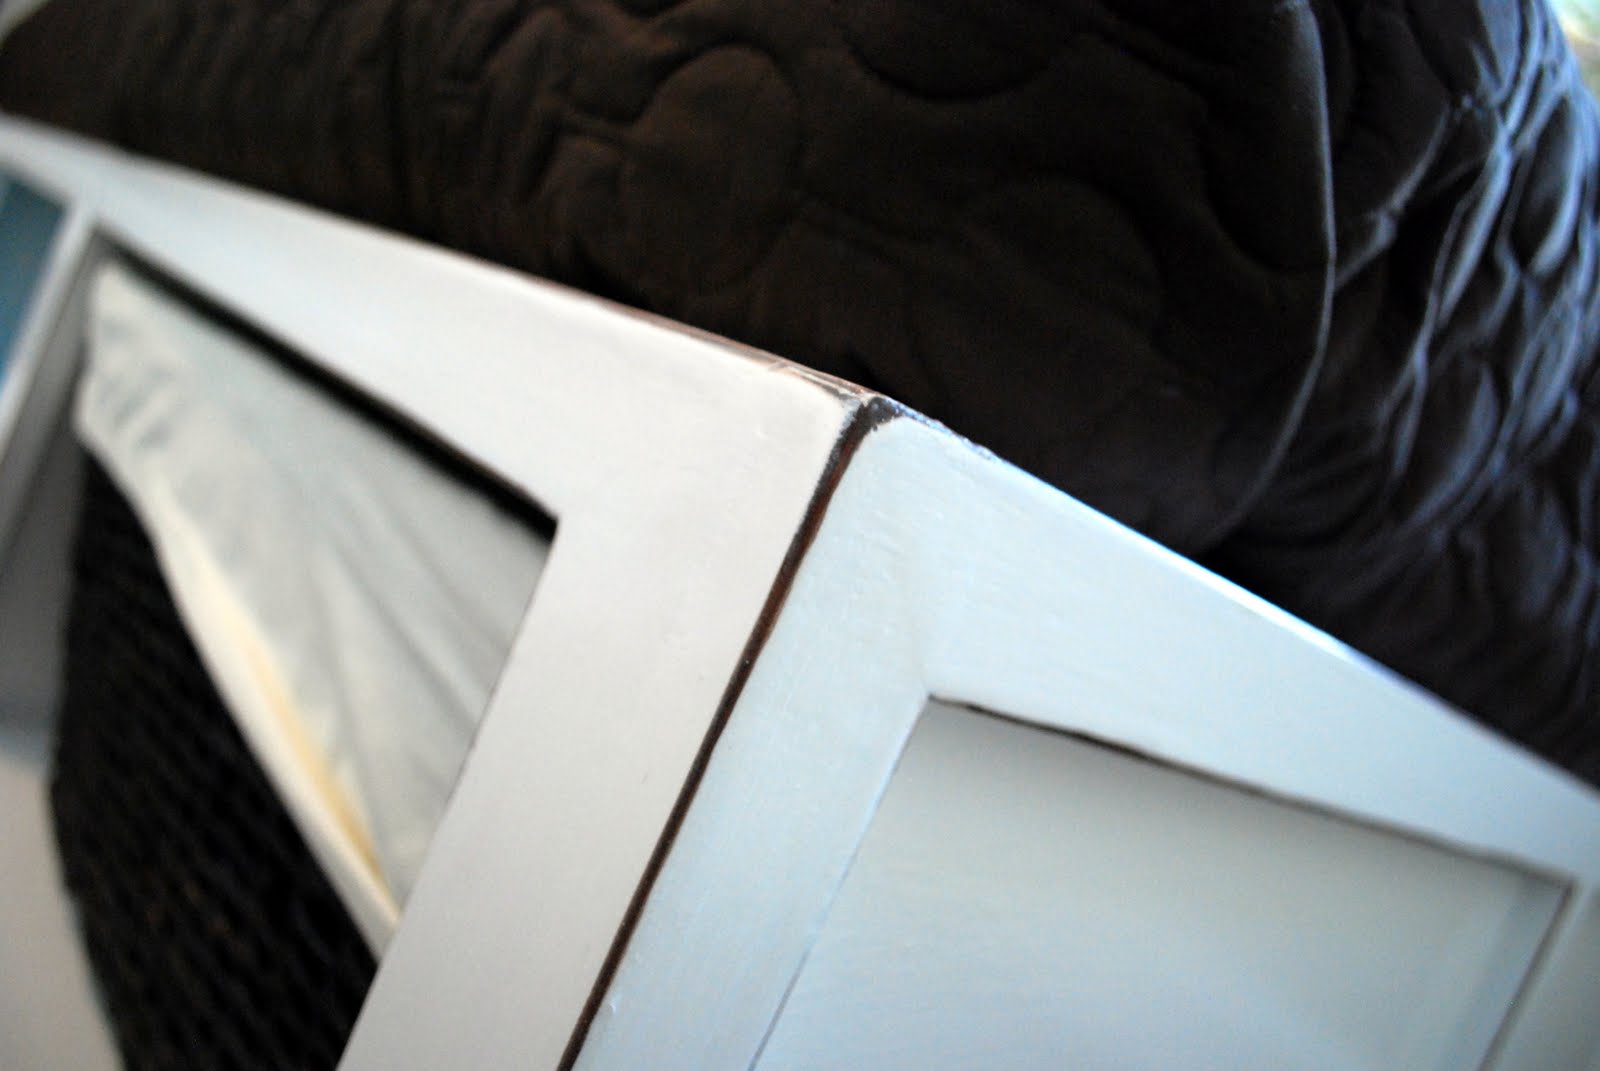
Of course I have to add a few details shots too. I sanded down the edges again so I could emphasize the clean lines look, stained them, and repainted around the faces to keep it bright and white.
Here’s a picture of both daybeds in the room next to each other. Yes, the pillows have changed. I’m still working on getting everything there…I stole the yellow and white pillows from my living room.

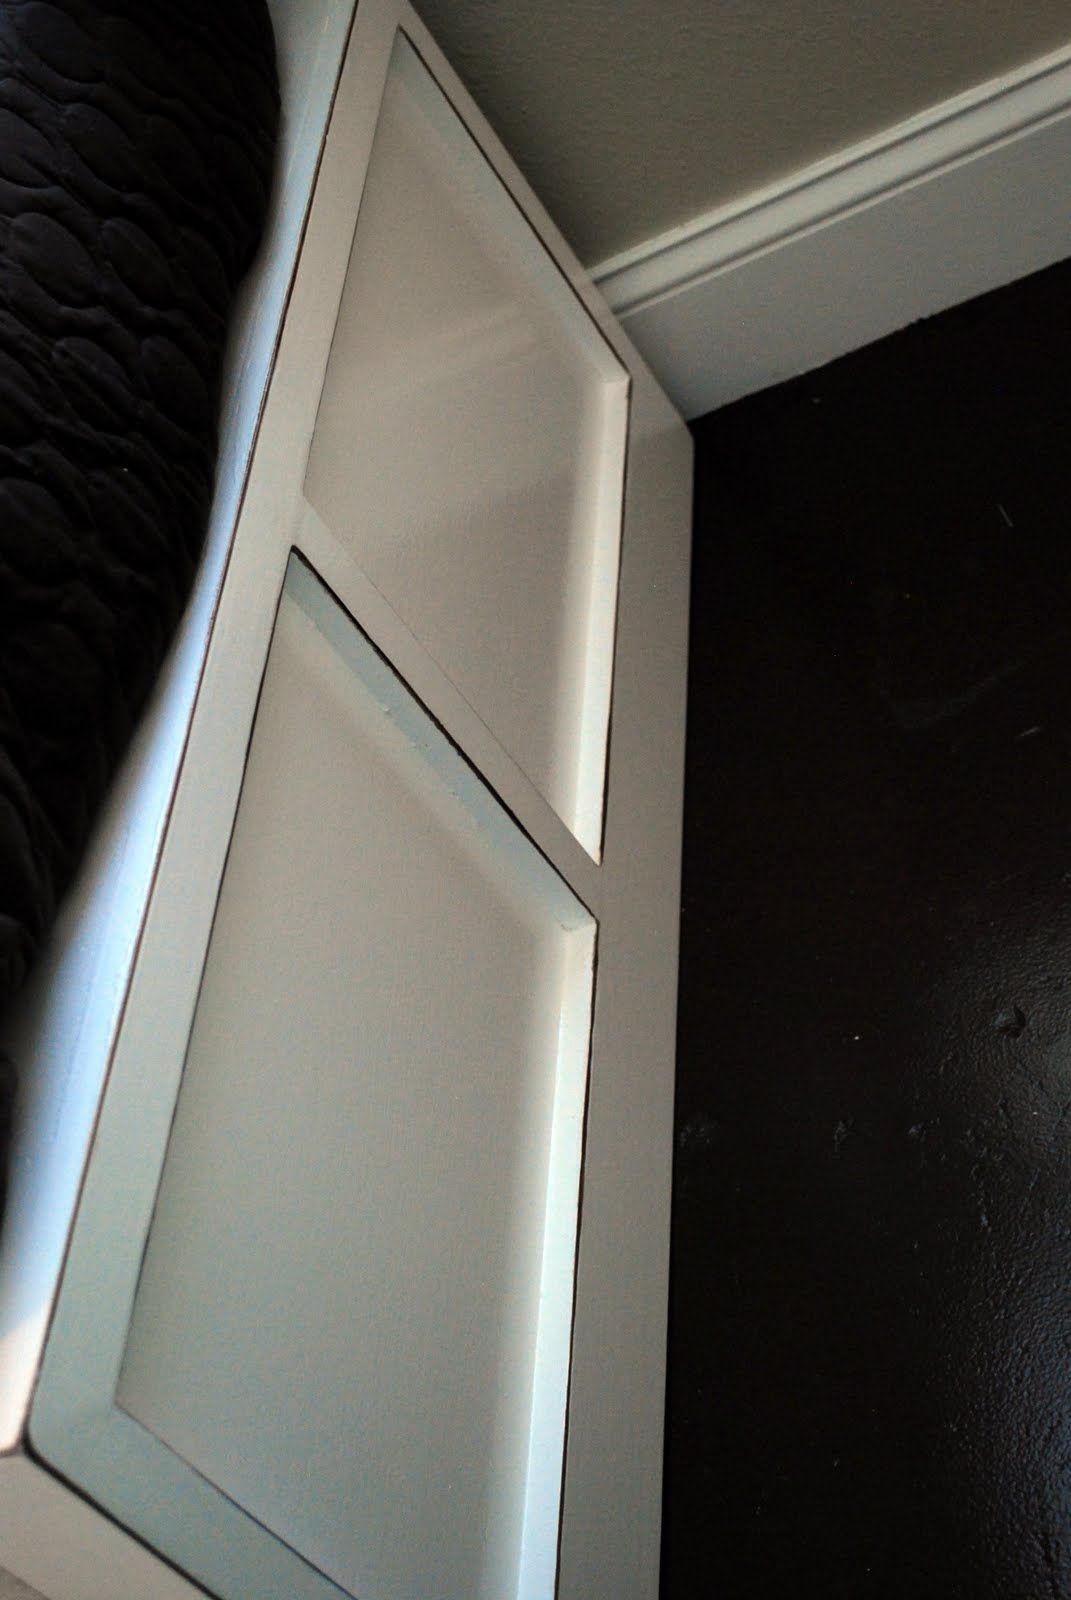
You’ll never be able to see these sides most of the time…I plan on putting a table here, but I still wanted to show that I at least finished them.
I’ve made so much progress in this room, but it still has a ways to go. It’s not perfect, but it’s miles upon miles better (and at a reasonable cost!) than what I started out with…which was this:
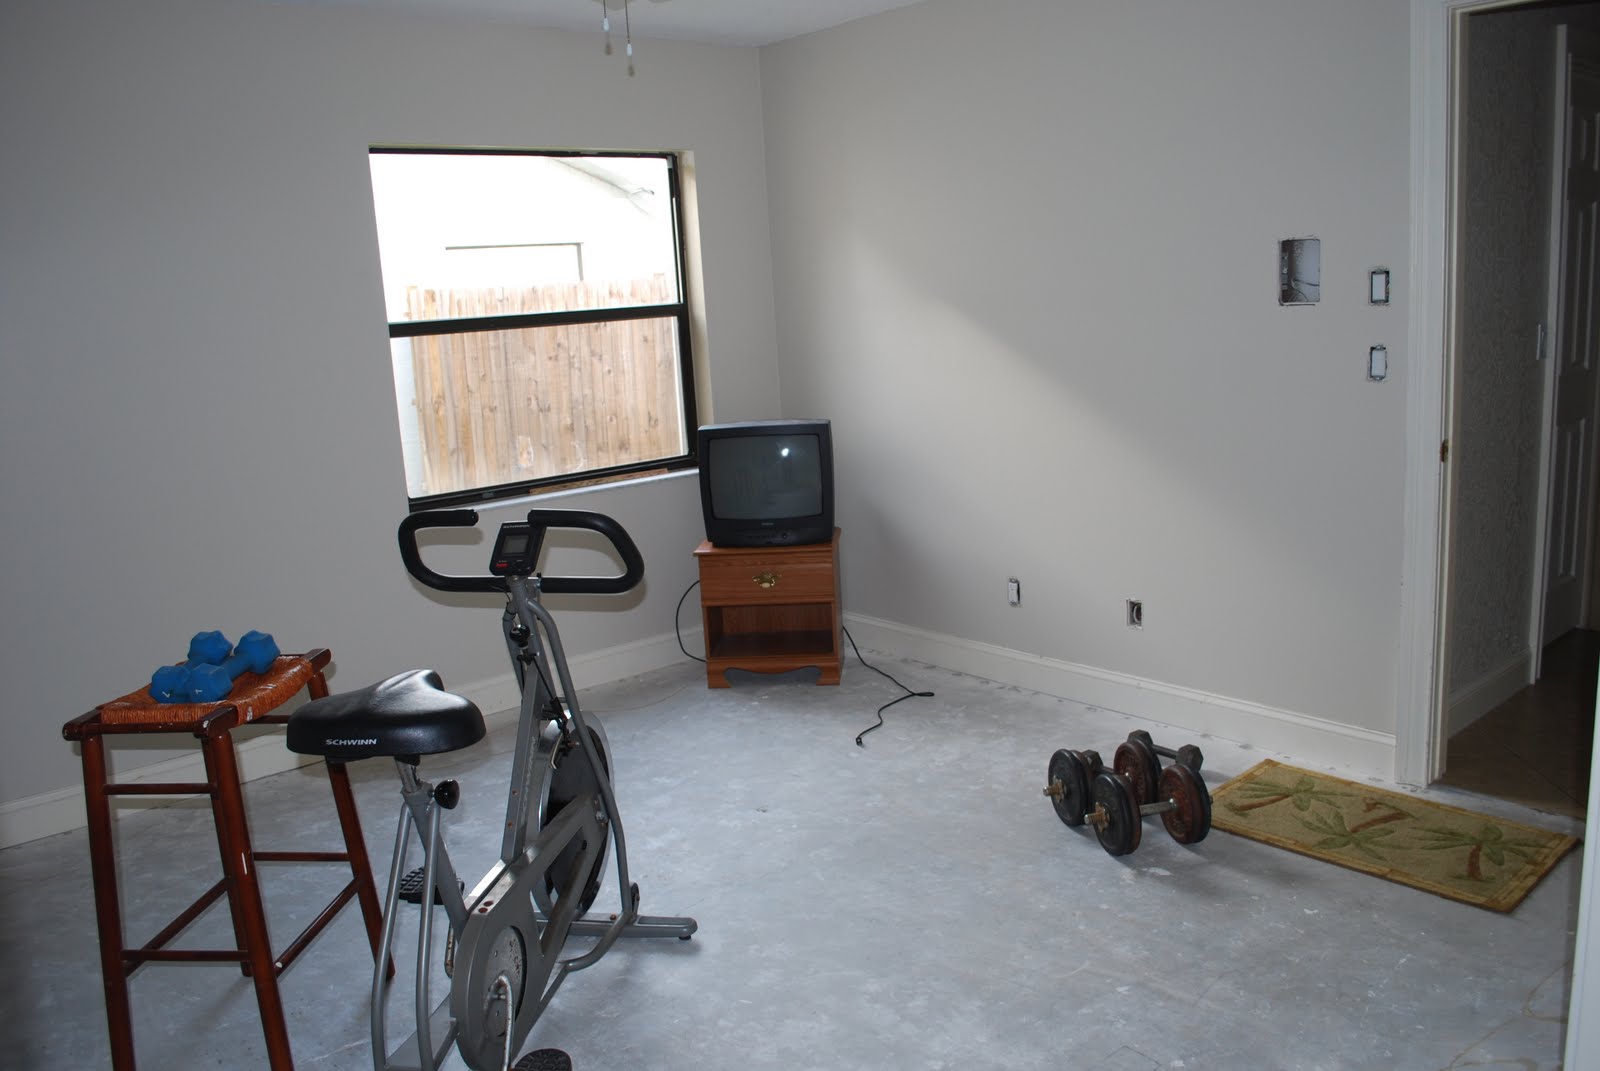
I’ve painted the floors, painted the trim, painted the doors and door knob, built a daybed, revamped an old sewing machine cabinet, and now finished building another daybed.
Let’s end on one last cheery picture…

Cassity Kmetzsch started Remodelaholic after graduating from Utah State University with a degree in Interior Design. Remodelaholic is the place to share her love for knocking out walls, and building everything back up again to not only add function but beauty to her home. Together with her husband Justin, they have remodeled 6 homes and are working on a seventh. She is a mother of four amazing girls. Making a house a home is her favorite hobby.


>Great idea, I love the final result. Your blog is wonderful. I'm following. Kisses, Lets
>that looks awesome! soo clean cut I love it!> I want one for my guest room badly! my poor niece slept on the floor 🙁
Any chance you’d be willing to share the plans for these? Pretty, pretty please?
Hi Heather! You’re in luck — this guest used a plan you can find over on Ana White’s site, ana-white.com. 🙂
Where did you get those huge baskets from? I have looked everywhere. Thanks!!
Hi Joanna! This isn’t my project, but if you click over to the original blog, she does say that she got them at Lowe’s. Thanks!