Create Your Own Self-Serve Coffee Bar
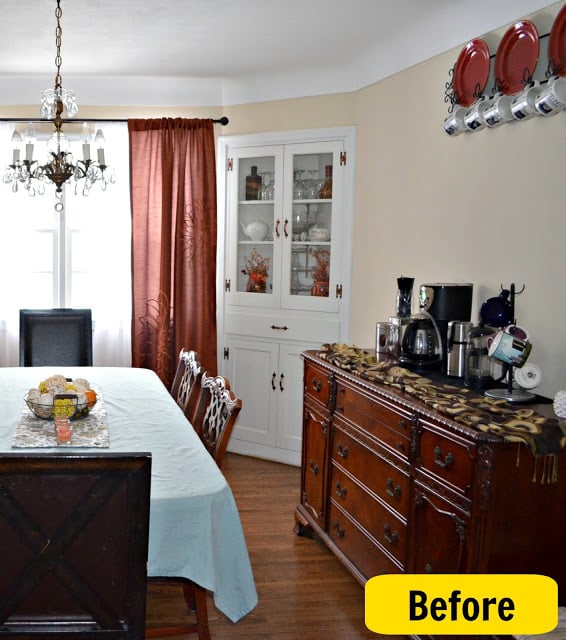
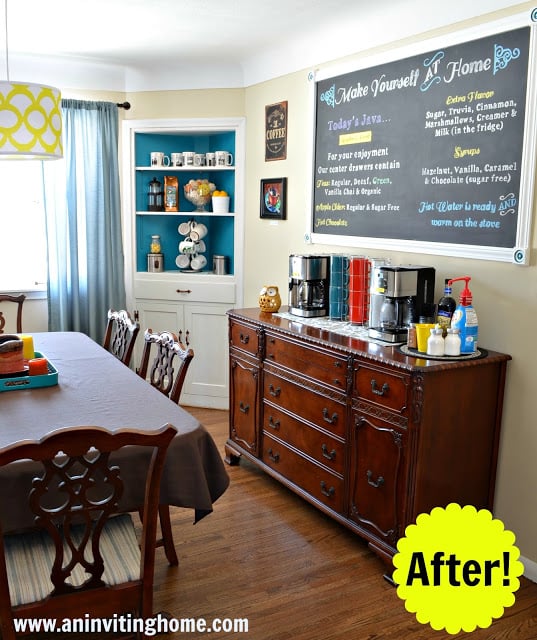
We have a great room transformation for you today, one that changes both the look and the function of the room to work for this busy family. Sarah is a mom of five kids who loves having guests feel at home, so she made a buffet in her dining room into a self-serve coffee bar where her guest can help themselves.


As a host, it’s nice to be able to simplify and save some work while still making your guests comfortable. Guests will love being able to help themselves with these other self-serve snack solutions, too!
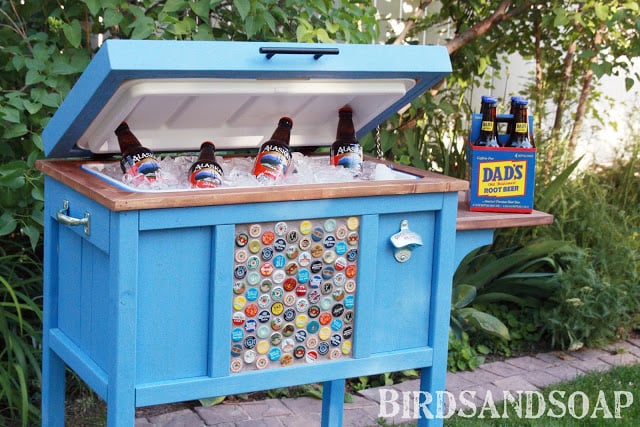 DIY Cooler Stand | Birds and Soap
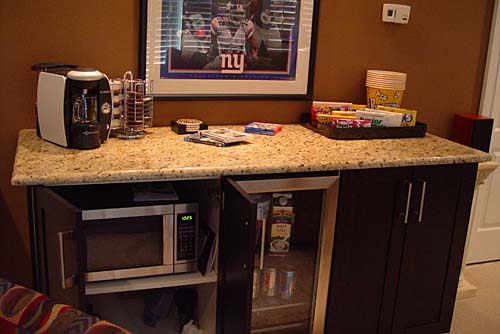 Theater Room Snack Bar from IKEA Cabinets | MK’s Studio
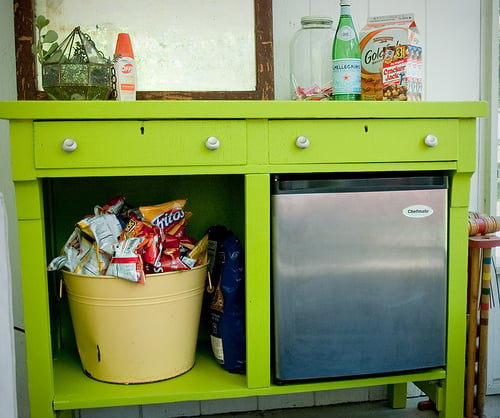 Pottery Barn Inspired Snack Console | Jodi Michelle
And now, the lovely Sarah will show you how she made her self-serve coffee bar and give you some tips for making one of your own!
No Barista Needed Self-Serve Coffee Bar
Hi everyone! I’m Sarah from An Inviting Home. I’m a full-time momma to our crew of five and I LOVE it. A year ago we went from 2 kids to 5 kids, in just minutes when we adopted our oldest three kids. We only had three years experience at this whole parenting thing and suddenly had a second grader without ever having sent a child to kindergarten! My passions are adoption, parenting, organization & decor and I love to blog about all of them! When we transitioned to a family of seven we wanted to create a space that all of our kids would enjoy. We now have a space that our kids love to get creative in, we call it our inviting space for kids!
We love to open up our home to friends and family. It was a little tough, to say the least, to figure out how to still do that AND keep a watchful eye on our five little tornadoes. It took some brainstorming and out of that came our No Barista Needed, Coffee Bar.
Here are 5 Tips to Create Your Own Custom Coffee Bar!
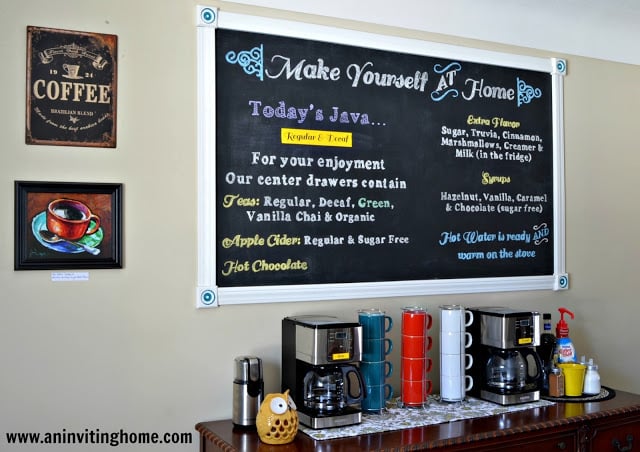
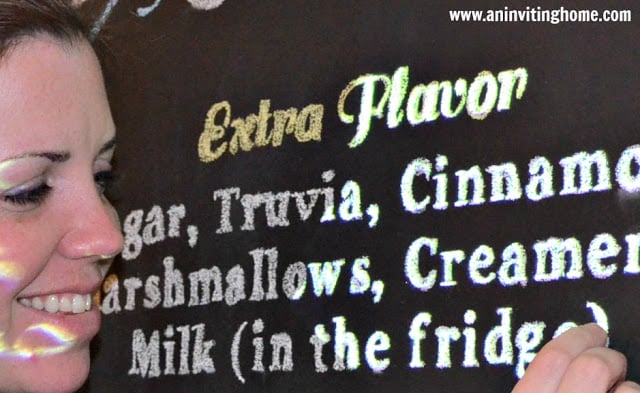
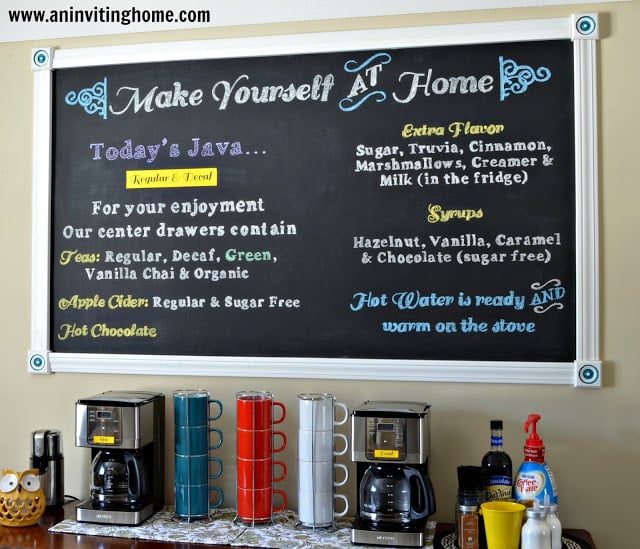
1) Create a custom chalkboard! I measured out my space, painted chalkboard paint directly onto the wall and then trimmed it out. Home Depot was able to cut my pieces directly to size and then I used square pieces in the corners to line everything up and save from having to match up angles. I used some white paint that I had on hand to give all of the trim two coats. The total cost of this custom chalkboard was $24 and I still have lots of chalkboard paint left for future projects!
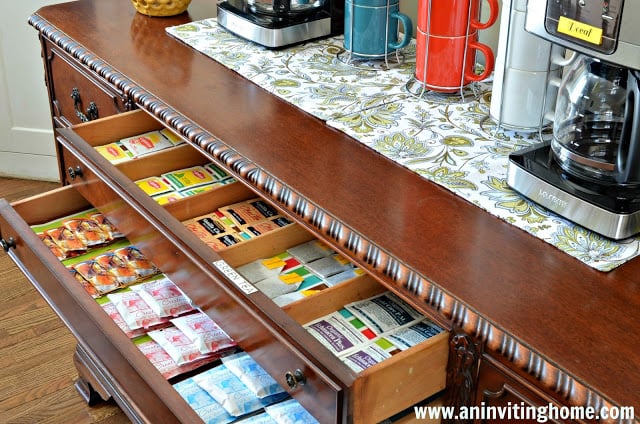
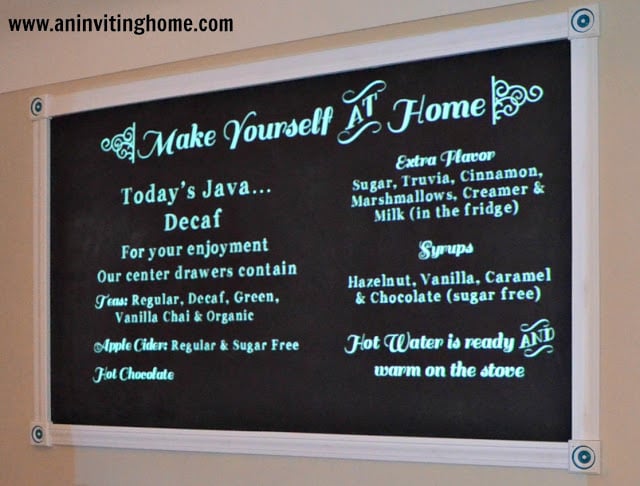
3) Create Simple Instructions for Guests. I also utilized my custom chalkboard to create a simple way of letting people know exactly where to find things. For instance, “our center drawers contain” or “hot water is ready and warm on the stove.”
4) Use a projector to create a finished look. My husband came up with the brilliant idea to display the words on the chalkboard using a projector that a friend had given us. You would be surprised who might have a projector lying around, so check with your friends to see if you could borrow theirs! 🙂
5) Finally, coordinate colors to tie your space together and give it that inviting look! I chose white, teal & yellow as my coordinating colors while still adding some other pops of color as well. I tied the teal in by painting the back of the nearby shelves, adding a little color to the corner squares in the trim and using some colored chalk.
The yellow came into play in a fun new lighting fixture that we installed above the table.
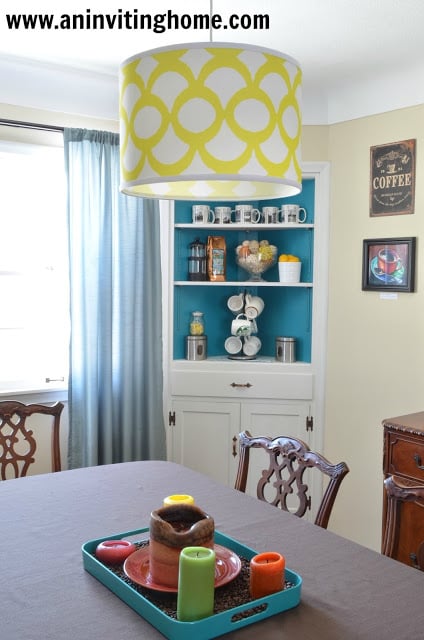
I also added a yellow tin from the dollar section at Target that tied in the yellow color and also gave me a functional space for guests to put their garbage.
It is definitely a joy to make coffee in this space whether my husband and I are enjoying a cup of java or guests feel welcome to create something special of their own and make themselves right at home.
Source List:
Chalkboard Paint – Home Depot
Light – Young House Love design from Shades of Light
Thanks for sharing your great and guest-friendly space with us, Sarah!
See the other homey spaces that Sarah is creating for her brood over at An Inviting Home.
Lorene has been behind the scenes here at Remodelaholic for more than a decade! She believes that planning projects and actually completing them are two different hobbies, but that doesn't stop her from planning at least a dozen projects at any given time. She spends her free time creating memories with her husband and 5 kids, traveling as far as she can afford, and partaking of books in any form available.


This looks great! I would go to your coffee bar anytime!
So sweet, thanks Heather!
~Sarah
Cassity, Thank you for sharing Sarah’s amazing self-serve coffee bar. What an incredible idea! And, thank you for introducing me to another MN blogger!
Jackie,
Yay, for MN bloggers! I can’t wait to grab coffee together! 🙂
~Sarah
I love this idea! I can’t believe I haven’t thought of it myself when right by my kitchen (in my dining room) I have a hutch with drawers, and have been running out of room for my large stash of tea bags! I now plan on working using the drawer space to organize my tea bags. Thank you.
Layla,
Utilizing your hutch drawers for tea bags sounds like a great idea!
~Sarah
Cassity,
Thank you SO much for featuring our coffee bar space! We love it. 🙂
~Sarah
I absolutely love this coffee bar! Great job tying the coloring together throughout the room. Just the curtain change made a huge difference in the room. Nicely done!
Thanks Crystal!
~Sarah
That is great, I would love this in my home and it would be great for parties!
What type of chalk did you find worked the best?
Julia,
I used regular chalk. I had to keep breaking off the tips of the chalk to have edges that would continue tracing well. I’ve used chalk markers on a guestbook wall that we created after this project. I think that those would make it easier to trace with…however the texture would be different.
~Sarah