DIY Trellis Mirror
How to Make a DIY Trellis Mirror by Anne

Hi, there! I’m Anne from Hello Newman’s, and I am so excited to share one of our projects with you today. I have to say – I was super flattered when Cassity invited me write this guest post! My husband and I love finding projects to work on together – and sharing our ideas with others.
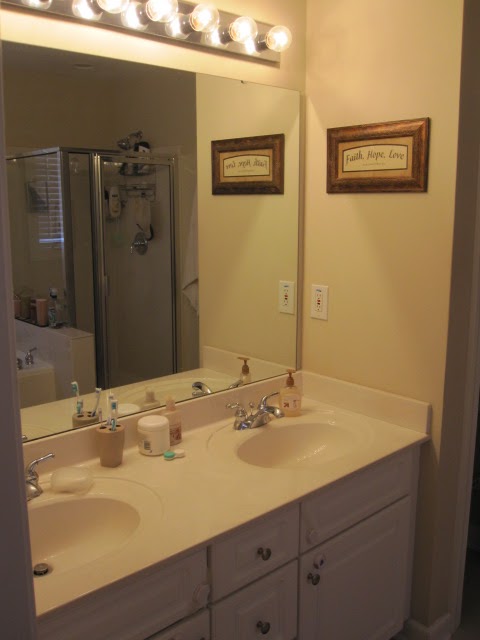
Here’s our story about how we turned a plain jane contractors grade bathroom mirror from this…
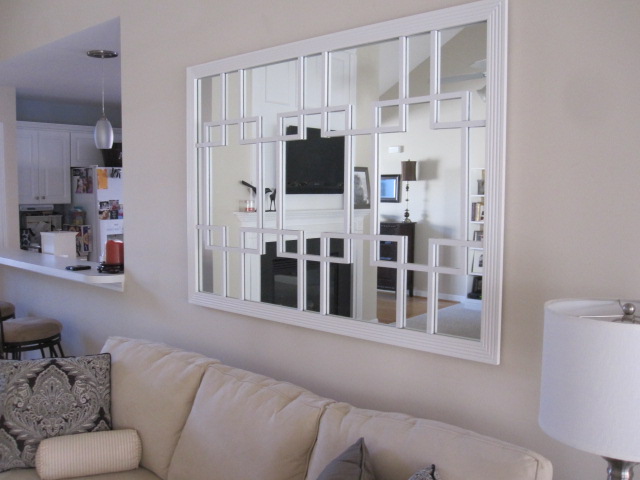
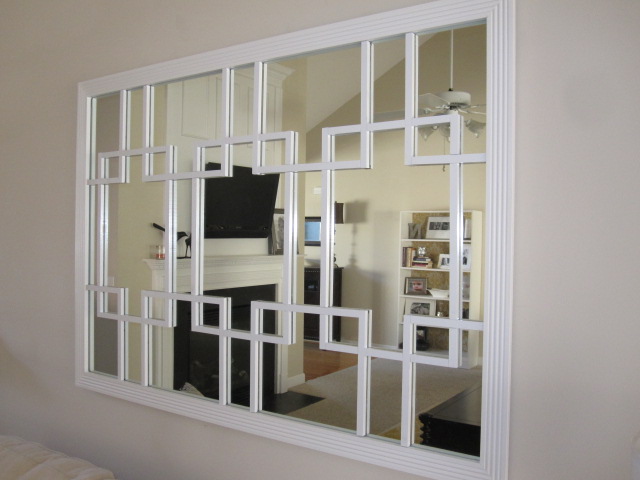
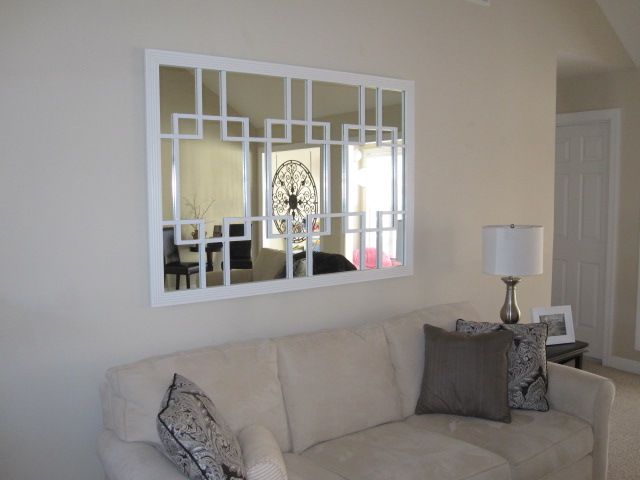
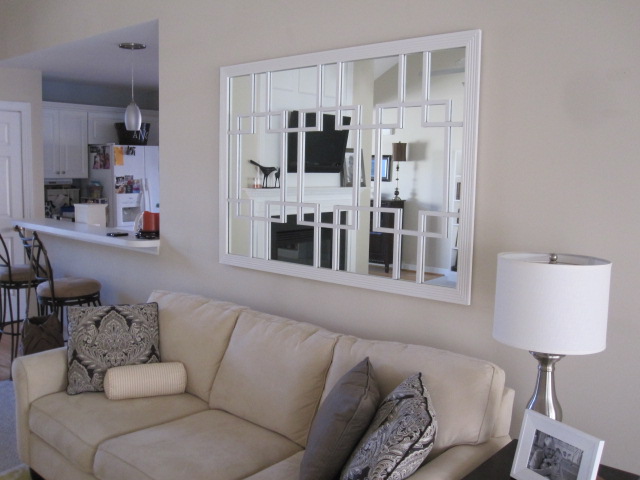
Into this…
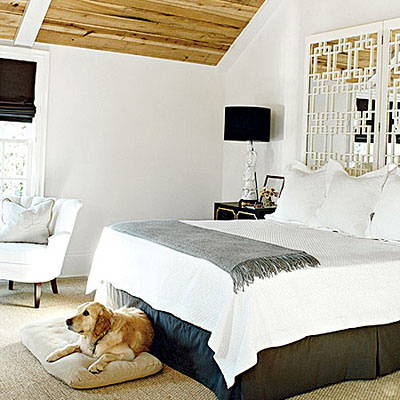
I saw this headboard featured in an online version of Sunset Magazine and thought, hey, maybe we can do that? Since we had recently started renovating our master bathroom, the leftover mirror was just sitting against a wall in our closet.
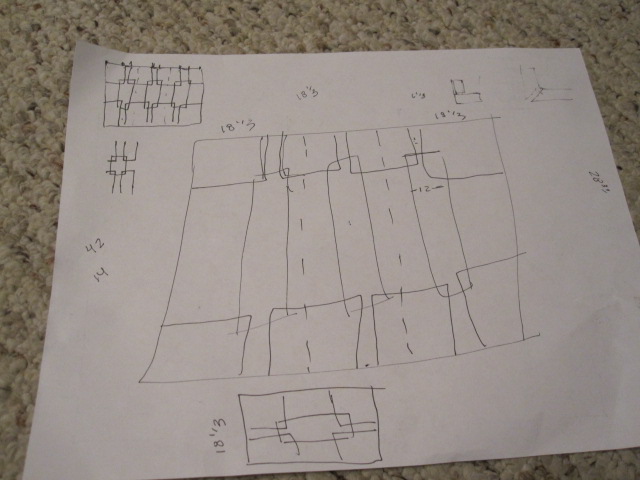
Once I get an idea in my head, my husband knows it’s pretty much over. So we got to drawing our “blueprint” right away. It took a lot of measuring…and sketching, and re-sketching to finally get it to look like we wanted.
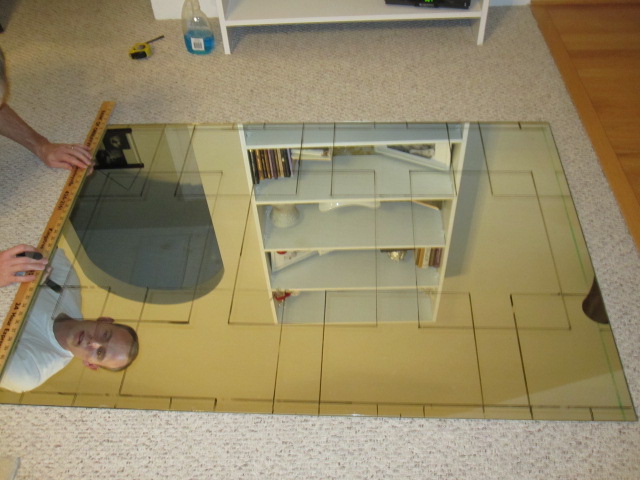
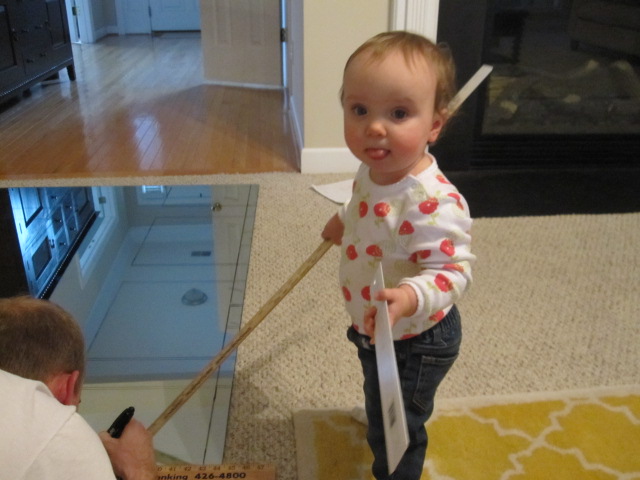
Once we got the plan on paper, we used a dry erase marker to actually draw it on the mirror. Why this was a good idea – we had to erase and re-draw it about a thousand times. Why this was a bad idea – our 14 month old thought it was hilarious to walk around all over the mirror in her socks.
I can honestly say the hardest part of this project was getting the measurements right. My husband majored in math in college (yes, there are people who actually do that), and we still had to work our numbers over and over again to get things right.
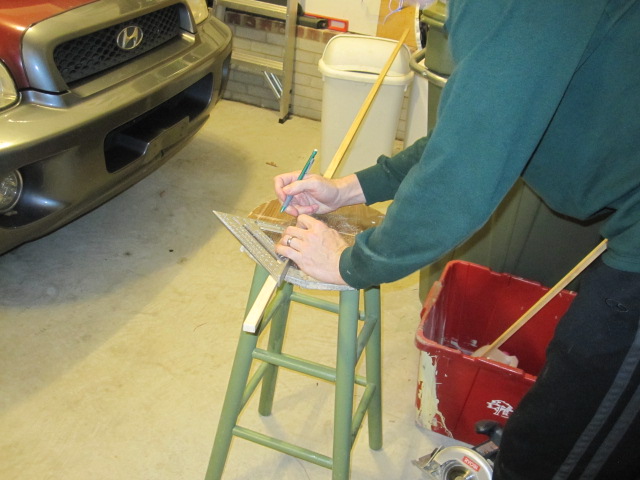
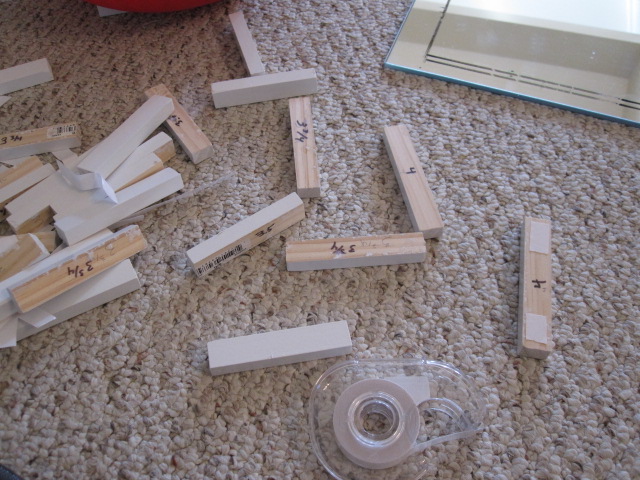
After lots of measuring, drawing, erasing, measuring, drawing, more erasing – we were finally ready to start cutting the wood. Again, a little tricky because there were a lot of pieces to cut. We used general purpose pine trim (1/2″ x 3/4″) that we purchased from Home Depot in really long strips.
Once the cutting was finished, we laid everything out to make sure it fit. And you better believe we were both pretty relieved when all of the little pieces fit together perfectly in the puzzle we had created.
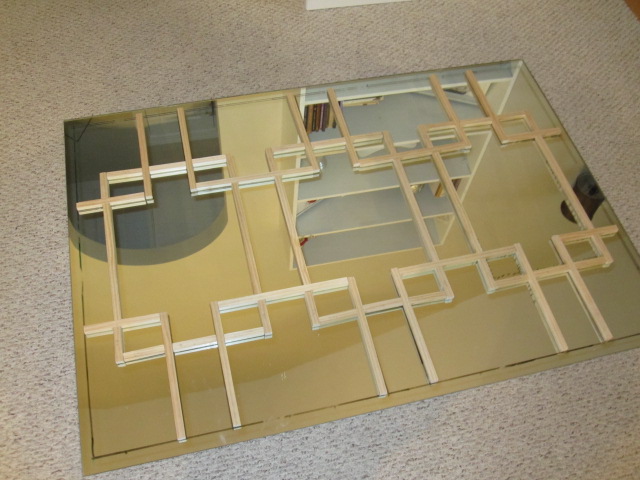
We wrote all the sizes on the back of each piece so we would know where they all went and then blasted them with a few coats of white spray paint.
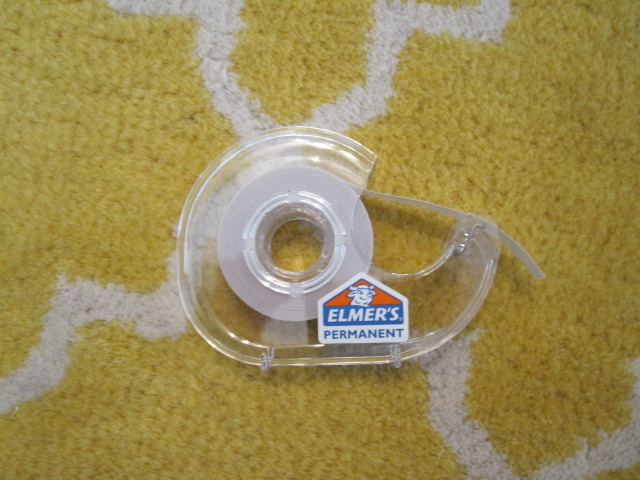
And then attached each piece with a strip of Elmer’s Double-sided Permanent Scrapbook tape (we completed this project in December, and the tape has held up wonderfully – we only have had one random piece that falls down from time to time, but other than that – everything has stayed put!)
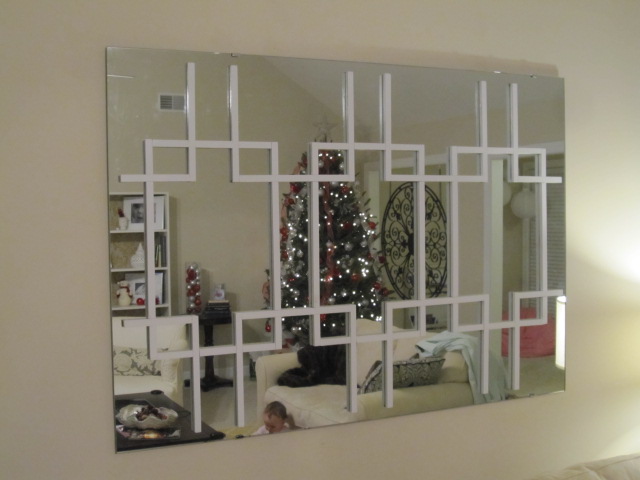
We finally decided on what kind of frame to add – and attached the 4 pieces with super sticky 3M double sided squares (the kind for mounting pictures or hooks). They too have worked wonderfully.
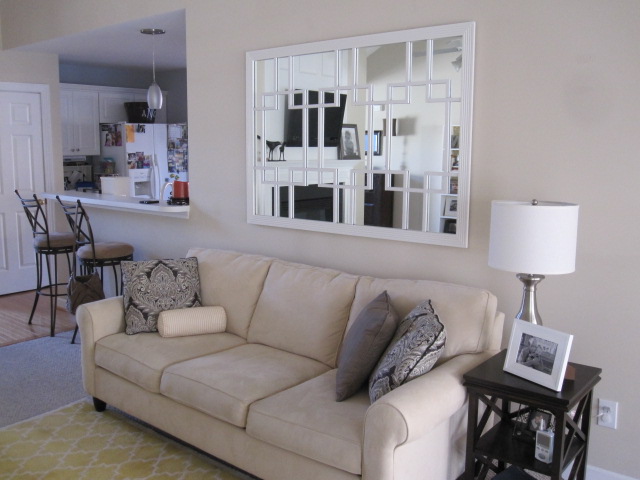
This is probably one of the things we are most proud of in our home. It was a lot of work – but we have been so pleased with the end result. I would love to answer any questions that you might have – and I hope you will stop by our blog to say “Helloooooo, Newman” (did you get the Seinfeld reference? haha!) Since our last name is Newman, my husband thought it was oh-so-fitting for “Hello, Newman’s” to be the name of our blog.
Enjoy the after pictures…
Thanks again, Cassity, for having me today. It’s been an honor.
Cassity Kmetzsch started Remodelaholic after graduating from Utah State University with a degree in Interior Design. Remodelaholic is the place to share her love for knocking out walls, and building everything back up again to not only add function but beauty to her home. Together with her husband Justin, they have remodeled 6 homes and are working on a seventh. She is a mother of four amazing girls. Making a house a home is her favorite hobby.


Luv this. going to do this using plastic trellis/lattice and hanging it in my living room. thanks for sharing. Cant wait to do this and show off to my family and friends here in Cape Town.
We’d love to see pictures when you do!
That is a lovely idea. I too have been wanting to do something with my bathroom mirror sitting in the garage and this looks perfect. I do have a question. How did you mount the mirror on the wall? I was thinking of using the same/similar small plastic holders the mirror was sitting on in the bathroom originally. Would like to know what you did for the mounting and then how you stuck the frame all around the mirror. Thanks.
Once again, great mirror and turned out to be very professional looking.
Hi Ann,
This is an older post and I don’t think our guest is still monitoring comments. You can click over to her blog (linked toward the top of the post) and ask there — and it also looks like, if you look really closely, they used the small clips like you referred to. 🙂 Thanks!