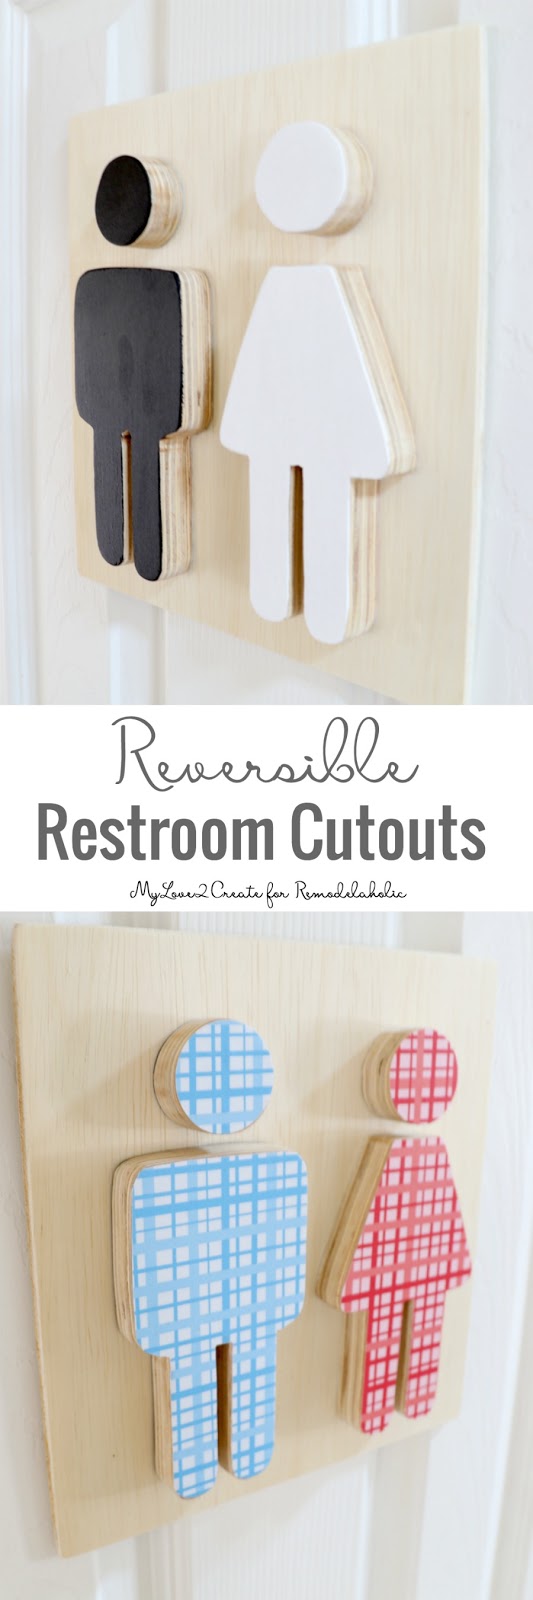
Easy Boy and Girl Restroom Cutout Signs
If you’ve done any project with plywood, you have a few random scraps left over — here’s one cute and easy way to use them: restroom cutout signs to use your scraps and help your guests know which door is the powder room so no one ends up in the cellar accidentally 😉 We’ve got a lot more Plywood Pretty projects coming up, so be sure to subscribe by email or RSS and follow along over on Facebook and Instagram with #PlywoodPretty so you won’t miss any of these new tutorials!
Hello! It’s Mindi from MyLove2Create again! My last post here was my Reclaimed wood stool, and today I am sharing a super fun and easy scrap plywood project, restroom cutout signs!
How fun are these?! I love them!! The best part is they were pretty much free. If you build, then you probably have several scraps of plywood around…go grab some and I will tell you how to make these fun cutouts!
How to Make Restroom Cutout Signs
Supplies:
- Scrap 3/4’’ plywood: Any size but at least; 1 @ 8’’ x 8’’ or 2 @ 8’’ x 4’’ (You could use 1/2’’ plywood too)
- 1/4’’ plywood @ 9’’ x 9’’ (optional backing to mount cutouts on)
- Scrapbook paper (optional)
- Paint
- Jigsaw or scroll saw
- Sander/sandpaper
- Paper/printer for printing cutout templates
- Painter’s tape
- Pencil
- Scissors/cutting machine (optional for scrapbook paper)
- Mod Podge (optional for scrapbook paper)
- Razor blade (optional for trimming scrapbook paper)
- Foam paint brush
- Double stick tape (for mounting cutouts onto 1/4 plywood or bathroom wall or door)
Step 1: Print out templates and gather scrap plywood.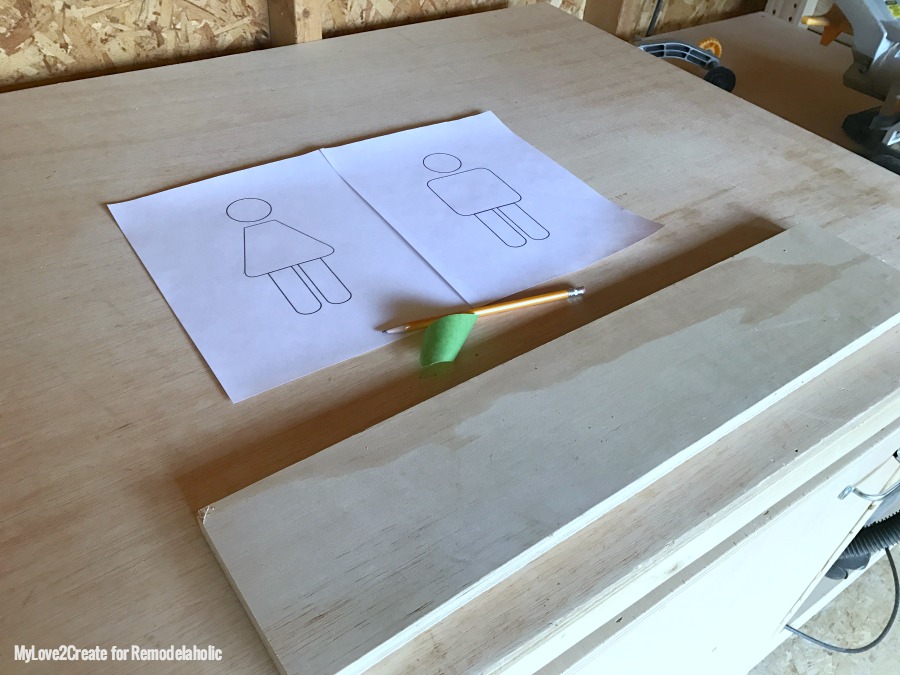
Once you have your cutouts printed, make sure they will fit onto your scrap plywood, get your painters tape and pencil ready.
Step 2: Transfer your cut out images onto your scrap plywood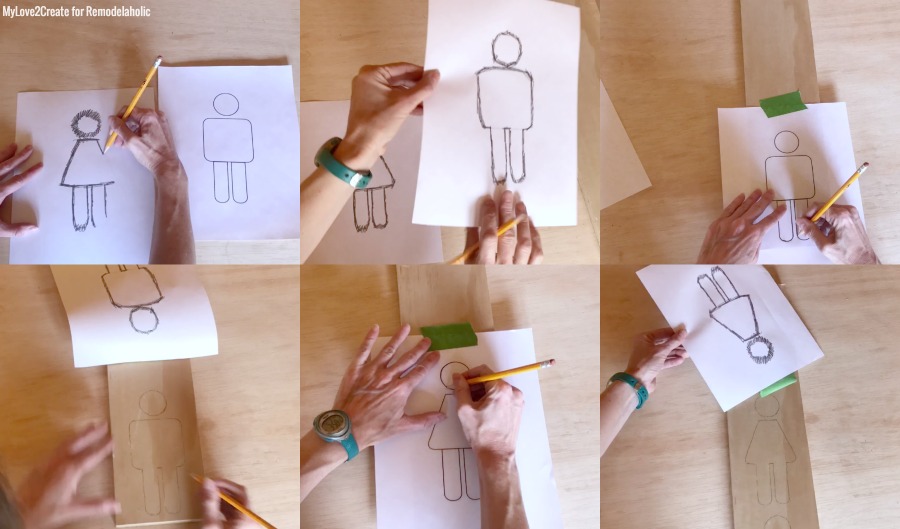
Using the pencil transfer method you can easily transfer any image onto wood. First flip over your template and use your pencil to cover the printed lines on the opposite side. Then secure your template onto your board with painter’s tape. Press down firmly with your pencil while tracing the printed shape. The lead on the back of the paper will transfer the image to the wood. Do this for both the male and female shapes.
Step 3: Cutting out shapes

To cut out your shapes you can use a jig saw or a scroll saw (or even a bandsaw). I used both a jig saw and a scroll saw, just to see which was easier. I cut out the male shape with the jig saw first and it was wasn’t too bad. Then I cut out the female shape on the scroll saw and felt like it was a little easier to be more accurate. Honestly though, either saw will work, so use what you have! Actually the head was easier for me to cut with the jigsaw, but the body was easier with the scroll saw, and truthfully none of my cuts were perfect! So don’t worry if you mess up!
Make sure to sand down the edges of each shape.

This is what I ended up with. Cute! Even with non perfect circle heads. 😉
Step 4: Painting the shapes

Next up, time to paint! Obviously this is where your own creative juices can run wild! Paint them both the same color or do different colors. Paint the whole thing or just the tops, like I did. Or be a rebel and stain your shapes or leave them natural! Just have fun while you do it. 🙂
Step 5: Apply scrap book paper to shapes
So what if you want a super fun pattern or have some great scrapbook paper you want to use? I wanted to make mine reversible, so I painted one side and decided to put patterned scrap book paper on the other side.

Because I have a cutting machine I simply uploaded the design into my circuit design space and then cut it out with my circuit. If you don’t have a cutting machine you can easily print the templates onto your scrap book paper and cut out the shapes with scissors! Either way works!

With the scrap book paper cut into the shape you are ready to apply them to the plywood cutouts. Cover the wood cutout with a layer of mod podge and then place the paper on top of the shape. Then add a layer of mod podge over the paper and make sure to get the edges too. I used a matte finish mod podge so when I did the edges you couldn’t tell on the sides of the plywood when it dried. A gloss finish would show up. I did two coats of mod podge.
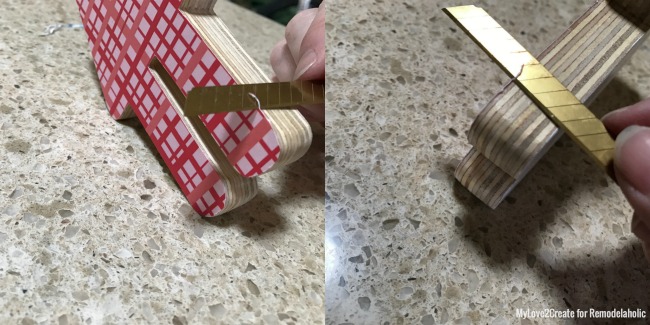
Chances are your paper will be bigger than your plywood in some areas. Don’t worry, it is an easy fix! Once the mod podge dries use a razor blade to trim all the edges where the paper is too big. It comes off easily and cleans up the shape!
Step 6: Mount and enjoy!

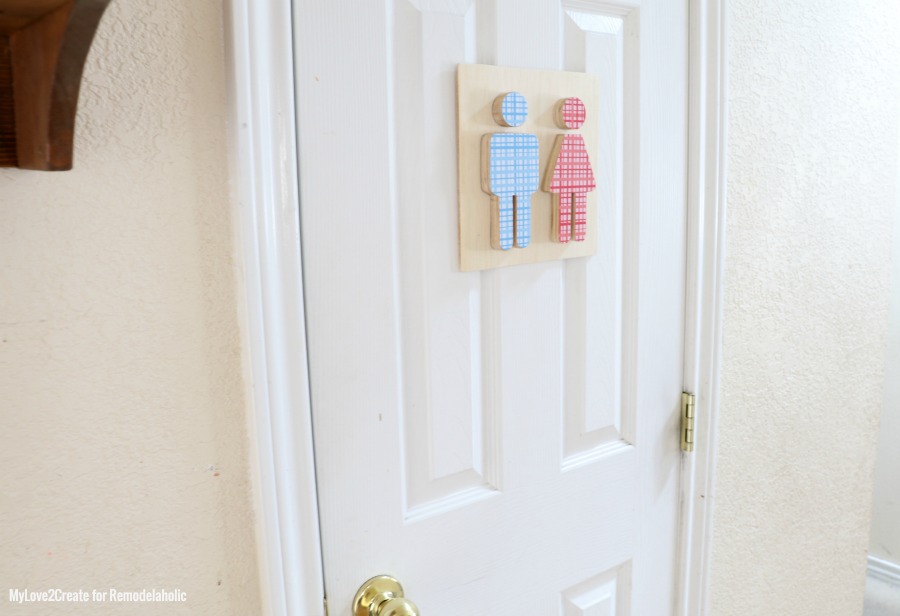
With your restroom cutouts all finished you can use double sided tape on the back and mount them to a door or a wall.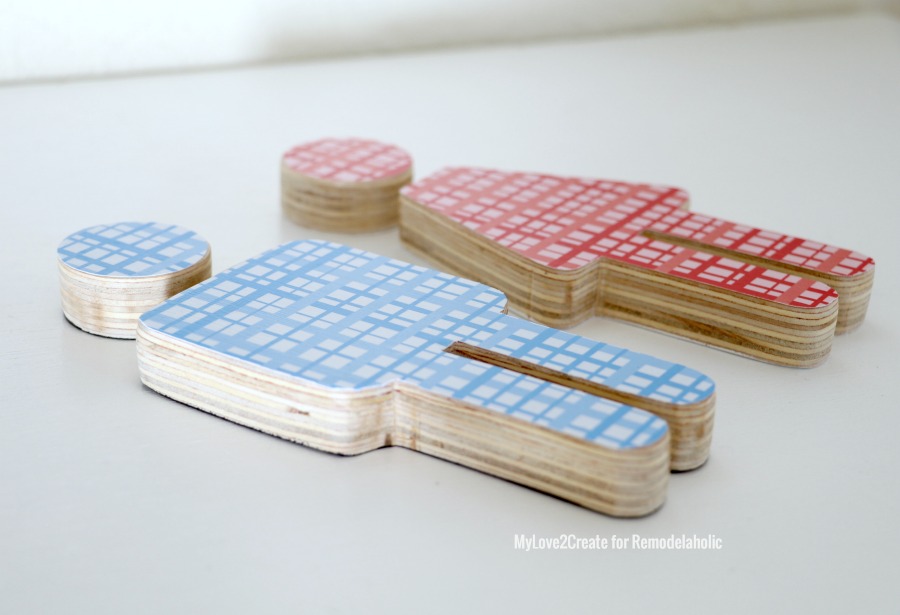
Or you can use a piece of 1/4’’ plywood to mount the shape on, really anything will work!
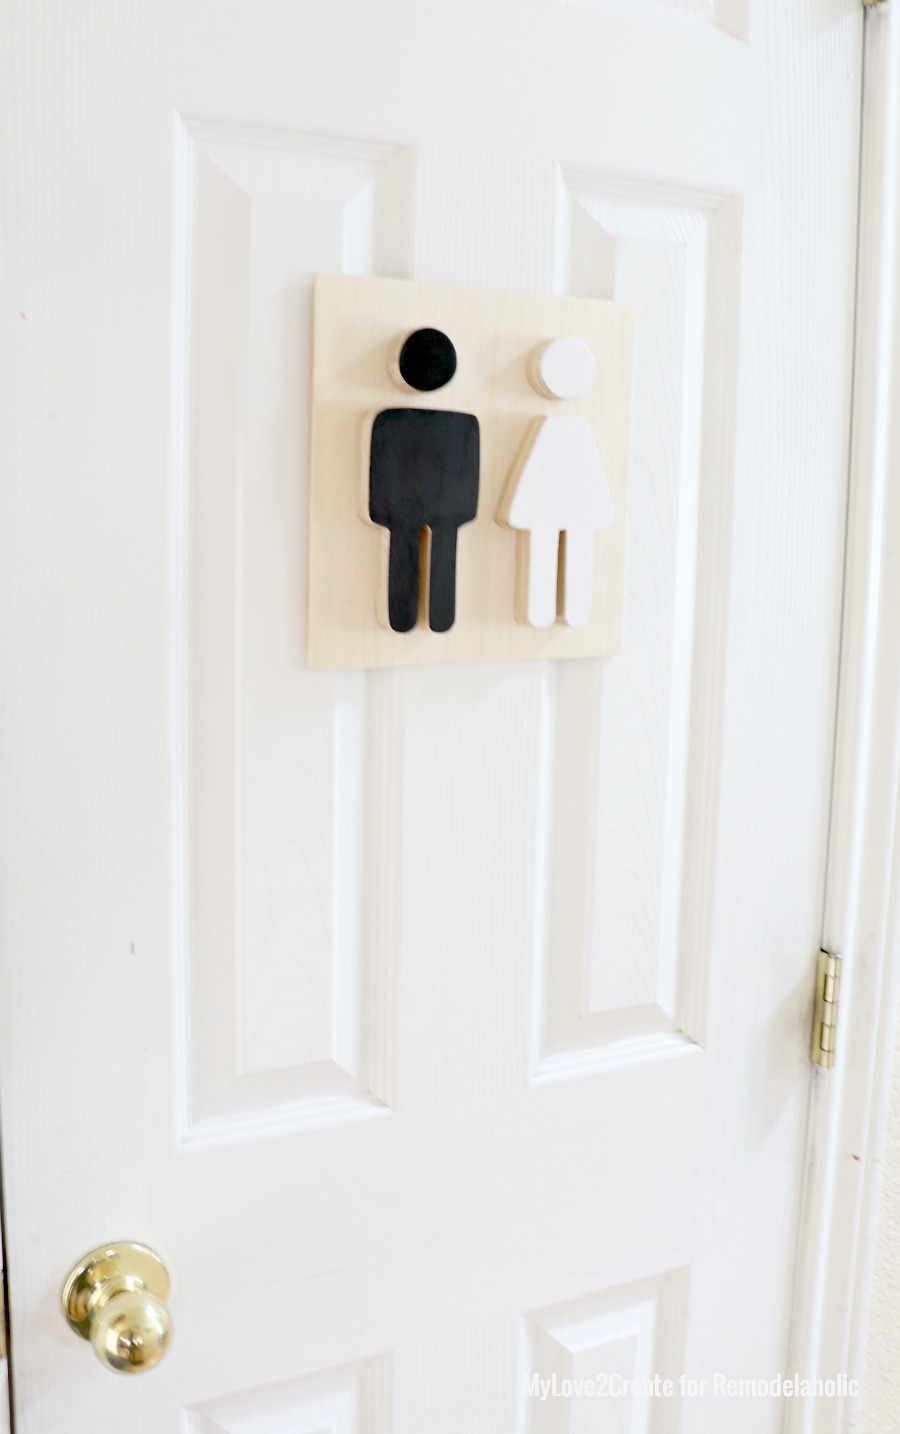
I choose to use the plywood, and I love how it turned out!

Now when I decide I am done with the black and white…I can just flip them over! Instant color!
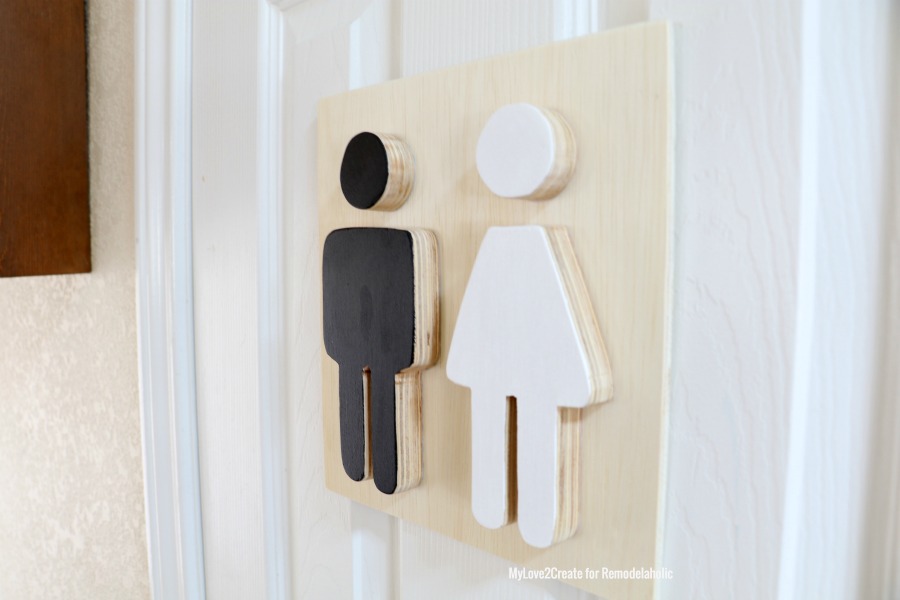
I love that you can’t even tell that they are reversible…
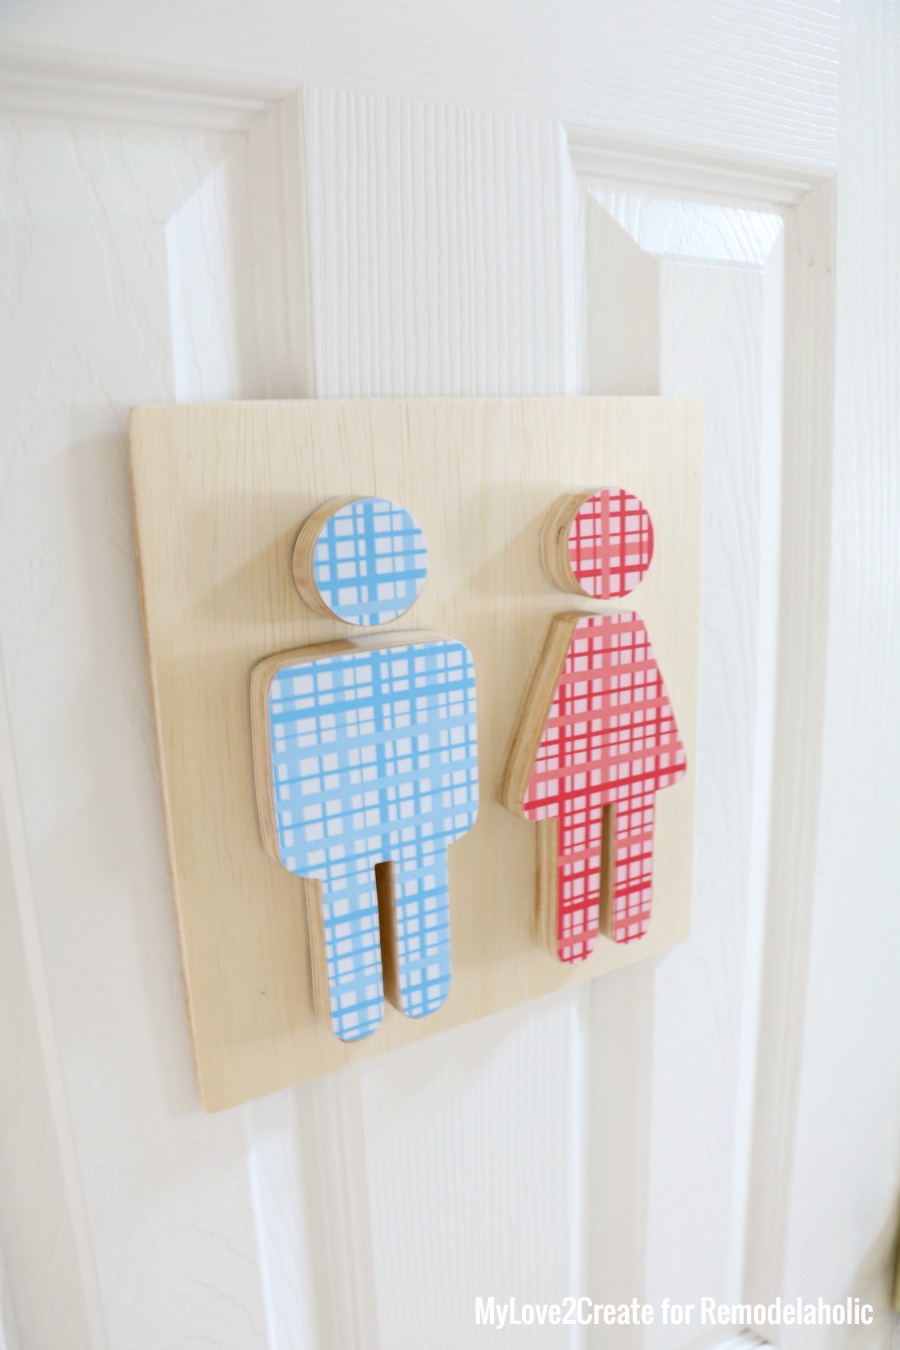
It is like a hidden secret!
Two projects in one! Can’t beat that! Of course I am a sucker for reversible things like my Decorative Scrap Wood Signs and my Reversible Wooden Door Mat, they just make me happy!
I hope you enjoyed this project, now go and use up that scrap plywood!
Hugs,
Mindi
Be sure to subscribe by email or RSS and follow along over on Facebook and Instagram with #PlywoodPretty so you won’t miss any of these new tutorials!


These are really cute! I love you can reverse them!
Thank you Amberly! I am such a sucker for reversible things, glad you like them!