Fabulous Pieced Map Art Tutorial
What fun to be able to do a guest post on Cassity’s blog!
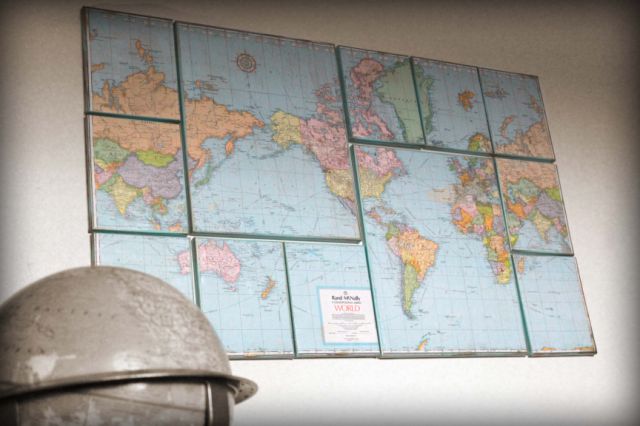

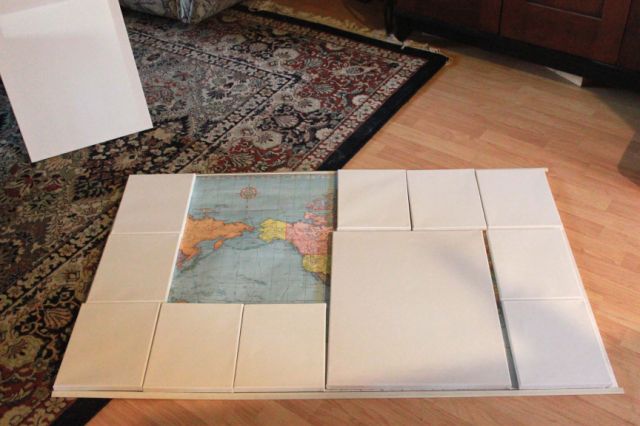
This project was inspired by wanting a large piece of art (on the cheap!) for my 7 year old son’s room. I had picked up this map from the thrift store for $2 and knew if I got my Creative Juices flowing I could figure a great way to use it! I went to Michaels and picked up a bunch of canvases at 40% off. I spent 29.00 on all 12.
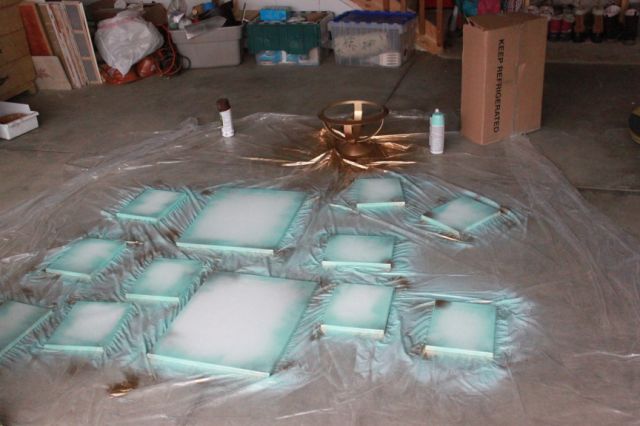
Next I spray painted the edges with a left over blue from a previous project. I am a sucker for anything AGED looking so I spray painted some brown on the edges too.
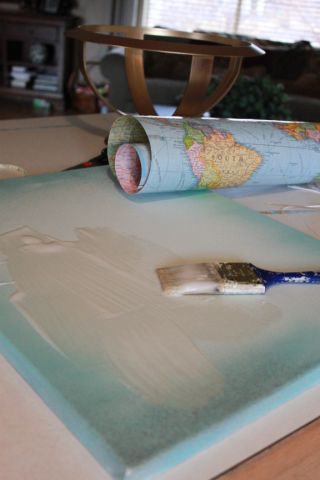
Once that dried (I turned them over to add some weight to the drying process) I wanted to age the edges just a little more so I took out my inking pad, or chalk pad, and “aged” the edges. I also put a little brown glaze on the map itself to try to give it some more character. Anyway, once dry I came back and put Mod Podge over the top, quite thick, and in criss-cross strokes.

Cassity Kmetzsch started Remodelaholic after graduating from Utah State University with a degree in Interior Design. Remodelaholic is the place to share her love for knocking out walls, and building everything back up again to not only add function but beauty to her home. Together with her husband Justin, they have remodeled 6 homes and are working on a seventh. She is a mother of four amazing girls. Making a house a home is her favorite hobby.


I love this idea. I am doing something similar in our staircase since we have a turned staircase and one large blank wall. I took a map of Seattle (where we currently live) and put it on a canvas. I’m planning to buy smaller canvases to surround it and add our top four favorite places we’ve also lived (we’ve moved a lot!)
When I did mine I ended up wrapping the map around the sides and mod podging it down. It didn’t seem to stick well on the front and it isn’t stuck flat to the canvas. I’m wondering if I didn’t use enough mod podge though. I really like way you used different canvasses and sizes and put them all together!
Can you give the specific dimensions of the canvases you used please?:)