Glass Wall-Mounted Dry Erase Message Board Plan
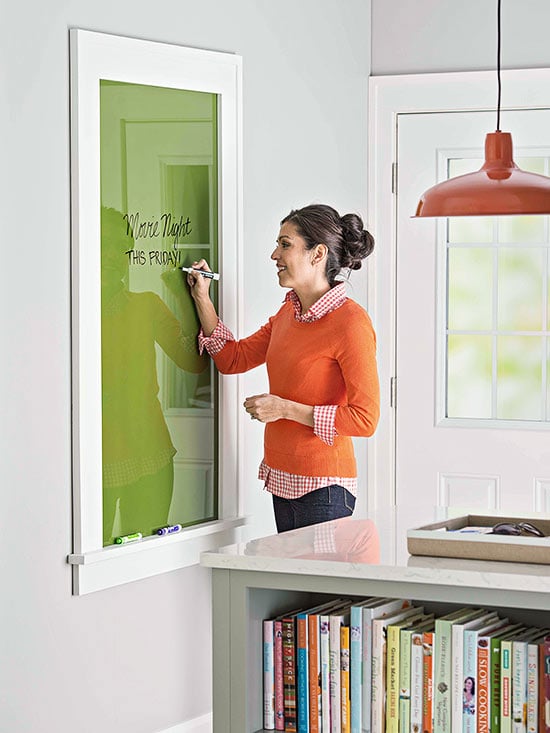
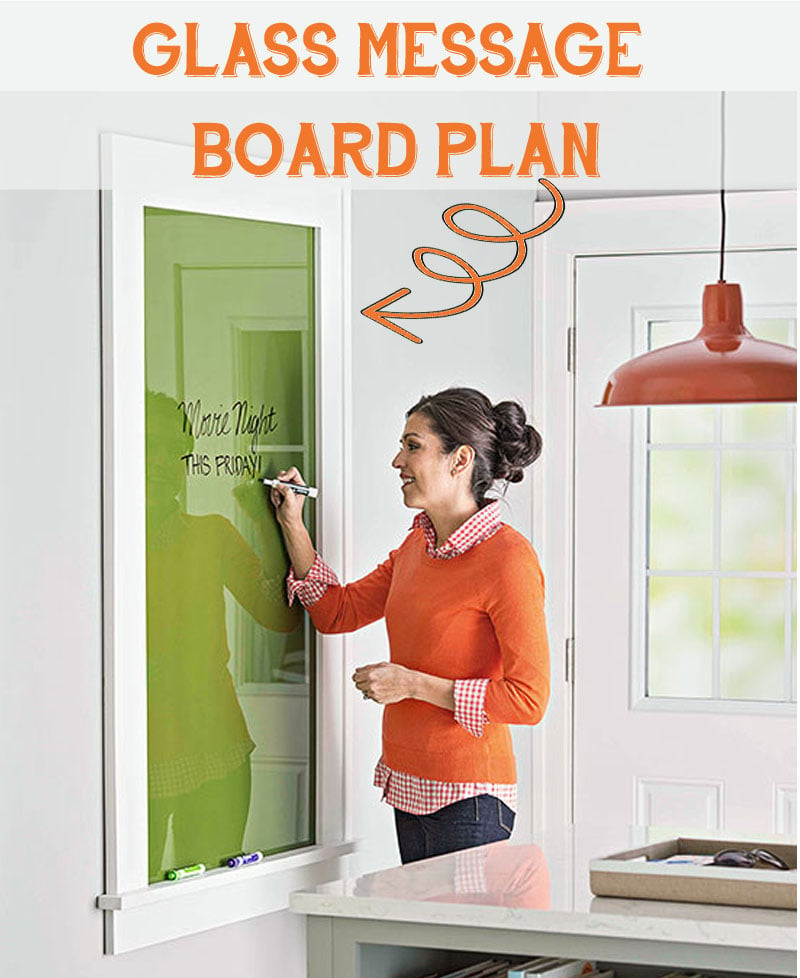
Hi it’s Amy from Hertoolbelt, back again with another build plan. Just in case you missed it, last week we built a simplified Orchard Ladder. This week’s plan is inspired by this cute message board featured in Better Homes & Gardens.
How to Build a Dry Erase Message Board
Click Here to Get a Free Printable Version of this Building Plan
The BHG message board boasts a large piece of glass to jot down messages and green paint on the back of the glass to coordinate with the rest of the kitchen area. The outside frame looks it was made from the same molding as the door casing and includes a handy ledge to hold the dry erase markers.
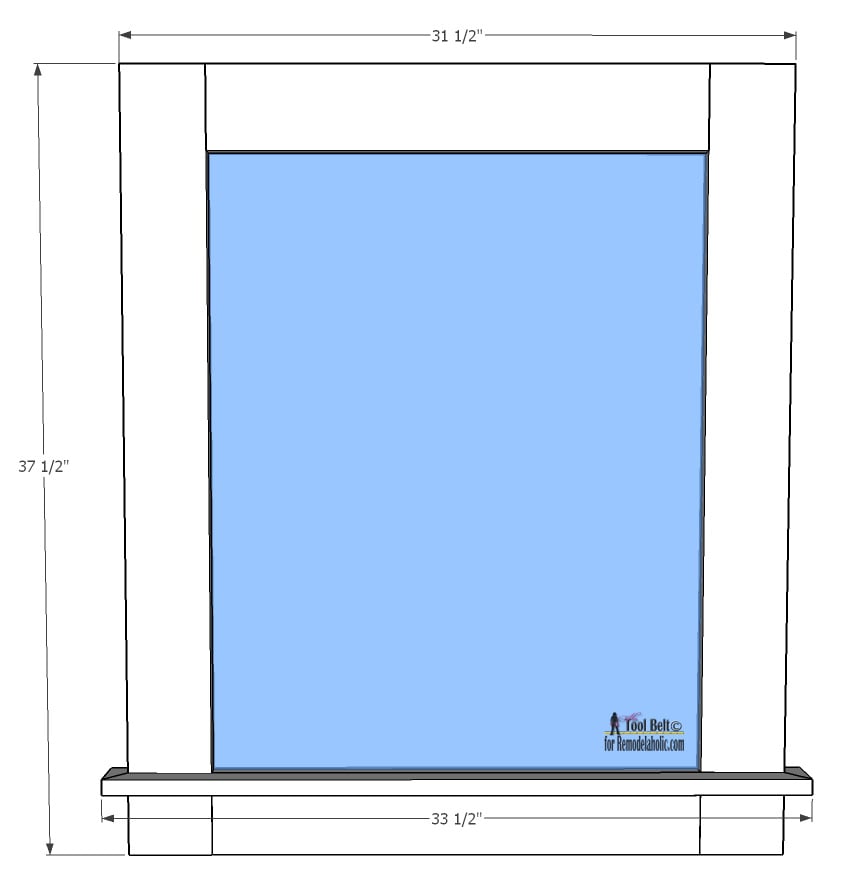
Our version will be very similar, just changed slightly to use readily available materials. These are the overall dimensions of our glass message board:
Materials
- 24″ x 30″ clear glass (available at Home Depot for about $10.38)
- 24″ x 48″ x 3/4″ MDF (available at Home Depot for about $12.47)
- wood glue
- 8 – 1 1/4″ pocket screws
- 1 1/2″ brad nails
- sand paper
- paint and primer
Cut List
| Quantity | Thickness | Width | Length | Material |
| 2 | 3/4″ | 4″ | 37 1/2″ | MDF |
| 2 | 3/4″ | 4″ | 23 1/2″ | MDF |
| 1 | 3/4″ | 1″ | 33 1/2″ | MDF |
| 2 | 3/4″ | 1″ | 1 3/4″ | MDF |
Step 1
Make sure the back of the glass is clean, dry and free of debris. Paint the back of the glass if desired. Spray paint or rolled on latex paint should work fine. It might be fun to create a design or use a stencil to create a pattern. Let the paint dry fully.
Step 2
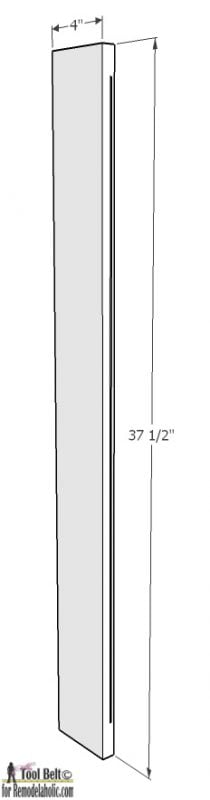
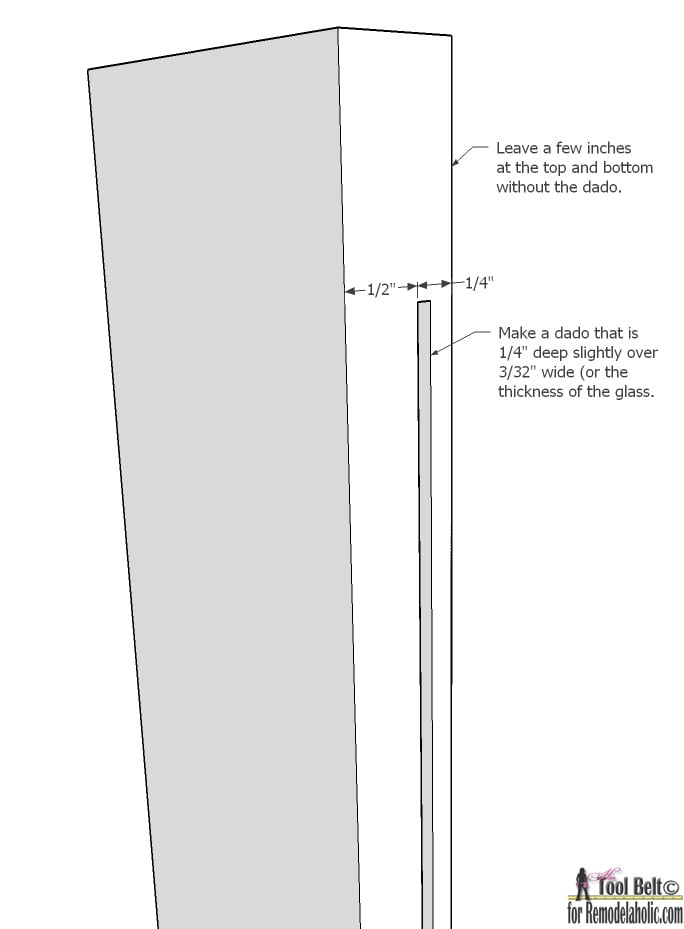
Cut 2 pieces of 3/4″ MDF 4″ wide and 37 1/2″ long. We need to cut a dado groove for the glass pane. Start the dado 1/4″ from one of the sides. Make the dado 1/4″ deep and about 3/32″ wide (or the thickness of the glass.) Start and stop the dado a couple of inches from the ends.
 |
 |
Step 3
Cut 2 pieces of 3/4″ MDF 4″ wide and 23 1/2″ long. Cut another dado, start the dado 1/4″ from one of the sides. Make the dado 1/4″ deep and about 3/32″ wide (or the thickness of the glass.)
Dry fit the glass into the frame, make adjustments as necessary. Make pocket holes in the tall frame sides. Apply wood glue to the joints and screw the frame together with 1 1/4″ pocket screws.
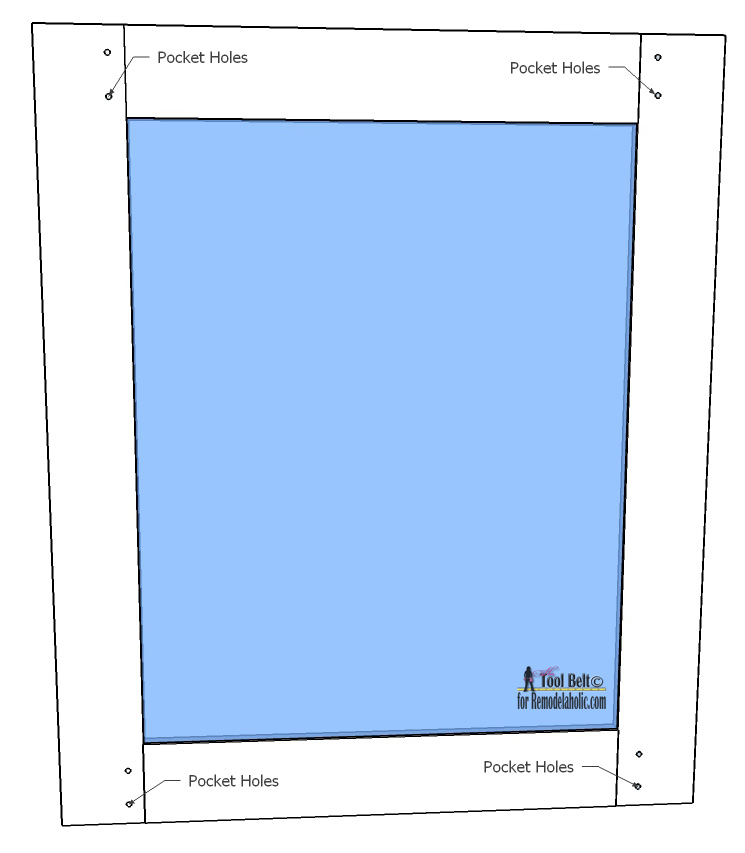
Step 4
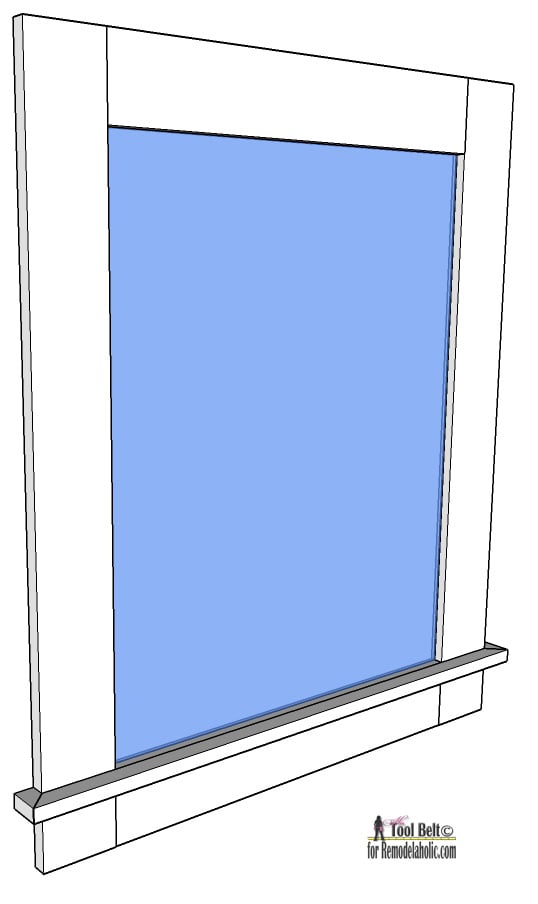
Cut the main ledge piece 3/4″ x 1″ x cut to fit width of frame. Cut 45 deg angles on the ends. Cut 2 ledge ends at 3/4″ x 1″ x 1 3/4″ with a 45 deg angle on one end of each. Dry fit and make sure the ledge pieces will fit on the frame. Make adjustments as necessary.

Step 5
Roll up a piece of sand paper on a marker or pencil. Sand a slight groove into the top of the ledge for the markers to sit.
Use wood glue and brad nails and mount the ledge onto the frame.
 Step 6
Once all of the glue is dry, lightly sand the frame and ledge until smooth. Remove dust and cover the glass. Prime the MDF with paint primer. Let the primer dry. Paint the frame with your favorite color and allow to dry. Add picture hangers to the back and your large glass message board is ready to be used.
If you want to build a large frame with a few more curves. Check out my building plan and pattern for a giant bracket frame.
Enjoy your new message board!
———————————————
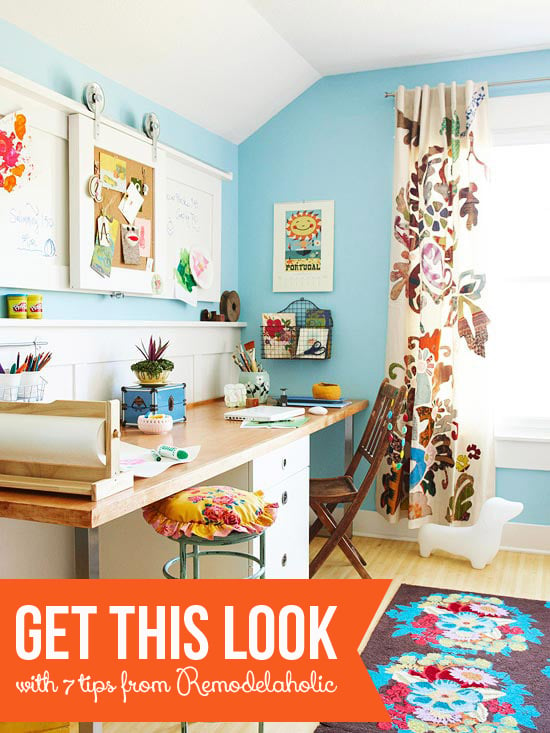
And now, use your message board to get organized!
Use it in a home office or homework station:
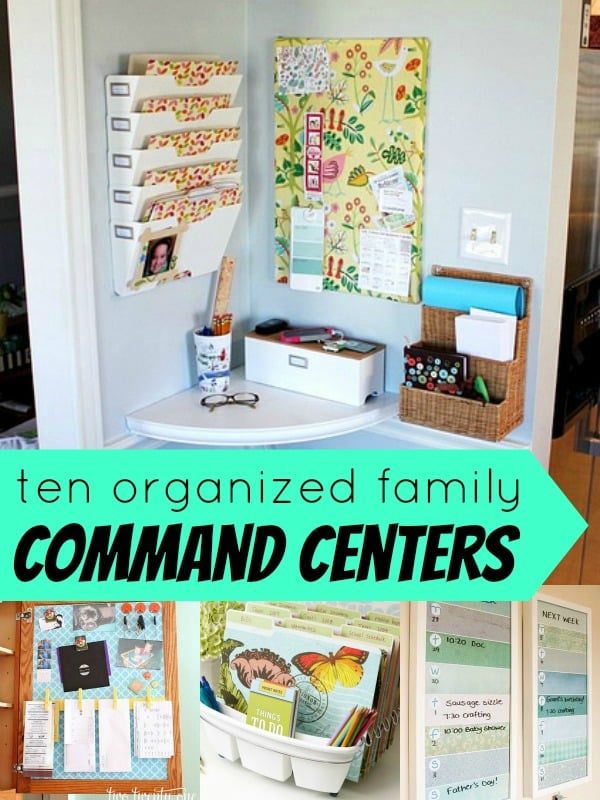
or a family command center:
or in your mudroom!

Amy is the tool lover at Hertoolbelt. On Hertoolbelt, Amy shares DIY furniture plans, handyman tutorials, and craft patterns. She has three pint sized 'helpers' that help fix things around the house and build fun projects.


2 options:
-Make it deeper. paint a backboard, install strips of LED lights like you find in auto detailing section.
OR
-back the glass with sheet metal (painted) and make it magnetic. May need stronger magnets than normal.
NOTE: I haven’t tried either one of these.
Can someone tell me what MDF stands for? It’s listed in several projects. Thx!
Sandi,
MDF is medium density fiberboard. It’s an inexpensive building material, somewhat similar to plywood, that you should be able to find at any home improvement store. Thanks!