How To Finish Solid Wood Flooring; Step by Step
It’s so great to be a guest blogger at Remodelaholic! I’m Rebekah from www.potholesandpantyhose.com and I blog about my life on the road with my musician hubby, my remodeling projects, my photography, and the arts and crap that I enjoy making from cast-offs. I try to maintain a somewhat normal life, however, normalcy keeps escaping me.
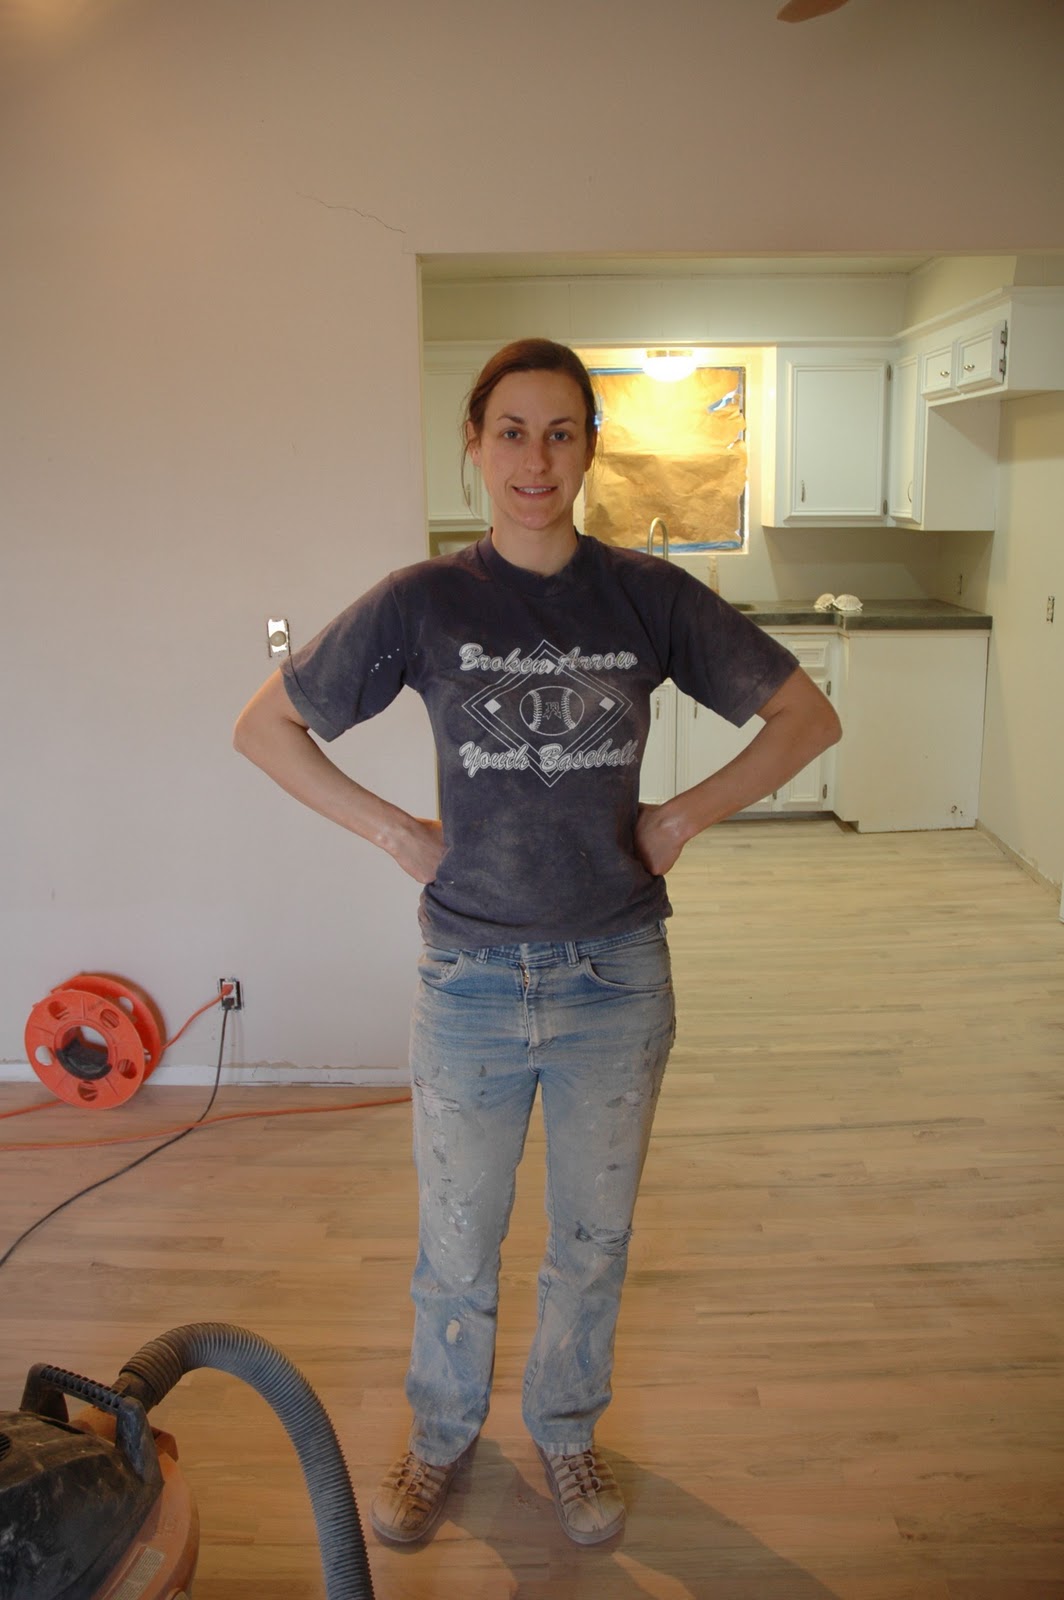
Let me give you a disclaimer on this tutorial-I am not a professional! There may be better ways to do this process, but this is what I have found to work for me over the many years of laying and refinishing hardwood floors.
You may be apprehensive about tackling something as ominous as hardwood floors. I am not apprehensive about almost anything, so let me be your guinea pig on things such as this.
You can sit back, sip some tea and learn from my mistakes.

I could permanently damage the wood by sanding too deep.
I could pick the wrong stain and have to live with it that way FOREVER!
And, then I realized….these are just floors. Boo-hoo if I screw it up.
What you’ll need (get a pencil out):
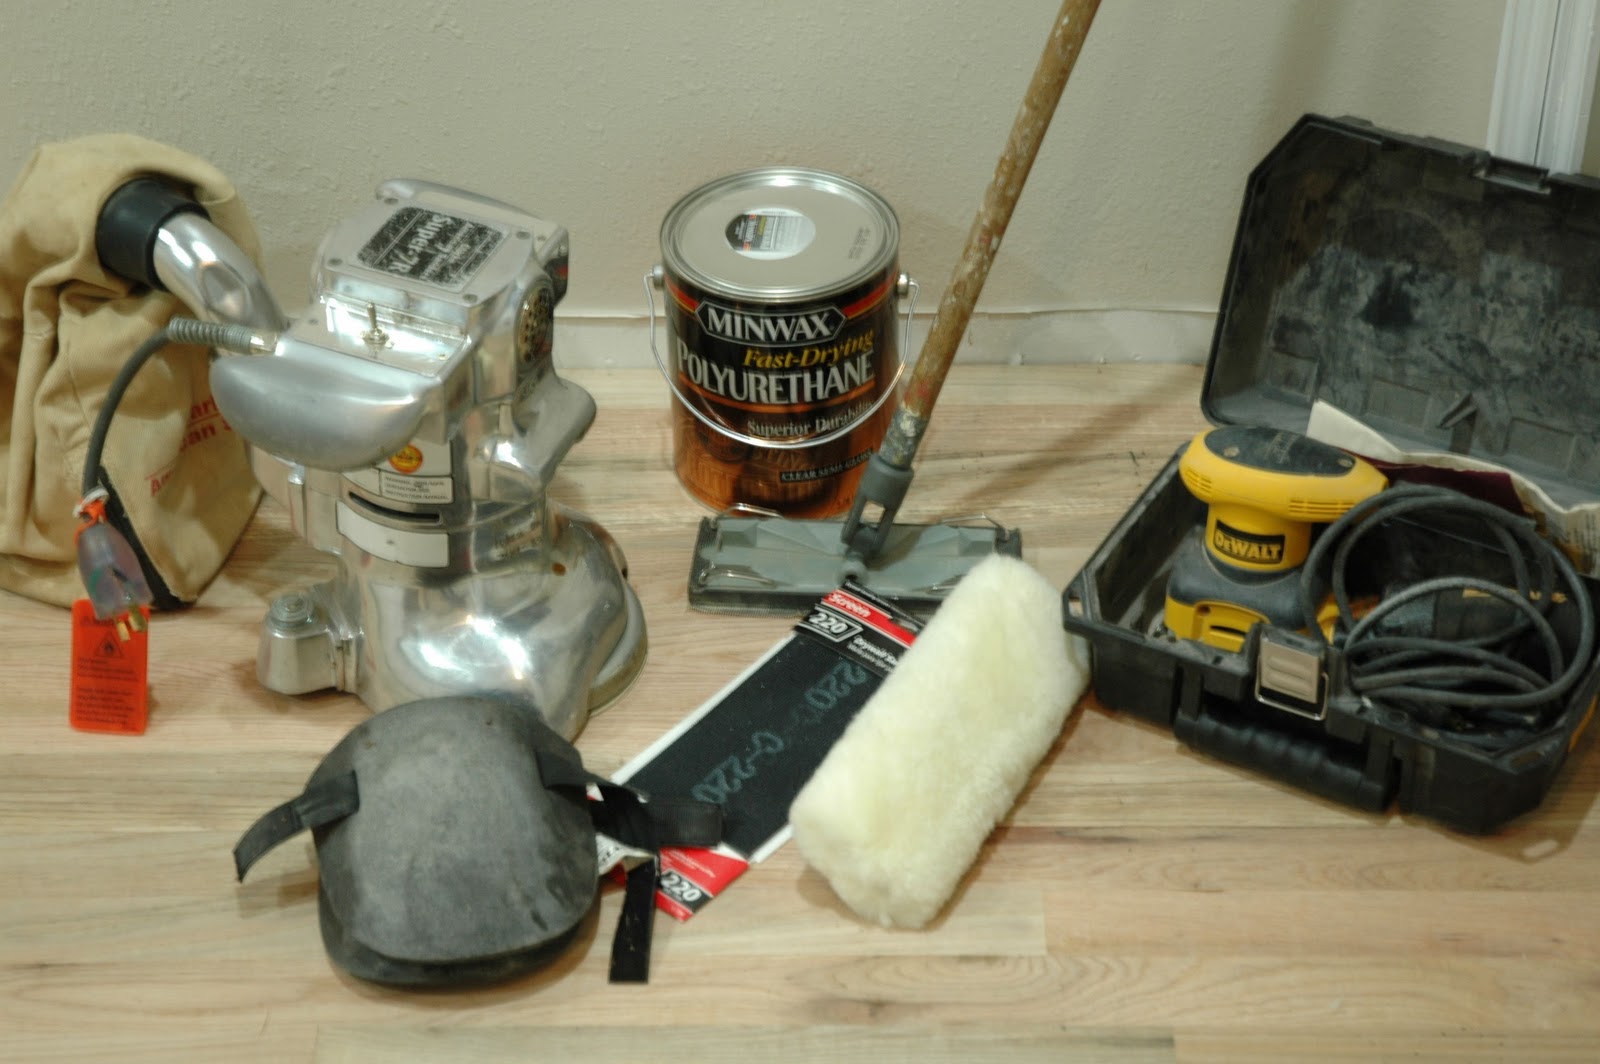
Knee pads & dust mask for your own comfort
Polyurethane
Stain (if desired-I didn’t desire)
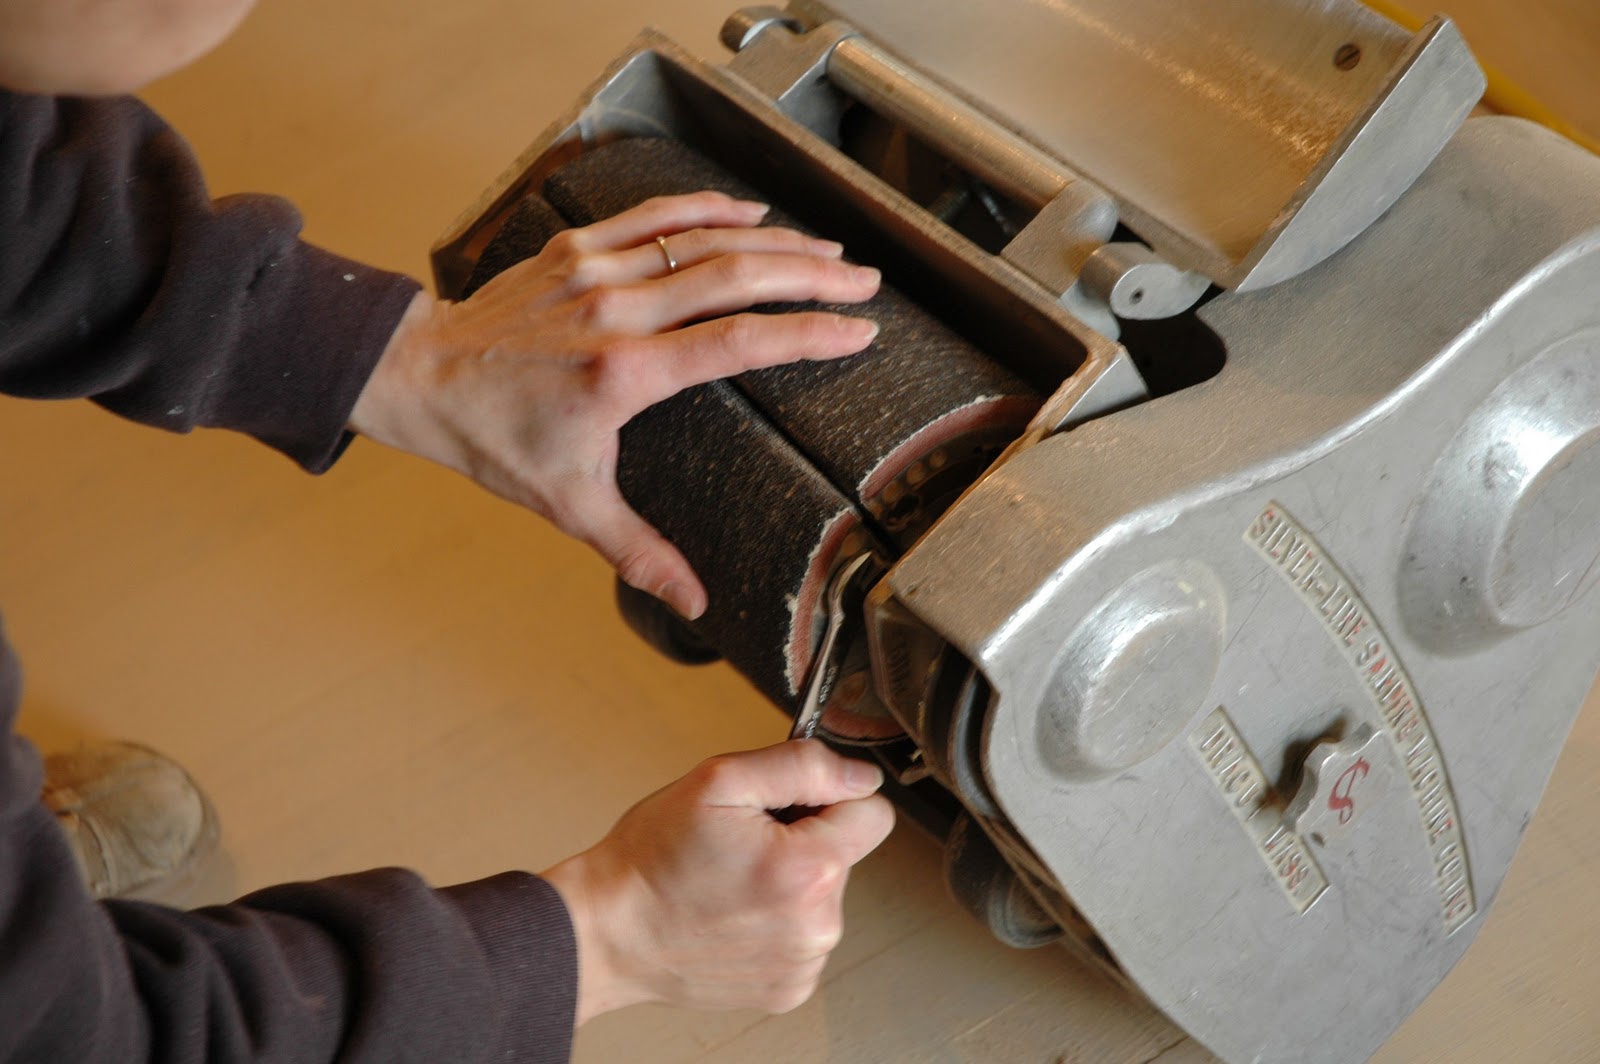
Pole Sander & 220 Grit pole sander pads
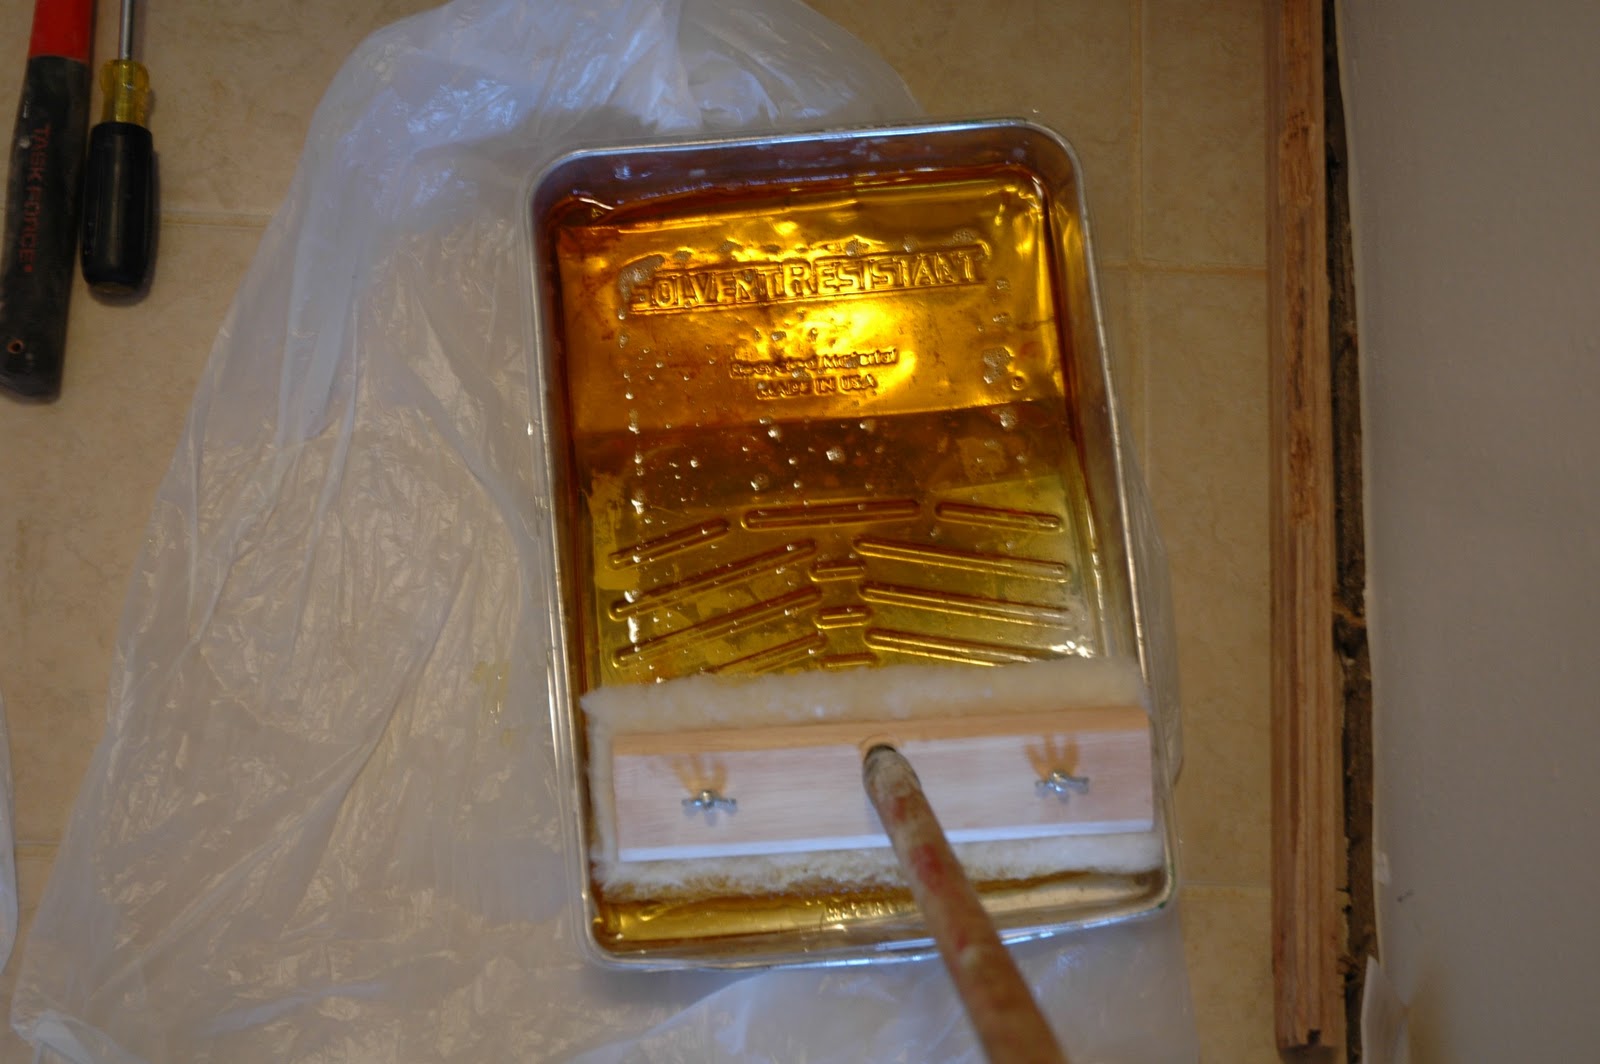
Lamb’s Wool Applicator (bahhh…)
Palm Sander and 110 Grit Sand paper
Mineral Spirits/Paint Thinner and rags
For new wood you can start at 80 like we did and then move on to 100.
You’ll also want:
Paint trays and liners for the poly
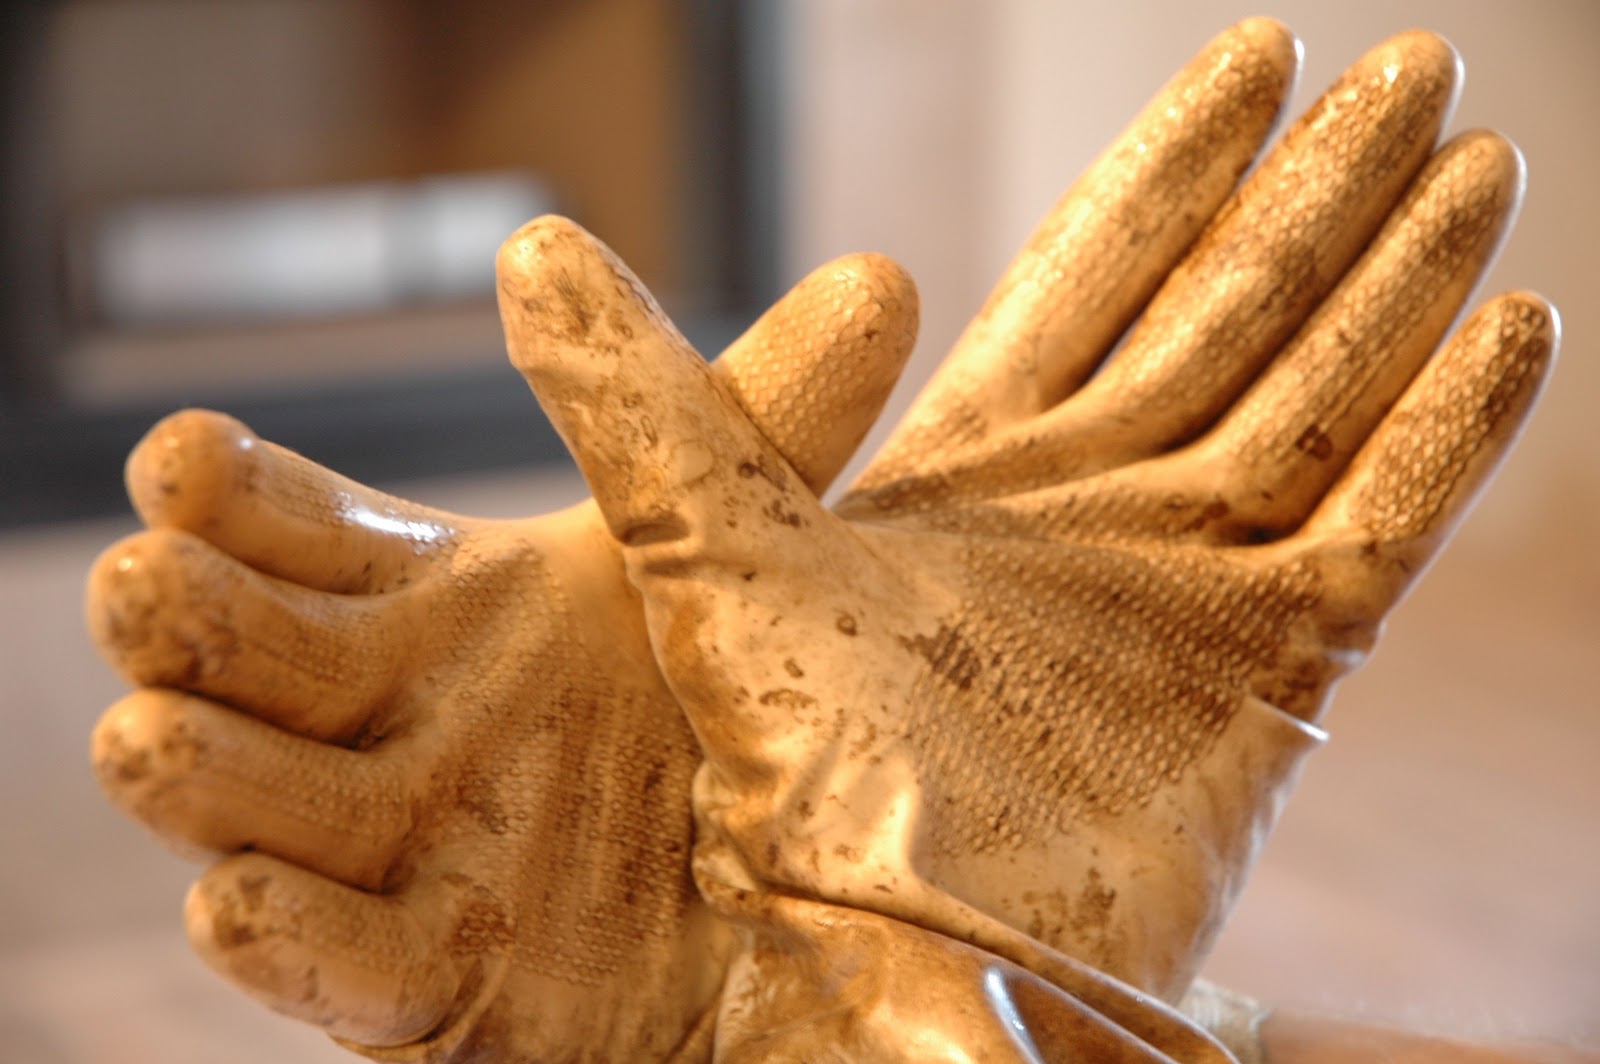
Rubber gloves to apply the poly
Foamy brush to get the poly in small places
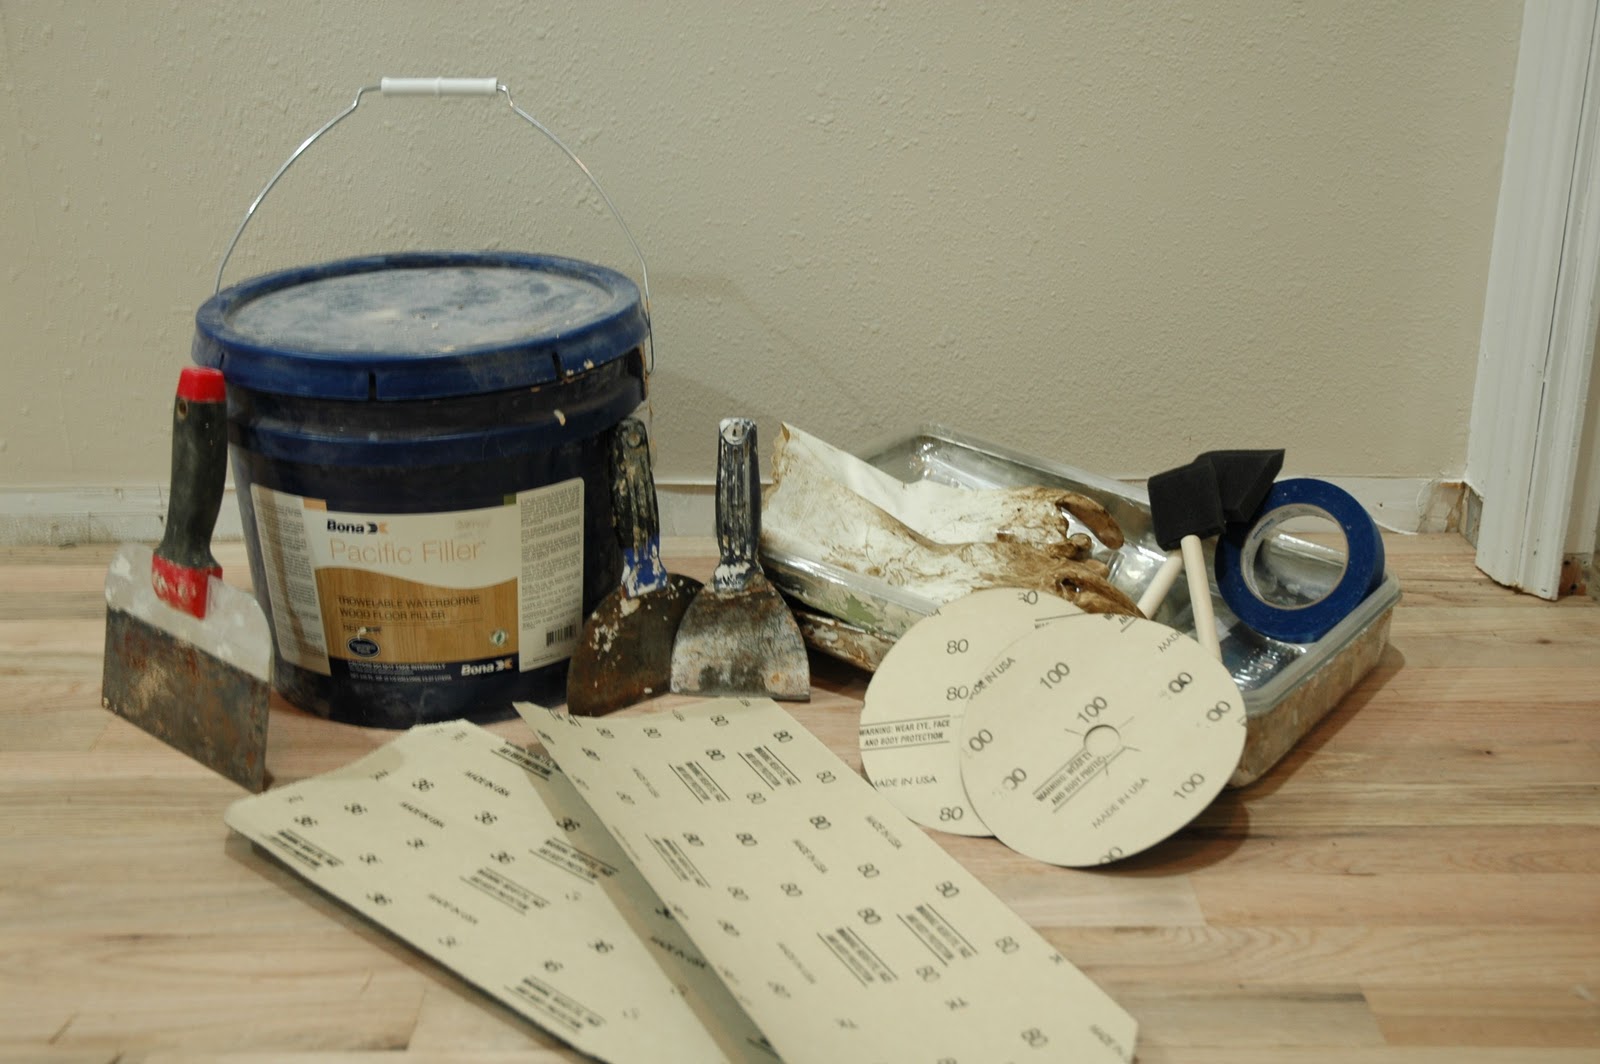
Wood fill & applicators for wood fill
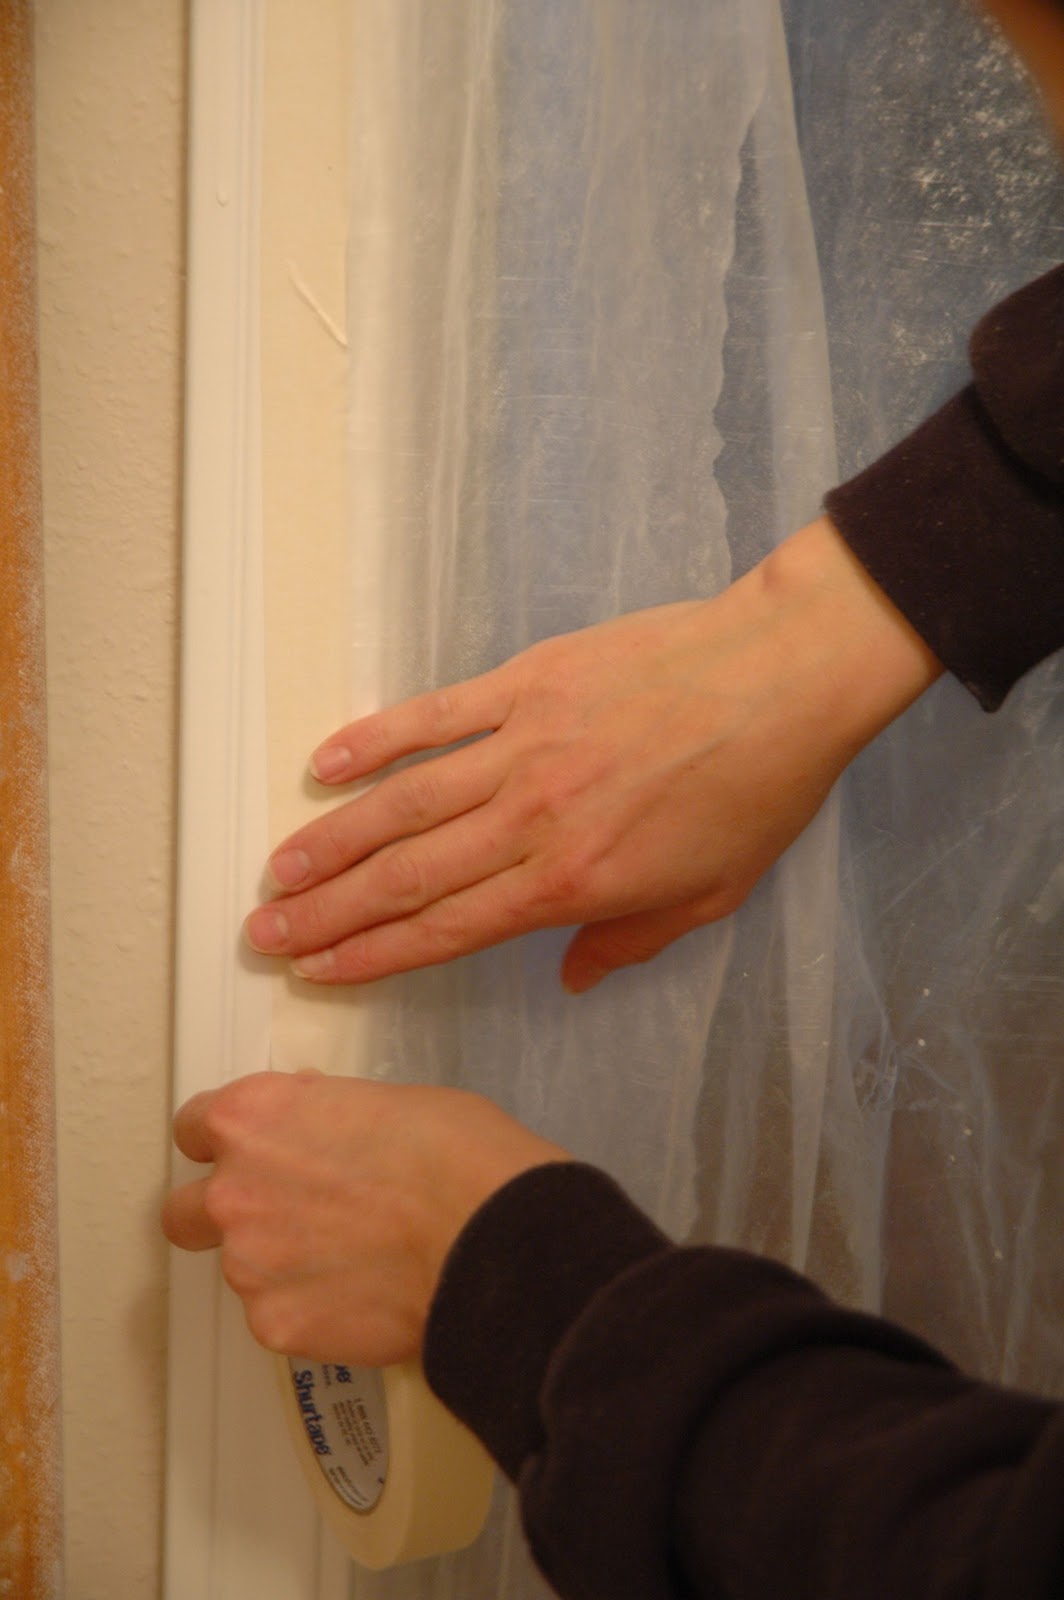
Sheets of Plastic & Blue Tape
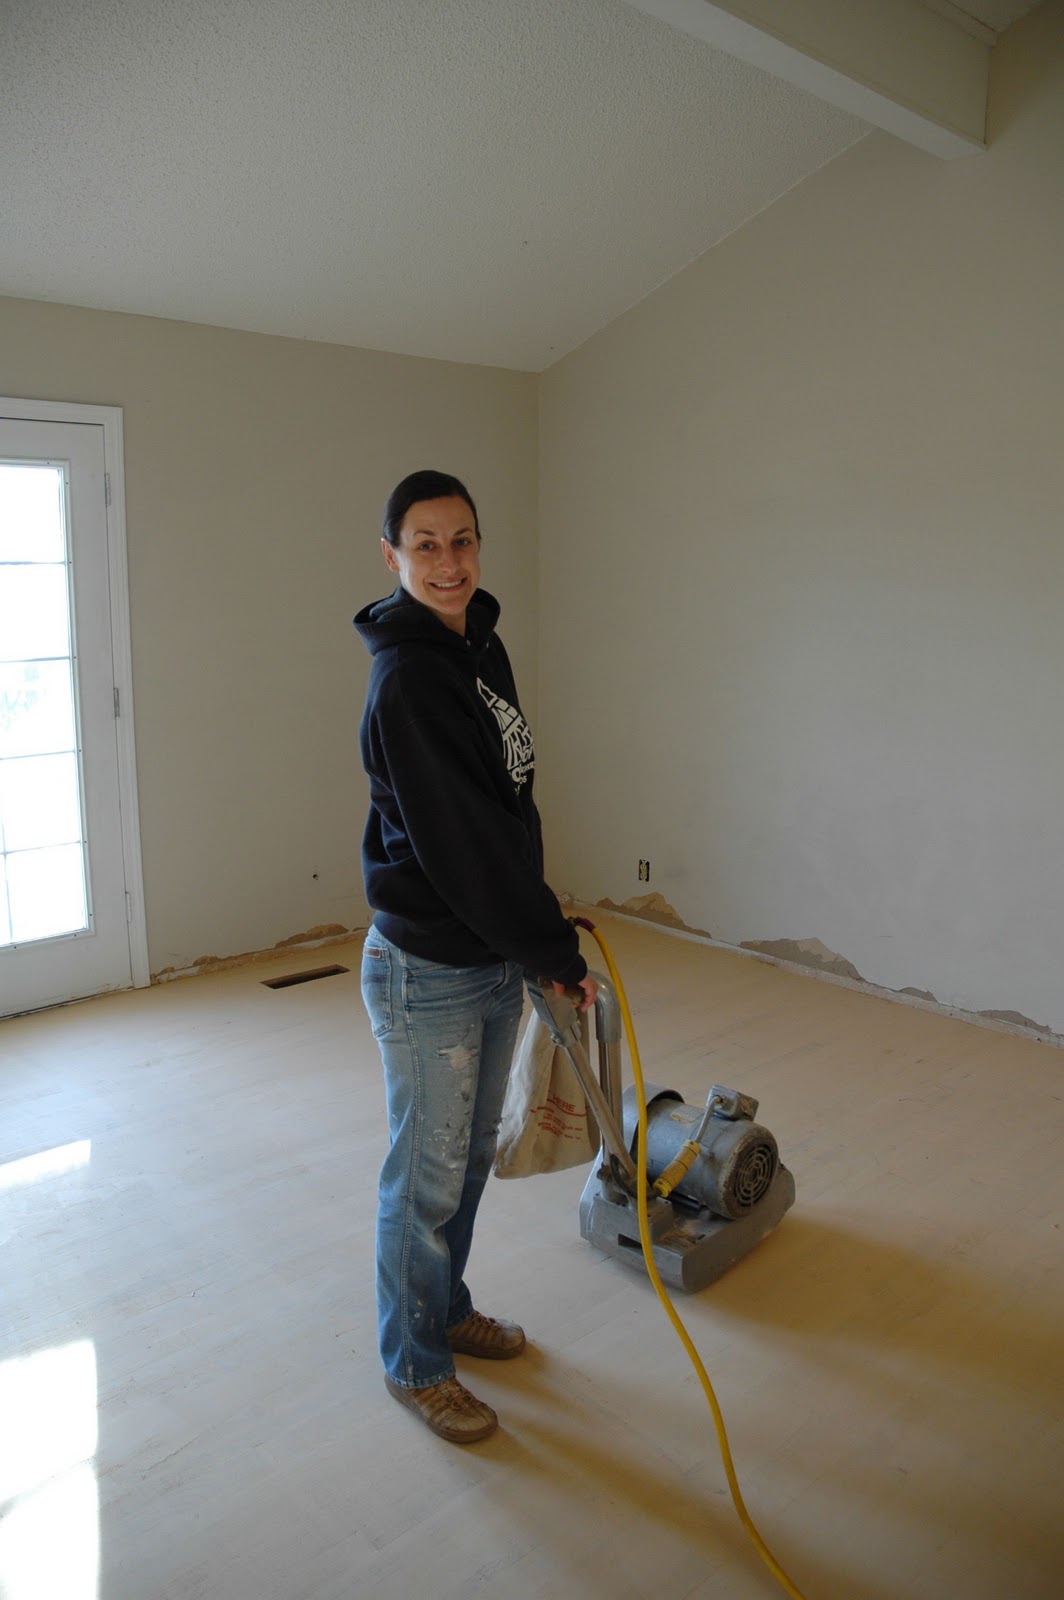
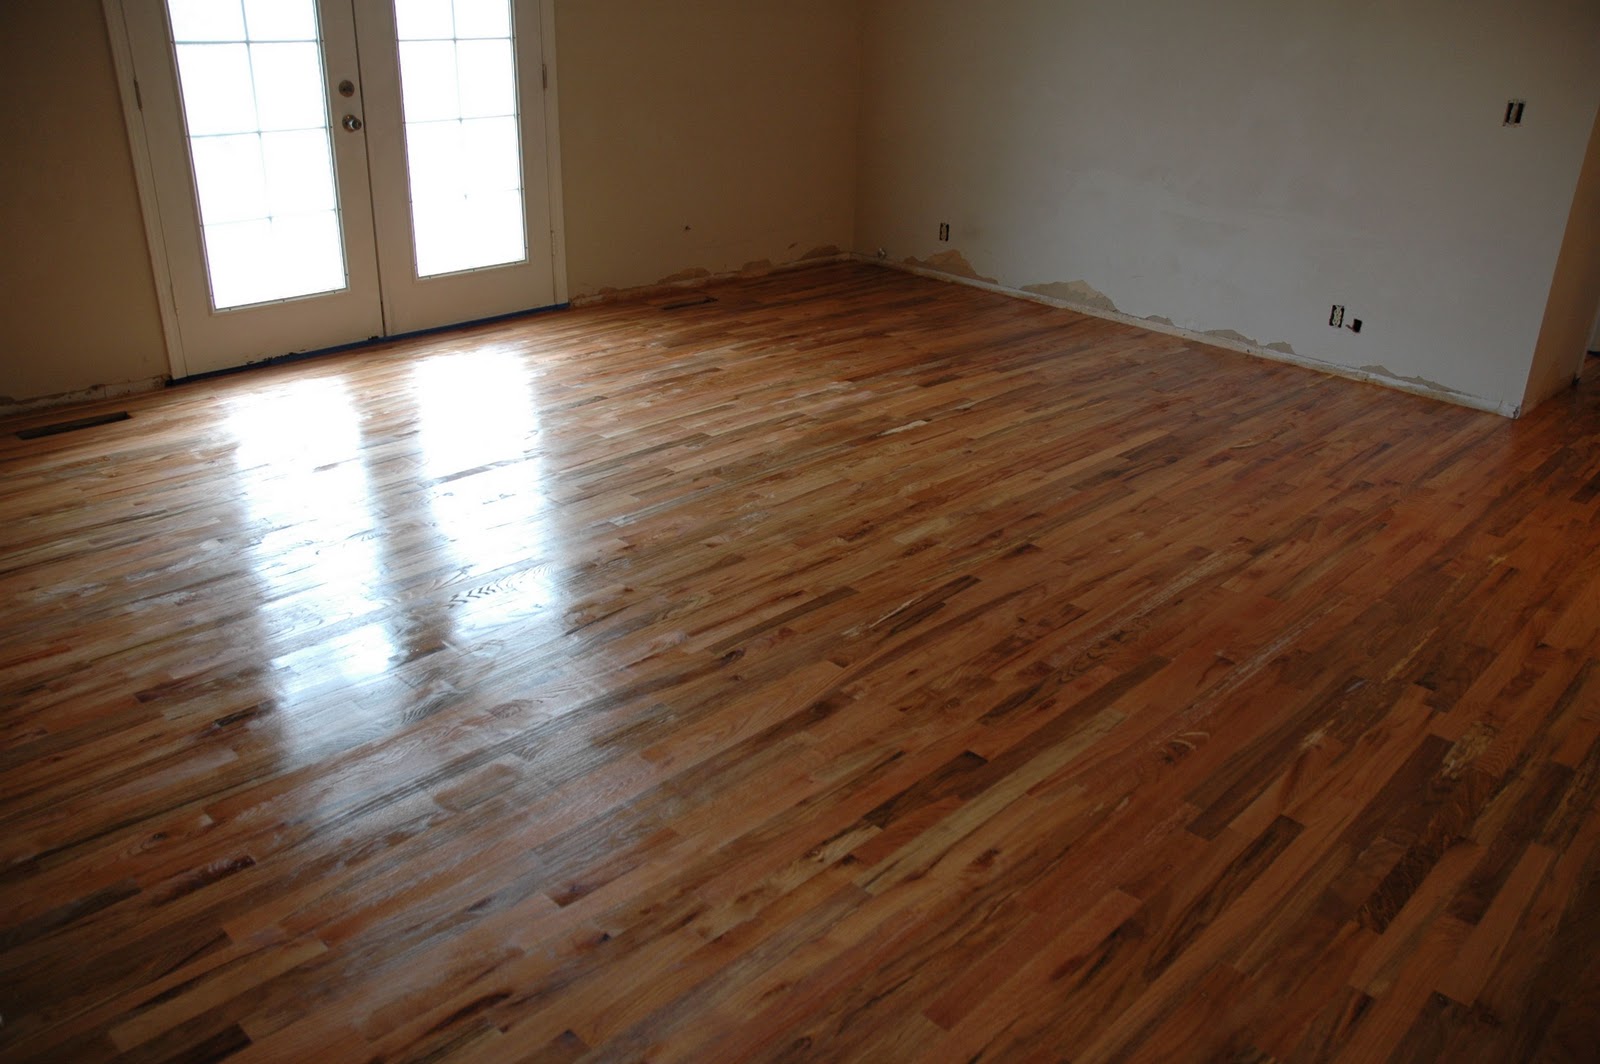
When you are a foot or so away from the wall (or another end point), lift gently up on the machine while still moving forward. Turn yourself & the lifted up machine around like you are mowing a lawn. Head back, baby, in the other direction. Do this until all of the floor is sanded.
Transitioning gently onto the floor with the belt sander will prevent large dips/ruts from being taken out of the wood.
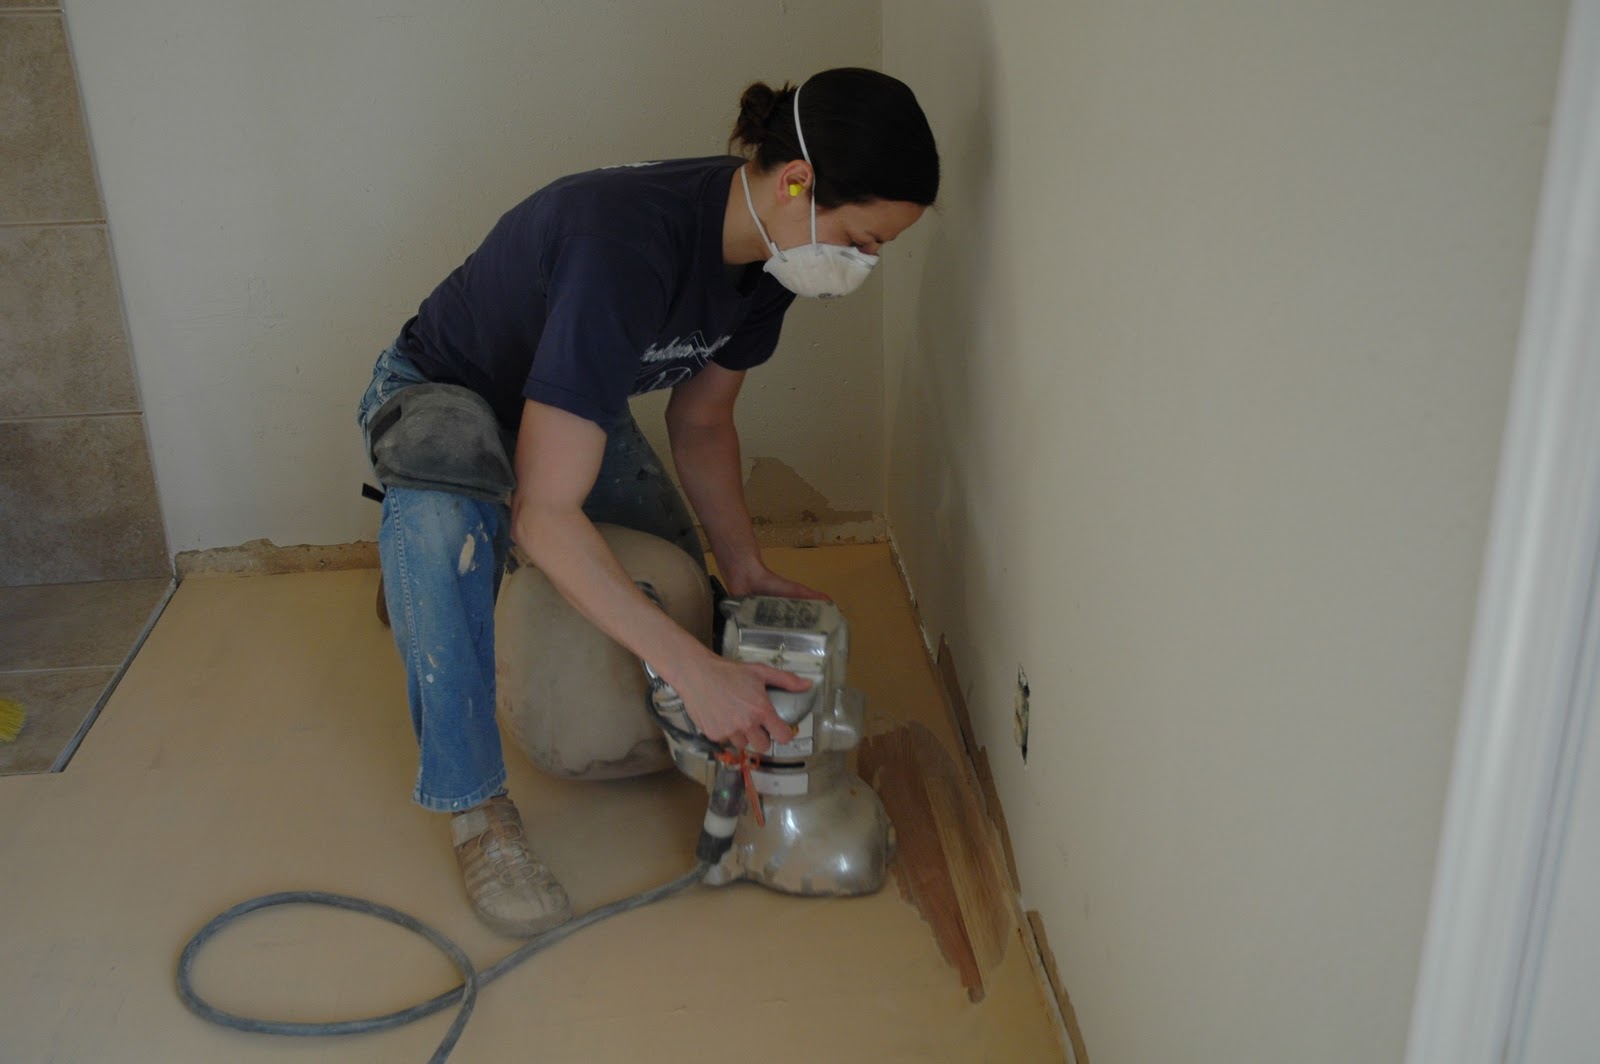


After the wood fill has dried (read directions on the packaging), sand and edge the floors again, removing all of the wood fill with your last grit of sand paper.
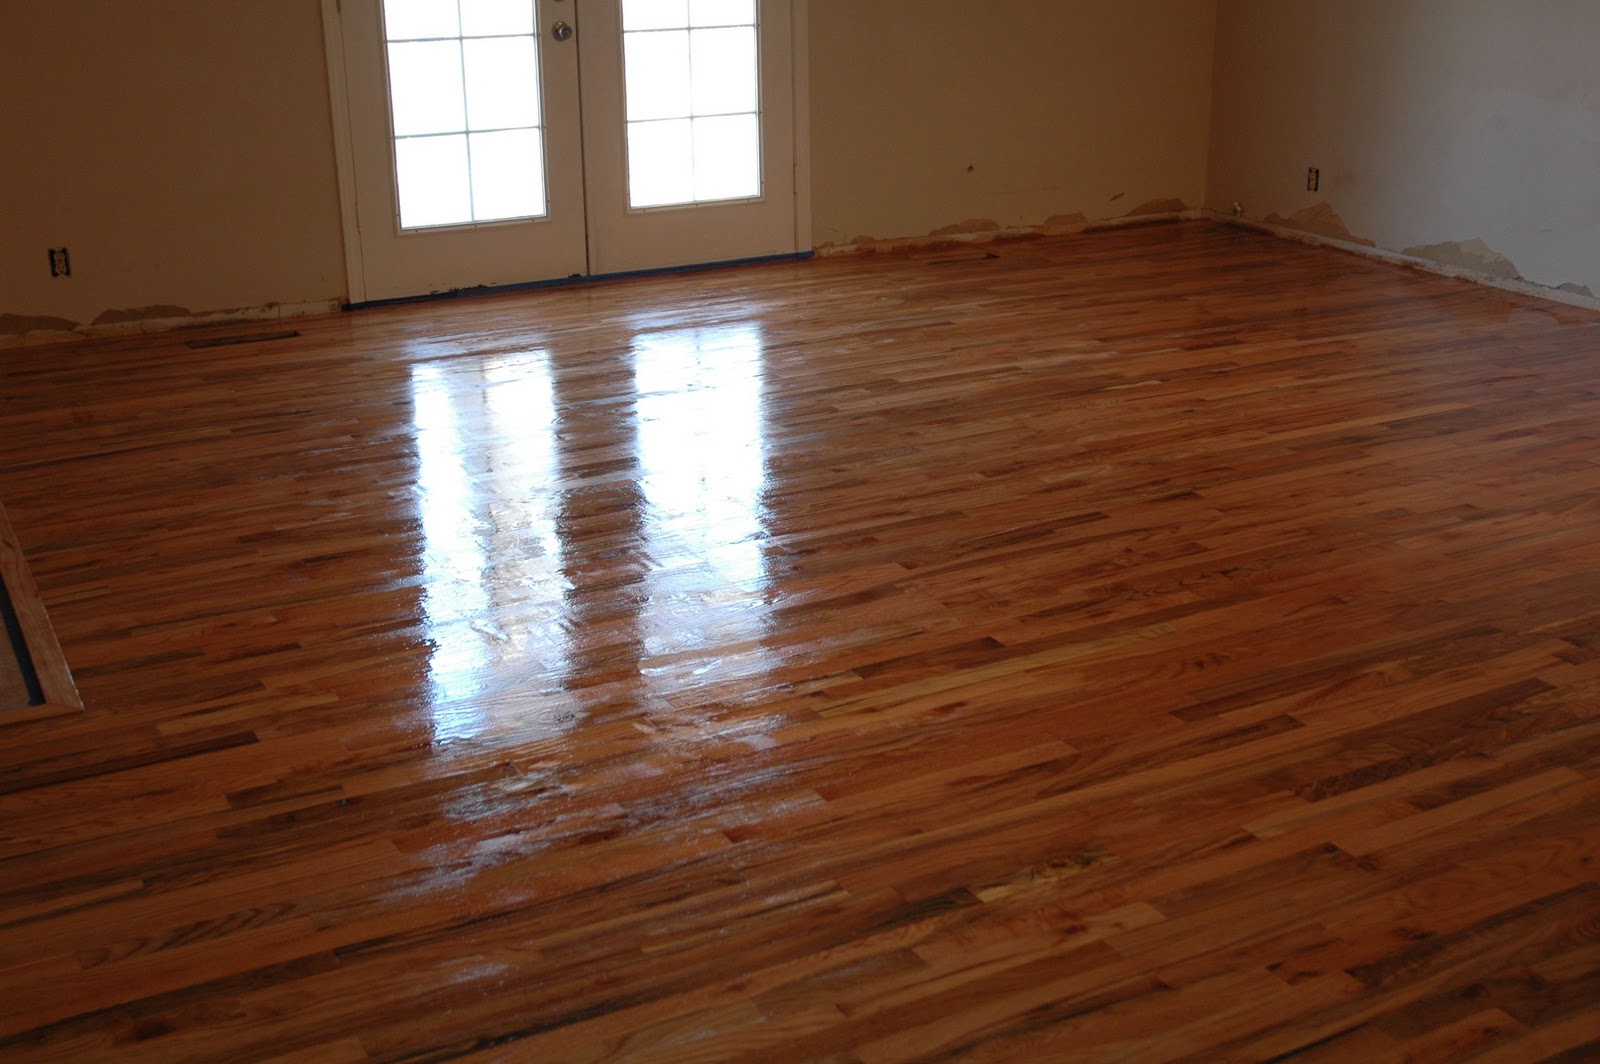
Tomorrow is a big day-we’re going to finish this project and make your floors so shiny and new!
Rubber Gloves
Polyurethane
Stain (if desired, I did not desire)
Paint Tray & liners
Foamy Brush
Lambs Wool Applicator
Pole Sander & 220 Grit Pole Sander Pads
Mineral Spirits/Paint Thinner and rags
A good attitude
I recommend dust mopping the walls and vacuuming off ledges and shelves, as well.

If you want to apply a stain, this is the time to do it. Use a lintless rag to apply your stain evenly to the floor.
If you are like me and aren’t applying a stain, it’s time for Round 1 of polyurethane! Grab your rubber gloves, make a bird out of them (shown above) and get pumped.
You can skip the ‘bird’ step if you like.
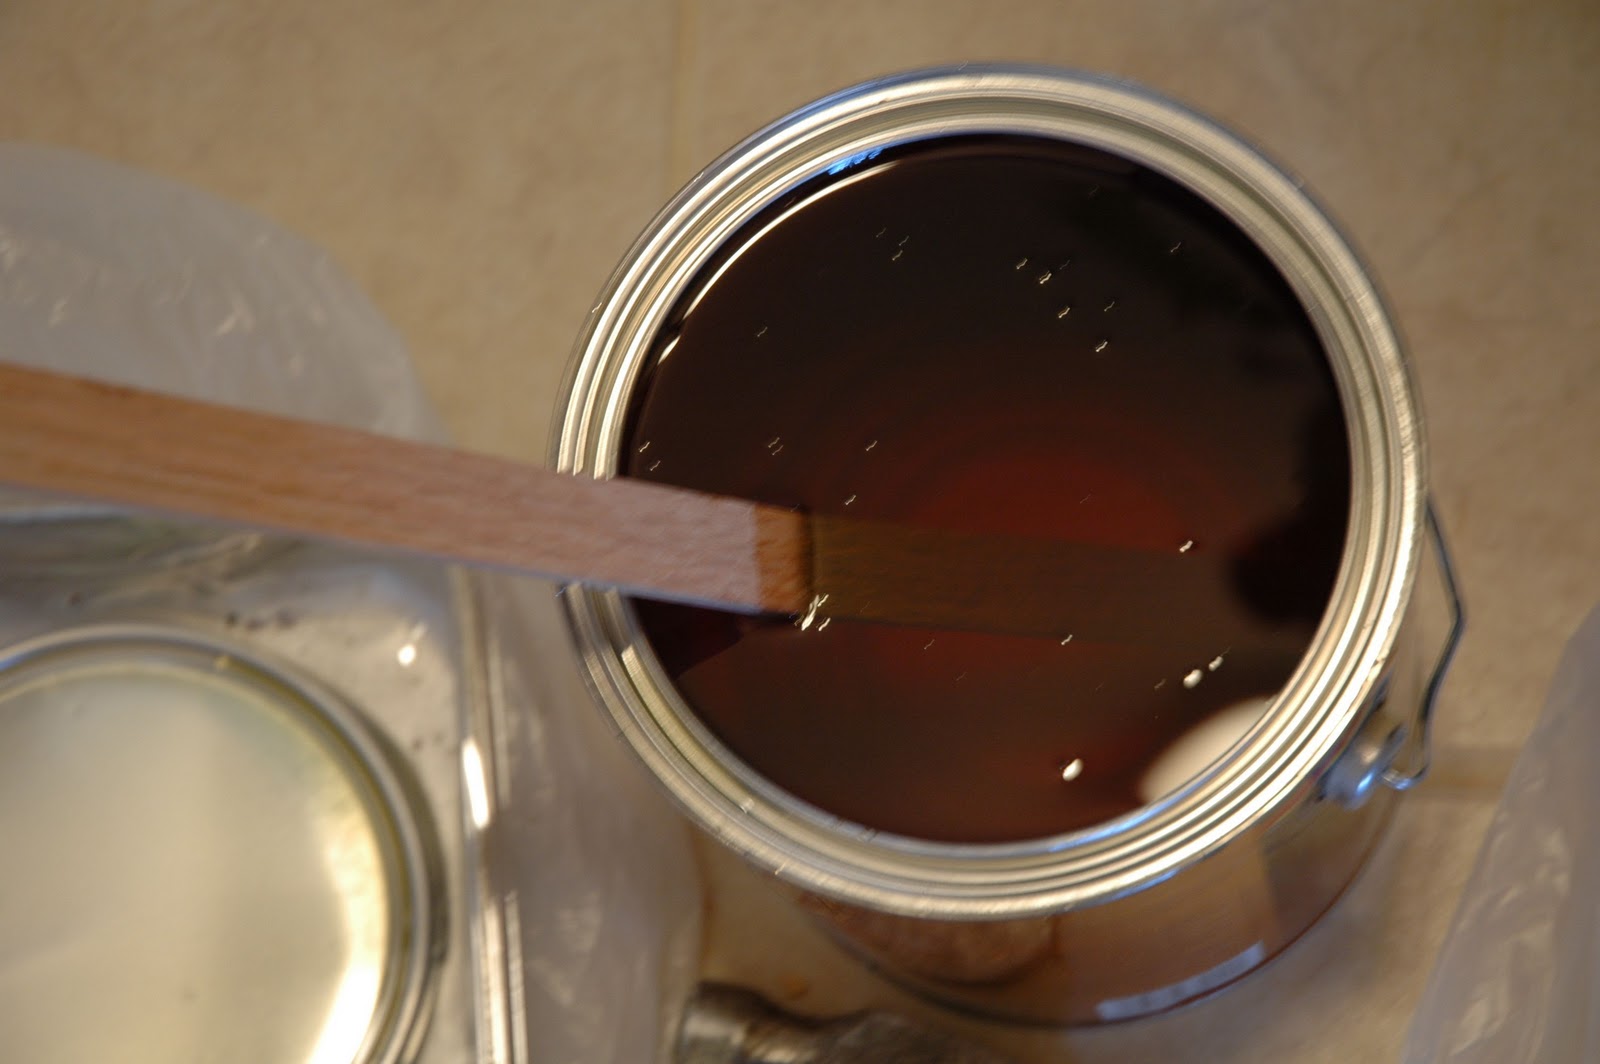
You will want to stir your poly (both in the can and in the paint tray) from time to time throughout the application process.
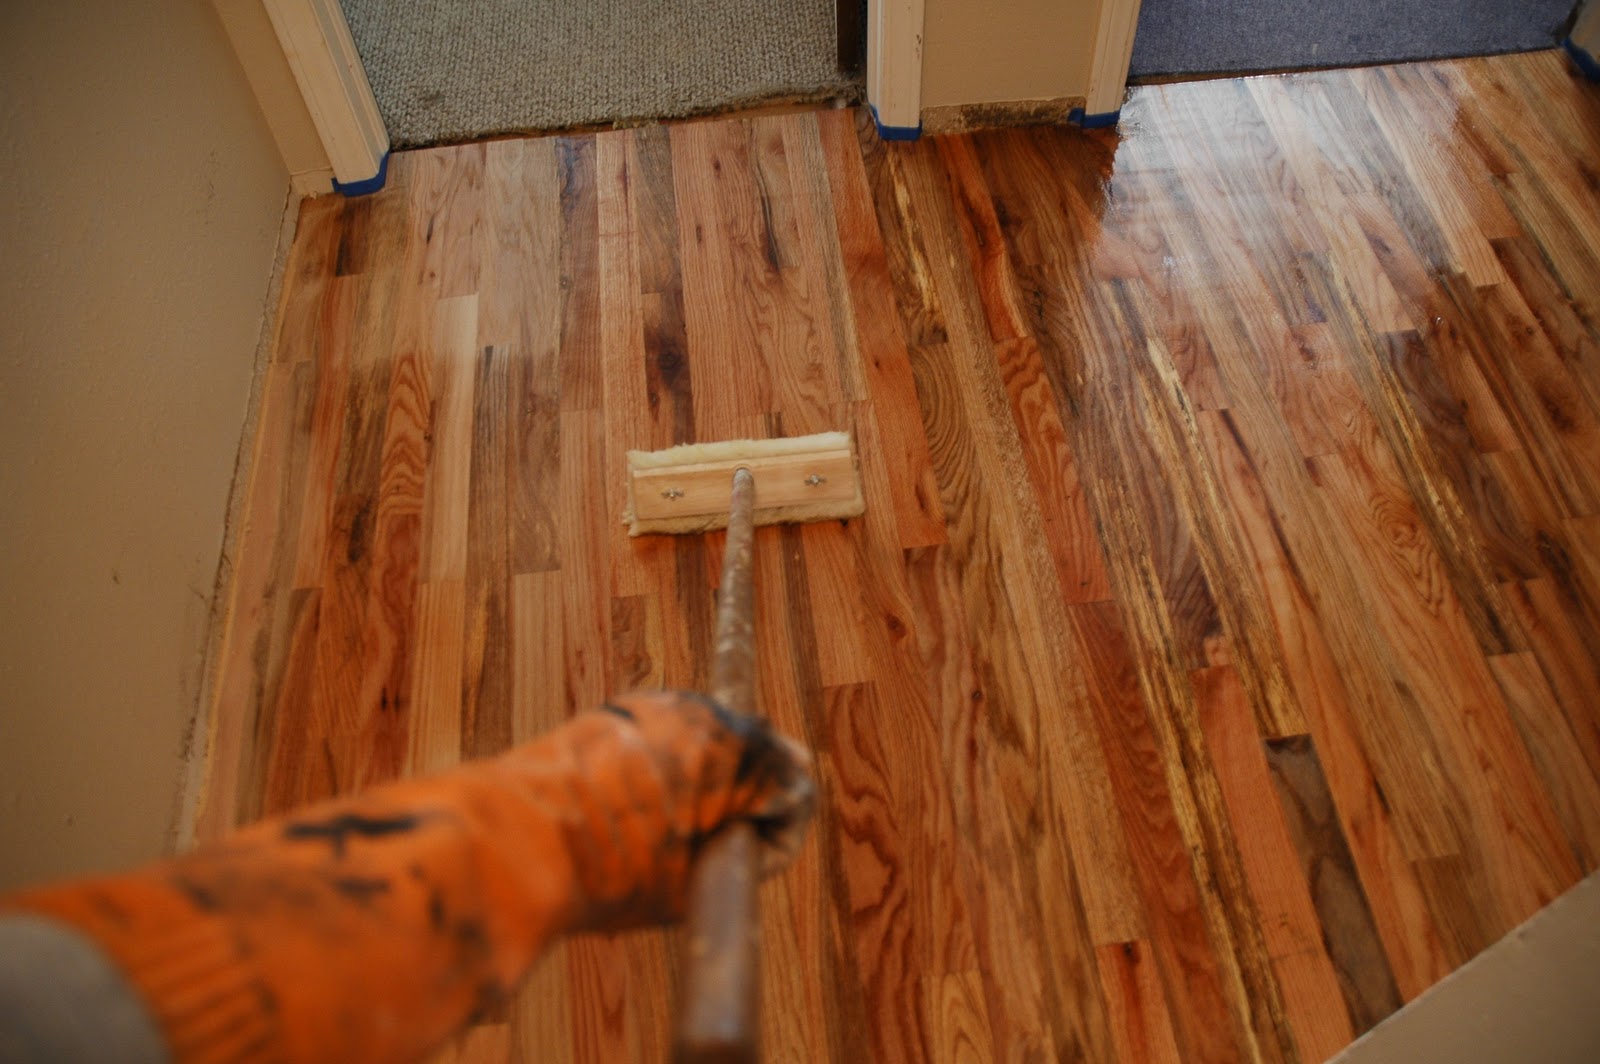
It’s easy to miss spots or leave puddles. Review your work as you go, using different viewing angles.

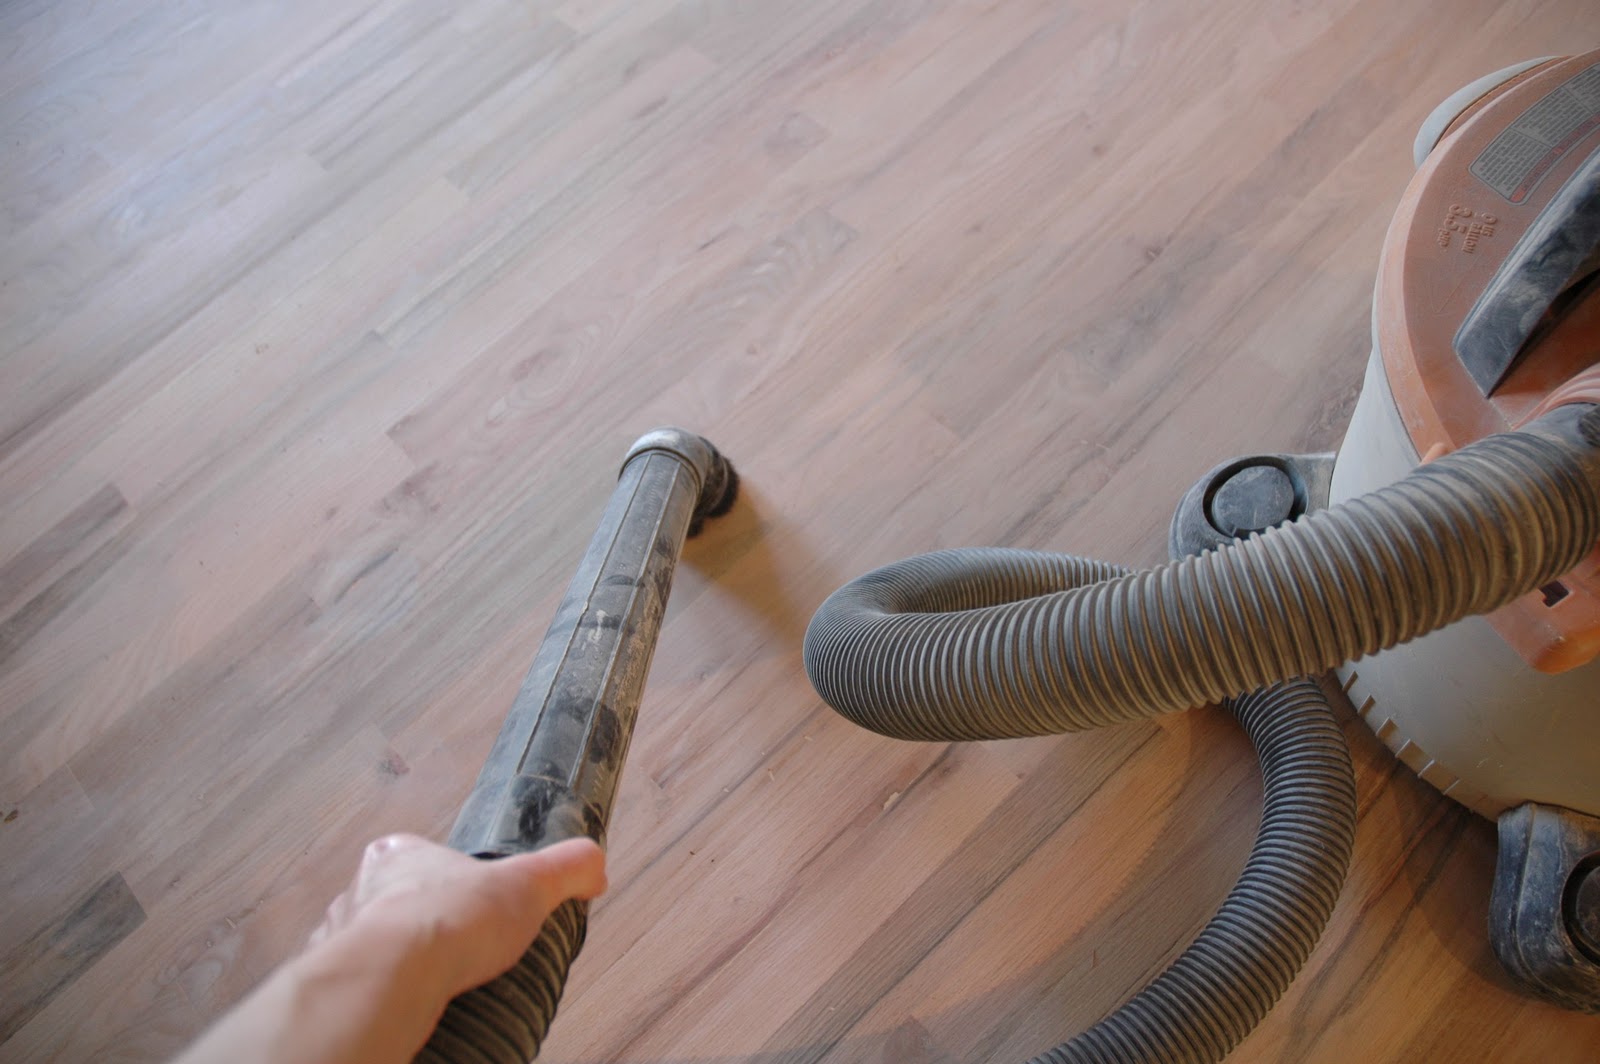
Vacuum the floor thoroughly after you are done sanding.


Follow your manufacturer’s instructions on dry time. Usually you can walk on the floors 2 days or so afterwards.
You did a great job.
And THAT’S how a woman does it.
Come visit me at www.potholesandpantyhose.com and let me know if you want to see more crazy projects completed by me!-Rebekah
Cassity Kmetzsch started Remodelaholic after graduating from Utah State University with a degree in Interior Design. Remodelaholic is the place to share her love for knocking out walls, and building everything back up again to not only add function but beauty to her home. Together with her husband Justin, they have remodeled 6 homes and are working on a seventh. She is a mother of four amazing girls. Making a house a home is her favorite hobby.


>Thanks so much for featuring my Hardwood floor tutorial today. I really appreciate it, Cassity!
First let me say that as a woman, I love your DIY adventurous spirit… BUT as a professional hardwood floor refinisher I am begging you to correct your instructions! The order that you have given for the sanding grit is totally backwards… You start with the lowest (Roughest) grit paper (36) and then proceed in escalating order until you have reached the level of smoothness you are personally satisfied with. The purpose of the roughter grit is to remove the existing finish and flaws as quickly as possible, The purpose of each successive grit is to remove the scratches left by the previous sandings. If you do this in reverse order, as you have directed, it leaves the floor very rough feeling, and although after applying finish it may feel smooth, when the sun hits the floor and you look down the length you will see lines that resemble corduroy…
>Awesome job! This is an amazing tutorial!
>Great Tutorial. However, I think you typically want to start with the 36 grit paper and then move on to the 80. Finish with a finer grit like the 100.
>Wow!! That is really impressive … I'm not sure I'm brave enough to take on re-finishing my hardwood floors, but they need it BAD! Excellent tutorial! 🙂
>That is super awesome Rebekah!!
I need my floors refinished and was going to pay to do it… maybe I'll try it myself now… or maybe you want to visit California???
>Oh my… as I sit here looking at my lovely, but old, lacking varnish floors, you have totally inspired me. I totally can do this – by myself! Did you do it alone or did you have at least one other helping you? Just curious to see if this really is more of a two person job or if I can do it alone.
>Im impressed that you handled that big sander on your own, I watched my boyfriend use it while I struggled with the edger and it was hard work (plus I have wimpy girls muscles!). Pays to be patient and wait at least 2 days for it to set – we moved in the next day and as a result are having to sand back each room as we paint it to redo it as it got scratched. Nice work!
Glad to see another woman. I’ve been profesonally relishing hard wood floors for 21 years now !! Women in boots llc . Looks good
Cassity, Please change the order of instructions for the sanding grit in these instructions before someone royally screws their floor. There have been corrections in the remarks section since 2010 and the information in the article is still wrong. You start with 36 (the roughest grit) and move up from there to 60, then 80/100 to get progressively smoother.
I changed the order. Thanks for pointing that out.
I’m not sure what some of you are readíng, but she does have the order correct. She states start with 36, then 50, then 80/100. Looks good.
Thank you for your article! Very helpful for me and my wife with finishing our first floor. One thing I can’t quite figure out is the best type of wood filler to use. What do you recommend? My floor is red oak.