Pottery Barn Inspired DIY Metal and Glass Pendant Light

Upcycle an old brass light fixture into a beautiful DIY metal and glass pendant light for just a few bucks and some spray paint.
You’ll also want to check out this gold and glass pendant light and how to make a plug-in chandelier from a thrifted light, plus our favorite stylish flush mount fixtures under $50 (and if you’re renovating, we love these recessed light fixtures for low ceilings!)

This post was contributed by a guest author, Amanda @ The Hand Me Down House
This post contains affiliate links. Learn more and read our full disclosure policy here.
Upcycled Metal and Glass Pendant Light DIY
Okay….first let me say that I LOVE flipping through an ultra-chic Pottery Barn Catalog. I love how beautiful EVERY picture and room is. Too bad we can’t put a second mortgage on our house to finance the PB goodies I want…so that leaves me to come up with an alternative by myself.
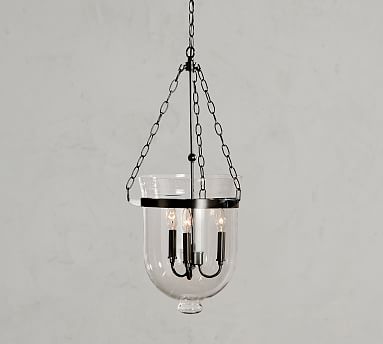
Last week I saw this beautiful, simple, chandelier: the Pottery Barn Hundi Glass and Metal Pendant.

I immediately saw it hanging in our entry way (and everyone oohing and ahhing over how fabulous our new chandelier was when they came over … I may have gotten carried away while day dreaming).
I was rudely brought back to reality by the $269.00 price — darn!
Even some of the lookalike dupes are still pricy (though more recently we did find a couple under $100):

But as I studied the fixture I thought — “I could make that — right!?!”….
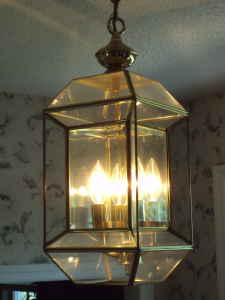
Enter Craigslist (one of my favorite resources!). I searched not more than 15 minutes and this “beauty” fell into my lap. Notice the candelabra part is PERFECT! For $15.00, and only 5 minutes from our house – I had to get it!
How to Disassemble a Glass Candelabra Light Fixture
I cleaned the chandelier off when I got home and started to disassemble it. I started taking pictures to post on my blog — but then realized it was a good thing I did, becuase I couldn’t remember how to get it back together!

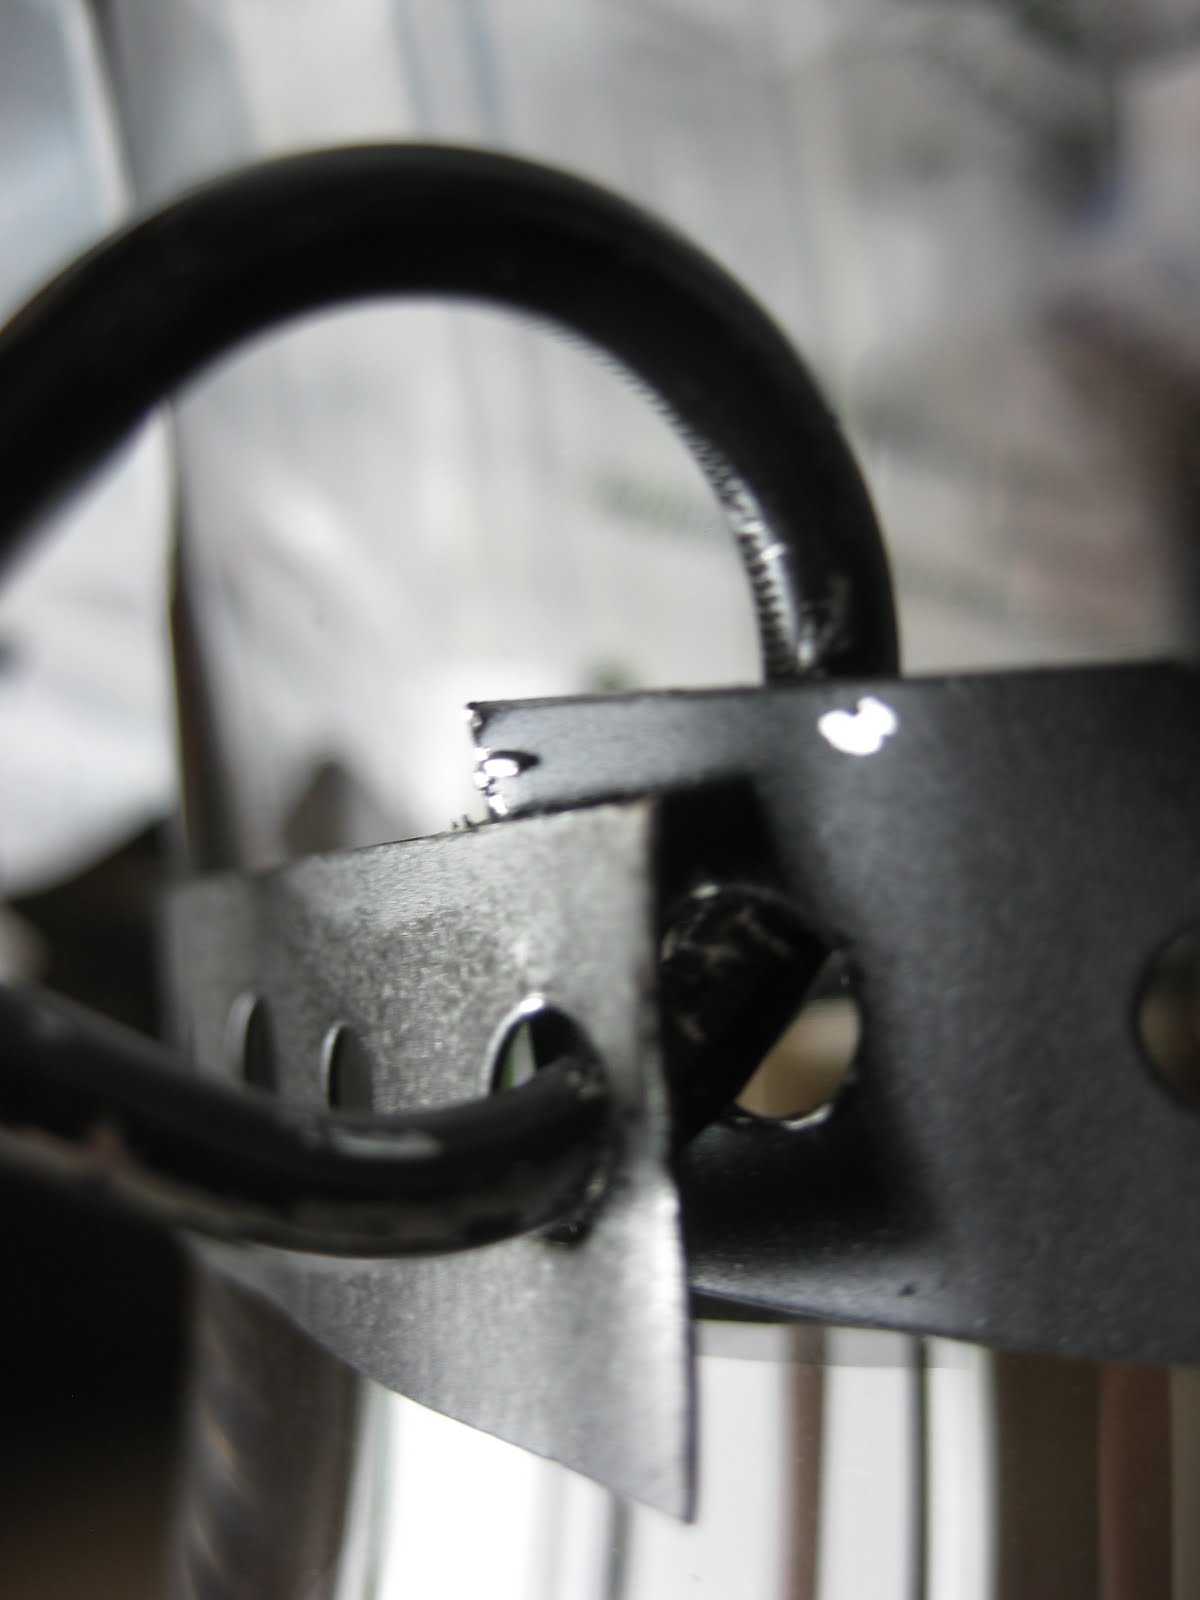
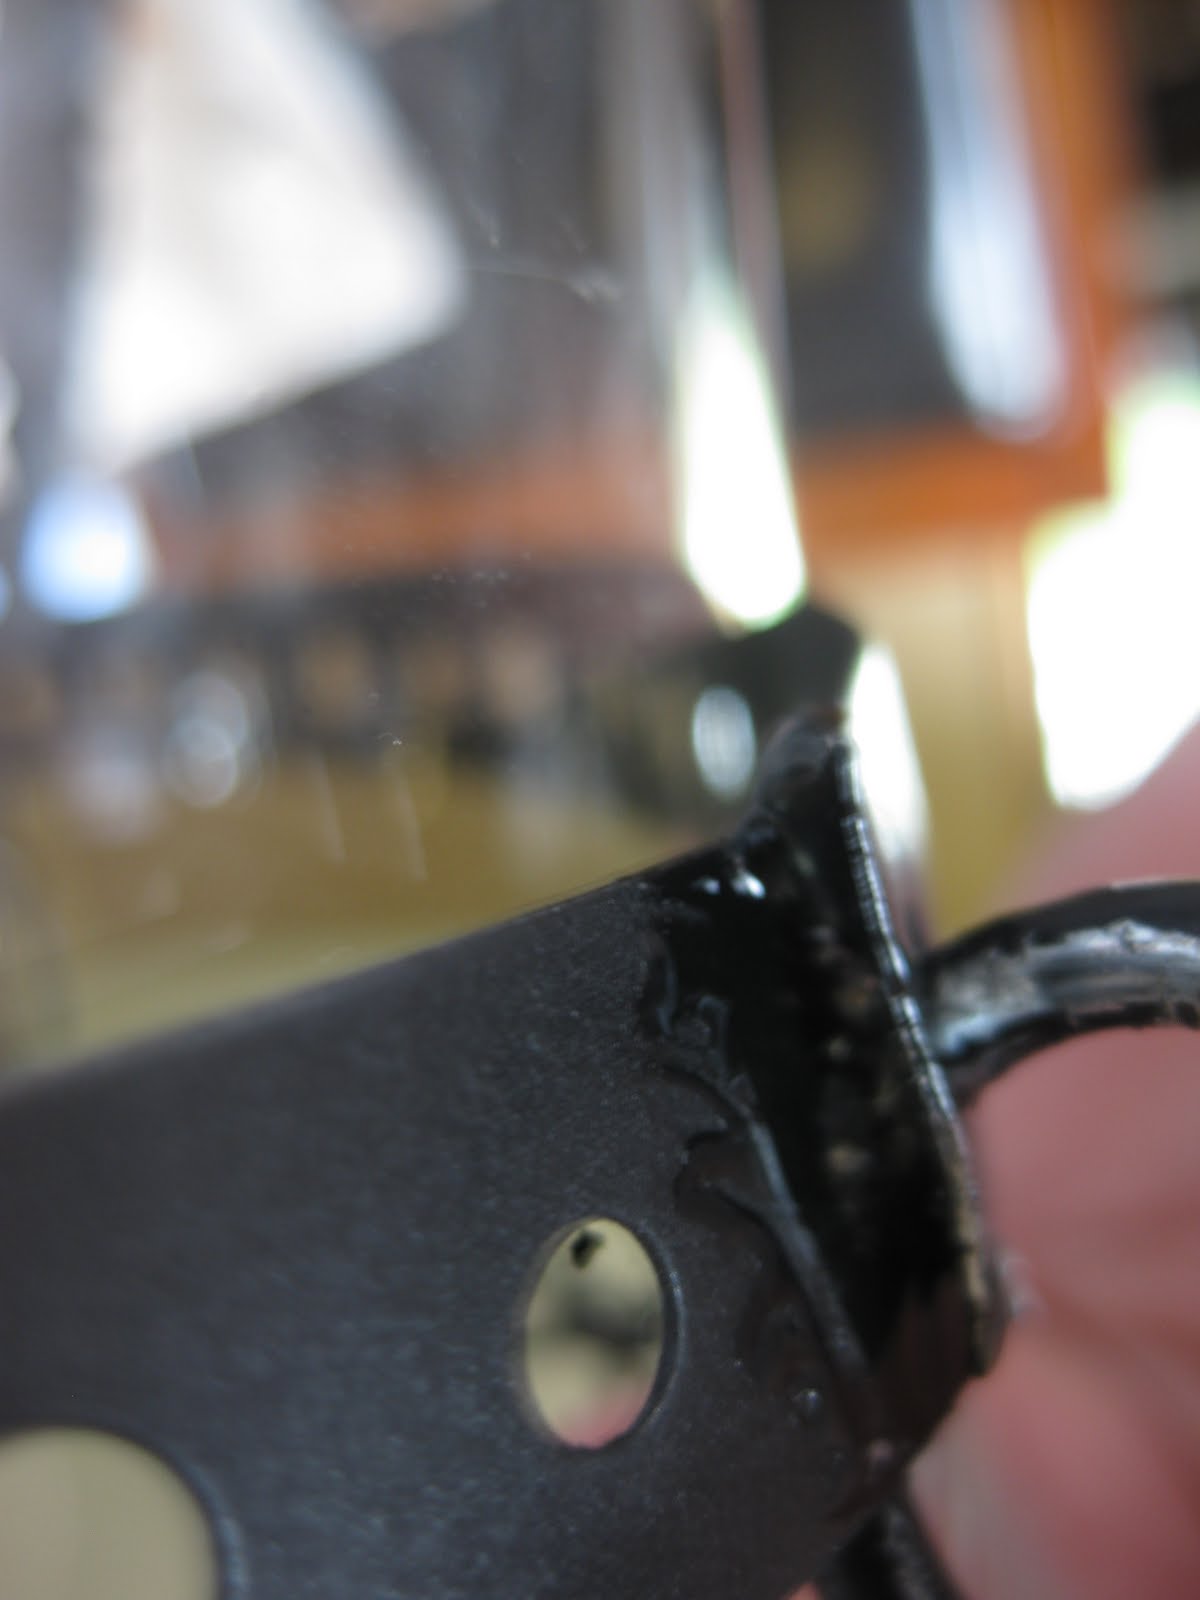
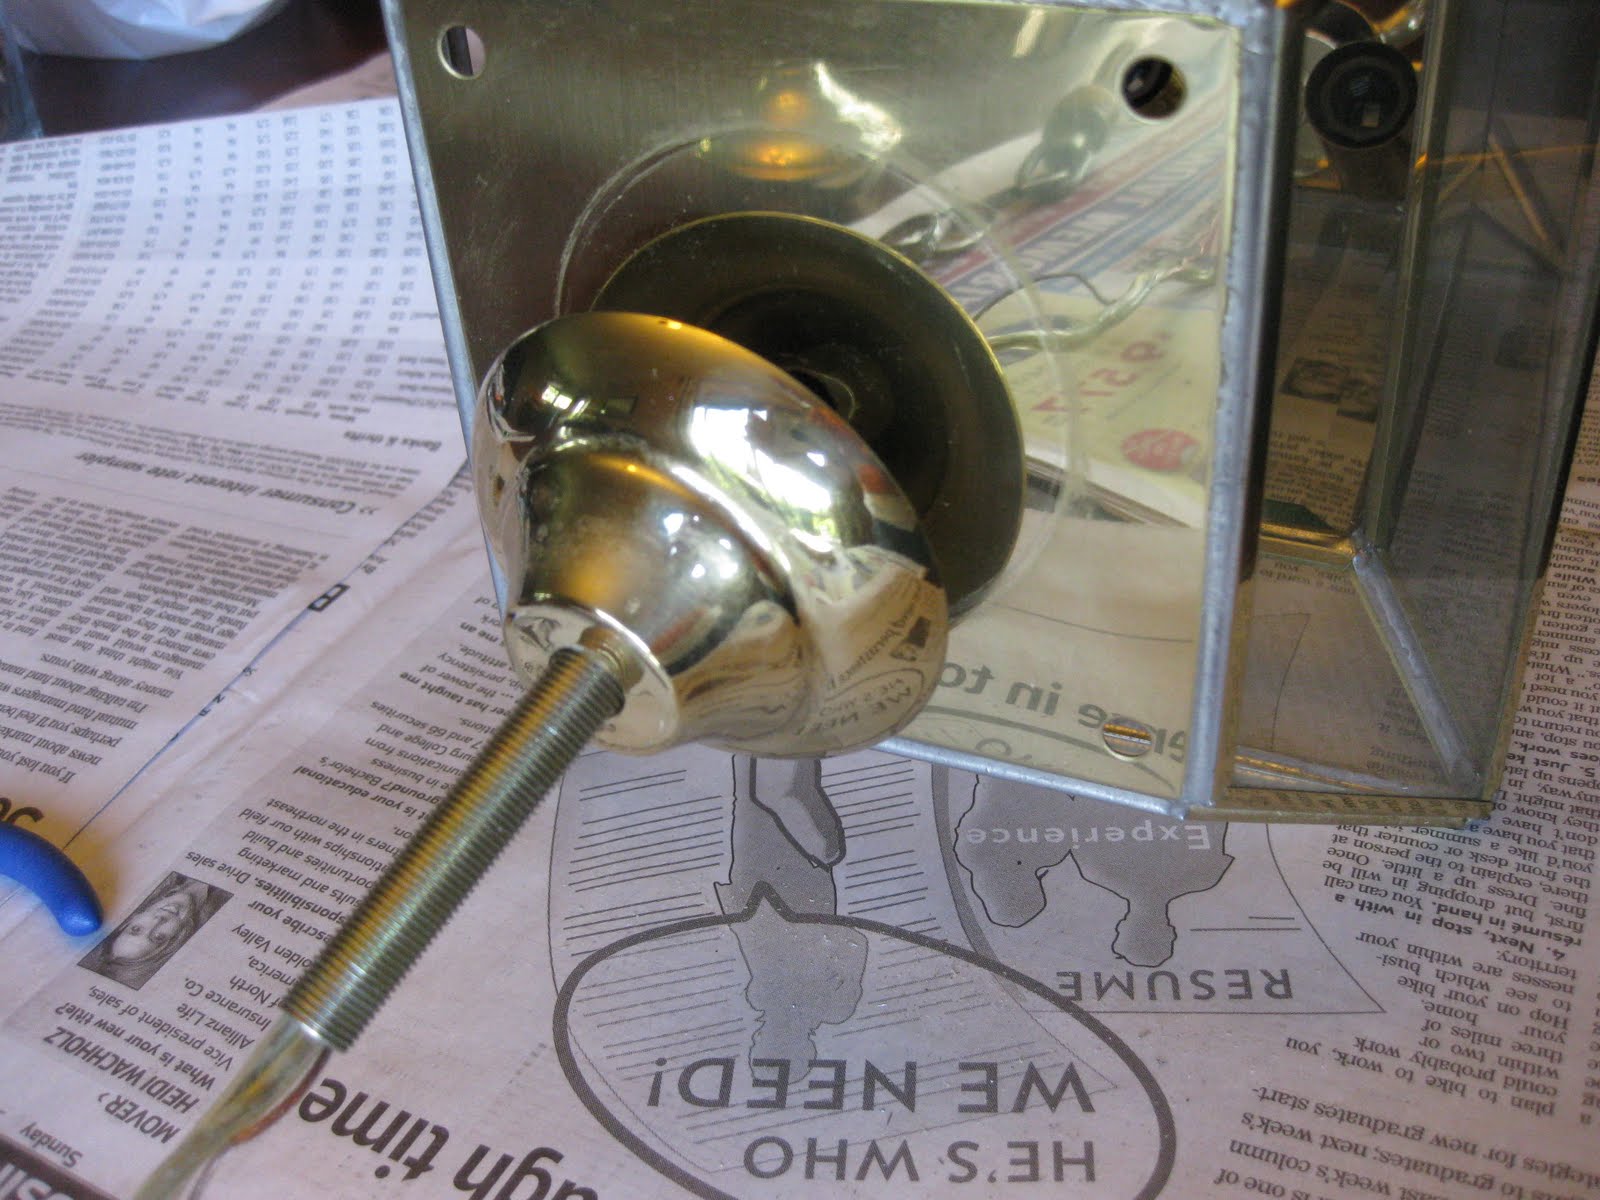
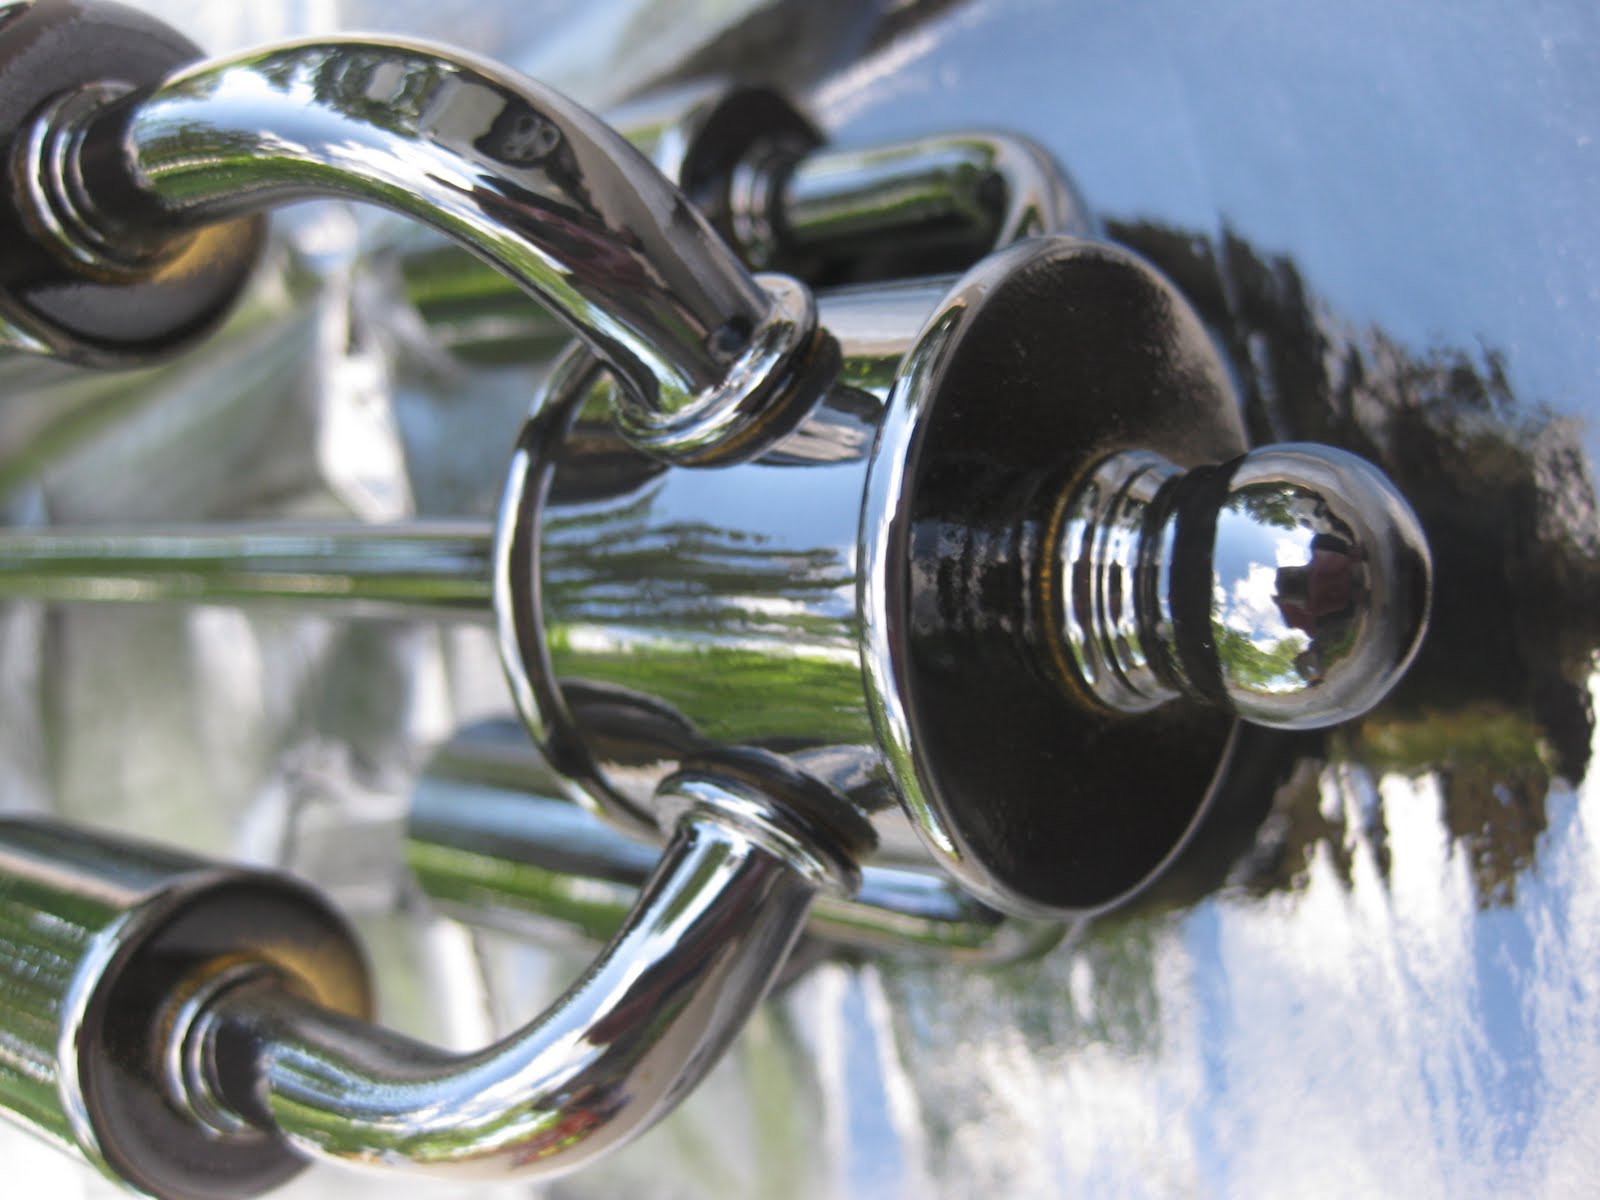
I didn’t need any tools to get the candelabra portion of the light out of the “box”, I just unscrewed each piece to free it from the glass casing. You can see each piece coming off in these pictures.

Once everything is loosened you can slide each piece off of the wires.

Almost done — only one piece left to unscrew from the post that holds the wires in place.

You can see that the “post” just unscrews as well and can be slipped off of the wires.
Now, just pull the candelabra down through the box (the wires will be pulled through the hole on the top of that box).

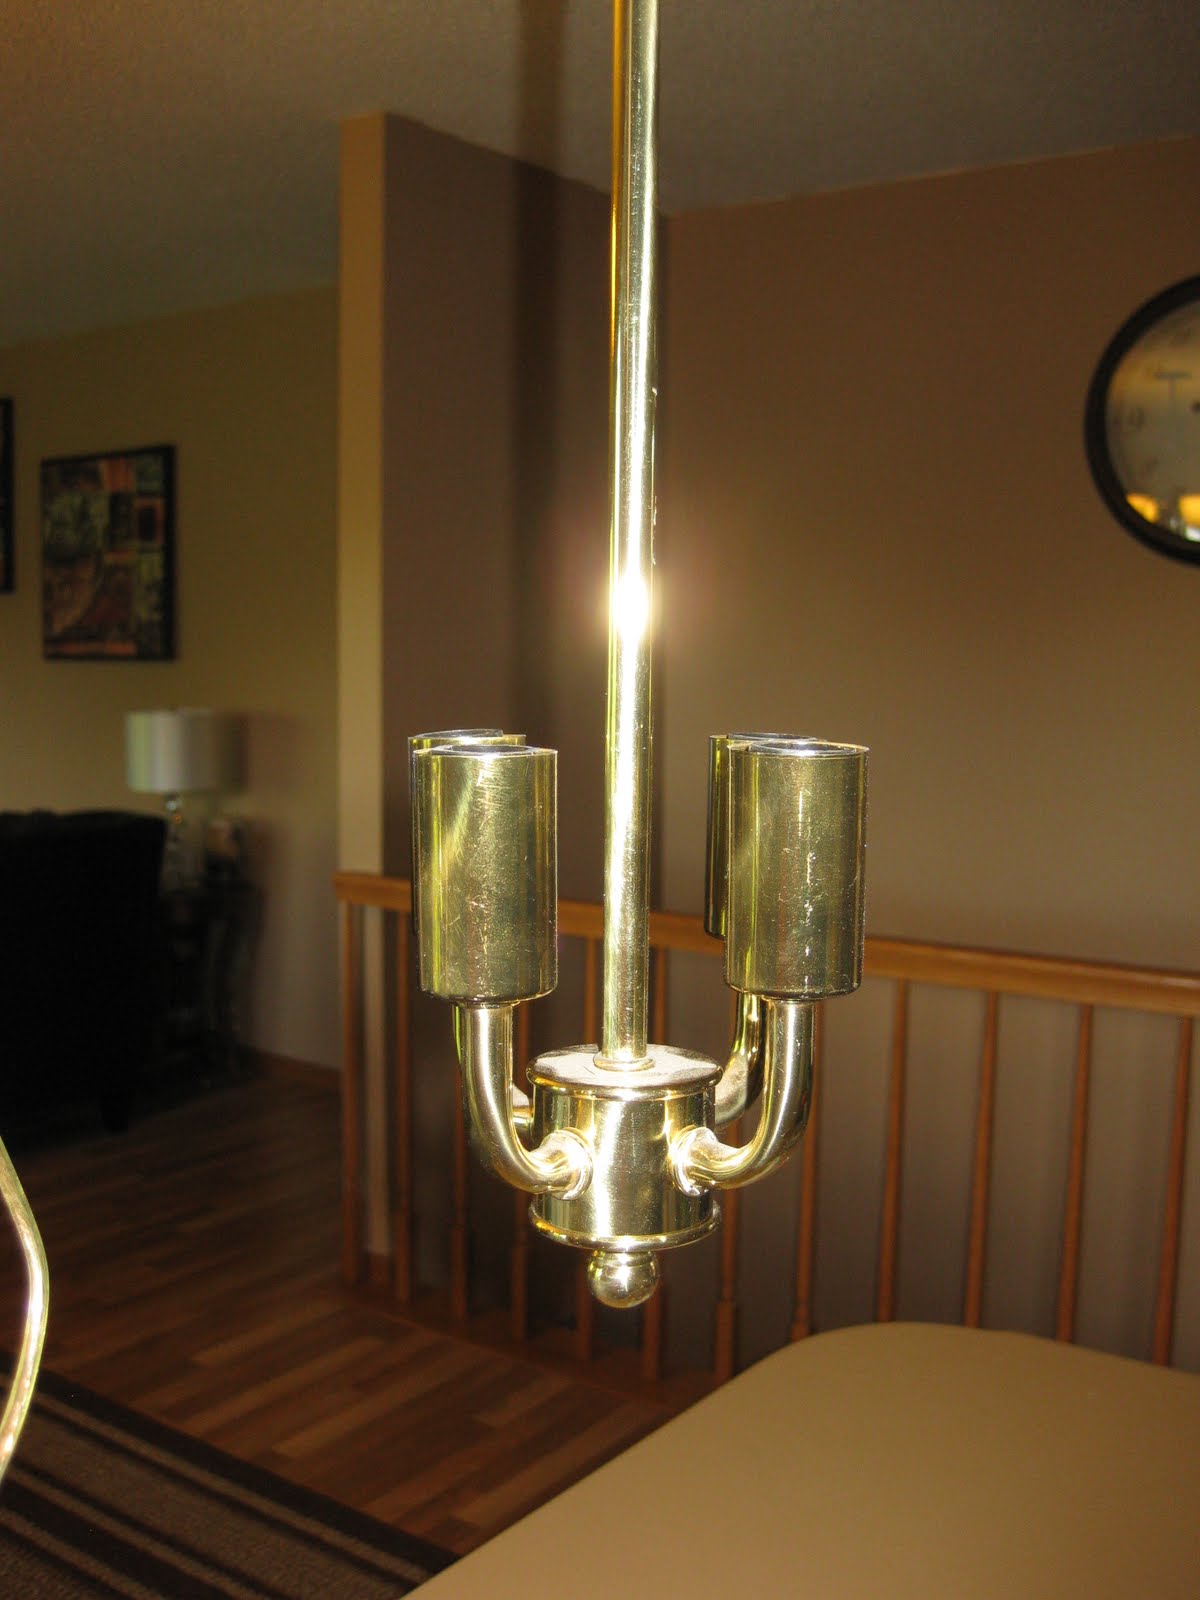
The candelabra is FREED! Don’t you love that shiny brass?!?
How to Paint a Brass Light Fixture

I got out my trusty can of spray paint and sprayed that baby down. (I spray-painted the S-hooks and bracing the same black as the candelabra.)

NOTE: I put paper towels in the sockets so I didn’t get paint in there. I also covered the grounding wire (the bare copper colored wire) so as not to get paint on that either.

How to Make a Glass and Metal DIY Pendant Light
Materials
To make your own glass and metal pendant light you will need:
- Upcycled candelabra light fixture: disassembled and painted (see above)
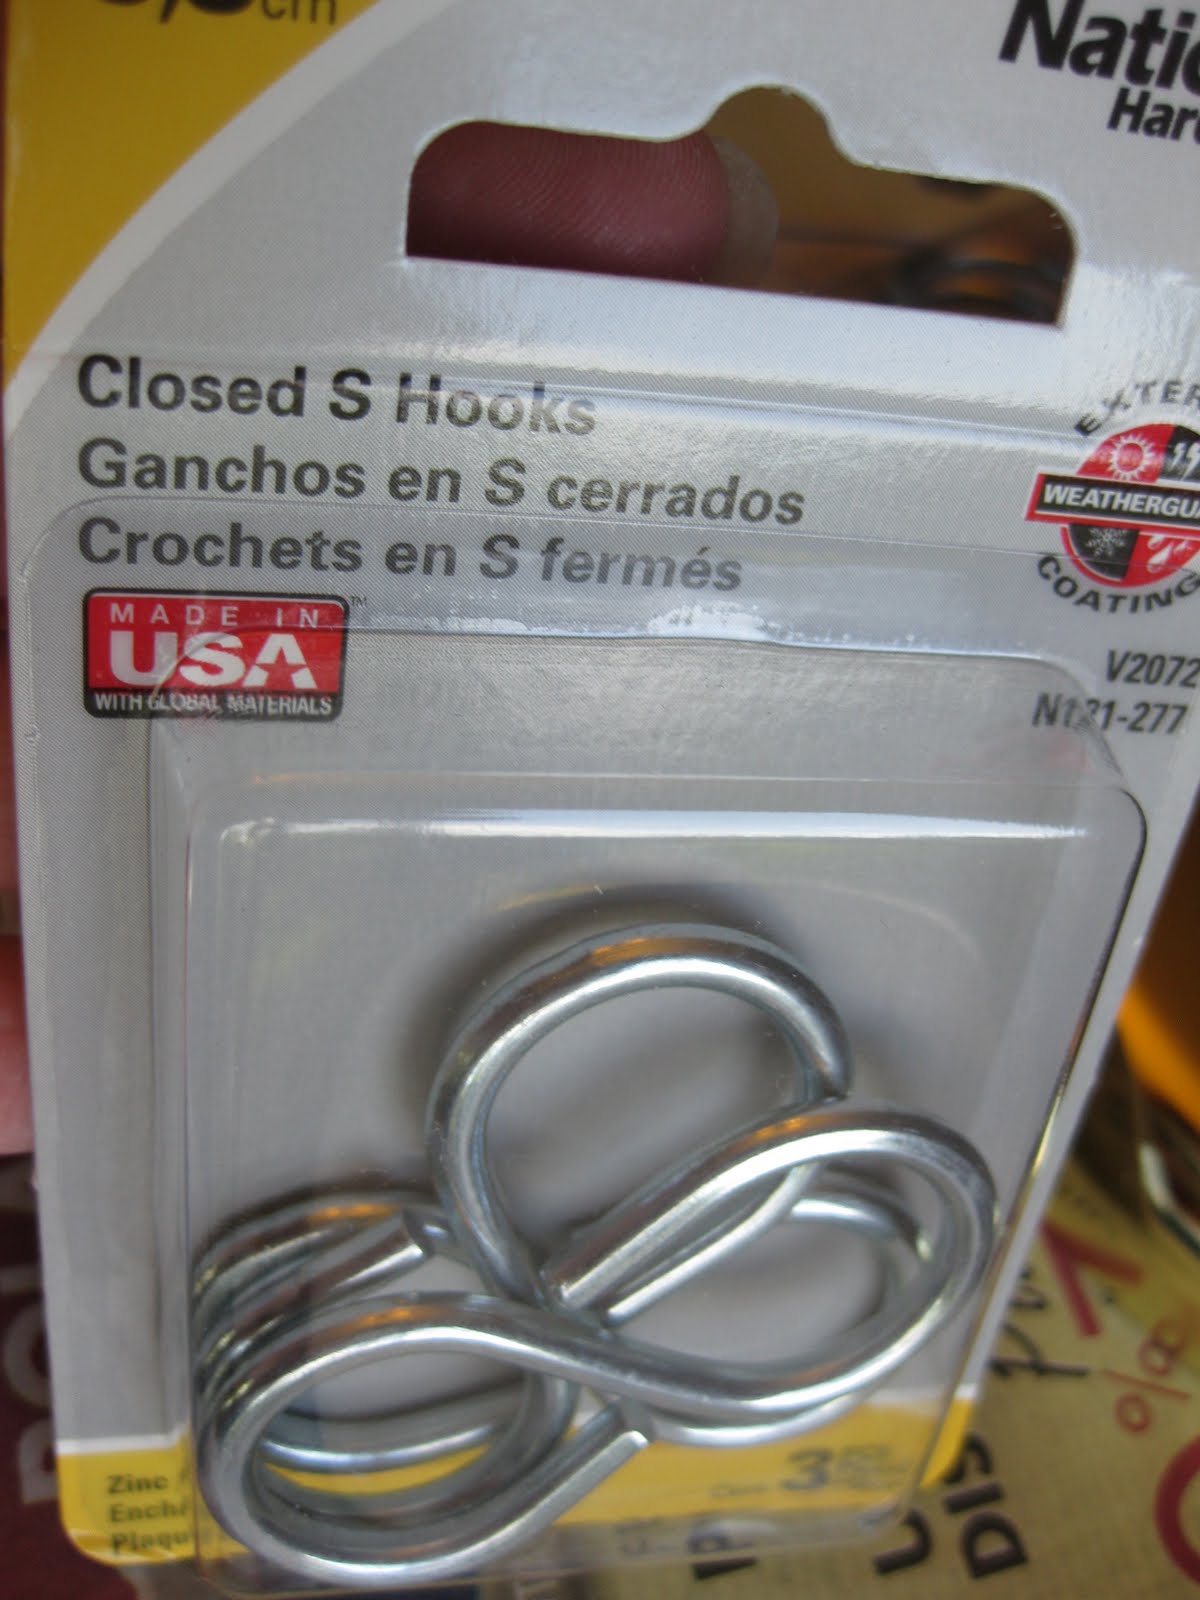
- S Hooks: 2 1/8″ closed S-Hook: $1.09
- Three 1-foot sections of chain (Home Depot sells it by the foot, so they can cut it all for you — YESSS!) $1.62
- I used #16 chain that was already black. You can check the weight restrictions on each kind of chain to make sure it will hold your vase. HOWEVER: You want to make sure it’s a light enough chain that you can bend the end of a link to hook it onto your s-hooks.
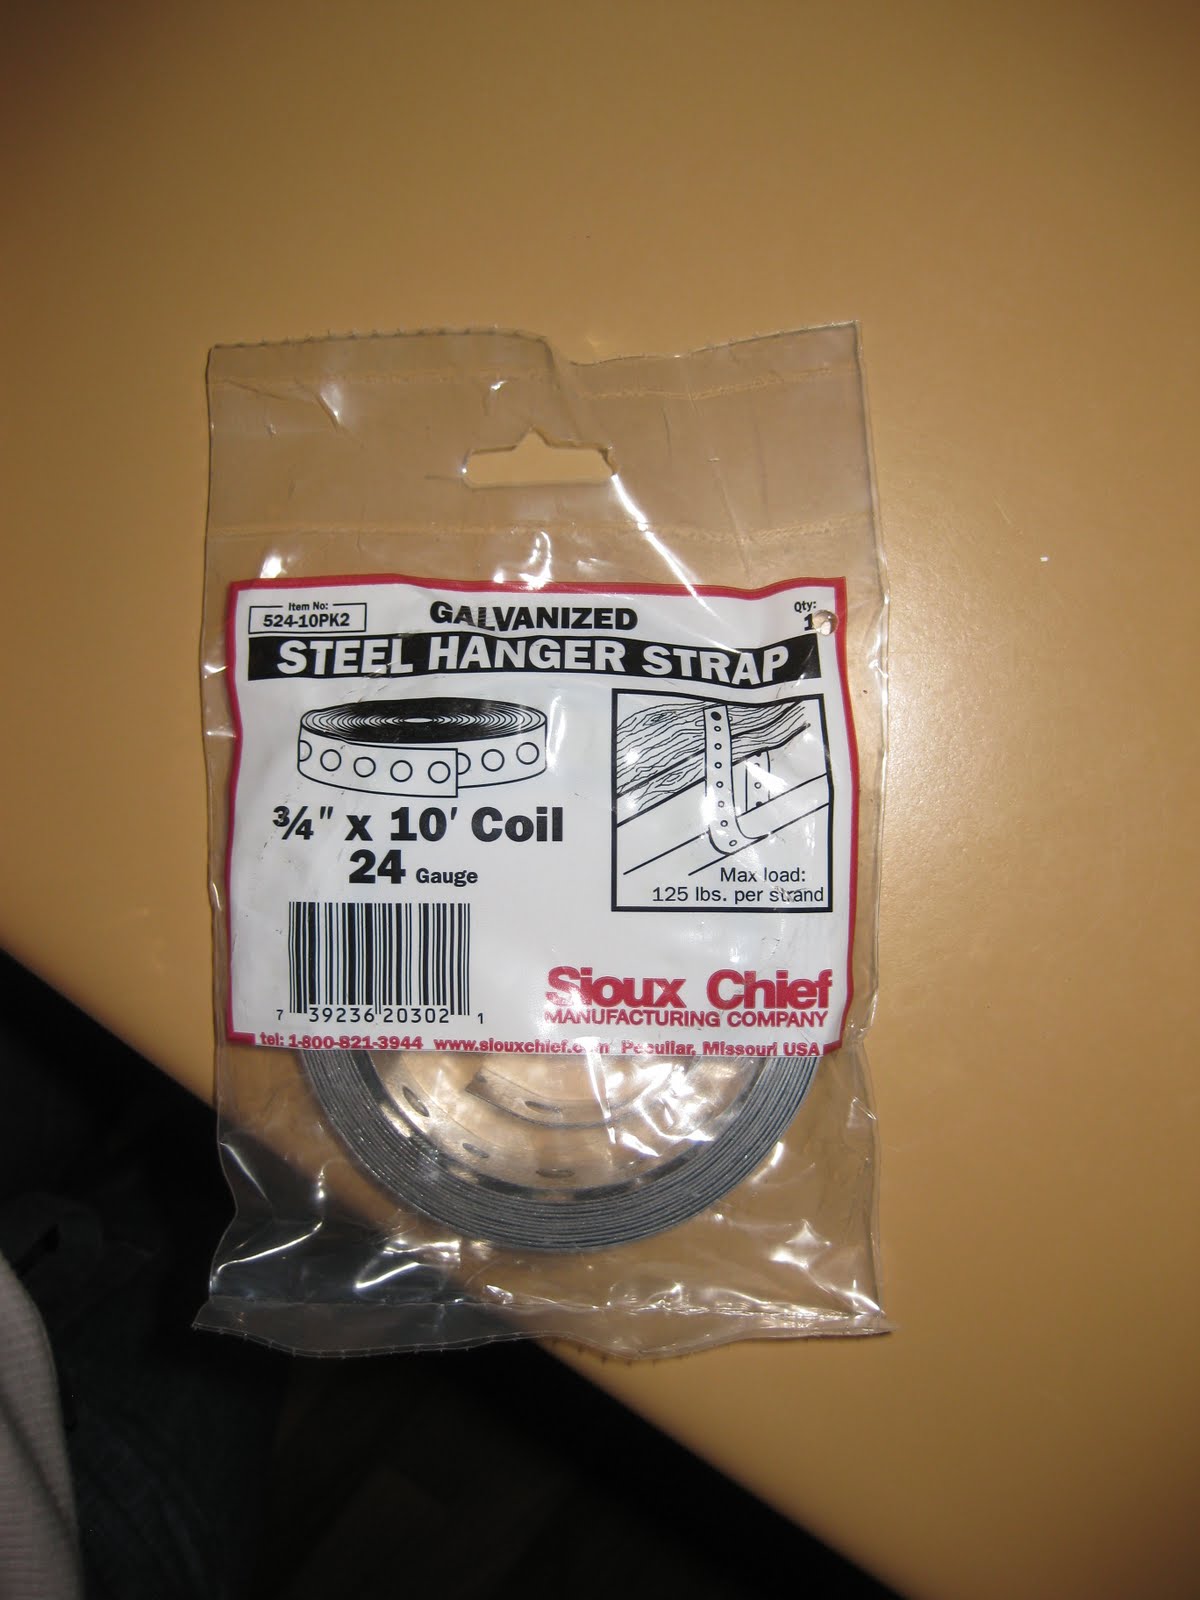
- 3/14″ – 24 gauge steel hanger strap (found near the plumbing at the hardware store): $1.64
- Gorilla Glue: The kind that dries clear.
- Vase: You will definitely want a vase that has a fluted top so that it holds the hanger strap in place while it hangs. Other than that, have fun picking a unique one out! I got mine from Joann’s for $9.99
- Ribbon: You’ll want to cover up your hanger strap (because let’s face it hardware doesn’t look pretty on it’s own!). I used a black piece of ribbon that I had left over from another project. You could also use a string of beads — I just liked the simple look of ribbon.
- Paint: I used left over black spray paint for mine. But I also saw that Home Depot has their own version of this light in silver. So whatever you want goes!
TOTAL for me: $29.34 (compared to $269.00!!)
Making The Glass and Metal Light Fixture
Now comes the assembly part.
Measure the skinniest part of the vase with a fabric tape measure. Cut the bracing to the same length, making sure that at least ONE of the holes can overlap, like this:
Insert the three S-hooks, evenly spaced, before you wrap the hanger strap around the vase. Also make sure that the hooks are pointed up before you insert the last hook (in the overlapped part).

Then wrap the hanger strap, with the s-hooks in, around the vase (just under the fluted part). I glued the part of the hanger strap that was overlapped (with the s-hook through two holes) just to be on the safe side. I don’t think you would have to do this step:
Next take your strip of ribbon and glue it to the hanger strap to hide it.

Once the ribbon is on, and glued, t’s time to hook your chains to it. You will need a needle-nose plyers for this. Bend the link at the end of the chain open so that you can hook it into your S-hook:
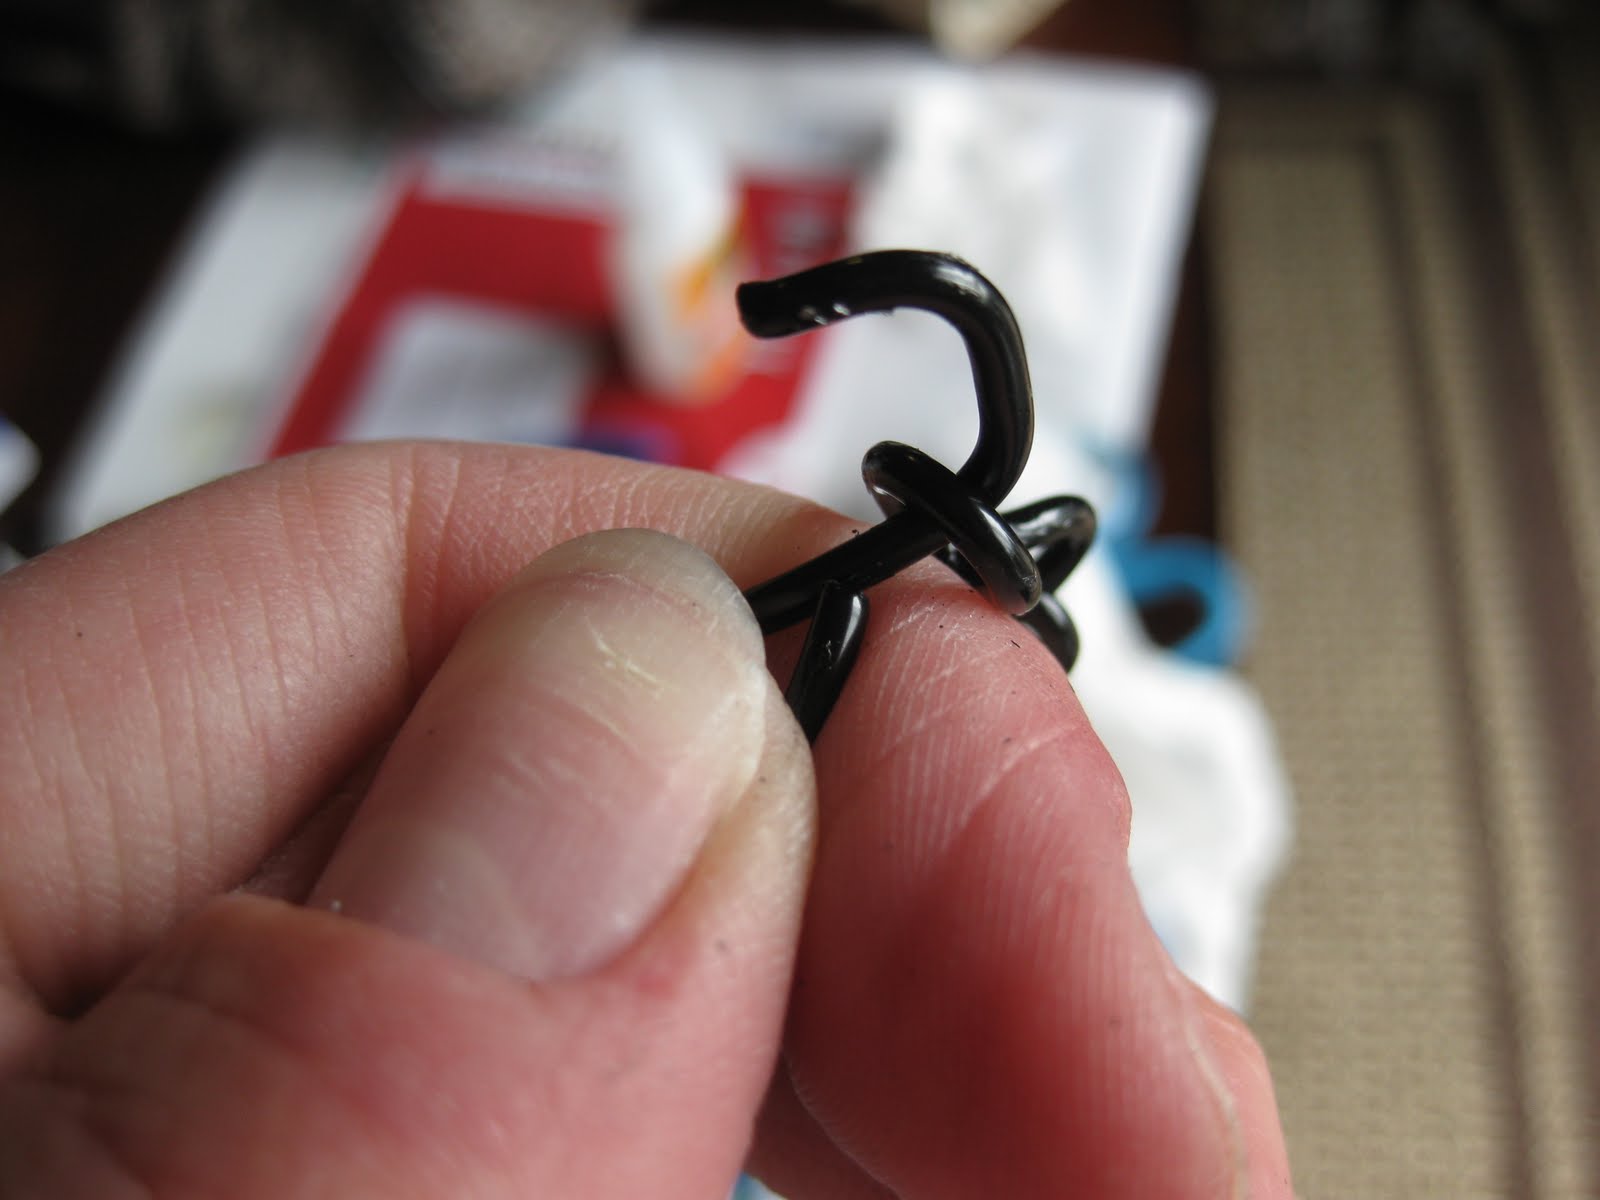
(YEESHK! Please excuse my scratched up thumb nail and dirty hands — is it a wonder why I’m not a hand model??)

Above you can see how the chain is clamped on to the s-hook (the metal needs to be touched up after this process — a lot of paint gets scratched off).
And you’re ready to hang up the candelabra and attach the vase:

It’s easier to install your light without the glass vase attached. Just hang the candelabra first. We made the mistake of hanging it with the vase (which was heavy) and let’s just say I won’t need to be doing any bicep/shoulder press exercises any time soon. Also, the vase got full of white ceiling popcorn and dust when we were hanging it. So it’s best to leave the vase off if you can.
And a safety note: It’s always best to make sure the power is turned off to your outlet and even to turn off the power at the breaker — just to be on the safe side. Kevin’s the expert on light replacement in our house — so I left the wiring up to him.
Once the bare candelabra is up and attached safely to your ceiling, you can attach the other end of your chains to the light’s chain hanging from the ceiling mount (or honestly, wherever you feel they look best). You will want to do the same thing with this end of the chain that you did before. Open up the last link with your needle-nose pliers.
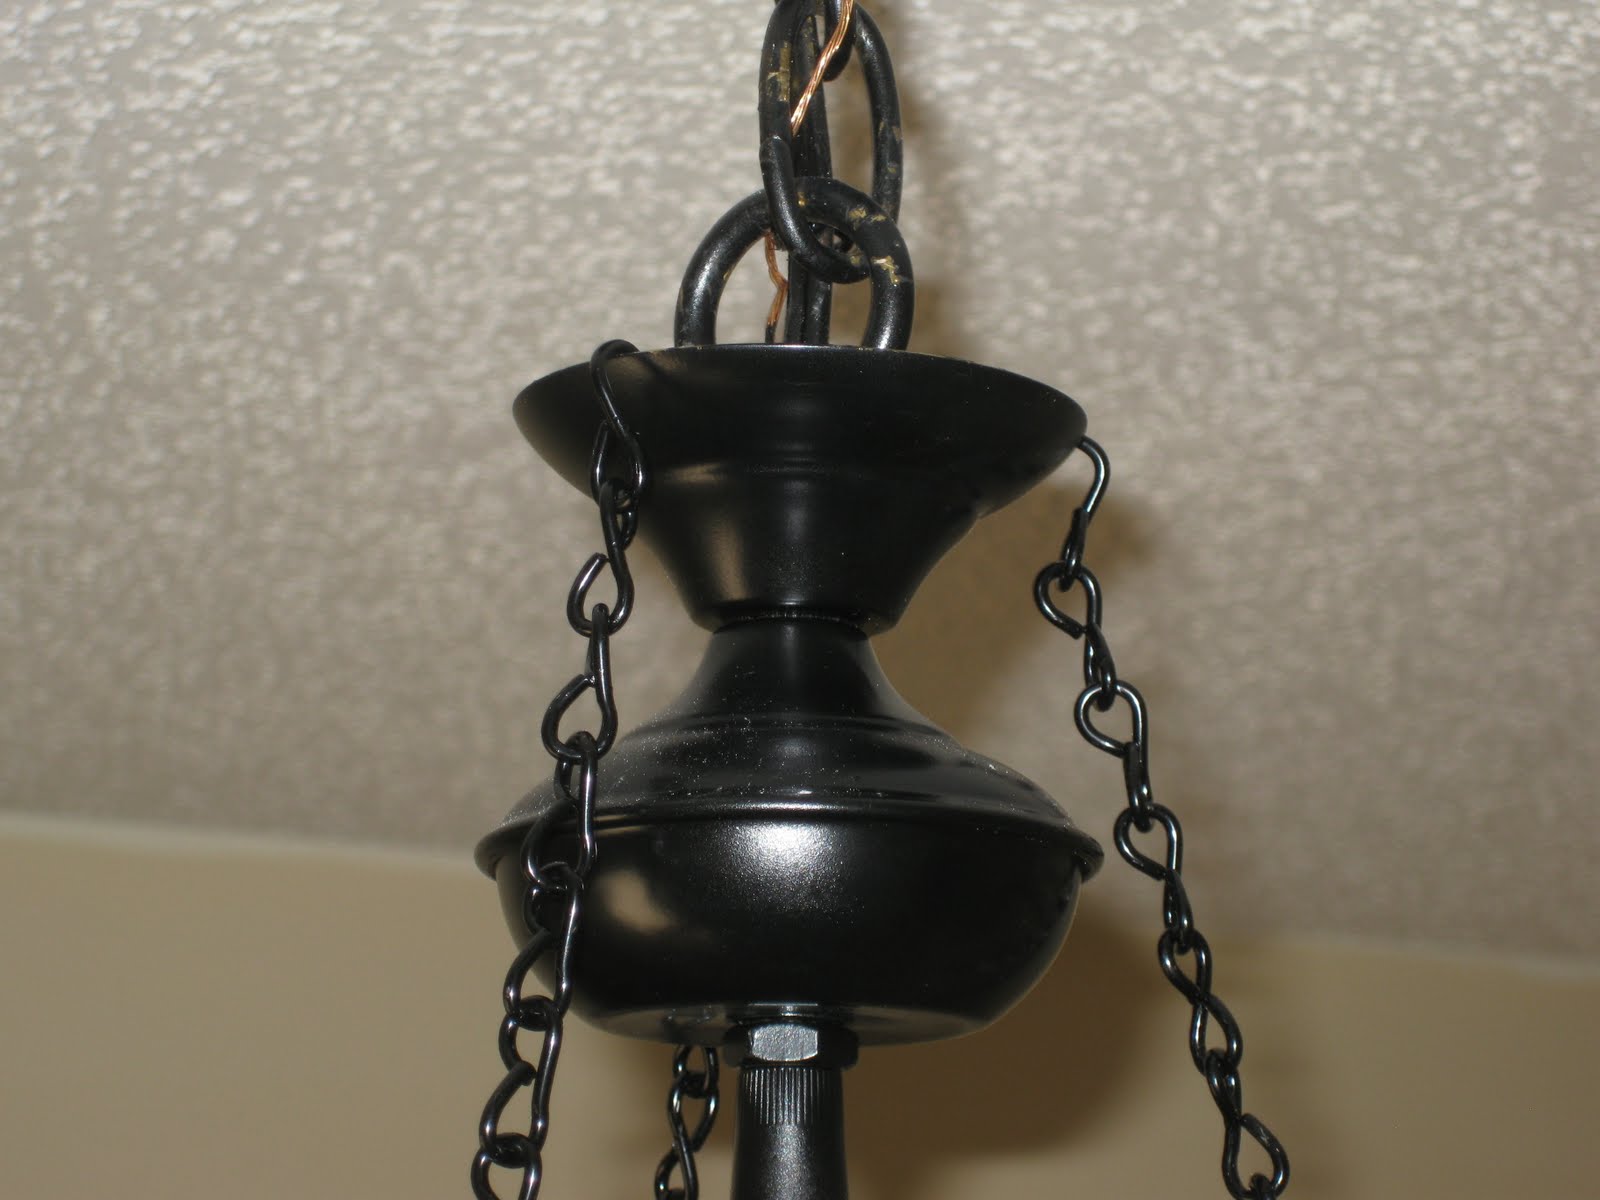
Above you can see how I have hooked the other end of the chain to the top. (you will probably need to touch up the spray paint — it does chip when you’re puting it up).
On a side note: Did anyone else notice that the glass on the PB photo is a cake stand cover? See???
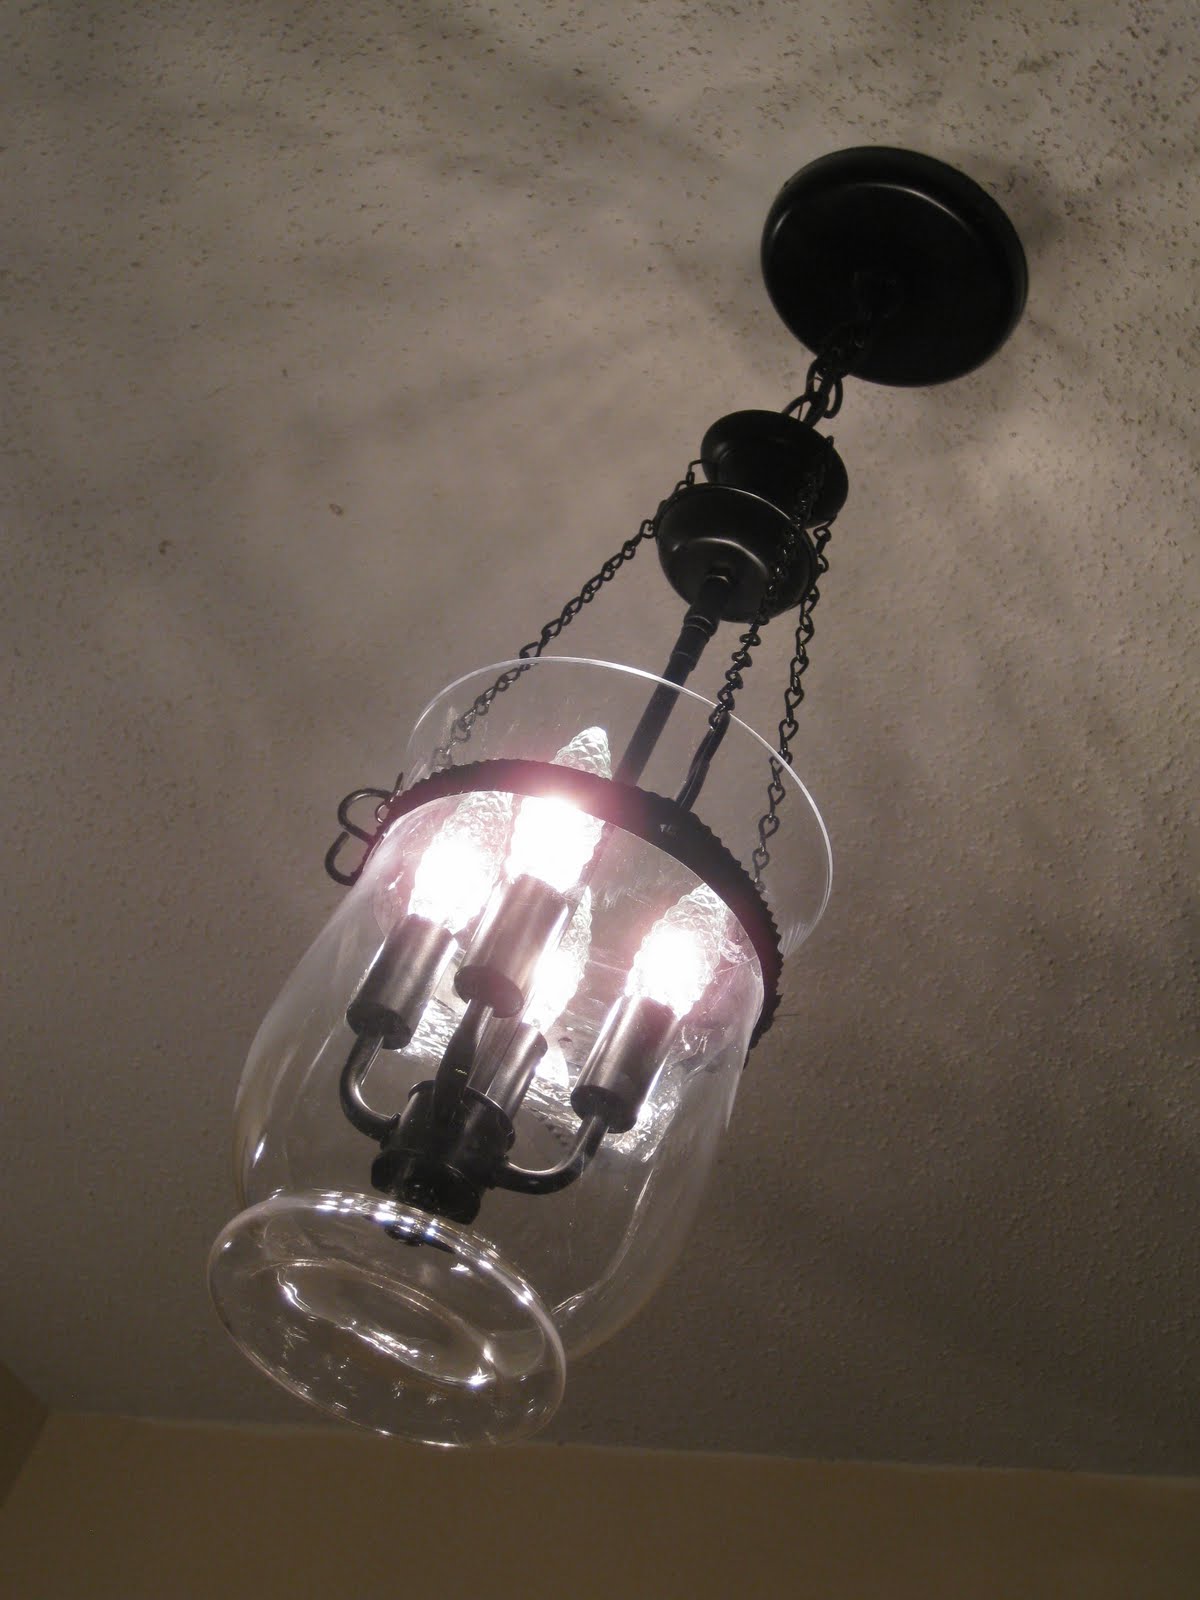
And it’s kind of like TWO Before & Afters (my absolute FAVORITES!!):
Before & After #1:
Before & After #2:

Isn’t this like 100 times better than our oak-fluorescent light fixture??

More DIY pendant lights
- Easy Glass Hurricane Jar Pendant Light DIY
- How to Make Your Own Wood Bead Chandelier
- DIY Punched Metal Shade for a Flush Mount Ceiling Light
- Geometric Pendant Light DIY from a Glass Terrarium
Cassity Kmetzsch started Remodelaholic after graduating from Utah State University with a degree in Interior Design. Remodelaholic is the place to share her love for knocking out walls, and building everything back up again to not only add function but beauty to her home. Together with her husband Justin, they have remodeled 6 homes and are working on a seventh. She is a mother of four amazing girls. Making a house a home is her favorite hobby.


>Wow that is amazing. Fantastic job!
>Even the Lowe's knock off version of this light is like $100. You are so smart. I am saving the link to this!
>I LOVE IT!!!!
>Fabulous!!!!
>Ok, I am BEYOND impressed! Hats off to ya!
~K
>That is so amazing!! I love it!!!!
>Way to go, this is incredible and I have been studing it for the last hour, even got my siter on phone and on this site ….so we are planning thank you for sharing