5 Pumpkin Carving Tips for a Perfect Jack-O-Lantern
This Halloween, I want you to take your pumpkin carving more seriously.
You have taken too much time and invested too much money in crummy tool kits to spend one more Halloween sitting among slimy piles of seeds and newspaper for hours, trying to carve a simple face into the practically impenetrable shell of an orange vegetable (or fruit, if we need to bring that argument up). Stop it.
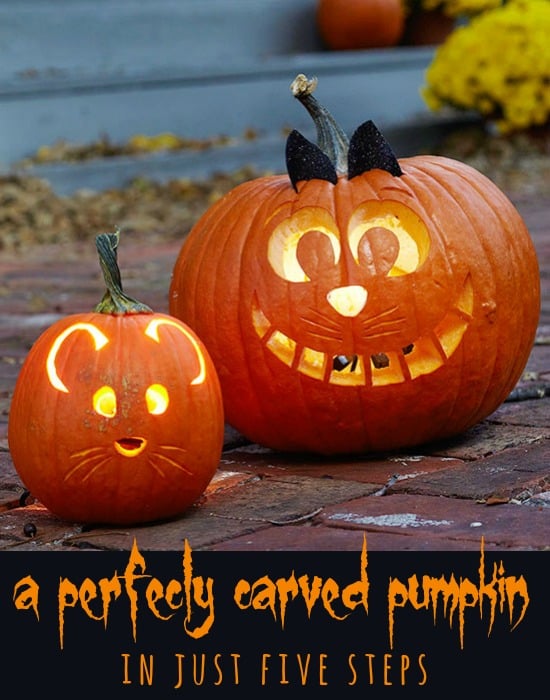
The following tidbits of jack-o-lantern wisdown and pumpkin carving tips are being handed to you now, that you might experience the actual joys, as opposed to the headaches, of pumpkinery. (featured image via Better Homes and Gardens)

Pick your pumpkin
- Find one with a smooth, unblemished surface and even color.
- Make sure your pumpkin sits upright on its own.
- Look out for mold around the stem. These pumpkins have likely begun to rot!
Tools of the trade
- Carving kit – this is a fine place to start, but if you really want to make the most of carving, try some sturdier tools.
- Drills and bits – they come in all shapes and sizes, and make for some seriously simple hole-punching.
- Linoleum cutters – the perfect tool for curly cues and simple designs on your pumpkin’s outer surface.
- Keyhole saw – typically one of the best tools for cutting your “lid” and larger details.
- Carpentry tools – wood gouges are great for scraping patterns into the surface
- Awl, or other needle-like tools – good for poking holes to transfer patterns to your pumpkin.
- Metal cookie cutters – an easy way to get creative and available in seasonal shapes! Use a rubber mallet to hammer them all the way through.
- Sculpting scraper and other sculpting tools – made for clay, these are perfect for scraping out the gunk and putting finishing touches on your carving.
- Other tools to consider – metal spoons, melon ballers, X-acto knives, toothpicks, serrated knives, ice cream scoops, markers and pens.
The art of carving
- Cut your pumpkin’s opening at an angle so that the “lid” has a shelf to sit on and will not fall through.
- Scrape out all of the “guts” and pare down the walls until everything is about 1 to 1 ½ inches thick for easier carving.
- Start from the center of your design and carve outward, dividing large sections into smaller parts to cut.
Keeping things fresh
- Rub Vaseline/petroleum jelly on the cut parts of your pumpkin after carving to keep it from drying too early
- Spraying the pumpkin with a bleach/water mix will keep mold and bugs away.
- Is your creation drying out and beginning to look less like a happy Jack and more like a shriveled and toothless old man? Try soaking it in water for a few hours!
Light’em up
- Candles are the old stand by, but battery-powered tea lights, Christmas lights, a strobe light, or even a glowstick can add to the jack-o-lantern experience.
Make your pumpkin carving experience extra-special this year – collect a few tools, find the perfect pumpkin, and perhaps try a few new, simple carving ideas. Before you know it, you’ll be lighting things up in a whole new way!
Kayla Lilly is a photographer, writer, wife, and mama making a house a home in eastern Idaho. She met her mister while working at an amusement park and married him a year later after deciding there was no way to live without him. The amusement has continued as they’ve added three kids and a passel of pets to their lives while finishing college and starting a photography business. Drawing inspiration from the whirlwinds of marriage, parenthood, and the media, Kayla blogs at www.utterlyineperienced.blogspot.com, and spends the rest of her time chasing chickens, organizing junk drawers, diapering toddlers, and photographing everyone willing to step in front of her lens.