Hello Everyone! My name is Shannon, I blog over at Posh Pieces. I am thrilled to be here at Remodelaholic again sharing another project with you all. Thanks Cassity!
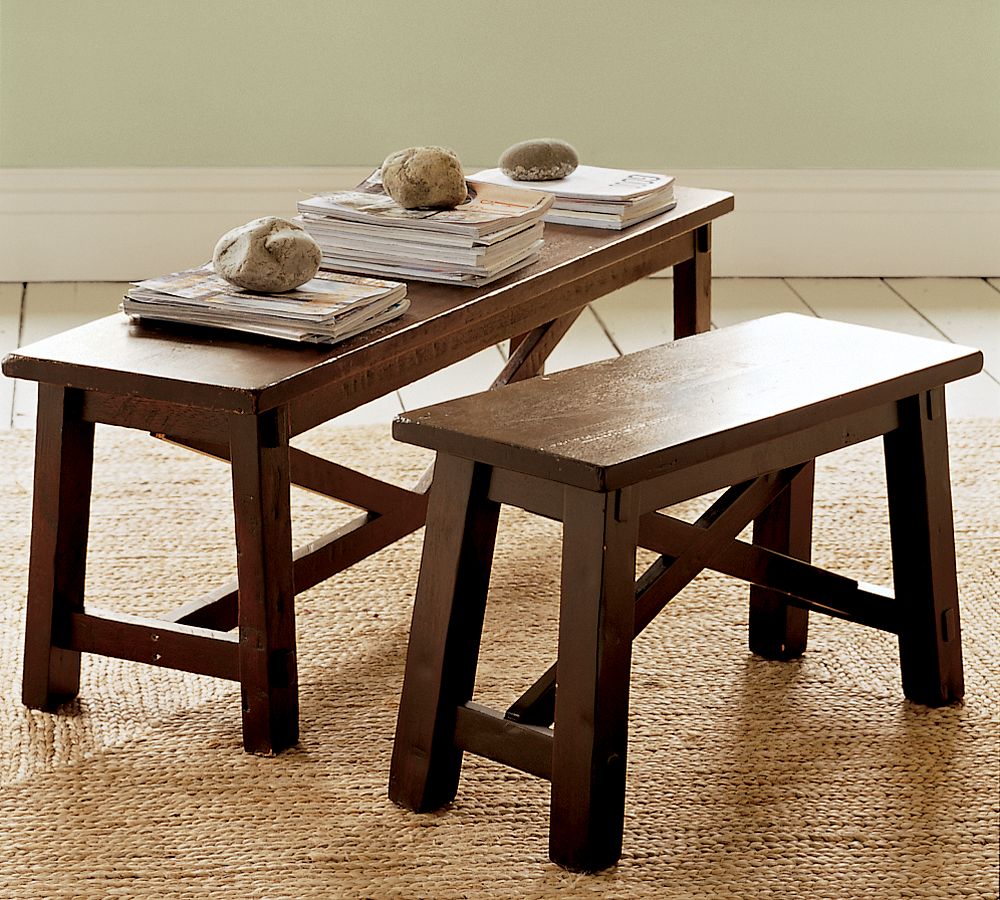
I was ready for my next building project, and had been eying this bench for a while. Ana has the plans on her site to build something practicably the same, so I decided to give it a whirl.
First step is to take inventory of what lumber you have. The plans didn’t call for a whole lot of supplies, and I was lucky enough to have some of it on hand already. I ran to the lumber store for the remaining supplies.
Lumber Store Tips
Put your kids in one of those car shopping carts if they are small enough. It will save you from chasing them down the lumber isle as well as buy you some time at the store.
Having your kids with you, and being female (assuming your female and going without a male) you will be asked at least 10 times if somebody can help you. 🙂 Let them, it can save you some time.
Sort through the wood and chose the boards that are not cracked, or warped.
Bring your lumber home… and your ready to get started!
I made some, but not all of my cuts first. I didn’t want to make them all and find out that I needed to adjust something and not have enough lumber.
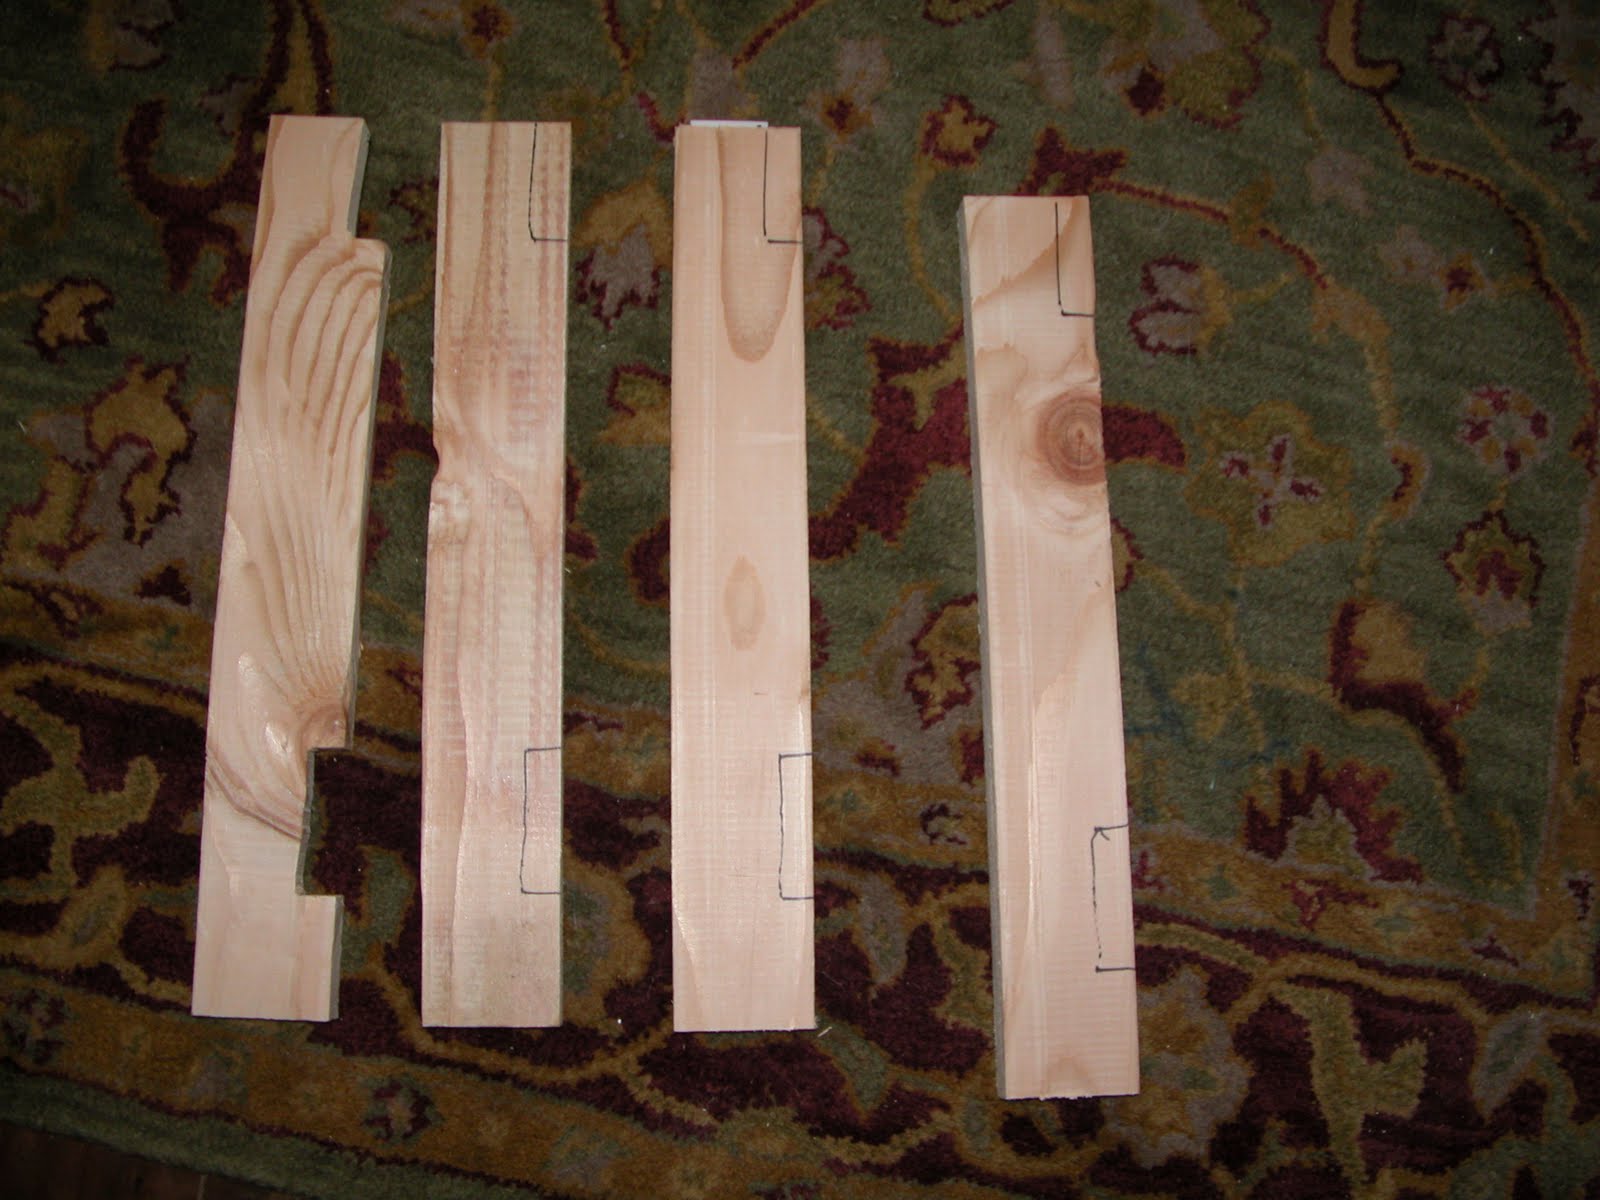
I started with the legs, per the plans on Ana’s site.
The next part was to notch out the legs with a jigsaw.
I have never used a jigsaw before, and was not sure how difficult or easy this may be. So my first step was to measure the area that needed to be cut out, and then mark it with a pen.
It was actually pretty easy using the jigsaw. The biggest problem I had, was getting the notched out area totally straight. I found myself going back, and sliding in the piece of wood into the notched out area checking to see if it would fit properly, then going back and cutting more, repeating this process a few times.
My son drew a picture on the wood for me.
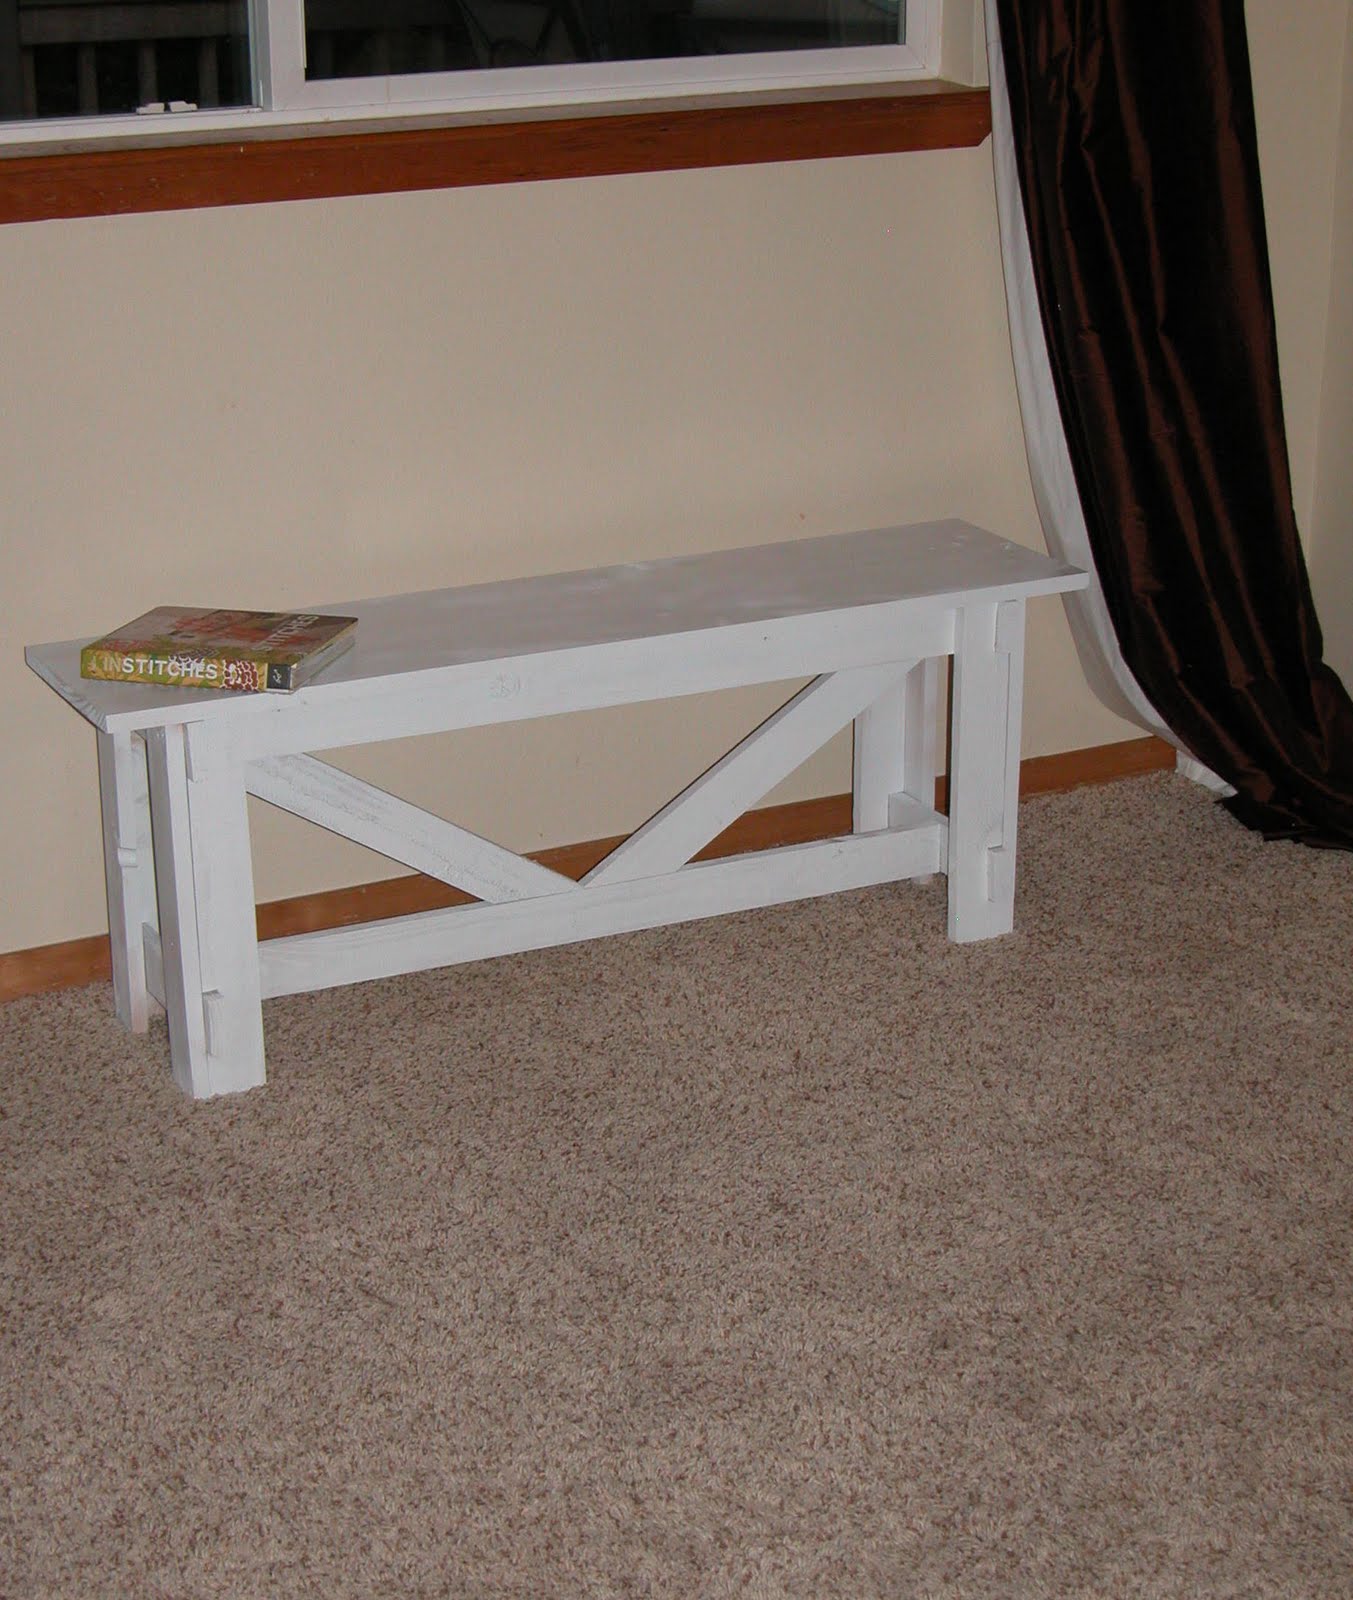
The plans call for a 54 inch 1 x 12 for the bench part.
For some reason, I thought it said 48 and so that is what I got.
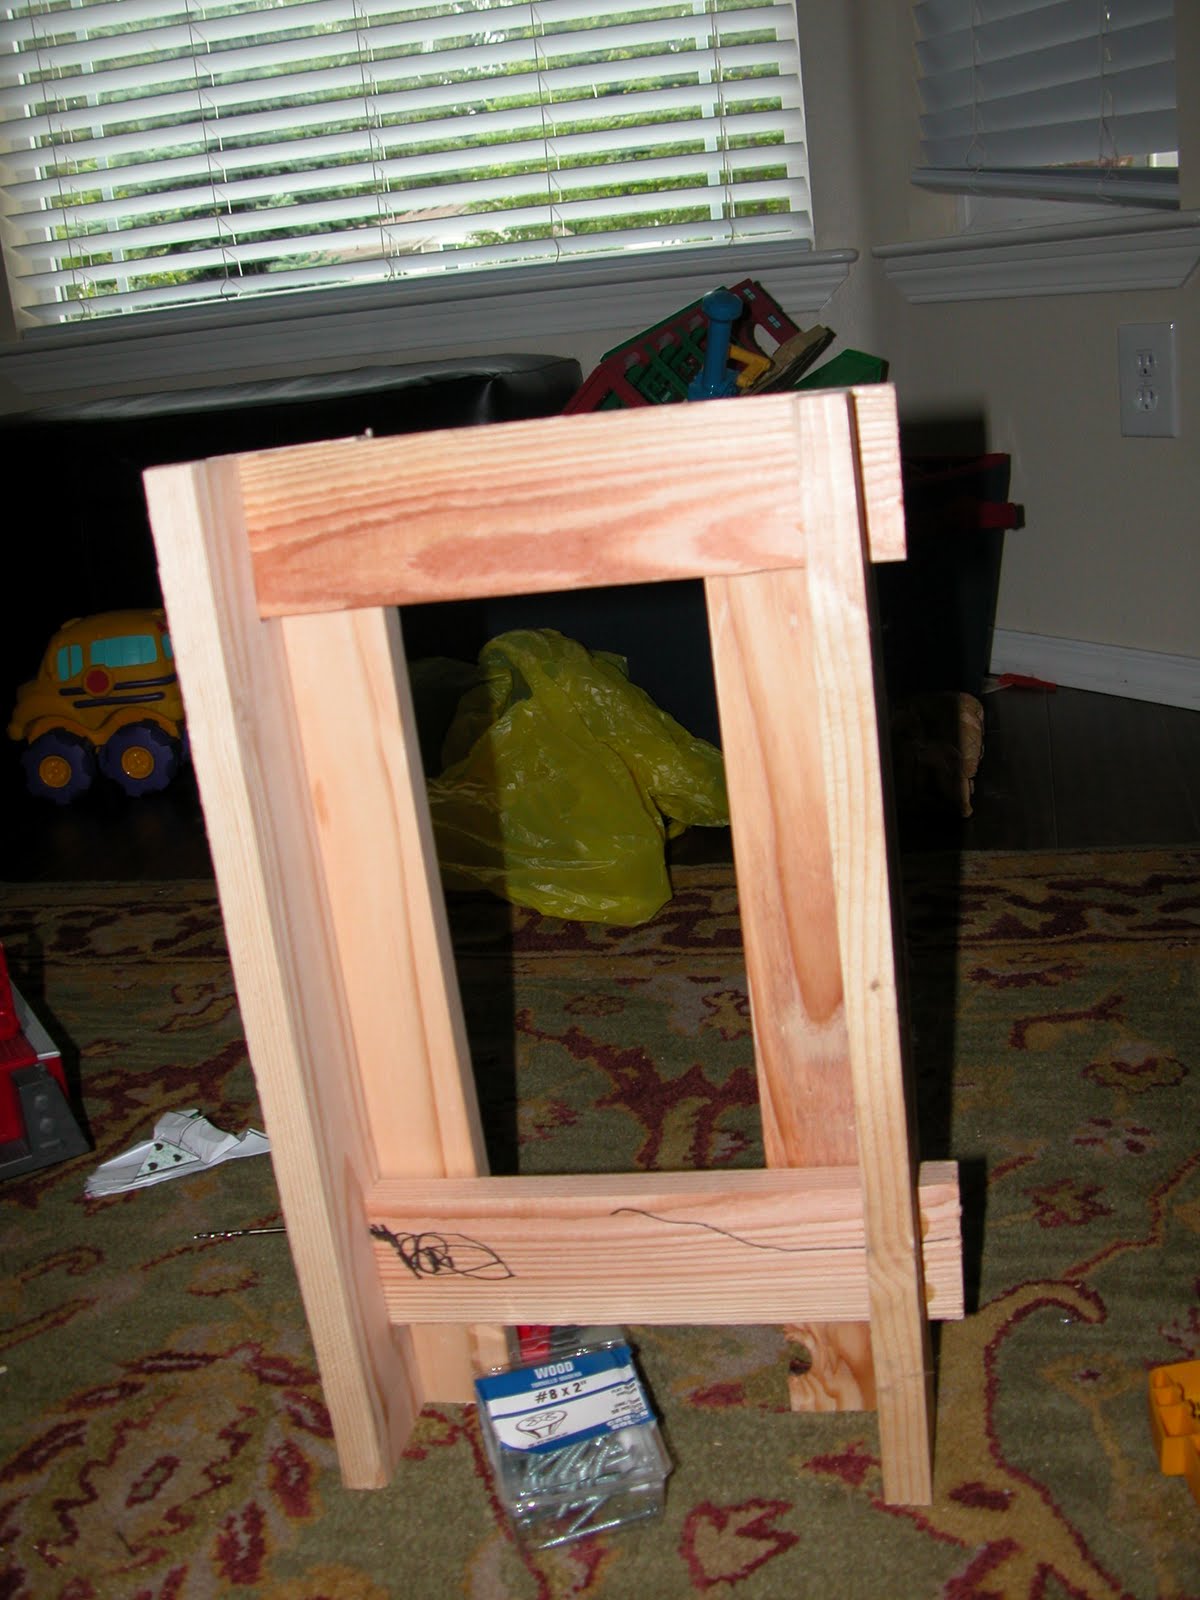
This made things a little tricky, because now I needed to scale down the inner supports accordingly.
This wasn’t too difficult until I got to the cross support pieces.
This is when you take the opportunity to make your husband feel real smart and needed and ask for help. Men love this, don’t they? I am not fond of math, so I let my husband verify the size of these pieces for me. 🙂 He enjoyed helping.
If your husband isn’t available, you can get a helper like this one too. He was quite handy at giving me the screws.
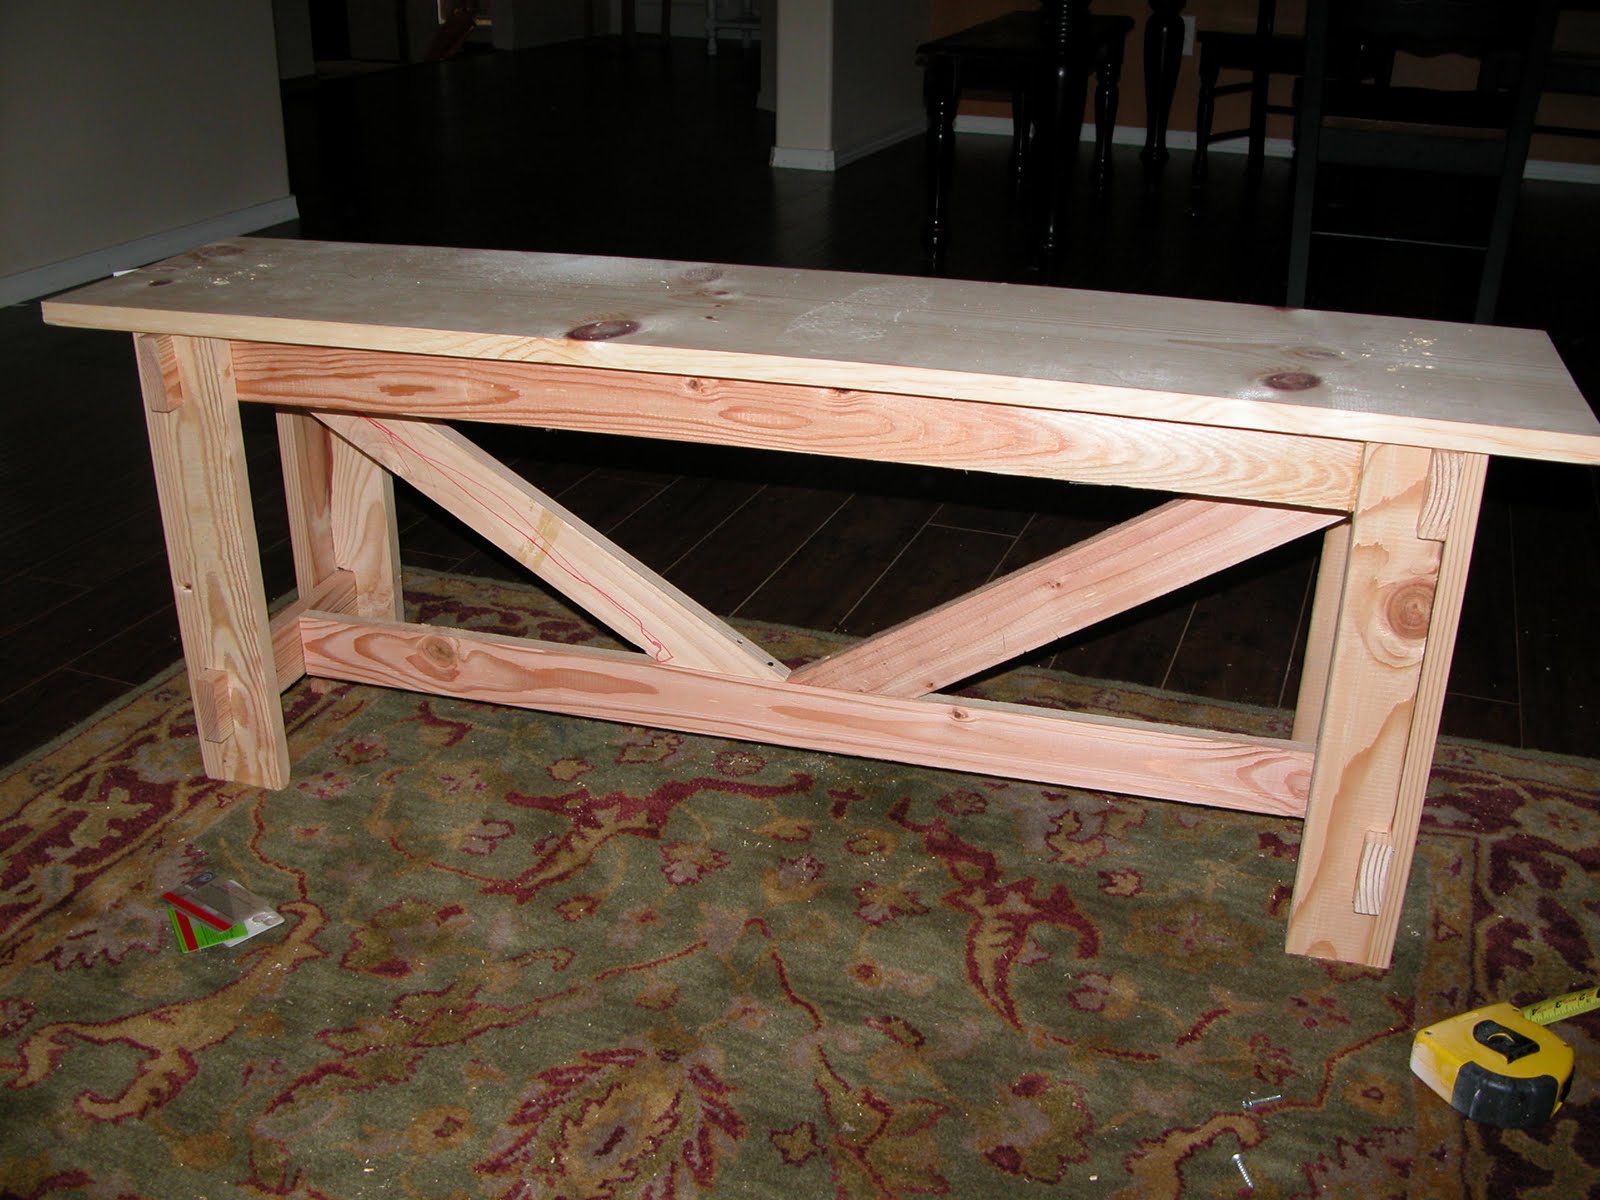
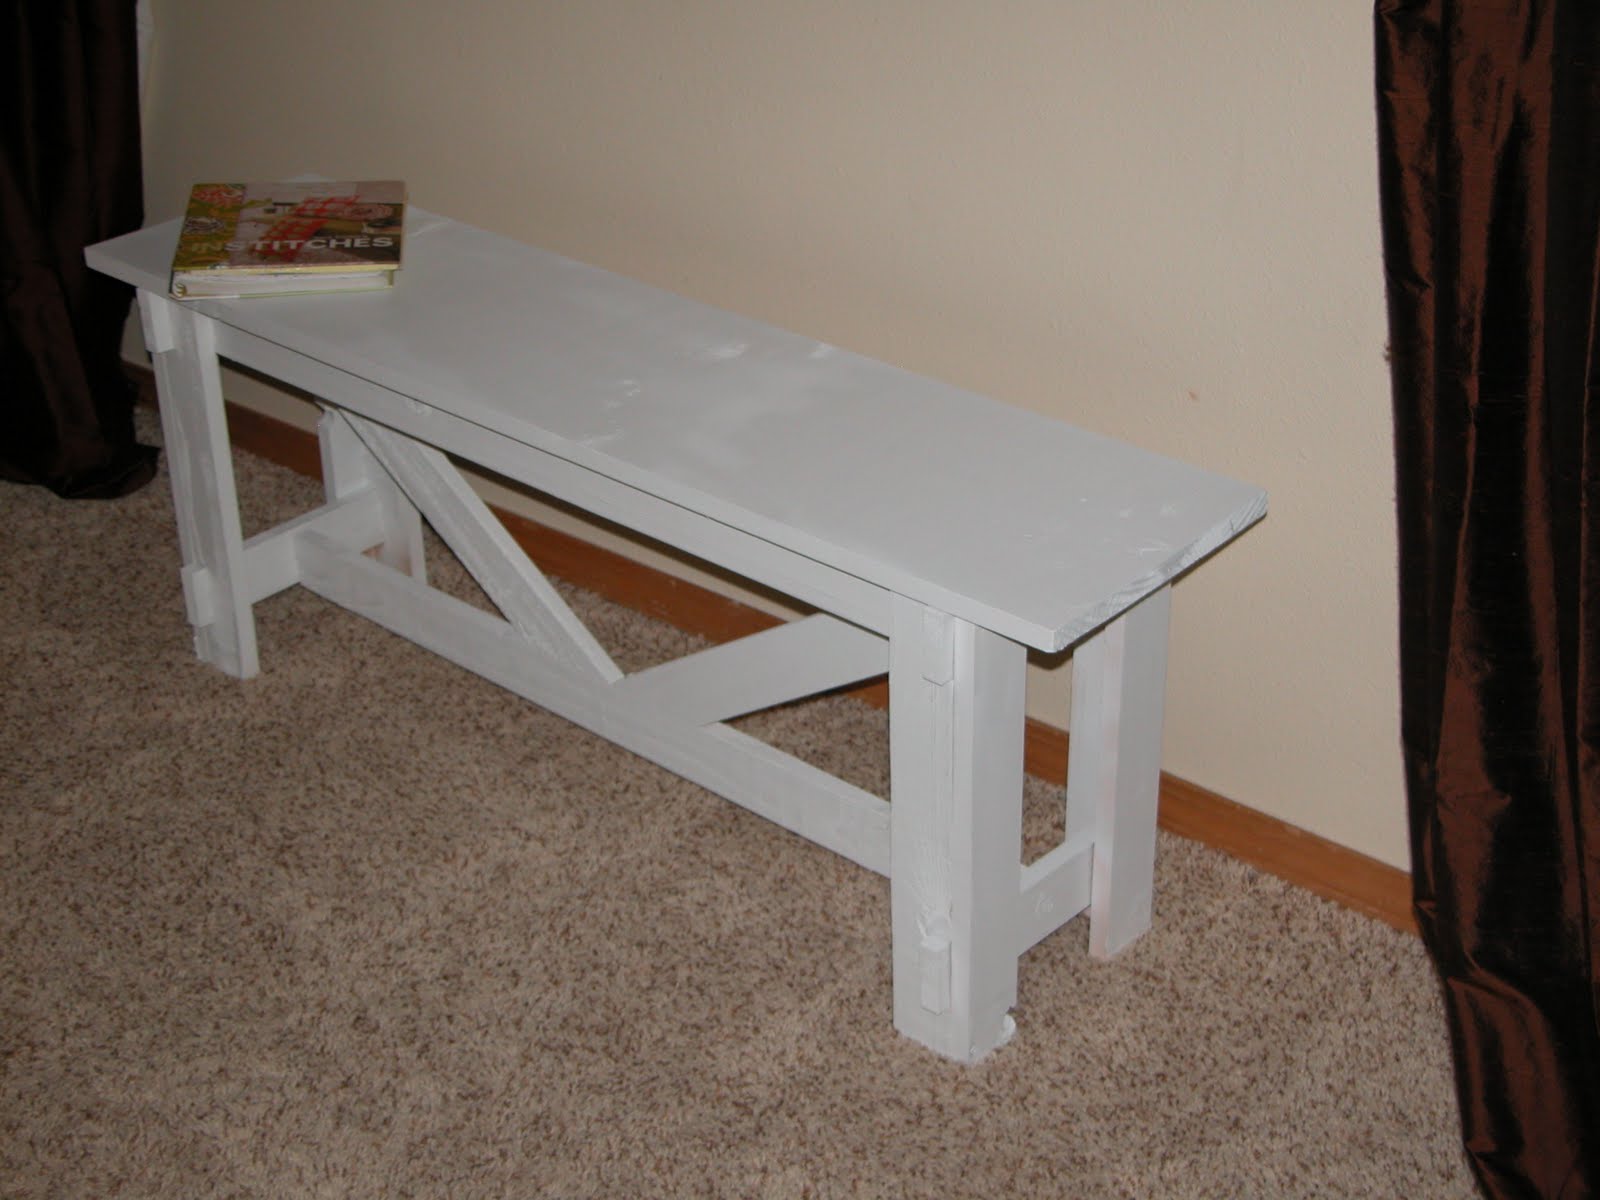
After I finished constructing it, I primed and painted.
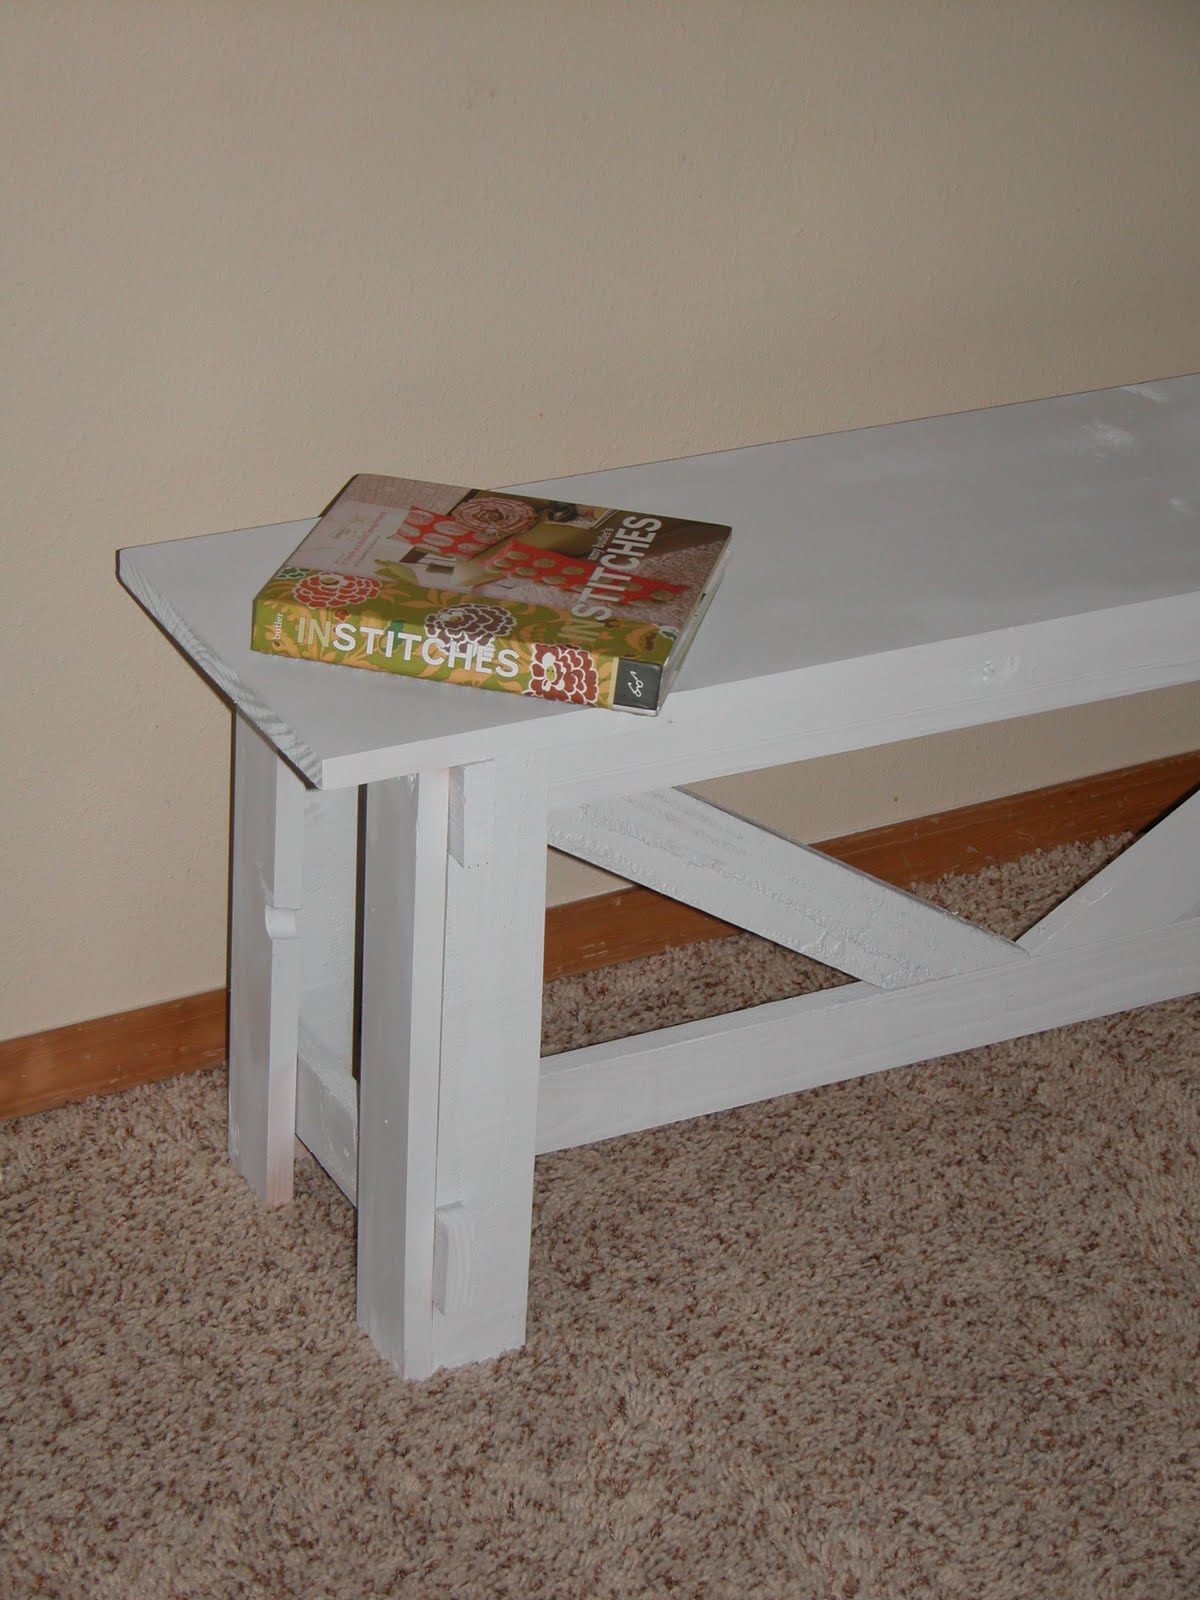
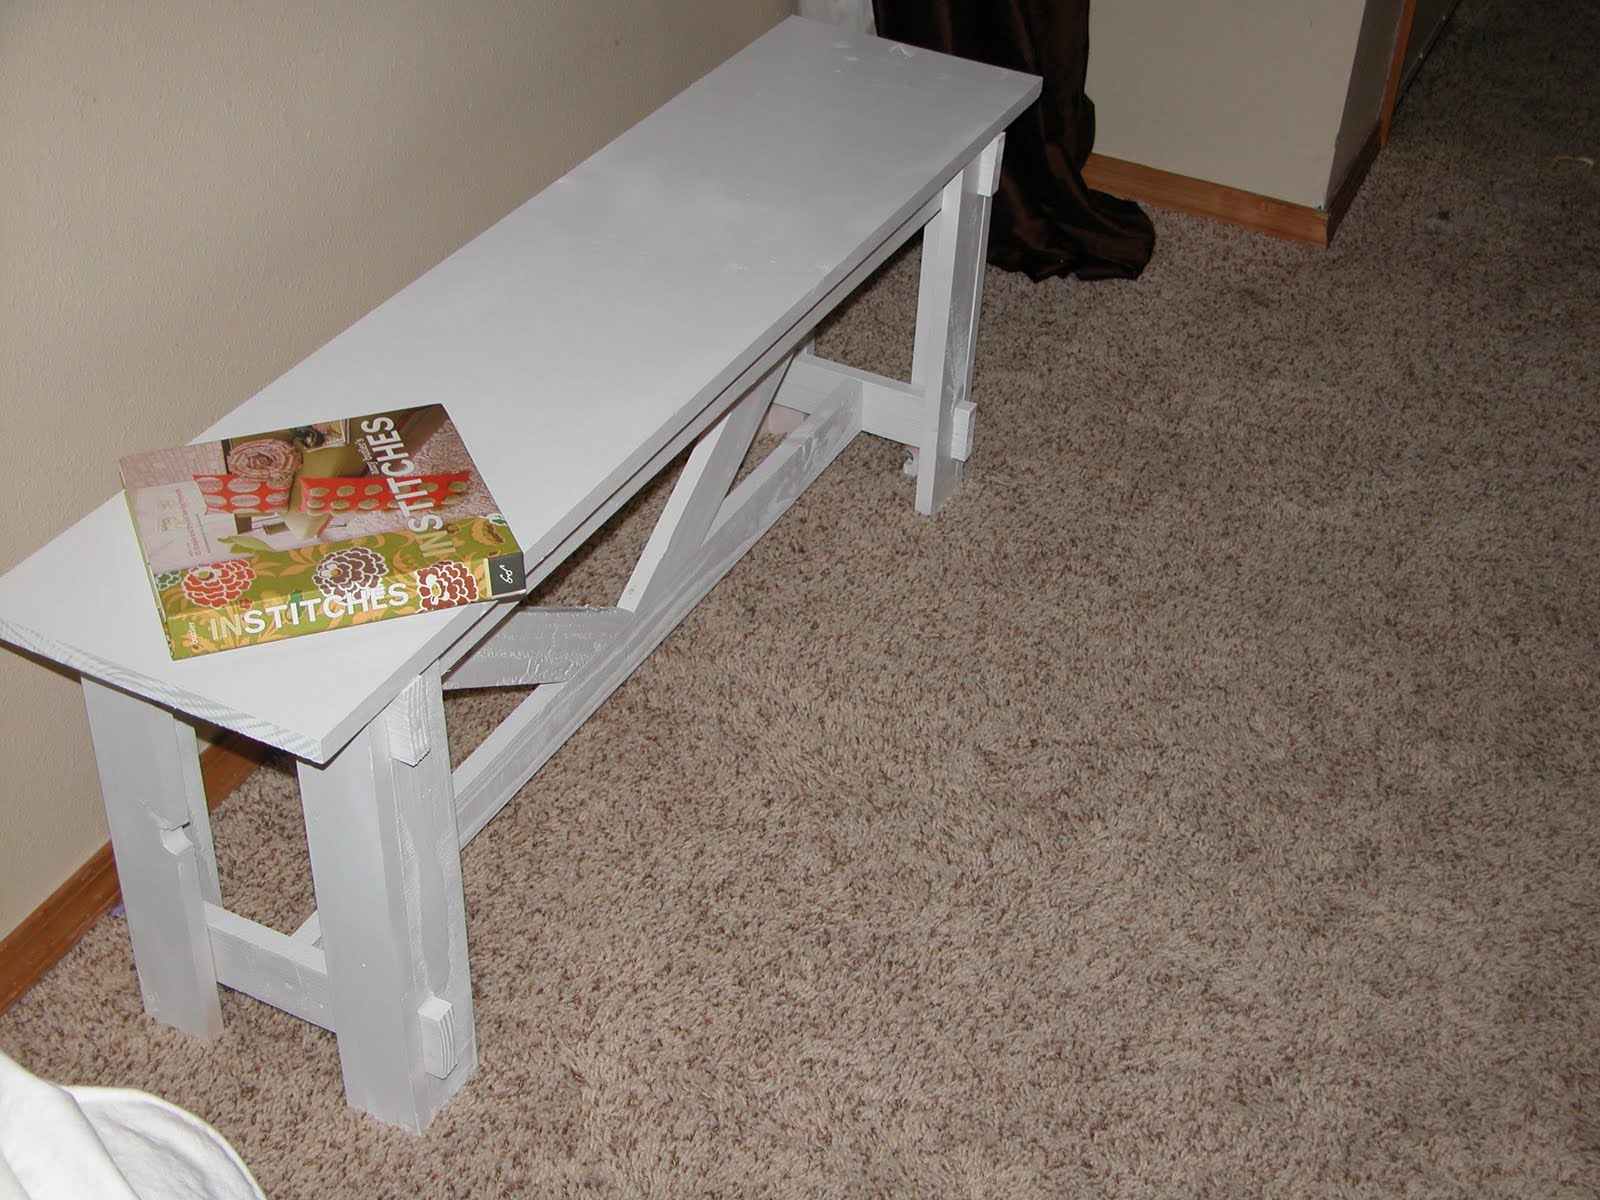
Finished!
I was going to distress it, but now I am not so sure. My husband says that he likes it not distressed.. so, I guess it stays this way for a while.
Cassity Kmetzsch started Remodelaholic after graduating from Utah State University with a degree in Interior Design. Remodelaholic is the place to share her love for knocking out walls, and building everything back up again to not only add function but beauty to her home. Together with her husband Justin, they have remodeled 6 homes and are working on a seventh. She is a mother of four amazing girls. Making a house a home is her favorite hobby.