I’ve got a great combination of two of my favorite things to share with you: an upcycling project and bathroom storage. Our guest blogger today turned a trashed shelf into some really great looking bathroom storage.
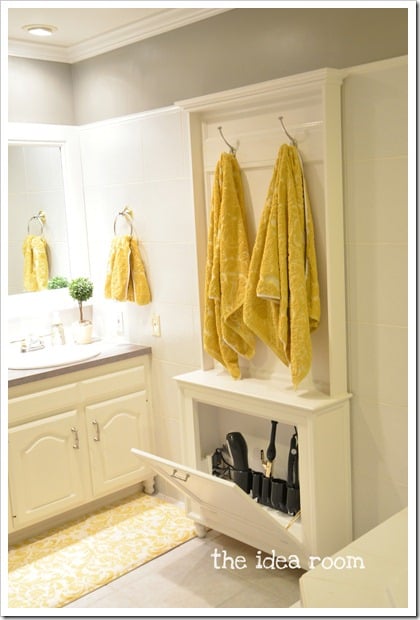
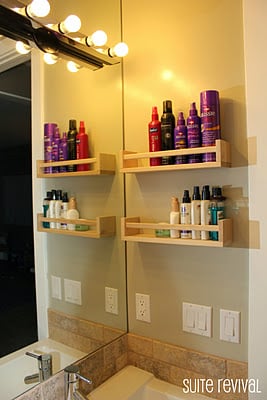
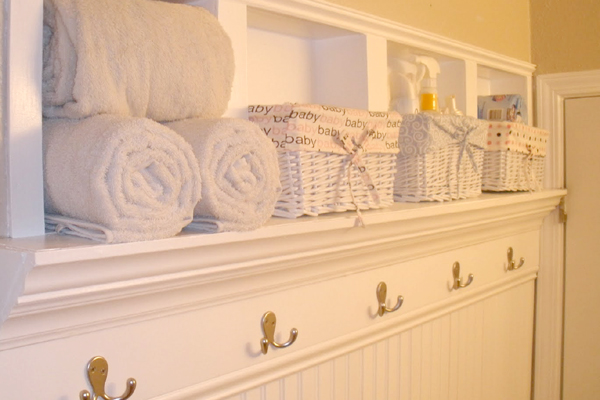
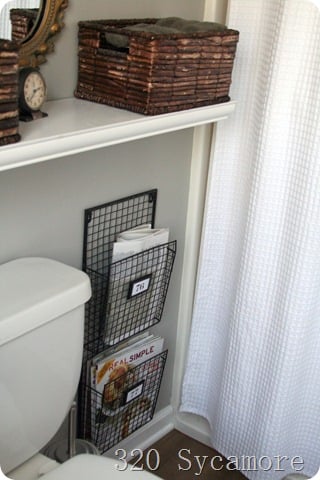
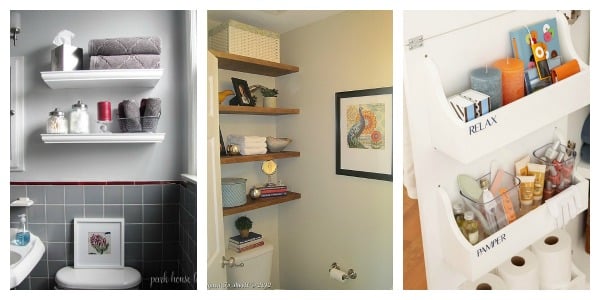
Not only was this an impressive re-do of a very beat-up shelf, it was a terrific way to make use of some under-utilized storage space. And, as we all know, finding storage–or at least enough storage in a bathroom can be tough. Take a look at a few other creative storage solutions in bathrooms:
Hi, Remodelaholics! I’m Jen, a stay-at-home momma and wife to Jeremy that likes to share fun/cheap/do-able DIY projects, too much of our life, our baby boy, Boston, and my obsession for creating family memories.
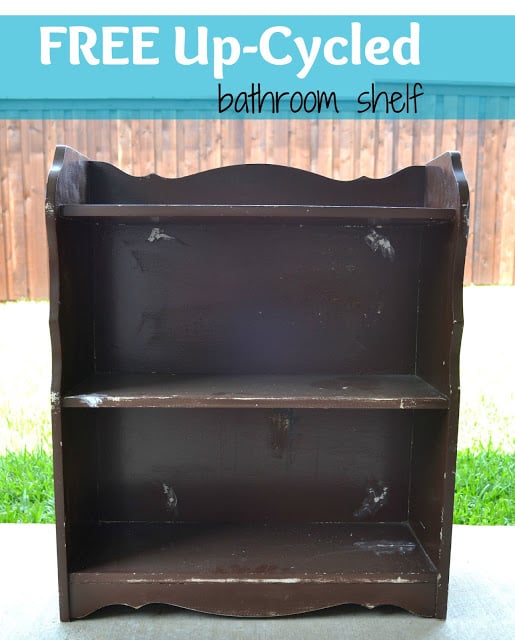
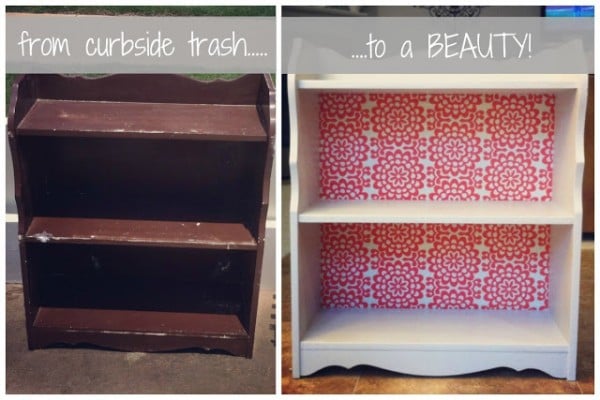
Today, I’m here to share a curbside find that was sitting out ready to be picked up by the garbage truck but instead turned into something beautiful and useful with a little paint and fabric! I’m proud of my little freebie!!
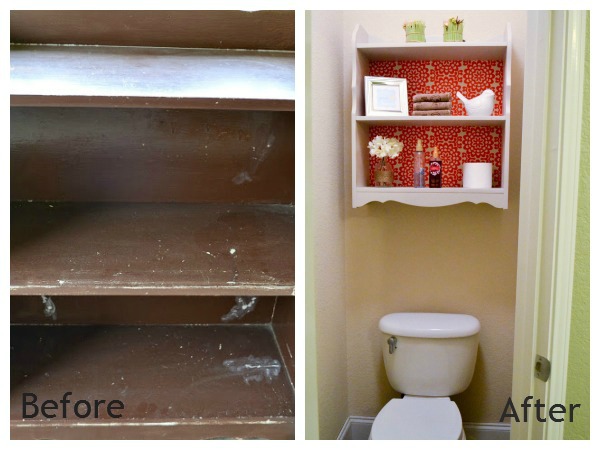
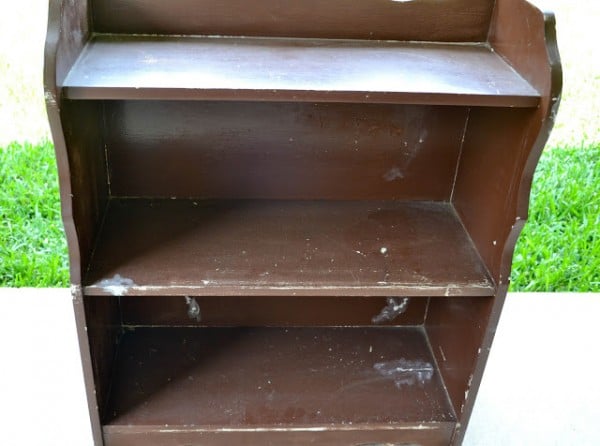
Here’s what she looked like when I “stumbled” upon her:
Recently, while on a walk with my Boston, I noticed a brown shelf that was sitting on the curb in front of a house that they were clearly throwing away (I did that whole stalking-of-our-neighbors-curbs again….remember when I picked up these chairs). So, I inspected it for sturdiness (pushed it around, picked it up and inspected the back) and it passed my test. So I called the hubby at work and told him to pick it up on his way home. ha. Yeah, I let him look like the weirdo picking up things off the curb. Luckily he doesn’t mind. He gets the “happy wife = happy life” motto.
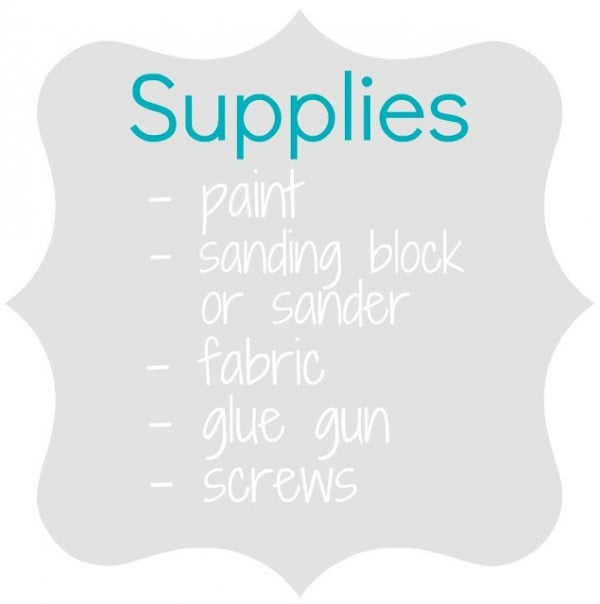
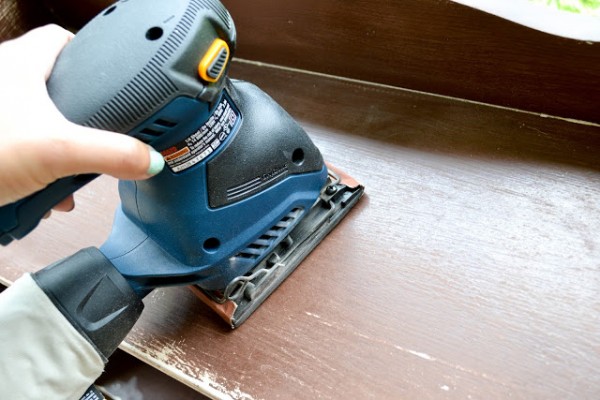
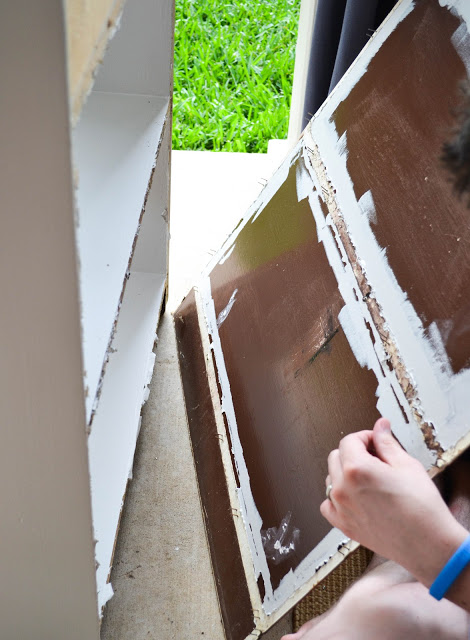
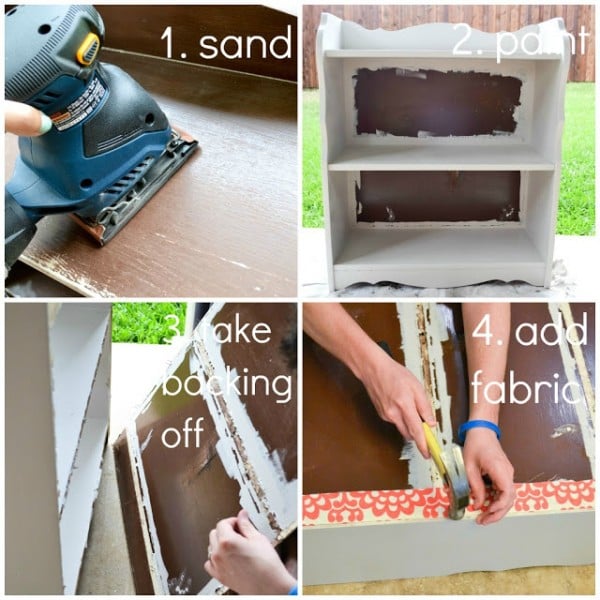
Once I got her in my hands backyard, I got to work sanding her down.
I love using my sander on anything and everything. She’s my hot fudge to my sundae. She makes things so much easier. For the longest time I was using a 3M sanding block. But not no mo!
When sanding, you just want to make sure that your shelf is smooth. Any bumps (like old paint that’s peeling off) will show through the paint. Once it’s smooth, be sure to wife it down with a wet rag really good. You wouldn’t want any sanding dust showing through your paint, either.
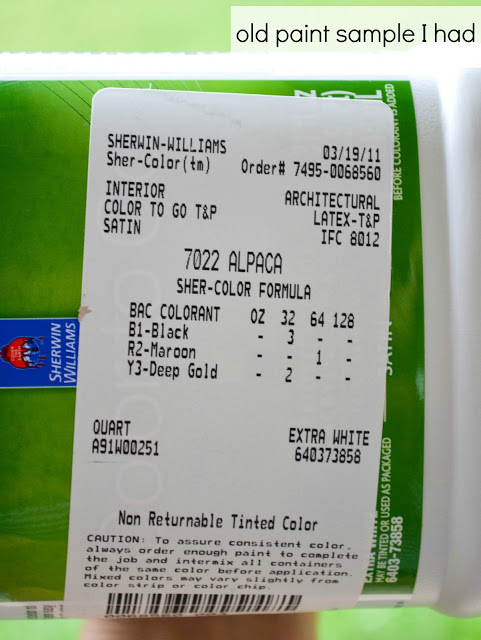
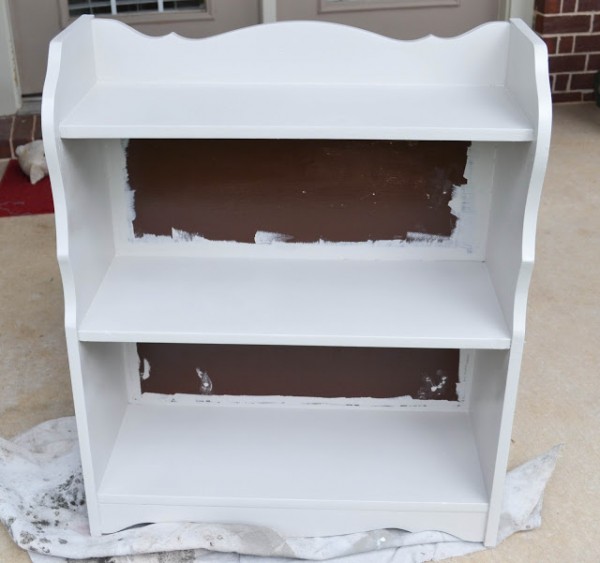
Next up….paint. I dug through my bins in the garage that are full of paint cans and had this sample left over from our living room re-paint job. I love this color. It’s not too gray and it’s not too white. It’s just right.
We painted with our trusty ol’ Purty paint brushes. When buying paint brushes, go with the gold. Meaning, buy the good ones. The ones that cost. Not the cheap ones. You definitely get what you pay for when it comes to paint brushes. Plus, they last a long time if you clean them correctly.
We didn’t paint the backing of the shelf since it would be covered up anyway.
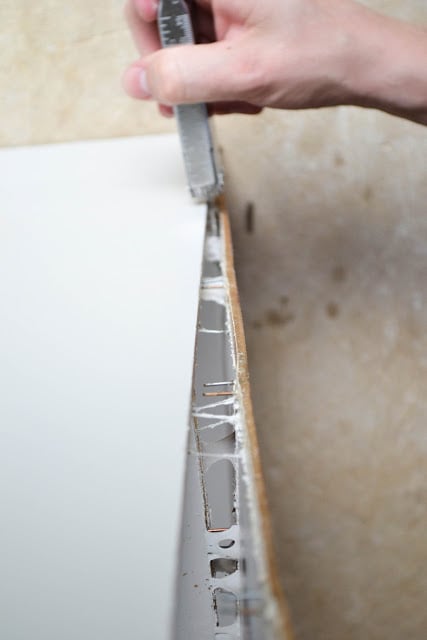
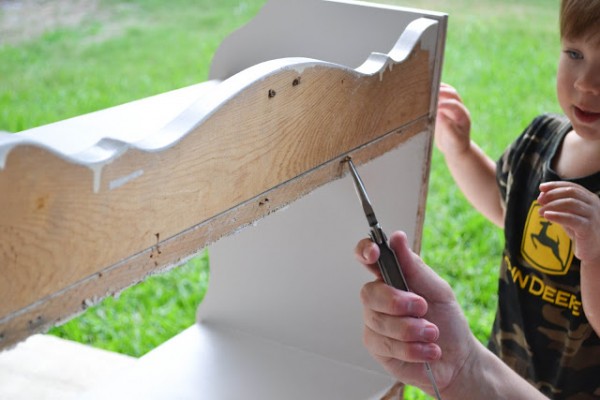
After 2 coats of paint and after letting it dry for an hour. Jer pulled the backing off with his leatherman.
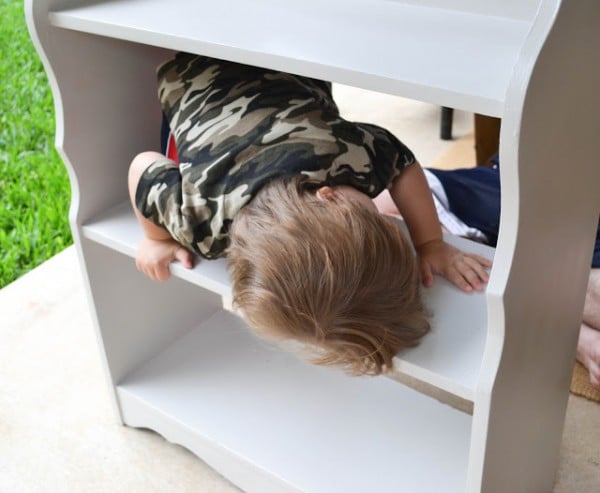
He had a little help from our John Deere master, too.
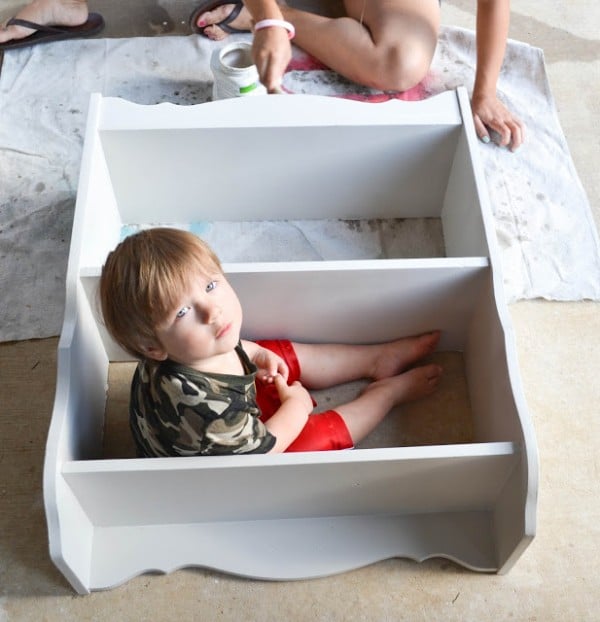
Help with climbing through the shelf making sure it was sturdy and making sure the paint was dry.
Then I got to work touching up the bottom (a few spots I missed).
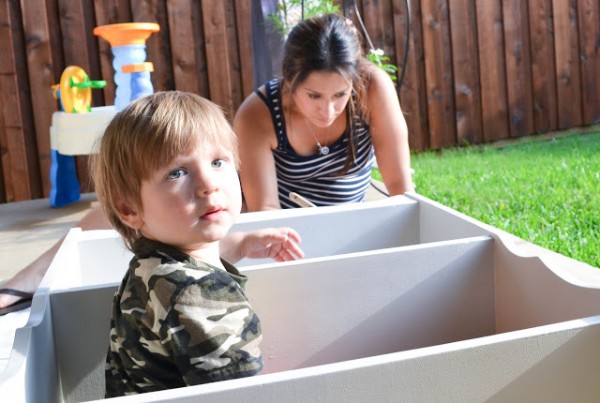
Hopefully this guy will grow up to be a handy man like his daddy and DIY’er by watching us. His new favorite “toy” is Jer’s hammer. Ha. Don’t worry, we pay close attention to him when he has it. He mainly just carries it around. 🙂
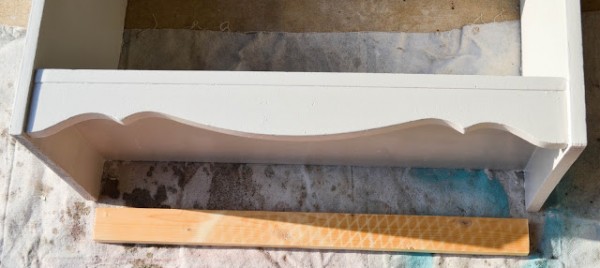
Jer found a scrap piece of wood for extra support.
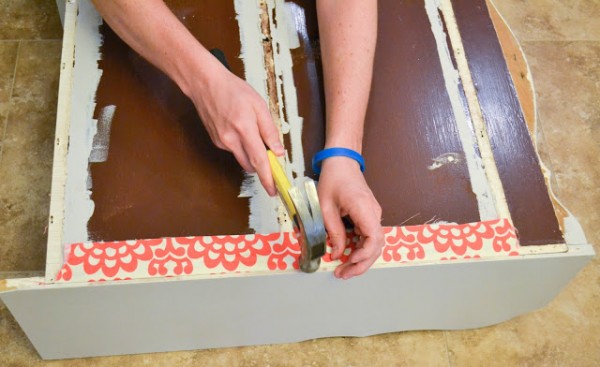
We covered the backing with fabric, hot glued it down and then nailed the backing back on. If you use fabric that has a design on it, make sure your fabric isn’t crooked or tilted. You want your design to be straight. Luckily, ours was in one try.
RECAP:
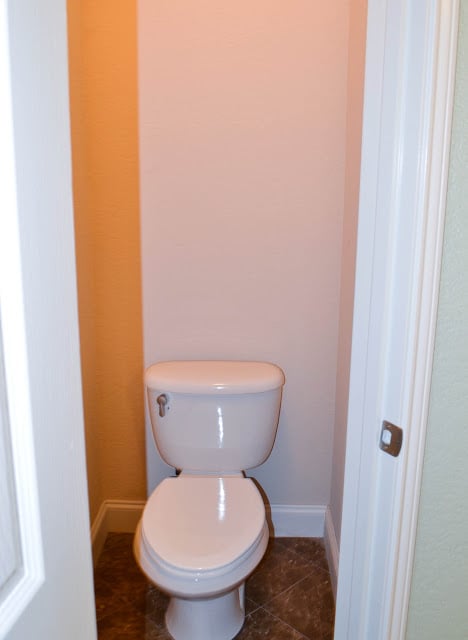
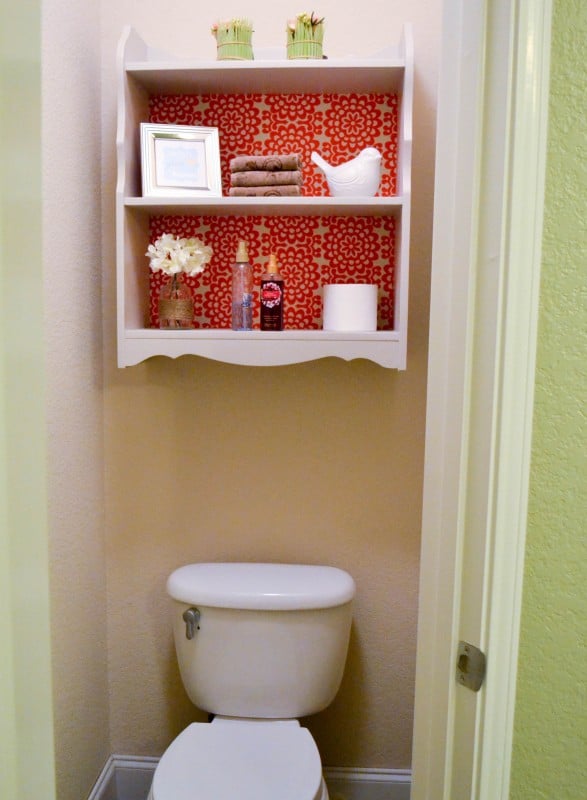
We chose to hang it in our master bathroom “toilet room” which desperately needed some shelving for some necessities/decor. It was just waaayy too bare.
For extra support, my husband decided that it’d be best if we used a piece of lumber underneath it as reinforcement (even though we hung it on the studs). So he screwed those in and I painted it the same color as the shelf.
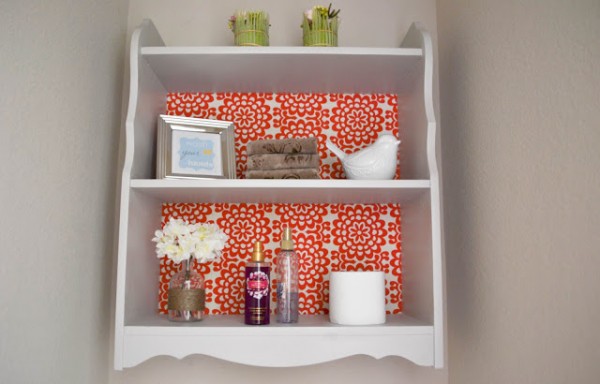
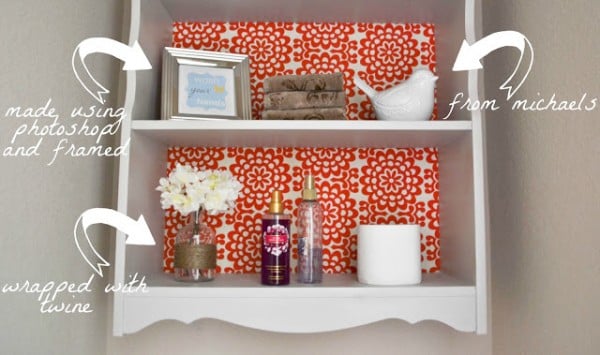
And here’s our new beauty hanging pretty with all her fixin’s! I’m so excited about how she turned out. I love the colors of the paint (I used a paint that I already had called Alpaca from Sherwin Williams) and fabric together.
I hope you liked this project and you too will keep an eye out for trash on your neighbors curbs and turn something into a pretty/useable treasure!!
Thanks for sharing this project with us, Jen! I love the bright, fun fabric backing on this shelf, and the way you decorated it. It’s definitely a total transformation!
We have a few more cool bathroom storage options that have been previously featured at Remodelaholic that you might enjoy. Check them out below.
I love it!! The trash to treasure. The color. And especially the fabric!!! Nice choice. And nice work by all. I recently covered the back of my hutch with fabric. I used fabric spray. Having used hot glue before, I like spray soo much better. 🙂 Also, I tried following you by email but nothing happens when I click the box to put my address in. ?
Nancy. we are having trouble with that link. Try this one and see if that works. https://feeds.feedblitz.com/remodelaholic. We are trying to fix this issue. Sorry for the trouble.
Hi there,
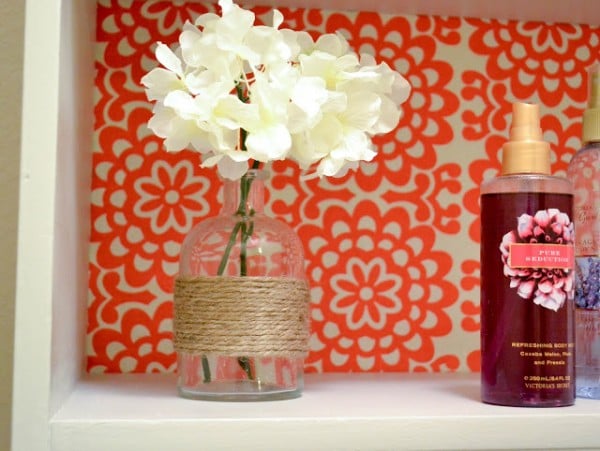
Totally loved your attention to detail; the twine around the bottle added a magical touch and made an ordinary-looking flower vase look extraordinary. Just one question: where did you get your fabric from?
Alana


I’m loving the fabric backing idea. What a perfect way to add a pop of color on the cheap. This transformation is fabulous!! Thanks for sharing.
I love it!! The trash to treasure. The color. And especially the fabric!!! Nice choice. And nice work by all. I recently covered the back of my hutch with fabric. I used fabric spray. Having used hot glue before, I like spray soo much better. 🙂 Also, I tried following you by email but nothing happens when I click the box to put my address in. ?
Nancy. we are having trouble with that link. Try this one and see if that works. https://feeds.feedblitz.com/remodelaholic. We are trying to fix this issue. Sorry for the trouble.
I love the refurbished shelf. Love it!!! I’ll be on the look-out for one so that I can make one for my bathroom. Great bathroom ideas too!!
The shelf looks fabulous. Great pop of color!
Hi there,
Totally loved your attention to detail; the twine around the bottle added a magical touch and made an ordinary-looking flower vase look extraordinary. Just one question: where did you get your fabric from?
Alana
Wow, you’re a true DIY kind of person, nice work.
I love it! From a ugly duckling to a beautiful swan. Thanks for sharing