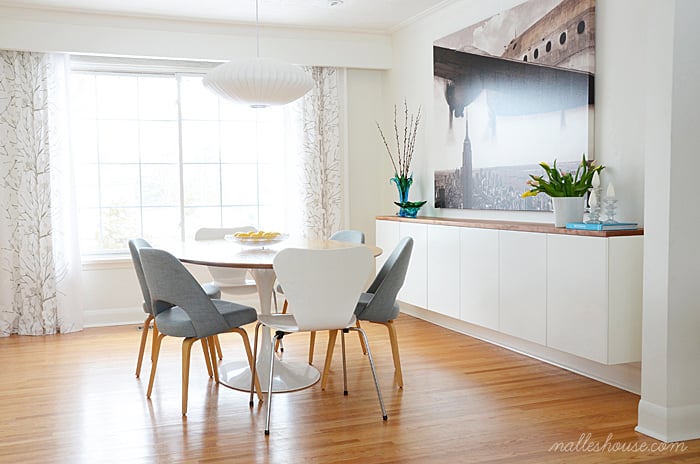
Modern Floating Sideboard DIY
Our guest today has a beautiful modern space to share with you, focused around this stunning floating sideboard.


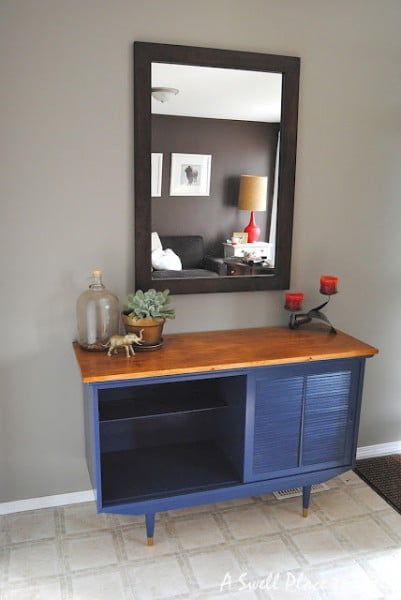
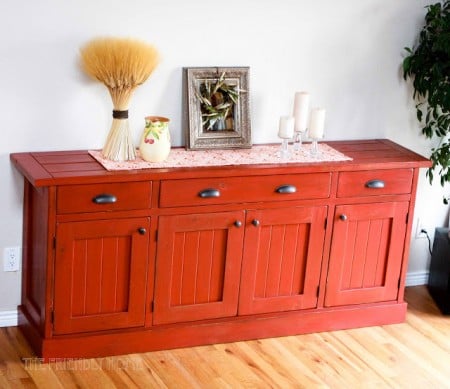
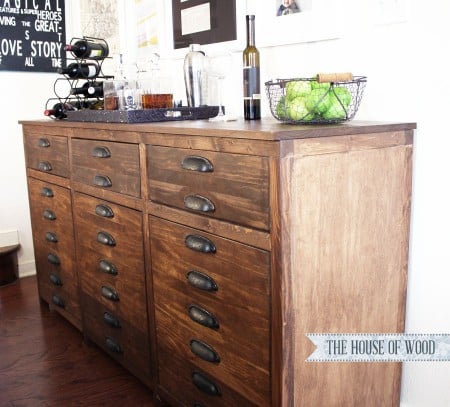
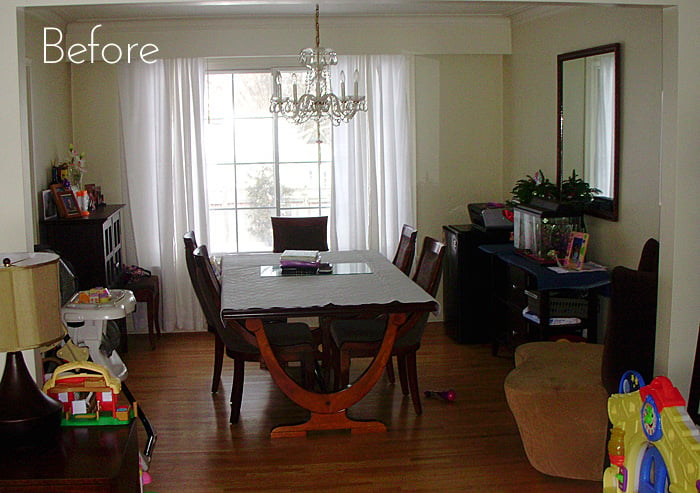
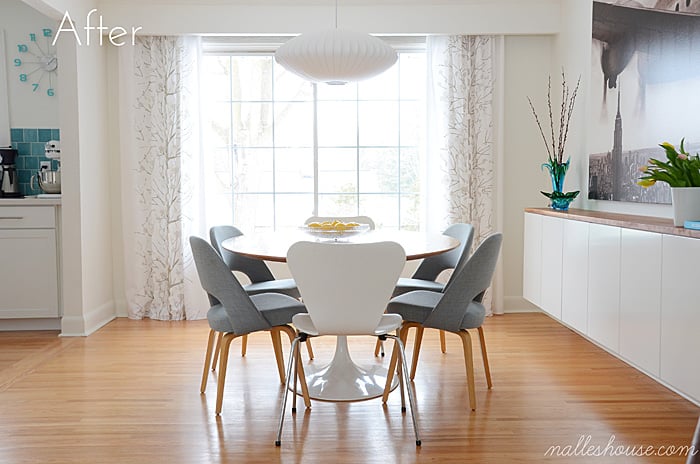
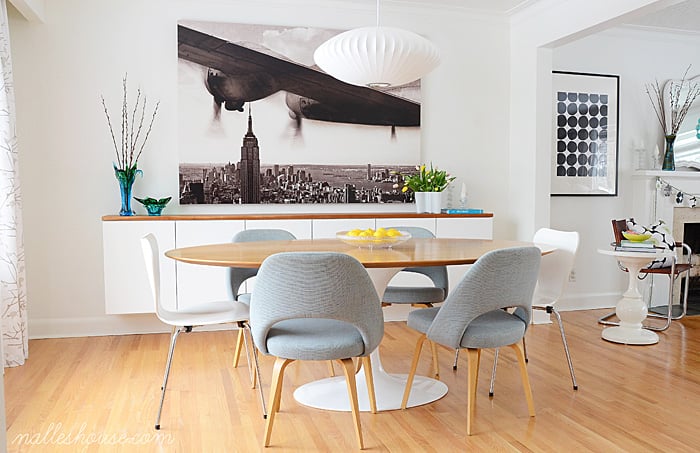
A sideboard is a perfect piece to help set the style and tone of your room, and can easily be redecorated as your styles or the seasons change. Just look how each of these beautiful sideboards brings so much life to the room!
And now, I’ll let our wonderful guest Anu tell you how she built and decorated her floating sideboard.
DIY Floating Sideboard
Hi, I’m Anu from Nalle’s House. I am a mom to two boys and a golden retriever, “Nalle” (which means “teddy bear” in Finnish). As you might guess from our dog’s Finnish name, our background is Finnish and our style is very much influenced by Scandinavian design. I love to make things and DIY around our mid century ranch adding a little Scandinavian modern style to our spaces as I go. Some of my favourite projects include our mini mudroom, living room art (found here and here) as well as some crafty projects like this brag book.
This is what we used to make our sideboard:
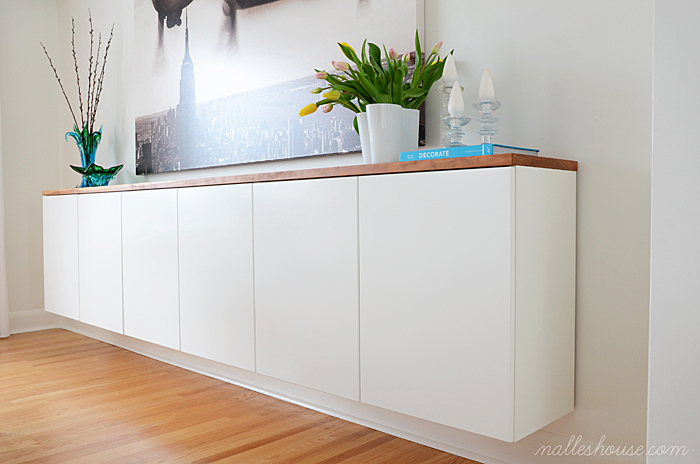
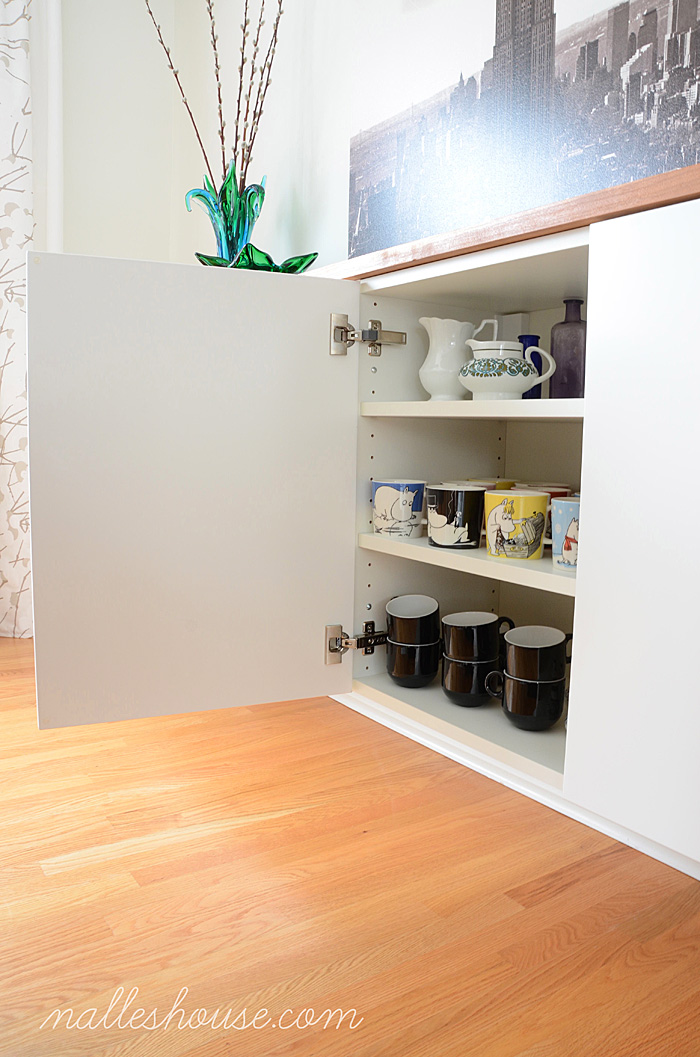
- three 36″ x 24″ ikea cabinets (over the fridge cabinets with Applad doors) with the Ikea mounting rails and hardware
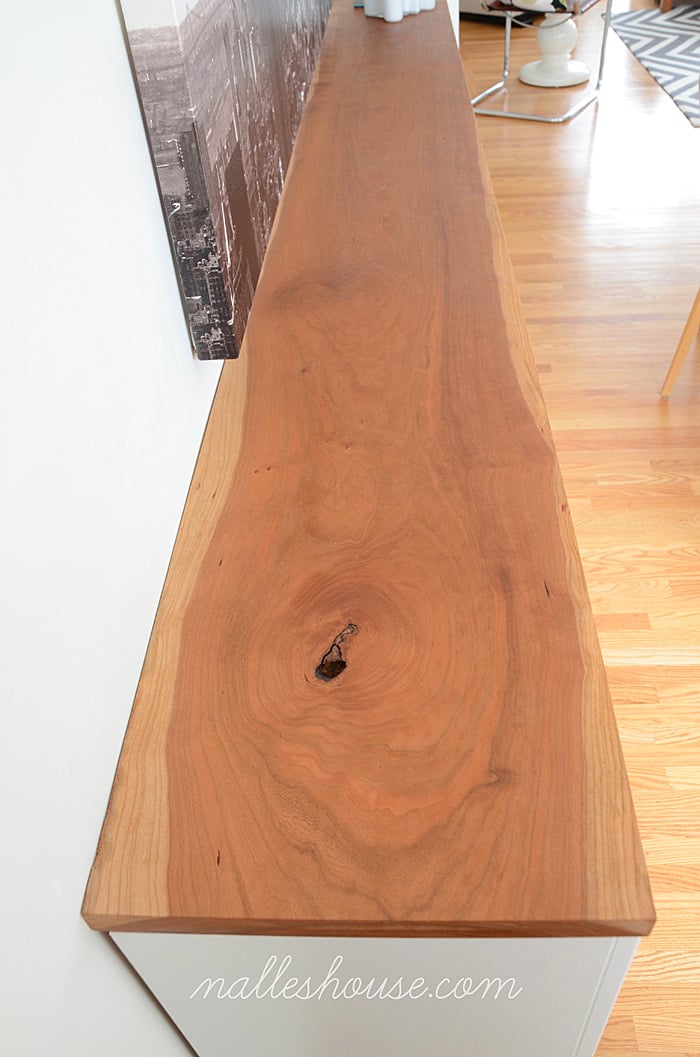
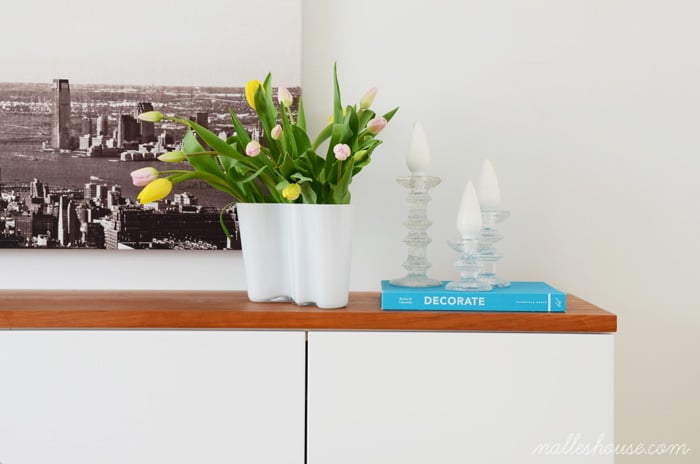
- a custom plained black cherry wood top (9 feet wide, 12 inches deep and 1 inch thick)
- wood screws for attaching the cabinets and wood top
- fine grit sand paper
- Waterlox for finishing the wood
- Have your top plained to the size of your sideboard. If you’re in the Toronto area, we went to this mill that carried all kinds of wood and had a fun time finding our cherry wood piece. Our 9 foot piece cost less than $100 plained, but would have been considerably less if we had chosen a different species of wood such as poplar. When you get a well plained piece of wood it only requires a light sanding before finishing. We wanted to just seal the lovely wood we had so we used some Waterlox.

- Mount your cupboards to the wall: We mounted three 36″ x 24″ ikea cabinets (over the fridge cabinets with Applad doors) using the Ikea kitchen mounting rails. Since our sideboard was so long, we needed two rails. One was cut down to fit with a hacksaw. Installing Ikea cabinets is super easy. You basically just need to level the rail and attach your cupboards to it (the cabinets will automatically be nice and level as well). We mounted our cupboards 8 1/2 ” from the floor. The top of the sideboard is 33 1/2 ” from the floor.
- Next attach your cupboards to one another from the inside using the screws provided with the cupboards.
- Then attach your wood top to the cupboards by screwing from the inside of the cupboards to the underside of the wood top.
- Enjoy your beautiful new sideboard!
Here are some tips to keep in mind when designing your own sideboard for your space:
If you love Anu’s style, be sure to head over to Nalle’s House to see more of her beautiful home!
Lorene has been behind the scenes here at Remodelaholic for more than a decade! She believes that planning projects and actually completing them are two different hobbies, but that doesn't stop her from planning at least a dozen projects at any given time. She spends her free time creating memories with her husband and 5 kids, traveling as far as she can afford, and partaking of books in any form available.


Looks great!! I like the floating sideboards.
I love that sideboard! It frees up so much space and looks so chic!
Hi there,
this is amazing. Where did you get the New York Picture from?
Thanks
Tom
Hi Tom,
The print is called “Wings Over Manhattan”. I purchased it from HomeSense which is the Canadian equivalent to HomeGoods. You can also find the print here: https://www.zgallerie.com/p-10847-wings-over-manhattan.aspx. I hope that helps!
Love this! Where are your grey chars from?