Playhouse Makeover with Help from the Kiddos…


I have a very fun, unique blog that will not only motivate you learn to organize your home but I focus on getting your life organized, scheduled, and in shape – including my own organized weight loss, organizing finances, and I share about being hospitable to others. I’m also a mom to a 12 year old autistic son, who is amazing!
Today I’m sharing with you about our playhouse. Our playhouse is SO cute! It is…my hubby decided, a few years back, that he wanted to make our daughter a playhouse. But, the time and cost was a lot! Instead, he found one on Ebay and trucked it to our house! Funny thing is that it cost less to do it that way than he could even buy the supplies for it!
 |
| Playhouse: Circa 2007 |
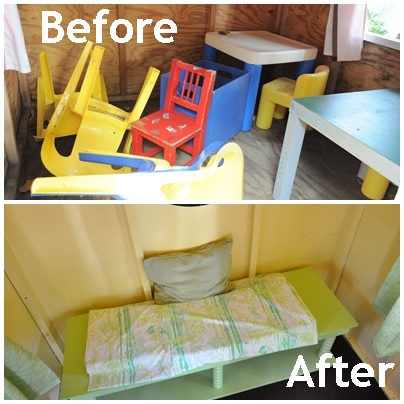
Well, it’s had lots of use over the last three plus years. Lots…so much so that the inside is just depressing! So, I told my seven year old daughter that we would be having a make-over for the inside of her playhouse and she got to choose whatever colors she wanted – from the vast array of paint I already had on hand, that is!
 |
| If I don’t keep up in there, it gets trashed! Not a fun place to be. |
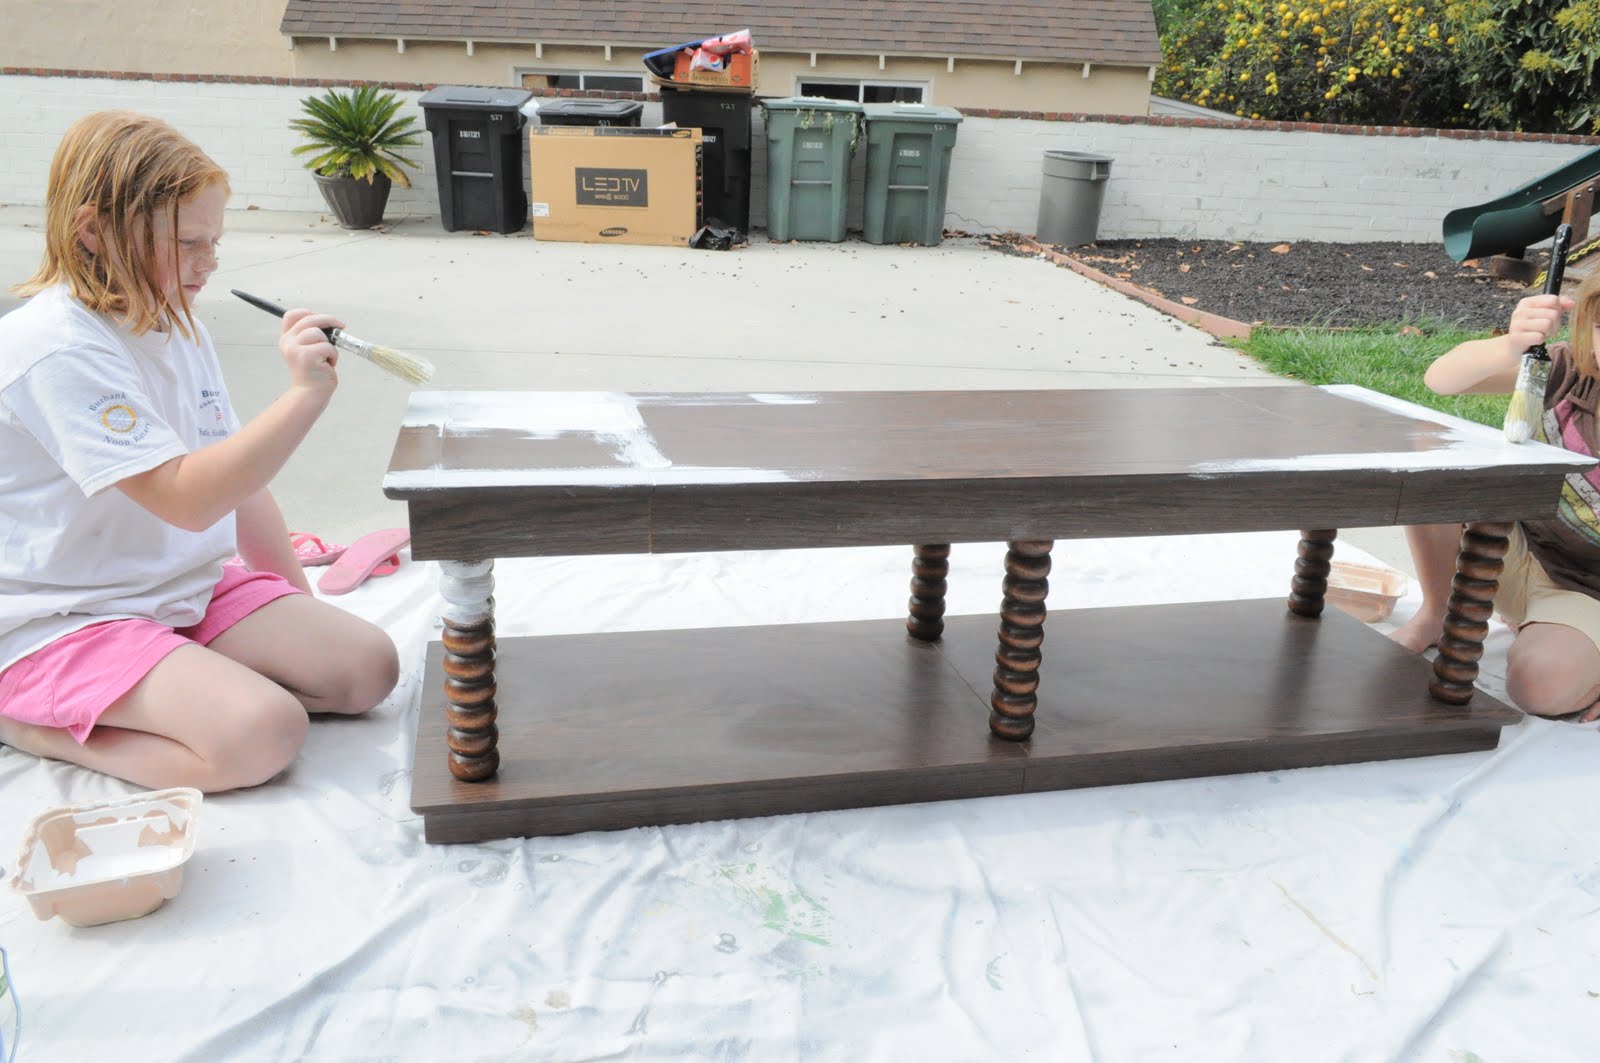
So, the kids started by priming the entire inside – it’s all plywood! Yes, I said the kids…I didn’t do it! This was the perfect opportunity to let them paint and learn how to do it on something that I wasn’t overly concerned about! They loved it!
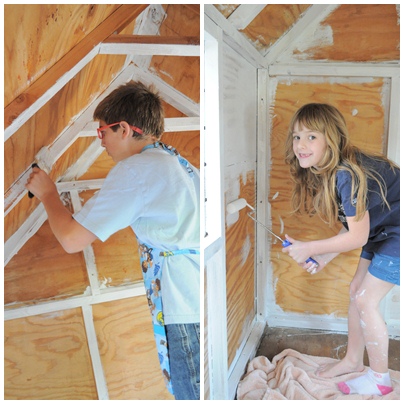 |
| The kids had paint in their hair for weeks, but it was a lot of fun for them! |
Once they primed it, it looked like this:
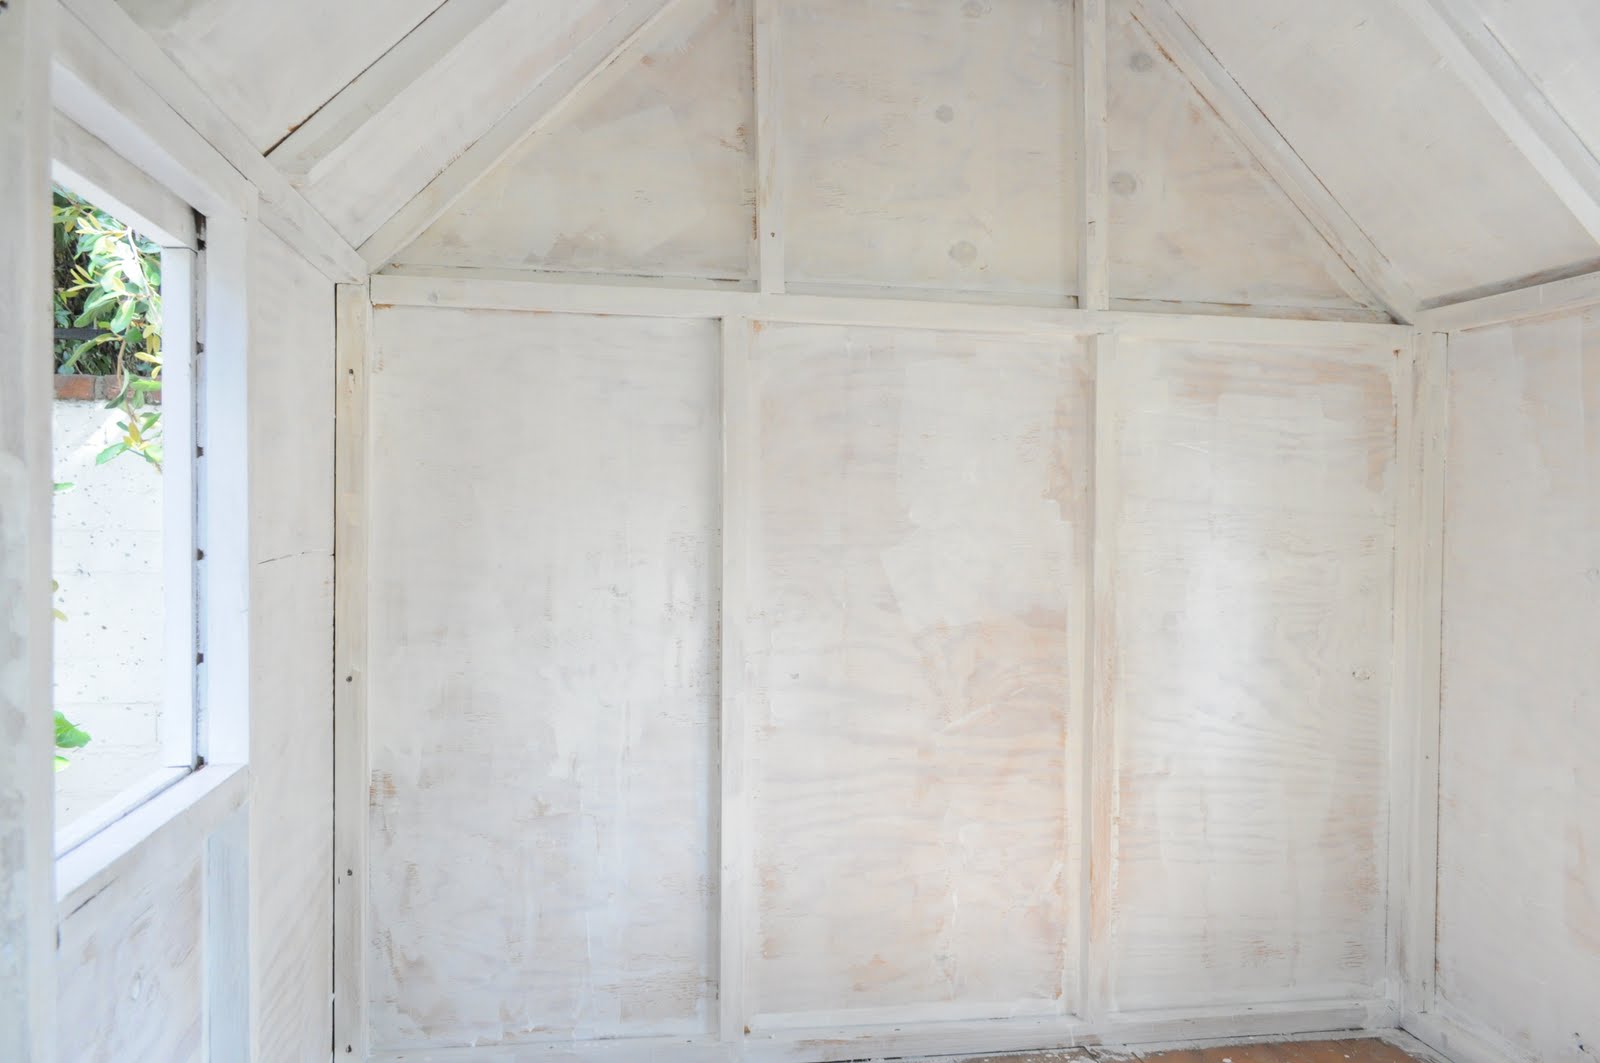 |
| They actually did all this themselves, after a short lesson from mom on how to paint. |
Much improved, and then they painted it yellow {semi-gloss}:
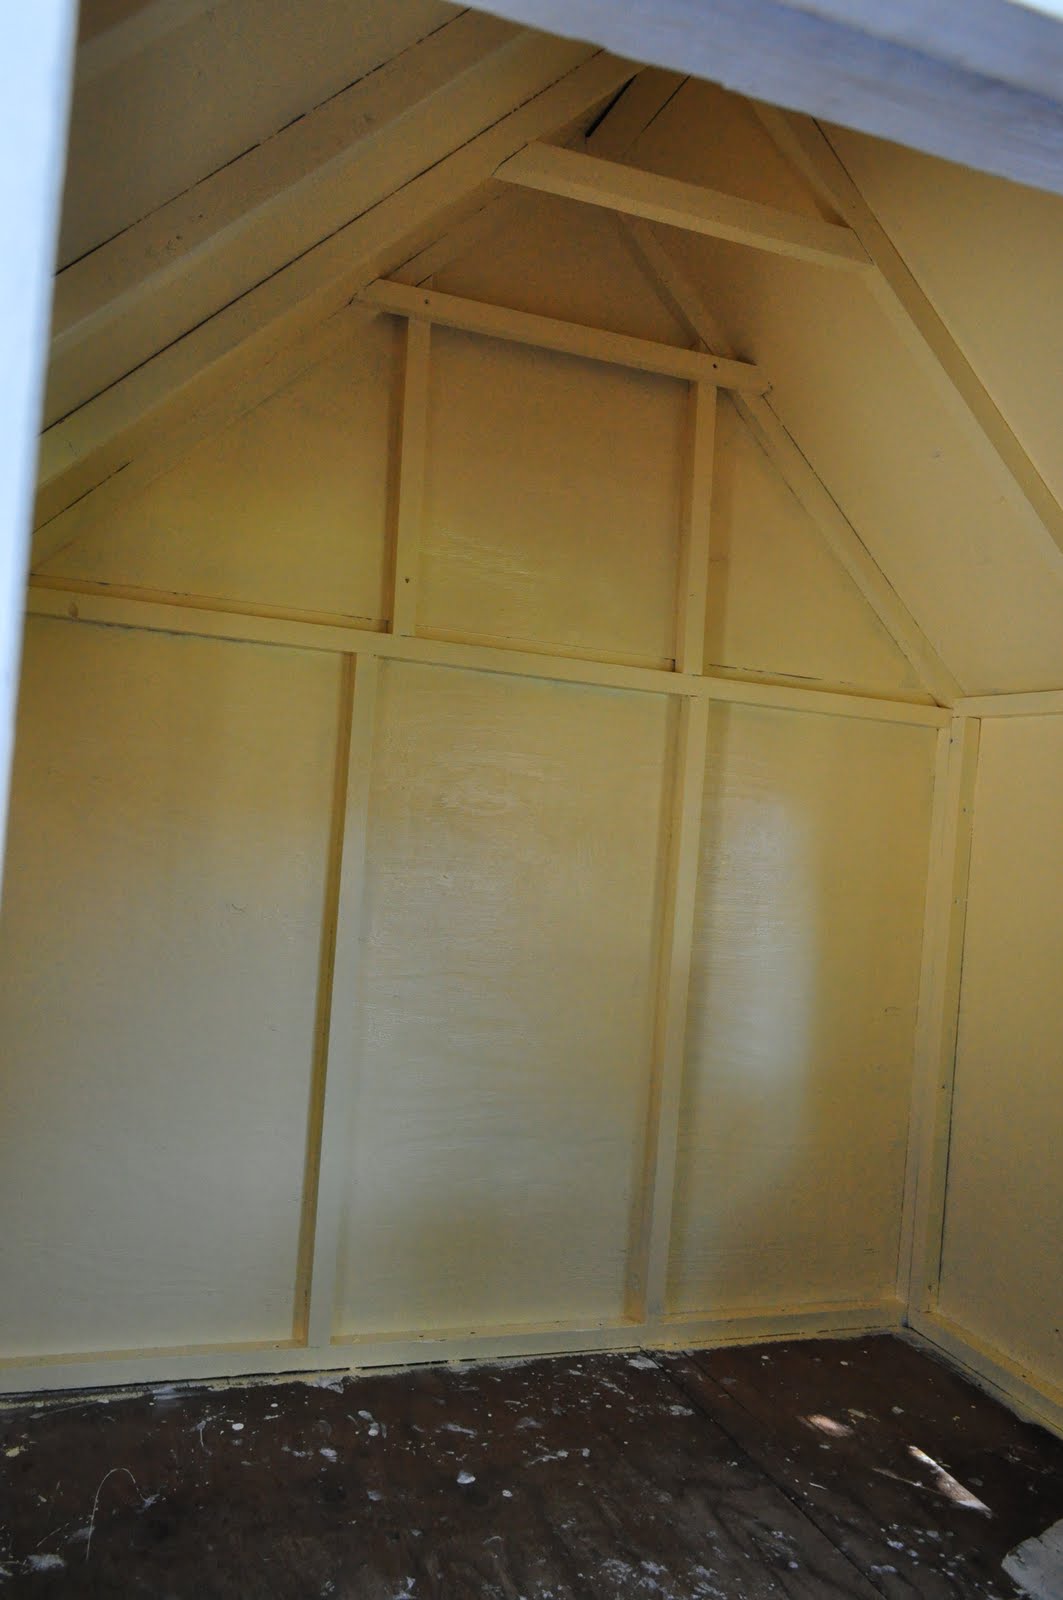 |
| The semi-gloss is actually great to keep it clean and wipe up stuff! |
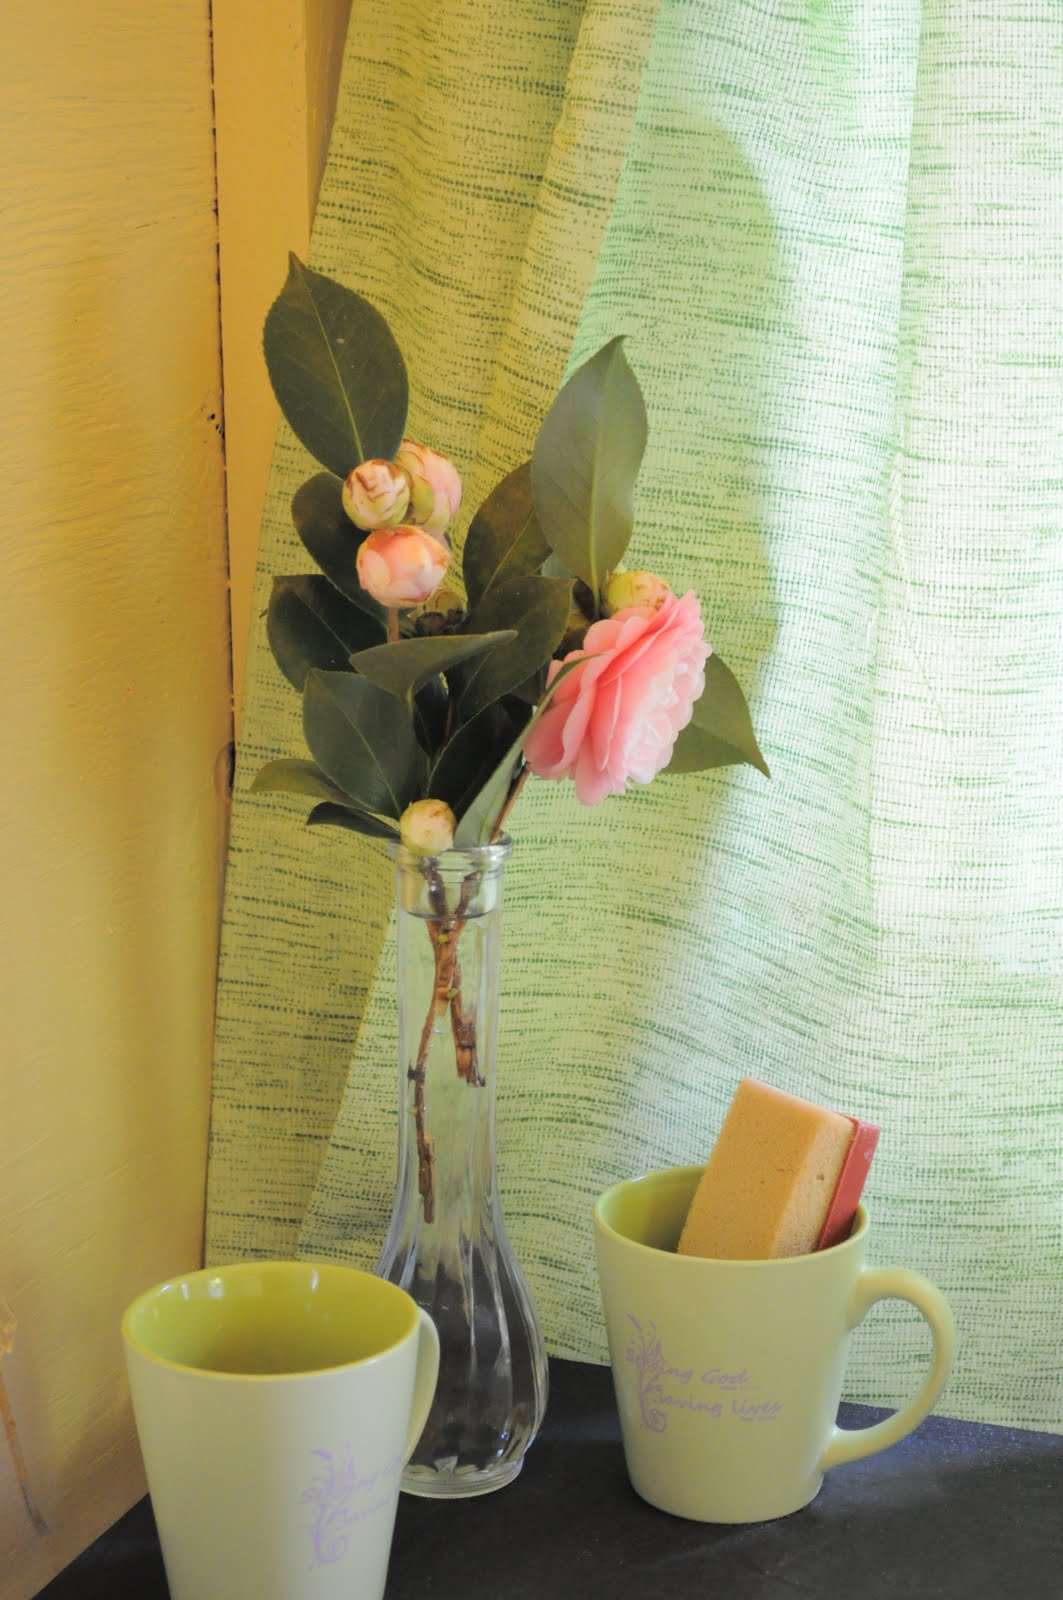
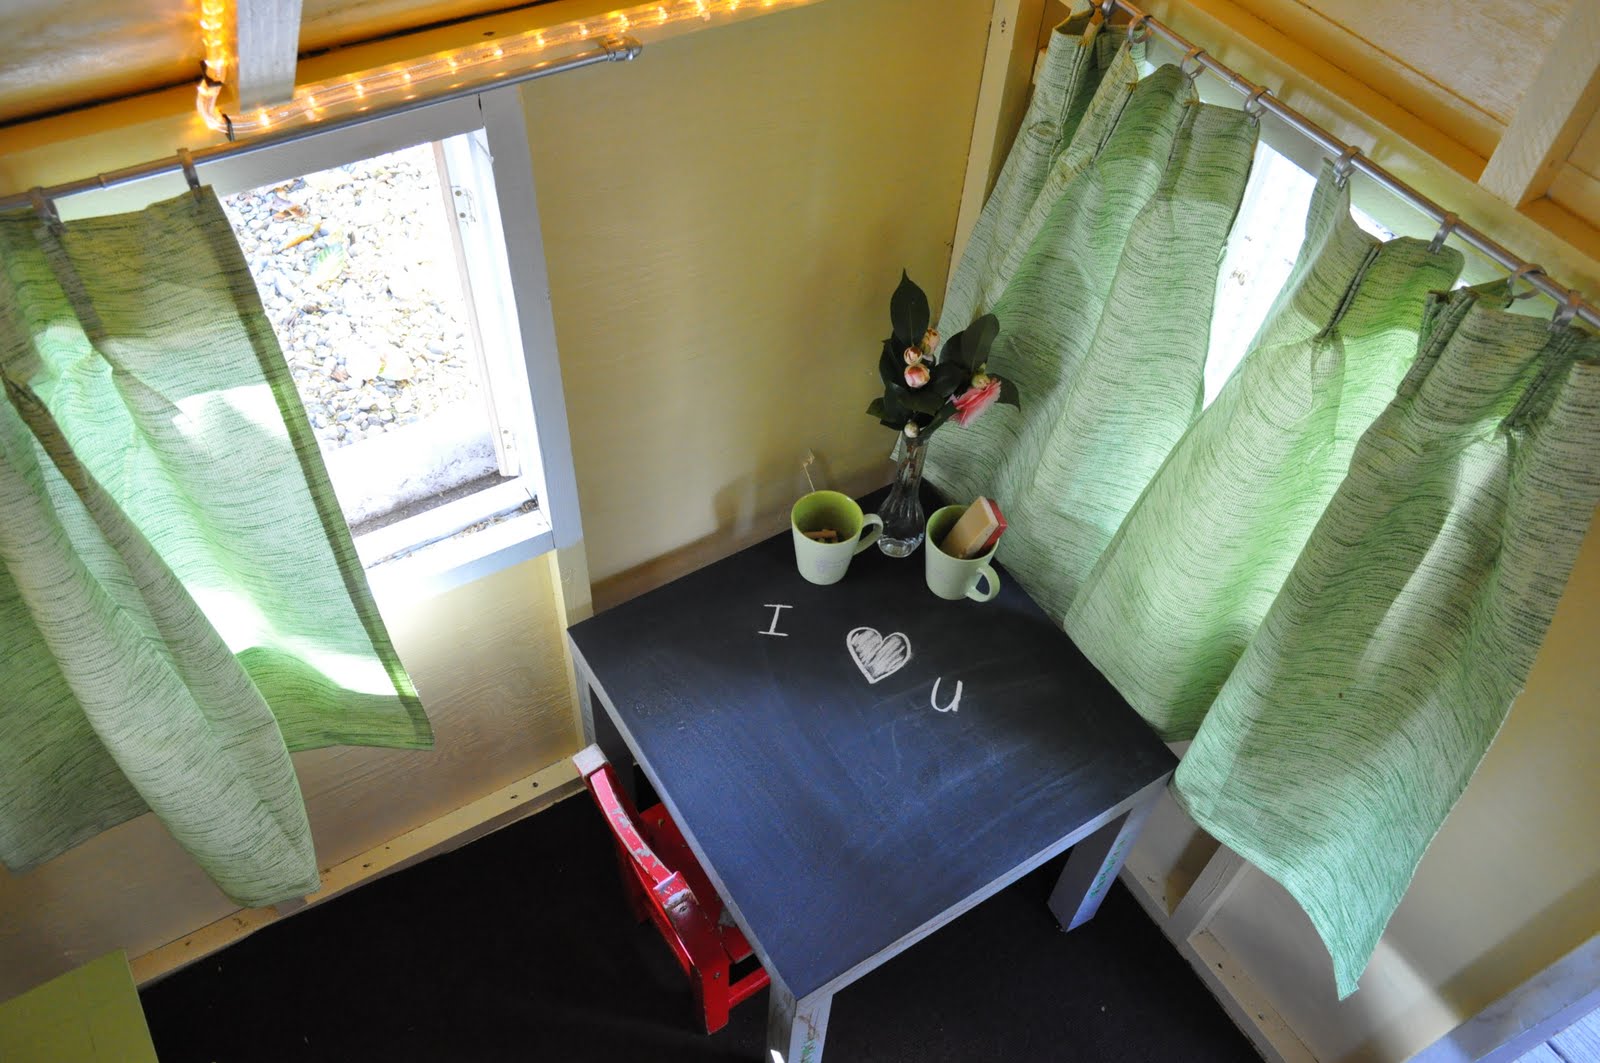
Rachel and I scoured thrift stores together. We found curtains in green {with rubber backing on it} for $2 a panel. I cut and sewed a hem.
 |
| The green curtains have rubber backing on them so they are perfect for outdoors! |
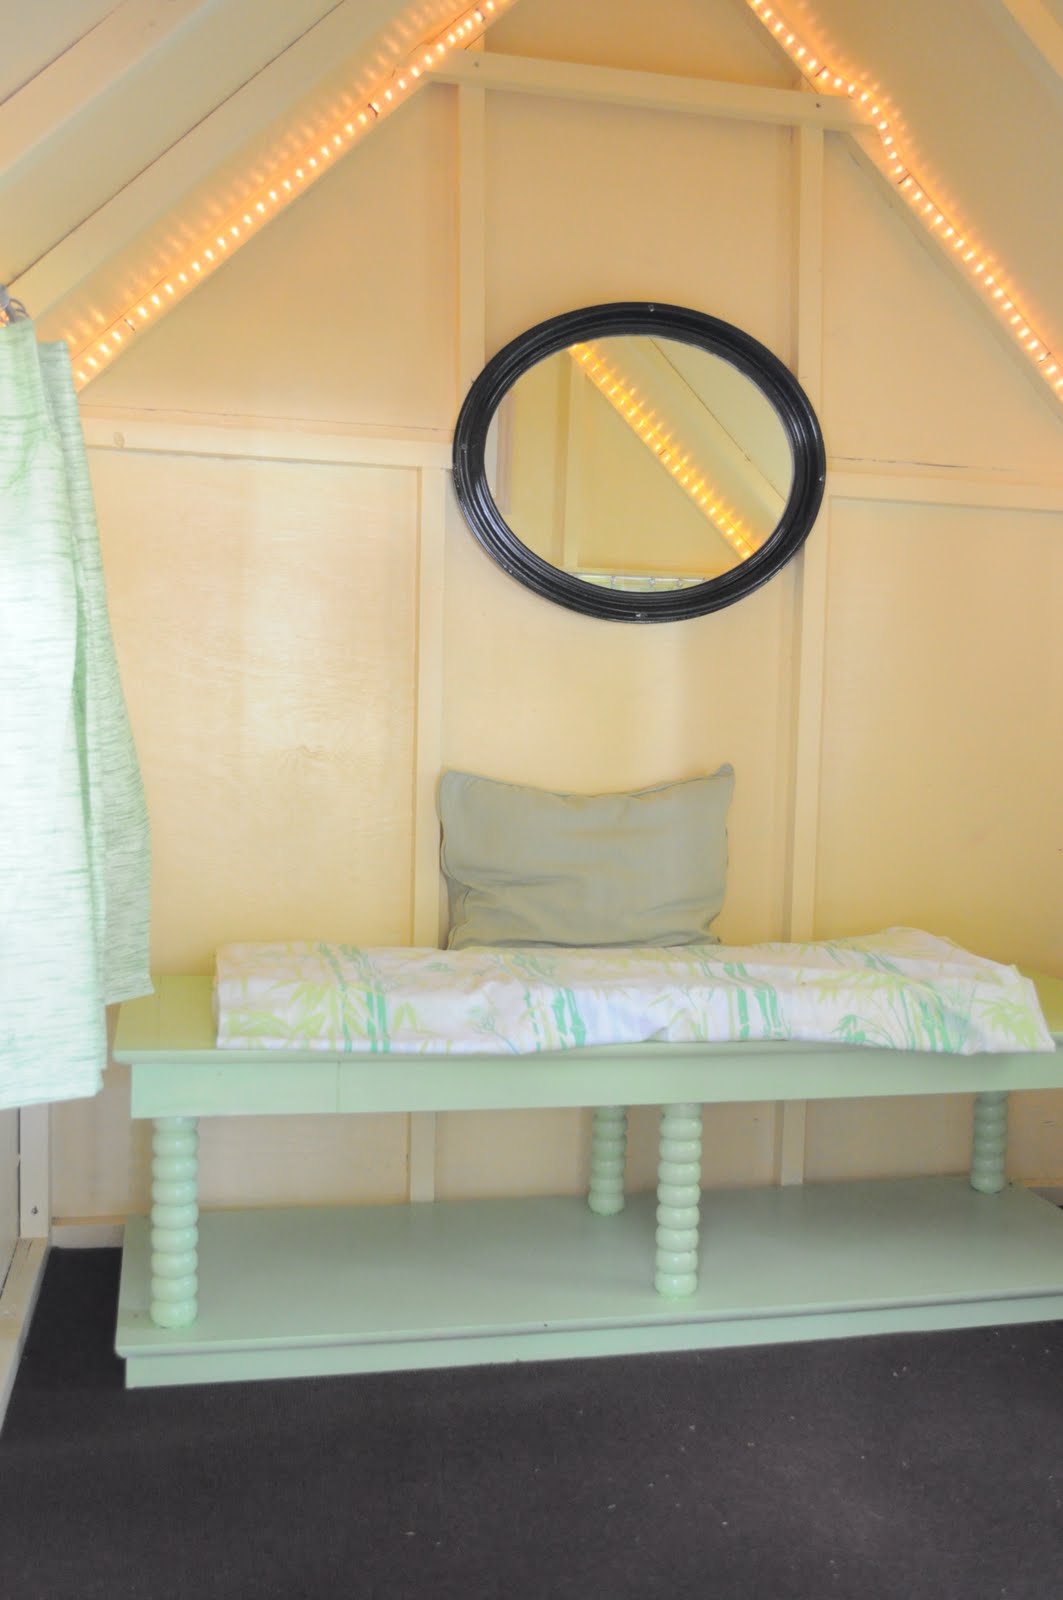
We found sheets that matched to use on our bench that we found at a thrift store – to cover some old chair pads we had from my bench in my awkward music room. I was specifically looking for a bench that was VERY sturdy because lots and lots of kids would be climbing on it.
 |
| Rachel’s friend/neighbor was a “workhorse” and did a great job painting, too! |
I had a $20 limit – and this was $20! They primed it and then painted it green! Since we had curtains in there before there were already curtain rods but had gotten a little rusty. I spray painted them with some silver paint I had leftover.
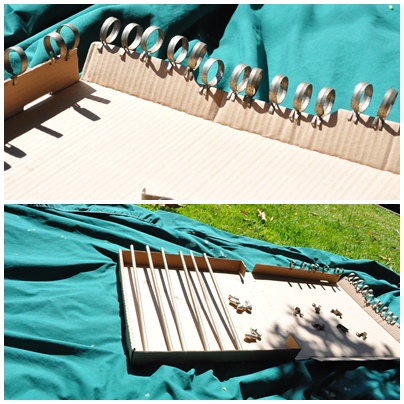 |
| I used a pizza box to hold all the rings and rods. |
There was also a trip to a very fun place…
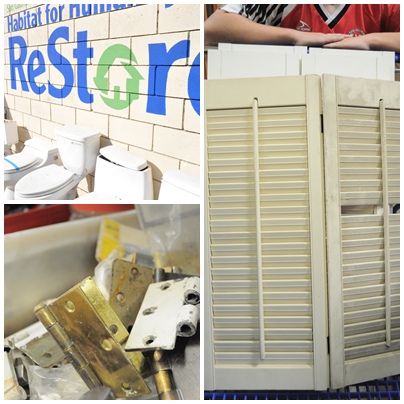 |
| ReStore has all kinds of building supplies! |
I bought three sets of shutters for the windows on the playhouse for $2 each!!
The curtains are hung, the bench is painted…
I even brought in a piece of carpet – I got it cheap at Costco. It’s outdoor carpet that is mold/mildew resistant.
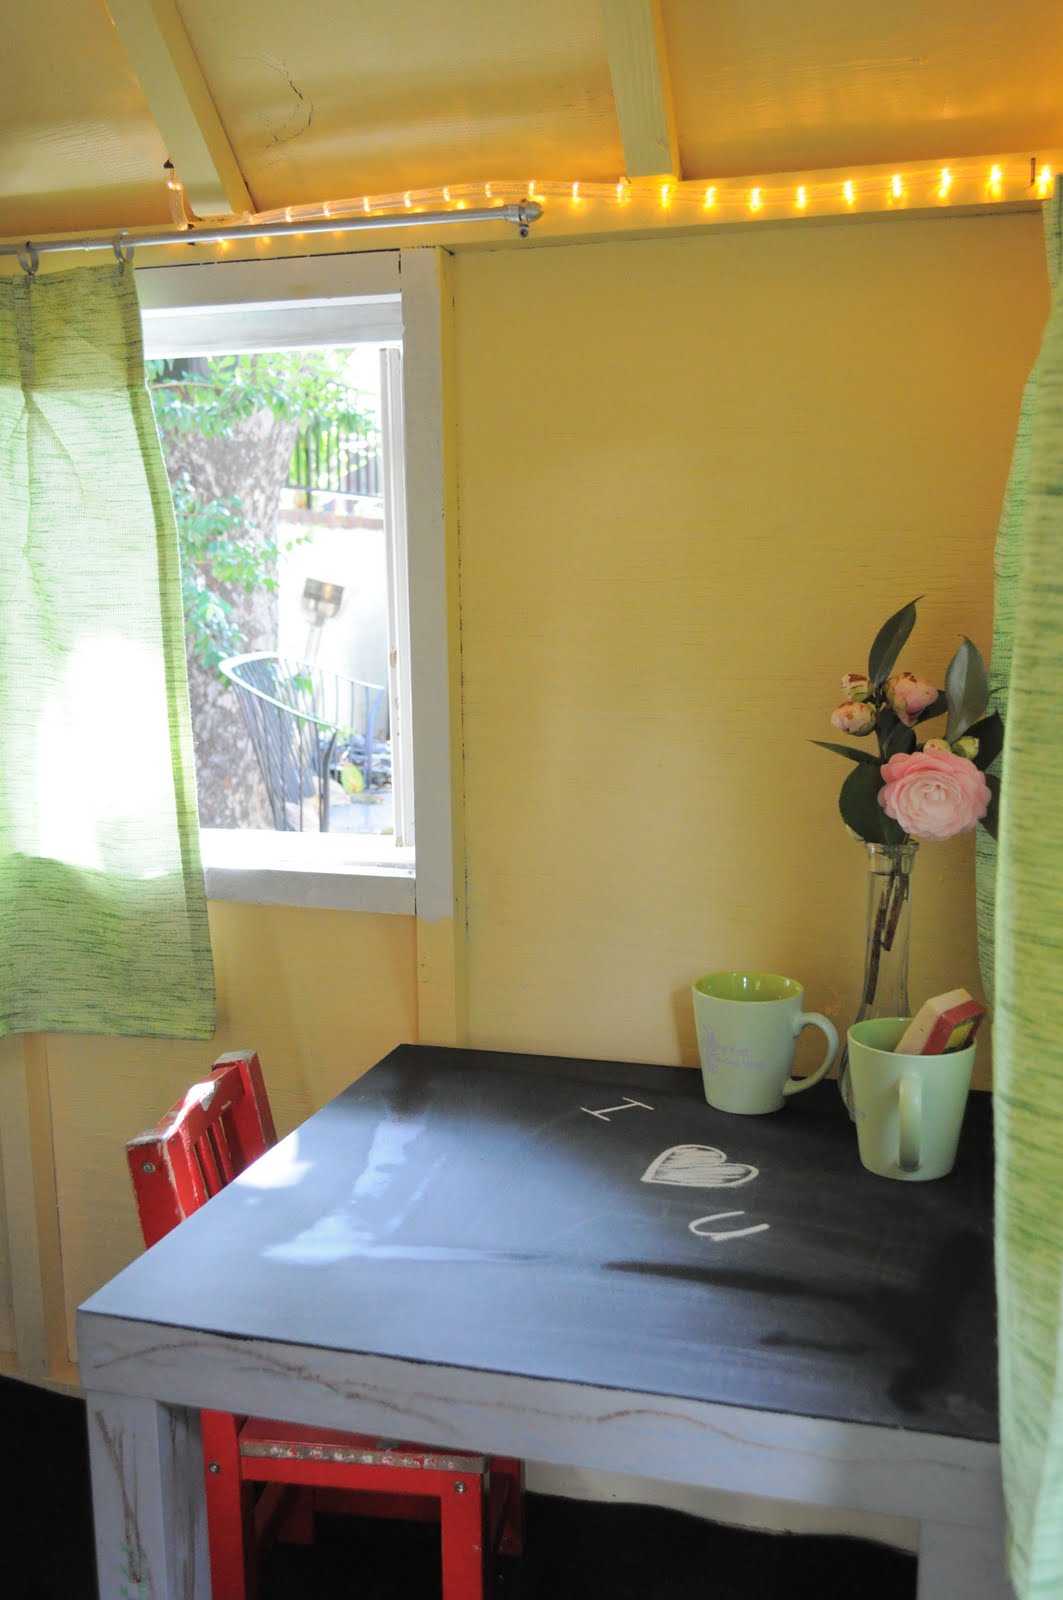
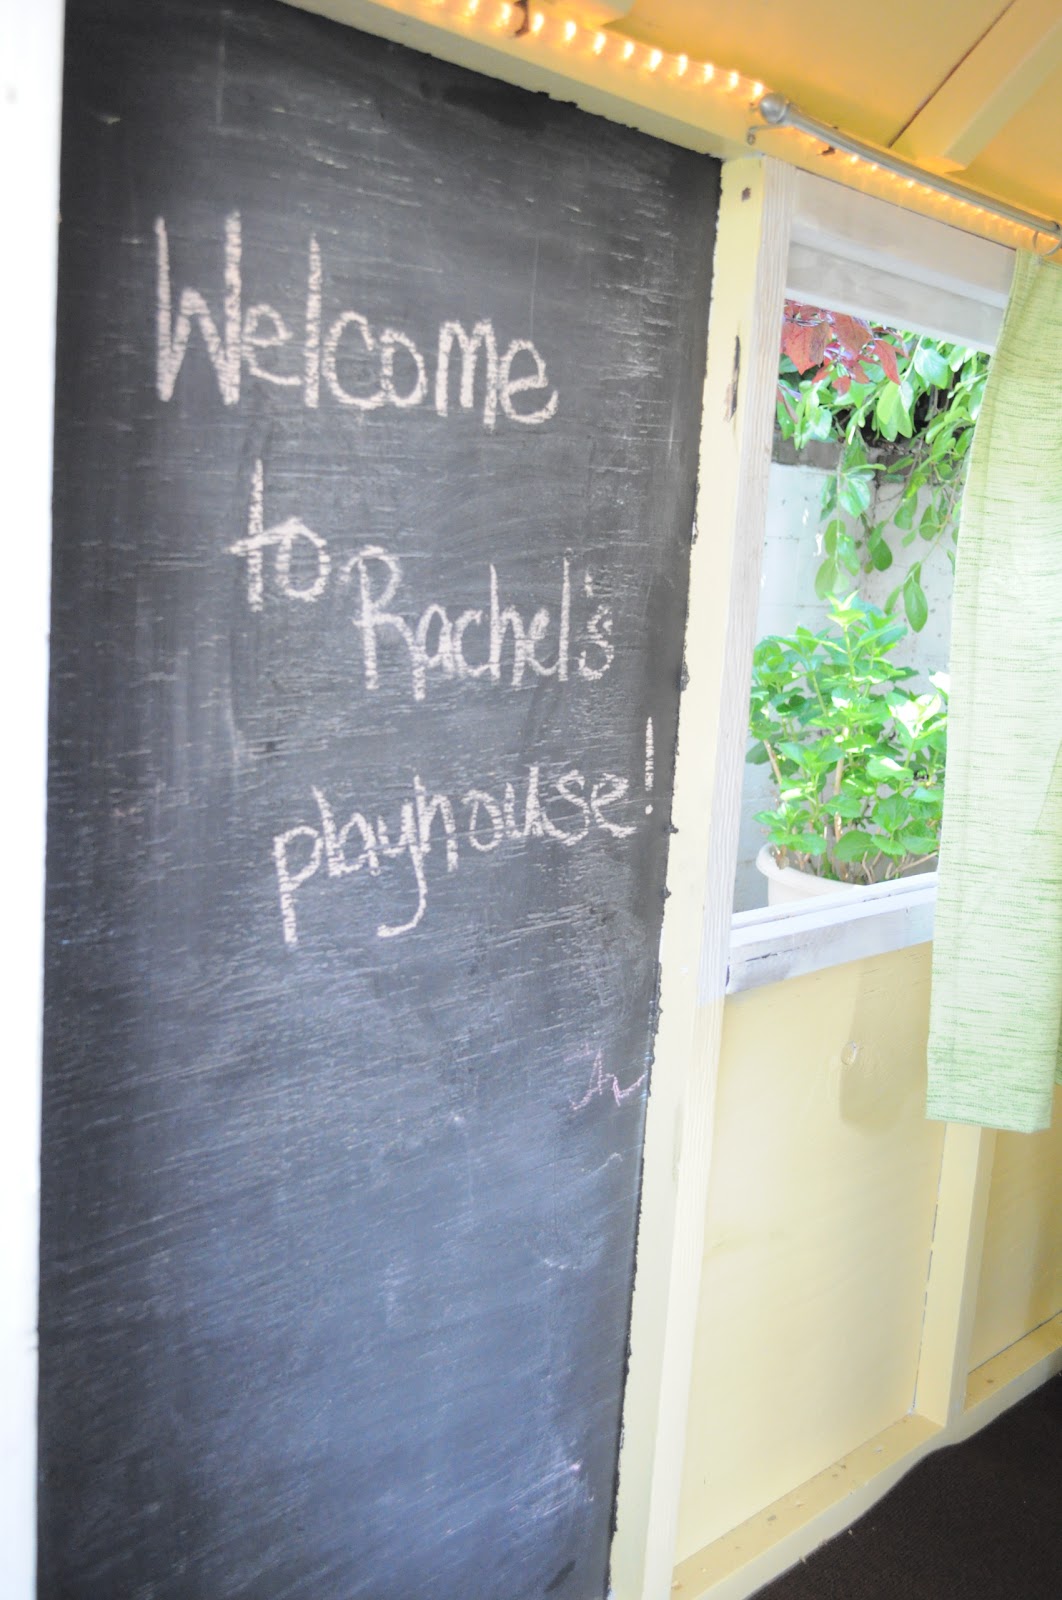
Painted more chalkboard paint on the top of the table that was already in there.
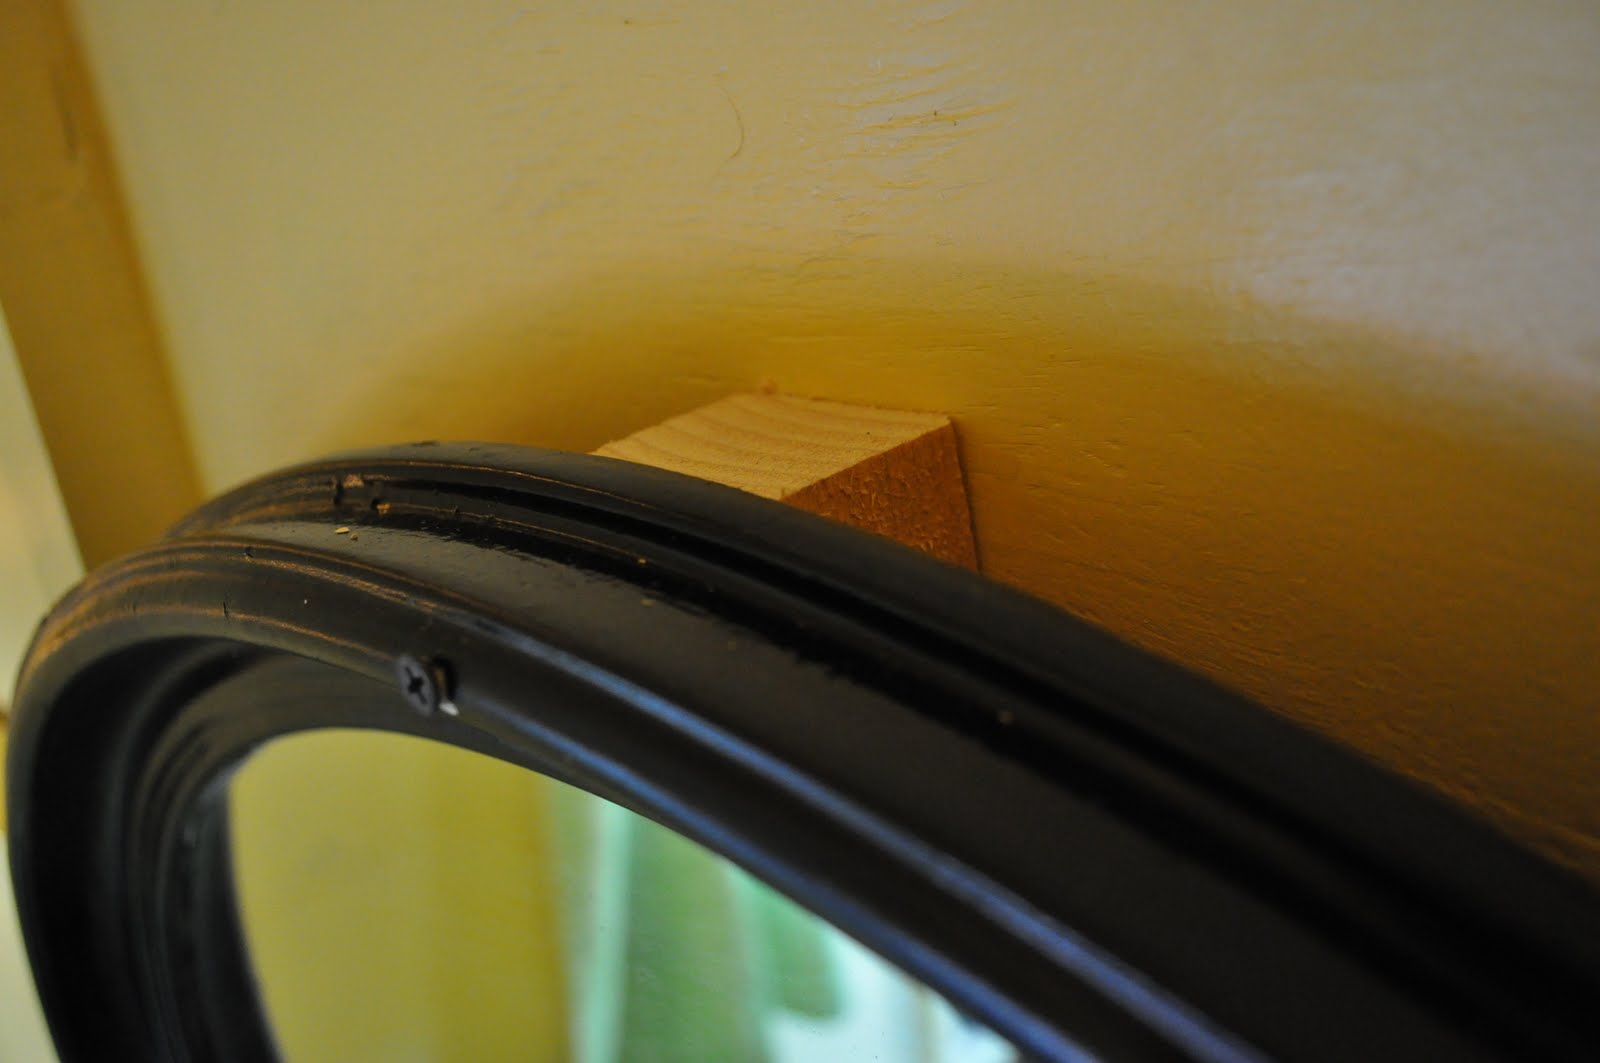
The mirror I found on the side of the road and painted it black. Not the best mirror, but perfect for a space like this.
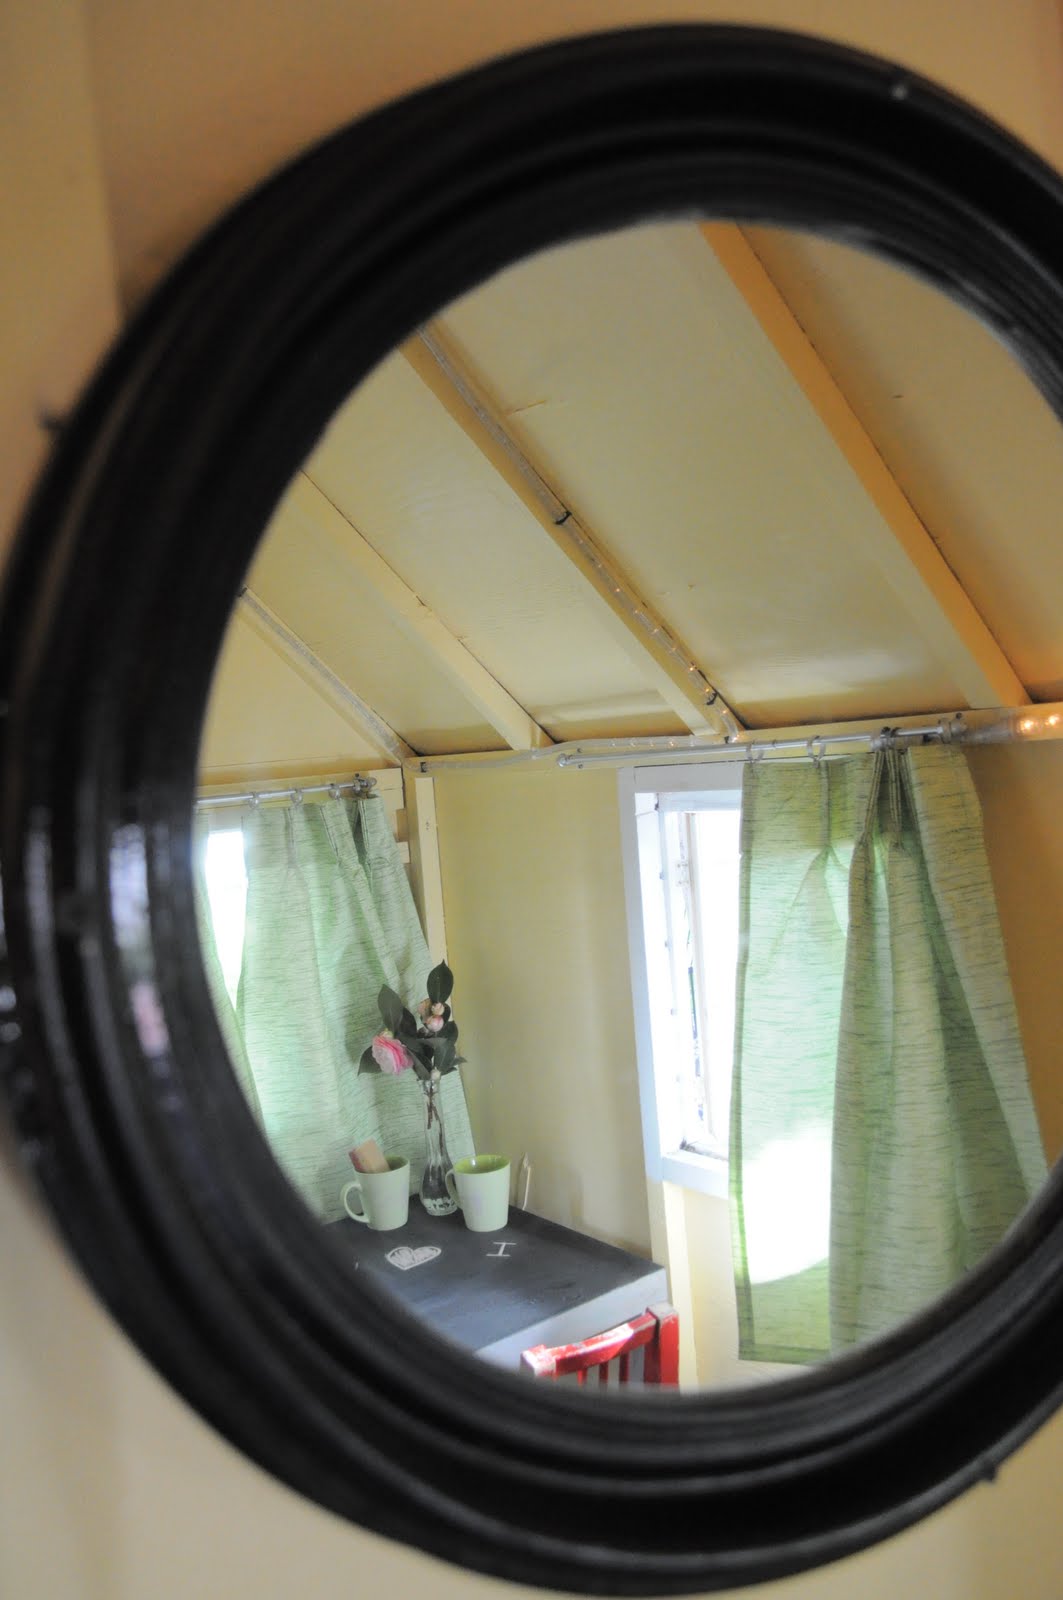
We had to screw it in – as kids who come over and play would yank it right off the wall.
The shutters will help with “privacy” and also help keep the playhouse more weather-proof as the tree drops all kinds of stuff, plus some rain gets in there.
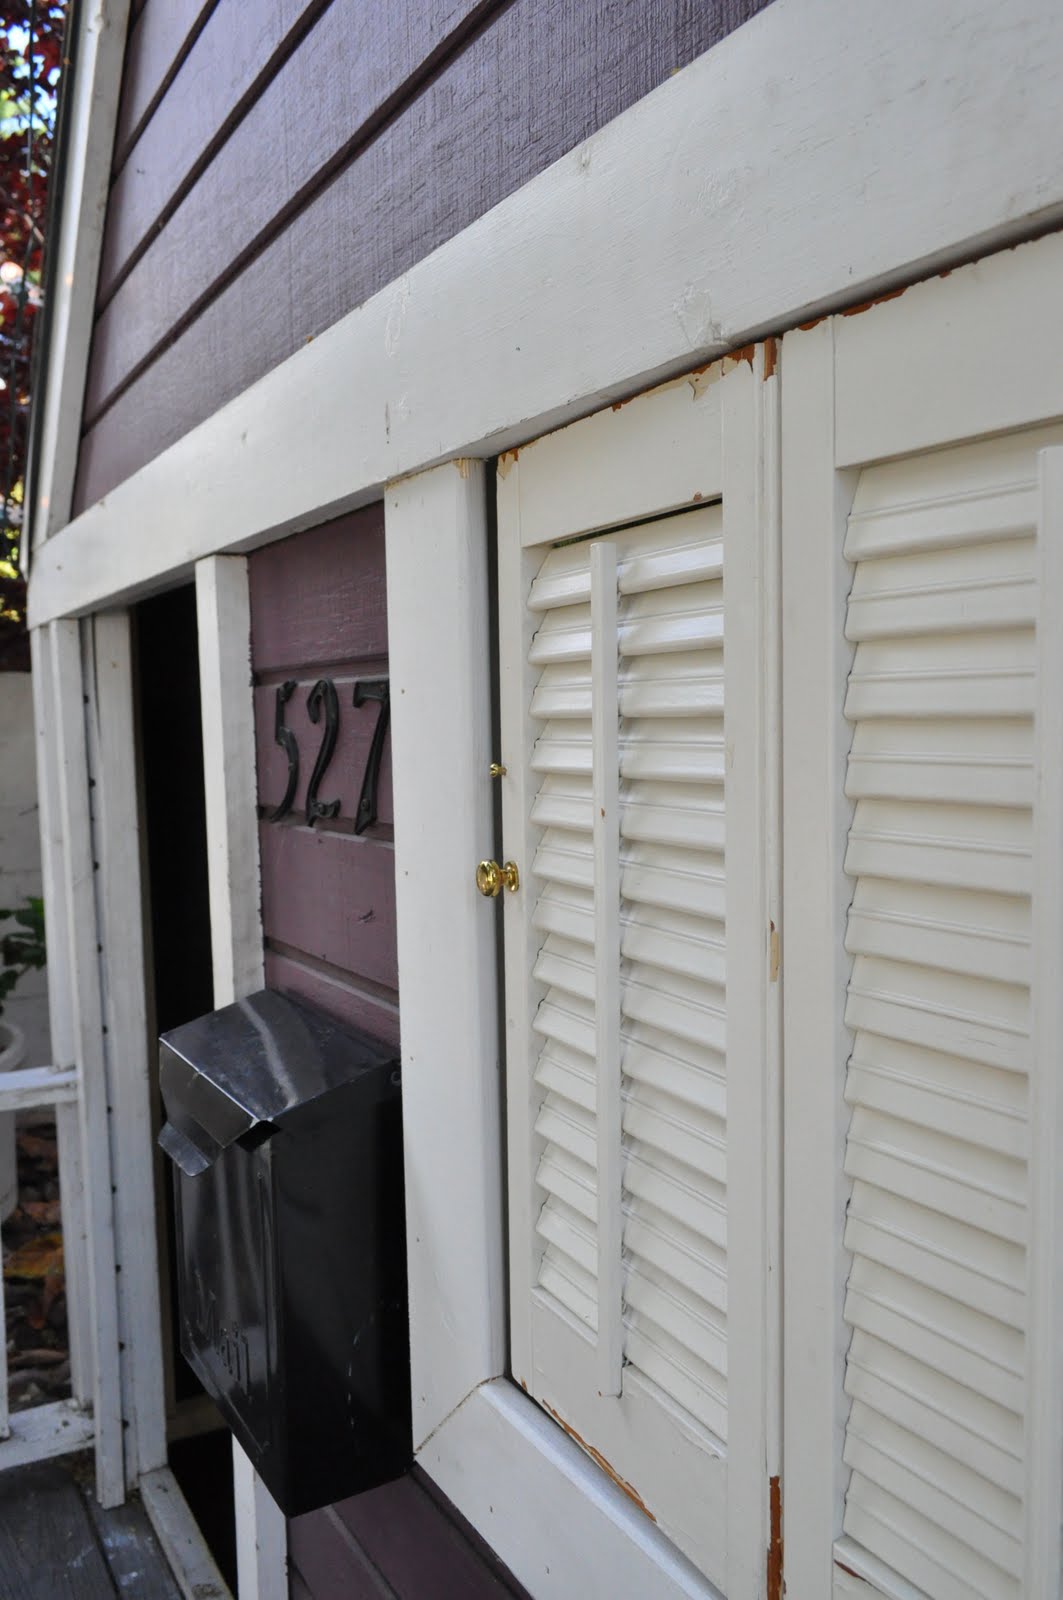
My hubby cut them down to fit on the other two windows.
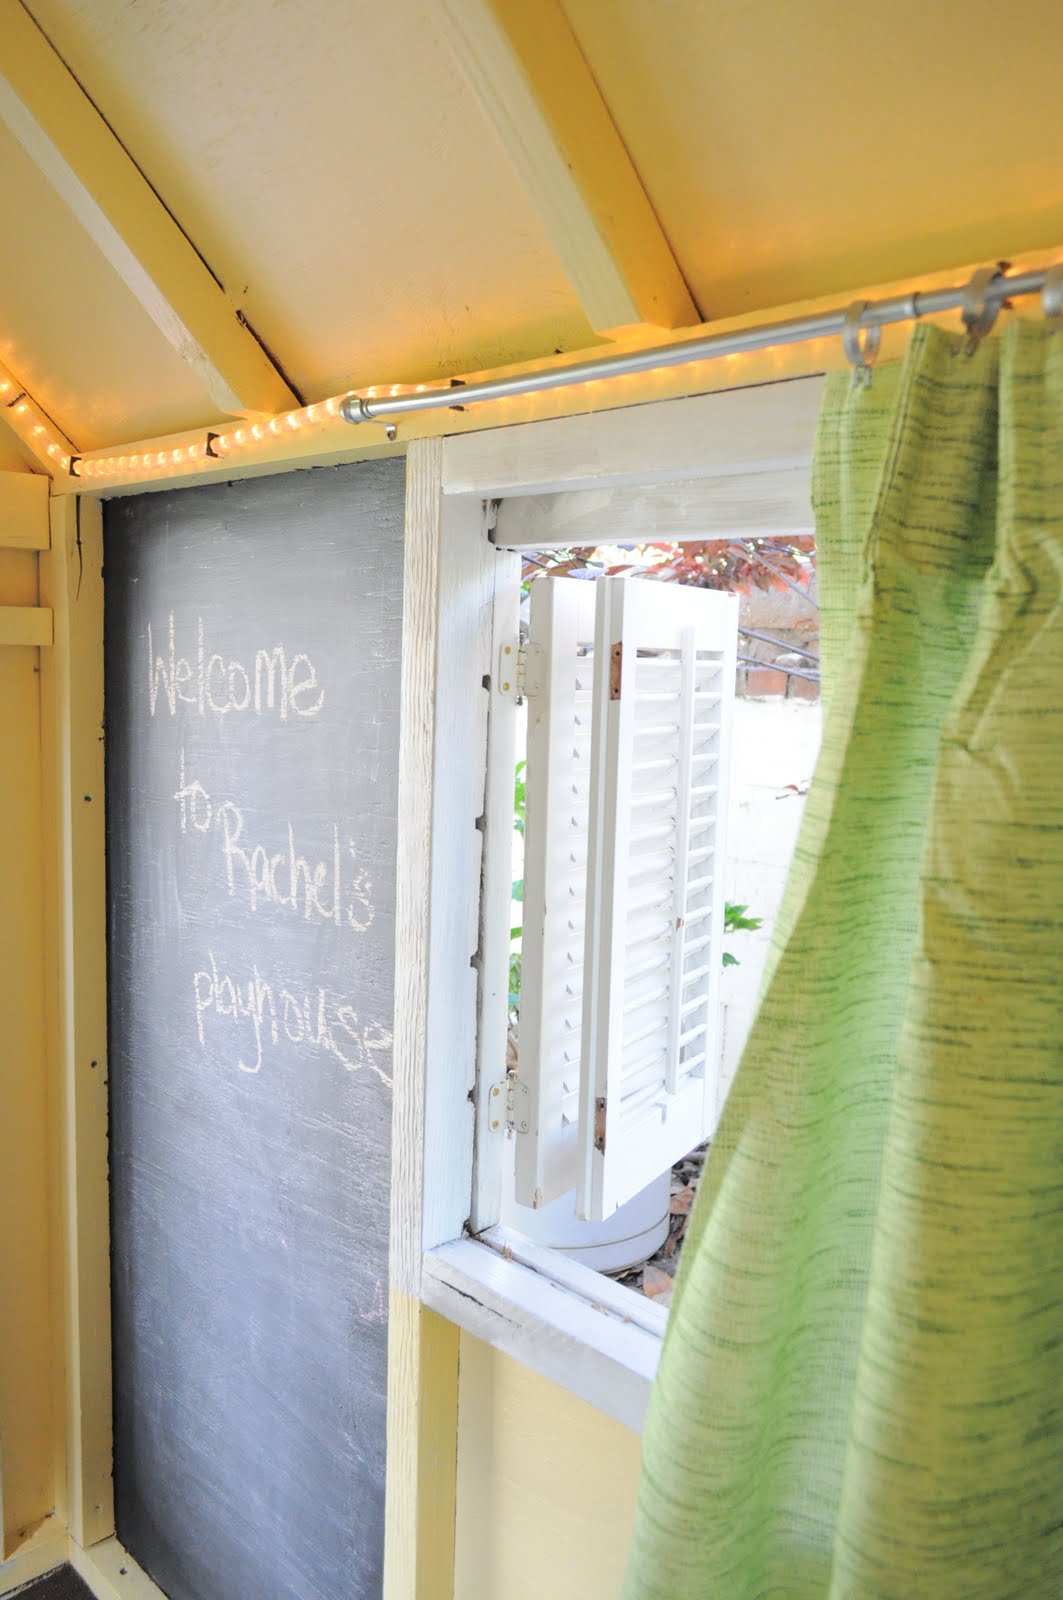
The curtains just had to be cut down and sewn. The curtain rods and rings re-vamped a bit with some spray paint.
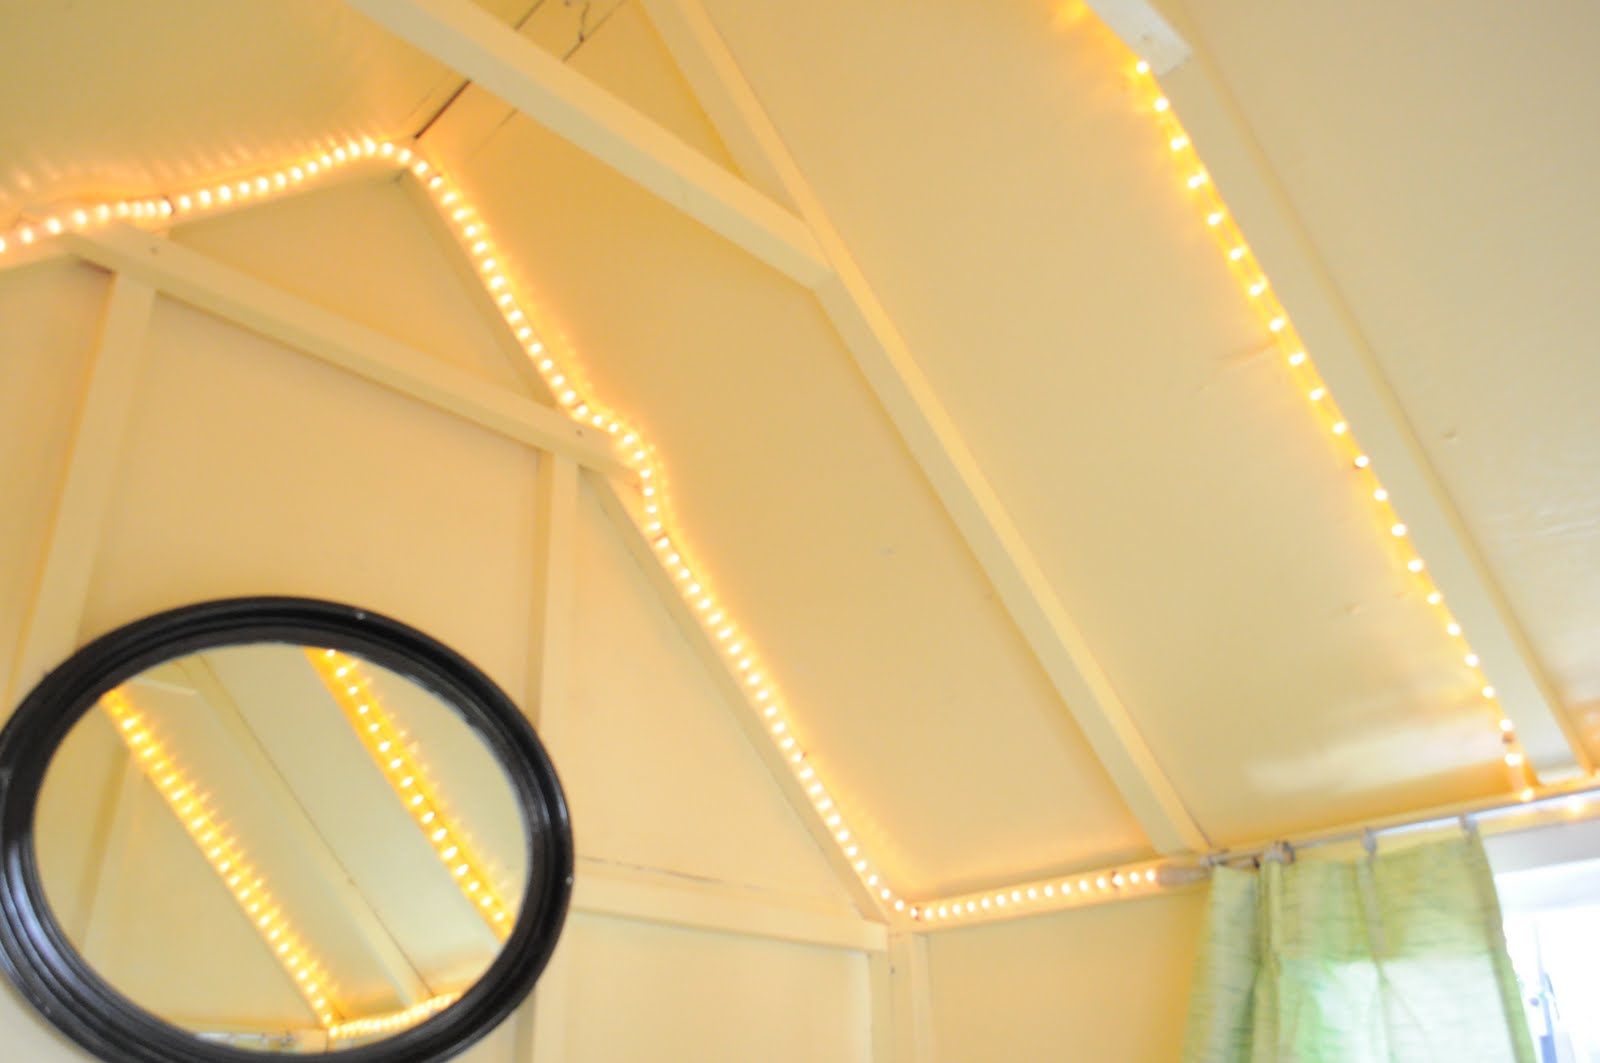
We chose to use rope lights to light up inside – as it gets dark in there at night – or when the girls close it up. We chose it for two reasons: we already had one strand {we just bought one more}, AND mainly because we could staple it down so the kids won’t pull it down.

I think the best part of this was my daughter’s enjoyment of getting to pick everything herself – from the paint to the bench to the curtains. She was on a budget…so she didn’t get to pick just anything.

She also had to do the work herself {although her brother graciously helped with some of it}. She loved it even more.
It makes me want to be a little girl again…I would have LOVED this playhouse when I was her age.

Cassity Kmetzsch started Remodelaholic after graduating from Utah State University with a degree in Interior Design. Remodelaholic is the place to share her love for knocking out walls, and building everything back up again to not only add function but beauty to her home. Together with her husband Justin, they have remodeled 6 homes and are working on a seventh. She is a mother of four amazing girls. Making a house a home is her favorite hobby.