DIY Bathroom Remodel on a Budget (and Thoughts on Renovating in Phases)
Before I share my bathroom renovation, let’s get to know each other, shall we?
I’m a mama to 18 month old twins, I love to party, and my awesome hubby and I are working our way through renovations on our new home. Oh, and we’re operating on a budget too. Nice to meet you!

It’s officially been one year since we bought our home- a completely original 60’s split level that needed a lot of work (you can see all the before photos here).
We’ve been renovating since we got the keys and have another couple years to go. Years!?
Yep, we’re working on a budget, so we’re doing everything ourselves. We so enjoy seeing what a bit of elbow grease and paint can accomplish- the transformation is already thrilling.
Since we’re working on a budget (I’m sure you can relate!), we had to prioritize our renovations. Our kitchen wasn’t useable, we needed to upgrade all the un-fun stuff (plumbing, electrics, windows etc.), we needed an income suite from the basement, and we really wanted to refinish the floors before we moved in (because who want’s to live through that!?).
That meant that our ugly but completely functional bathroom would have to wait. We had it on the schedule for NEXT summer.
But the joys of home ownership means that the one room in the house you thought could wait… can’t.
Since we moved in and started using our bathtub it’s been leaking, friends. Not just little leaks, but BIG awful leaks.
We had plumbers in to fix it- then another leak would start. This went on for months (and about 5 fixes) until we were out of options. It was leaking into our basement suite, our wall was rotting from all the water, the tile surround was cracked and we couldn’t figure out where the leaks were coming from.
We had to reconsider our waiting. I should mention that we only have one bathroom in our house (other than our suite), so not using the tub wasn’t an option. Enter renovating in phases.


DIY Bathroom Remodel
Do you remember Young House Love? I loved reading their blog, and they were advocates for renovating in phases.
I had always been of the mindset- fix it once and don’t waste your money covering the ugly. But we totally couldn’t afford to do the whole bathroom the way we wanted right now.
We could have done a ‘meh’ renovation on the whole room… or we could renovate in phases. We chose the latter and I’m SO happy we did!
We knew the bathtub had to go. Our flooring was peeling back and we were pretty sure the subfloor had bad water damage too- so that had to go as well, although we couldn’t afford to lay the tile we want in there permanently.
There was really nothing wrong with the vanity or toilet- so we decided those would have to wait.

This post may contains some affiliate links. Please see our full privacy policy and disclosure here.
Here’s what we did for ‘Phase 1’ of our DIY Bathroom Remodel:
- Painted EVERYTHING to get rid of that awful pink
- New shaker door and textured window (along with all the other doors and windows in the house)
- New farmhouse trim and baseboards (along with all in the house)
- New toilet seat (it was broken)
- New Towel Rack (I made this one out of pallet wood! You can check out the DIY here)
- New Tub, surrounding drywall, tile surround, and trim (faucet/ shower)
- New shower curtain (Another DIY I’ll be sharing on my blog tomorrow! It’s extra-tall and wonderful)
- Added a fan for humidity
- Temporary flooring
- Temporary light fixture
- New hardware for the vanity
Update: See the complete source list at the bottom of the post!

Whew… it was a lot, right!? The basics- paint, door, window, and all trim were completed for the whole house before we moved in. We also added a bathroom fan and switched out the light fixture before we moved in.
The light fixture when we purchased the house was not only broken, but so close to the wall that it had burnt a hole in the drywall! The light fixture we put in is a freebie from my Dad’s bathroom renovation (score!). We plan to get a new one when we finish the remodel (and the one I have my eye on is a beauty!).

We also replaced the dated hardware on the vanity with affordable hardware from Target. The chunky plates for the hardware allowed for a quick switch without patching holes in the vanity.
These changes were done before our bathtub woes and made a huge difference on their own! The pink being gone was the best part (who paints a ceiling pink!?). I guess this part was technically ‘Phase 1’ but we’ll call it ‘Phase 1A’ and bend the rules.

DIY Bathroom Remodel: The Bathtub
When our bathtub came out, so did all the plumbing within reach. Our plumber couldn’t even pin point one specific leak because everything was leaking a bit.
We bought a builder grade tub from the plumbing supply store and chose to tile the surround. We used the same flooring as in our kitchen renovation to tile the majority of the shower (San Marco Viva Linen).

We’d originally bought enough to tile the bathroom floor and our entryway and were storing it in our basement. Using this up means we’ll need to figure out something else for the floors when we get there, but saves some coin in the mean time.
The marble hexagon accent tile is the same tile we used for backsplash in our kitchen (from Home Depot), so we were able to use cut pieces and extra from that to help cut cost as well.

I tiled the shower myself, I learned on our basement suite shower a couple months ago and am so thrilled with how it turned out! (Grout colour is Delorian Grey) I feel like I can tile anything now.
The faucets are Moen (Eva and Iso-we love their lifetime warranty!).

DIY Bathroom Remodel: Flooring
Since we’re waiting to tile our floors when we upgrade our vanity and toilet, we put down a temporary floor. We have 18 month old twins and wanted to be able to let them in the bathroom without worrying about slivers on the sub floor. A year is a really long time to have no flooring!
We could have painted it, but we had a box of this interlocking vinyl tile (Easy Street) in storage. We were holding on to it as extra if we needed to replace any tiles in the basement- it’s what we laid in our suite.

Since we can pull the tiles back up (you don’t use glue) without damaging them, we thought we might as well put those extras to use! If we were buying it new, it runs $1.99 a square foot on sale (Canadian).
DIY Bathroom Remodel: Shower
One of the things that drove us completely crazy with our old shower is that the shower head was SO low. Both my hubby and I are fairly tall, so having to bend down to wash our hair was a pain.
We put our shower head higher than average (such a good decision!) and tiled right to our ceiling (to avoid hiring a drywall finisher). We love the way this looks, but a standard height towel bar and shower curtain looked silly with the change.

I couldn’t find a longer shower curtain anywhere, so I decided to make one. I love the way it turned out- the look of the longer curtain pulls the whole bathroom together. Plus- I wasn’t limited in patterns, I could pick from any fabric because we use a shower curtain liner inside the tub. I’m sharing the whole DIY and tips to make a custom shower curtain here.

Doing the renovation in phases has worked so well for us! I no longer hate using our bathroom- and waiting a year or more to finish it doesn’t stress me out now.
We were able to complete this phase (even with the surprise bathtub) without running up our credit cards, and we aren’t sacrificing the things we love (like a tile floor) for the sake of budget and time constraints. We still have a ways to go though.

Here’s what we have planned for ‘Phase 2’ DIY Bathroom Remodel:
- New light fixture
- Custom vanity (I have big dreams for this one!)
- New toilet
- New sink and faucet
- New mirror (get rid of that medicine cabinet!)
- Tile flooring
- Built in shelving over the toilet

I’m so happy with the changes we’ve made so far. Having a bathroom that I’m no longer ashamed of made me want to decorate it a little bit.
To pull the room together, I created a super-quick watercolour painting. I used a piece of poster board I had (the frame is bigger than standard watercolour paper), and painted squares of watercolour- almost like pixels or paint swatches. It’s honestly so simple, anyone could pull it off! UPDATE: Download it here.

I also hung my ‘Good Morning Sunshine’ wall hanging above our toilet- I originally made this for a Pancake Party and have been wanting to find a permanent home for it.
Lastly, we’re all about functionality- so we have a vintage Medalta for our hamper, and an old tin bucket for our trash can (I love that thing!).

Bathroom Remodel Sources
- cabinet hardware: Endicott Pull, Target
- tub surround tile: San Marco Viva Linen
- tub surround accent tile: Carrara White Hexagon, Home Depot
- tile grout: Delorian Grey
- faucets: Moen Eva and Moen Iso
- flooring: Easy Street interlocking vinyl tile
————————————-
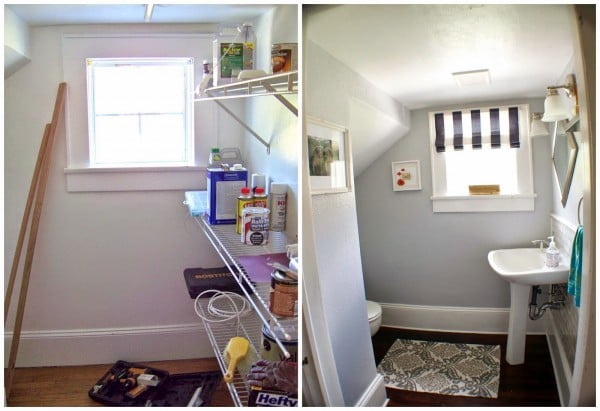
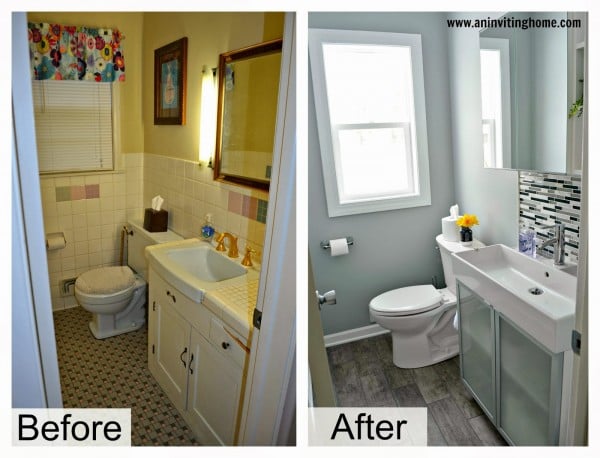
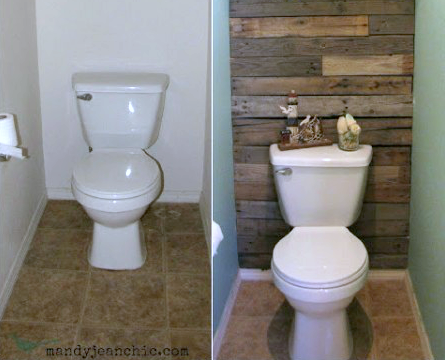
See more beautiful bathroom before and afters:
(click on the photo to see more)


I'm the DIY and lifestyle blogger behind Lemon Thistle: home to DIY, hand lettering, home décor and design. I’m a mom to three kids under three, I love to entertain, and my awesome hubby and I are working our way through major renovations on our new home. I believe you can have a beautiful life, home, and party without spending a lot.


Hi there. Your bathroom looks great! We just installed vinyl floors very similar in our bathroom, but I have a question…..did you have to take down all the tiles in your bathroom first, or did you put flooring right over the tiles in the shower surround? Can you recommend any products that helped it adhere? Thanks 🙂
I absolutely love the shower. So this is just linoleum flooring that you used? Is it the ones that snap together? What did you use to glue them to the wall? Do you use grout over top of It? So many questions but I really wanna do this. Any details would help me tremendously as I too am working on a budget and doing this myself.
Hey Virginia, The shower is actually tile! The flooring is vinyl flooring 🙂
Hello!
This is such an awesome project! I hope you can post a guide on how you did the tiling of the shower. Did you have to demo the old tiles or did you just cover it all up? Thanks! Looking forward to your reply!
Hey Kimmy, We took the old one out and put in everything new- We needed to take out the pipes since they were leaking so bad 🙂
You mention a custom DIY shower curtain but I can’t find it anywhere in your blog. Did you ever post how you did it?
You betcha! https://www.lemonthistle.com/diy-extra-long-custom-design-shower-curtain/
I love this idea to remodel a bathroom on a budget! Question. We have tub surround on the walls at the moment. Would we have to remove that and then put the laminet on? I’m new to this renovating thing!! Haha
Hey Cassanda, this is tile so yes, you’d definitely have to remove first! The flooring is vinyl 🙂
I love the serenity of the makeover. For anyone selling a house, though, you won’t get return on investment for such a complete remodel. Focus on faucets, lighting, paint, other hardware, and fabulous cleaning to pull together an attractive but inexpensive upgrade. For tips that whittle down the makeover here to those “selling the place” essentials, try https://www.homelight.com/blog/kitchen-and-bathroom-makeovers-on-a-tight-budget/. Then come back here for her photos: that is what a super-clean, beautifully staged bathroom is supposed to look like!
Hi there, I love the flooring on the shower walls! Is this a click vinyl flooring? Can you tell me how it is holding up for cleaning? Just concerned it might not hold up as well as ceremic tile. Any advice would be great. 🙂
It’s tile on the walls of the shower. Vinyl on the floors 🙂
What is the tile on the walls. You don’t have a link for it
Hello Janelle,
Colleen is in Canada, and that tile as listed in the post (San Marco Viva Linen) is ONLY available in Canada through special order at flooring stores now. Hope that helps.
Love your bathroom remodel! Do you recall the specific color of tile you used (brand/color) for the shower?! Many floor/wall tiles I’ve seen have a more oak/wood look
Hi there, lovely bathroom! I’m wanting to tile my shower myself too, and looking for some tips! Did you have to remove all the drywall and put a special backing to place the tile on? I read somewhere you must do that, but I thought you could just tile the drywall itself? Any feedback is appreciated. Thanks!
Love everything you have done..where can you purchase the tile you used in the shower? Thank you!
Do you recall the name/brand of the shower hexagon tiles? Love them!! Thanks!
Hi Tracy,
I just updated the links and added list of sources at the bottom of the post, including the hexagon tiles from Home Depot. Thanks for the love!
Thanks!! Appreciate it ????
You used flooring on the shower walls? I know you added an accent tile also, but I want to make sure what I’m seeing is what I am seeing, lol!! If it is flooring, how do you have it waterproofed? I love the look!
Love the before and after pictures! It really shows the impact of creating a warming and cozy space in your home that most people neglect to remodel. Tiling a shower can be time consuming but the finished product is something you can be proud of. It seems like you really stuck to your budget and made the best renovation you desired. Great job!
I see you used title on the shower wall. Would like to know did you you and waterproof seal.
You bathroom looks great! However this really isn’t ‘on a budget’ because you already had supplies…A little misleading. I was hoping to to know how to get the tiles on a budget! Still though, nice job!
Hi, I can’t seem to find it anywhere. Where is the link to the flooring in the kitchen as well as bathroom walls? It’s the long gray planks.
Hello Janelle,
Colleen is in Canada, and that tile as listed in the post (San Marco Viva Linen) is ONLY available in Canada through special order at flooring stores now. Hope that helps.