Simple Bed Crown Cornice Tutorial
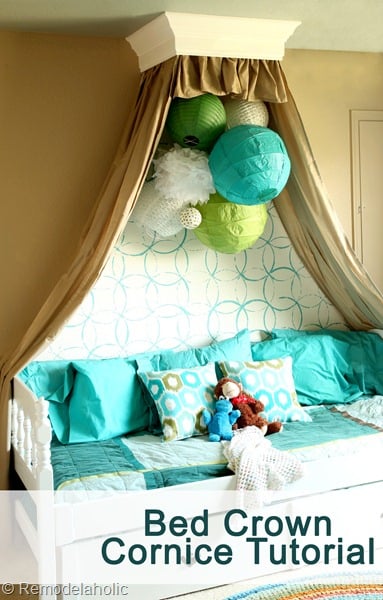
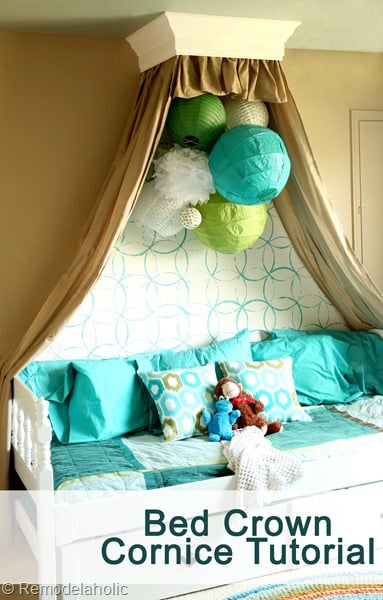
Okay yesterday I showed you how we stenciled that back of the wall for my daughter’s canopy bed and today I wanted to show you how we built the crown cornice.
This was a really quick project that was not made in the most precise of way so take this a a guideline or just a simple idea of how you can get this look.
Because the Crown cornice was going to be above my sleeping daughter, the most important thing to me was that it was very securely fastened to the ceiling and the wall. So we sized ours according to the joists in the ceiling. So for this example the size is approximately 2’ x 2’ feet.
Simple Bed Crown Cornice Tutorial
Supplies:
| 4’ of 2×4′ or 1 x 4 | 8’ of a 2 x 2 |
| 6’6” feet of 6”-8” tall base molding | 7’6” Crown molding |
| 4” long screws | Caulk |
| Patch | Paint |
| Finish Nails |
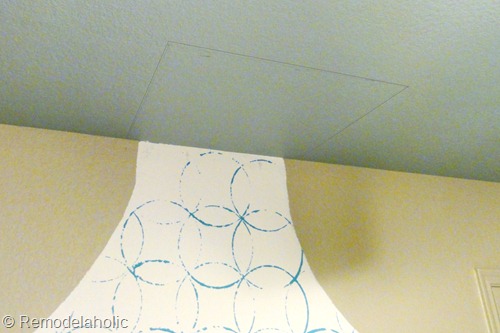
1. Mark the ceiling with the location of the crown cornice.
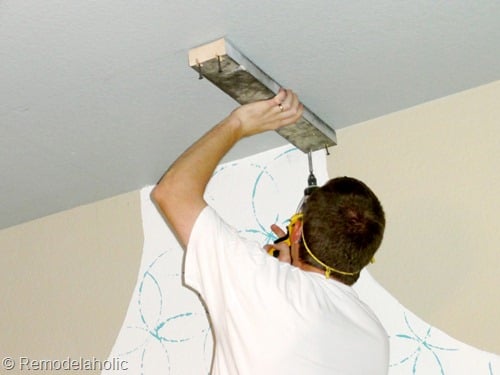
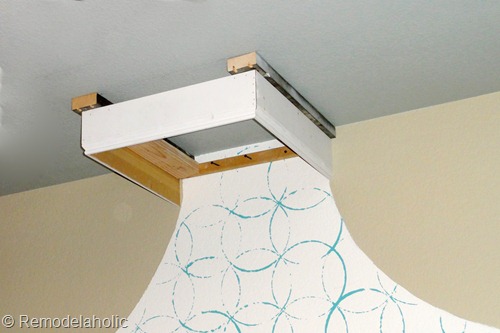
2. We started by attaching to scrap pieces of 2×4 to the ceiling. Running out perpendicular to the wall. These two 2x 4’s were screwed directly into the ceiling joists so that they were very secure. This also helped to add some length to the finished cornice. and make it appear bigger.
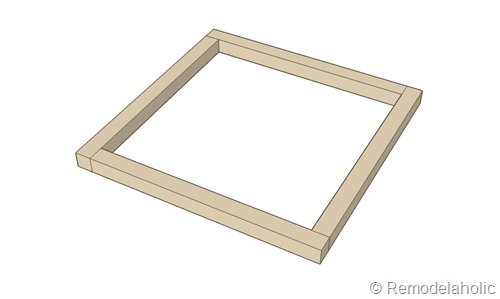
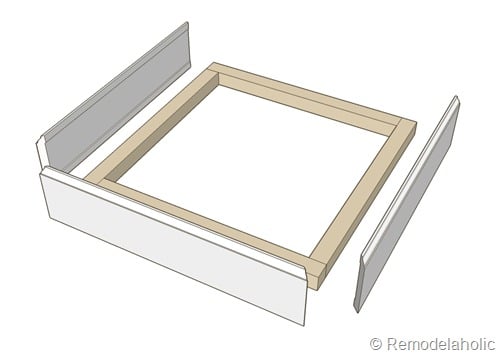
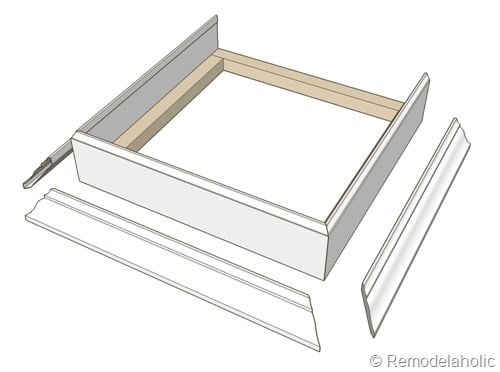
3. Using some 2 x 2’s we constructed a simple box.
4. Cut the base molding to the proper dimensions. Be sure to miter the corners where the moldings meet. On the side that will meet the wall, stop the molding in line with the 2 x 2 like the image below. This end should sit flush up against the wall.
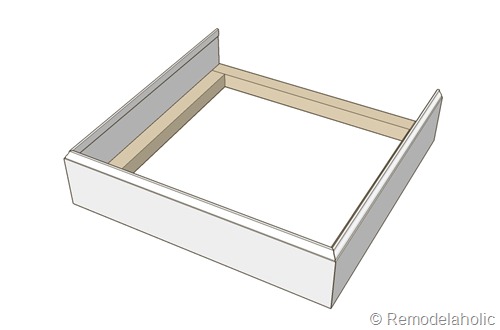
5. Place the 2 x 2 box on the floor. With the base molding standing up like it would normally be used. Wrap the base molding around the 2 x 2 box on three sides, securing with nails to the 2 x 2 box frame, and wood glue on the mitered corner seams.
The backs should be flush with the 2×2 box like shown below.
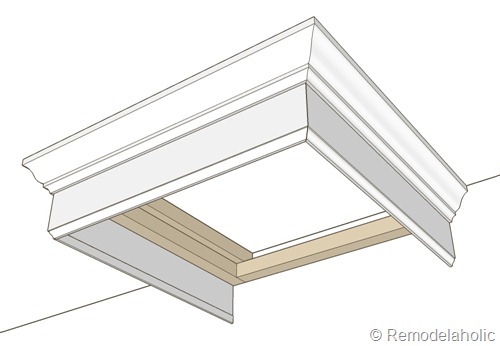
6. Screw the 2 x 2 box into the securely fastened 2 x 4’s on the ceiling, but also screw the 2 x 2 on the wall to the wall joists.
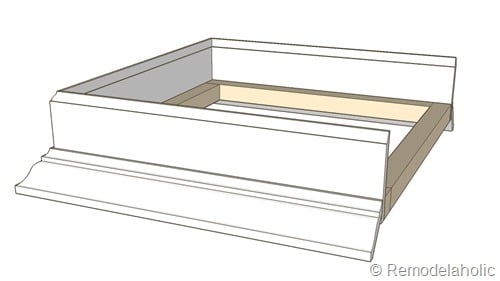
7. Once the box is secured in a strong way to the ceiling and wall wrap the three outer sides with crown molding. Nailing into both the body of the cornice and the ceiling, and wall on the ends.
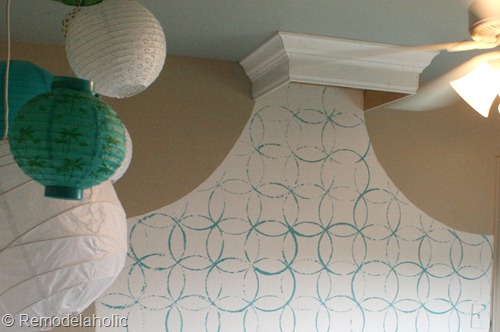
8. Caulk, patch and paint. (I would pain the inside and outside the same color) This picture is before I caulked and painted.
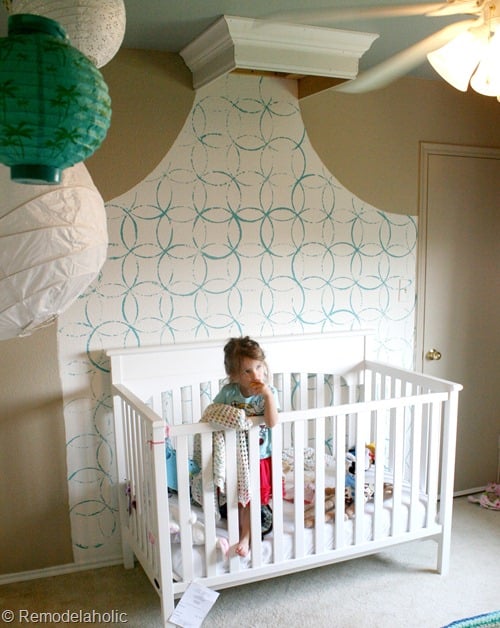
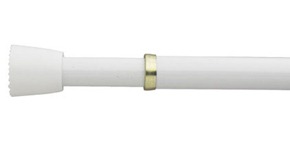
I hung the curtains/drapes in the cornice with small tension rods I purchased at Walmart, they were only about $3.00 or less even. I just used to super cheap sheets that I bought on clearance for the drapes around the bed. I chose to match the color of the wall to help the stencil to pop! If I had the time I would have loved to line the inside with white drapes stenciled like the wall.
Simple as that and you have a perfect little bed crown cornice.
Tomorrow I will show you the reveal of her bedroom!
Cassity Kmetzsch started Remodelaholic after graduating from Utah State University with a degree in Interior Design. Remodelaholic is the place to share her love for knocking out walls, and building everything back up again to not only add function but beauty to her home. Together with her husband Justin, they have remodeled 6 homes and are working on a seventh. She is a mother of four amazing girls. Making a house a home is her favorite hobby.



What a great project! Definitely pinning this one! Cheers.
Thanks! It was really fun to make for our girl.
Beautiful!! You did a fabuluous job!! It looks simply beautiful!! Love it!!
Crystal, Thank you for always being so sweet!
That is so cute! Girls rooms are so much fun.
I agree! They really are so fun to play around with!
What a really good idea for a play room, I think I may make this my next home project!