Wall Paper Be Gone! Kitchen Transformation
I knew I loved this house when we pulled up to it! and when we walked inside I fell in love even more! There was just this one thing….
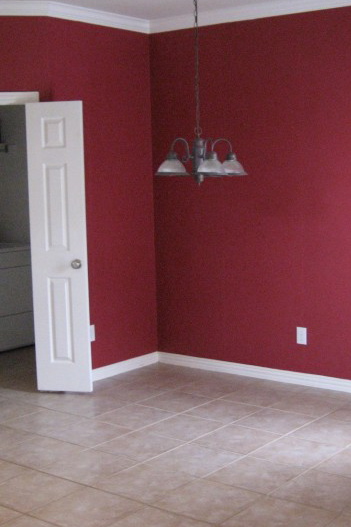
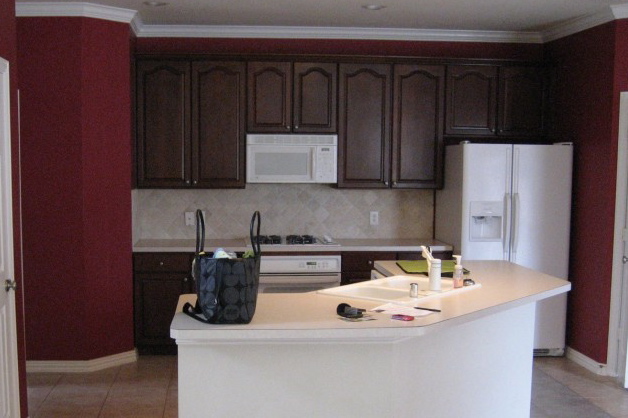
Everyone else thought it was red paint in the kitchen- which would have made sence since it was solid!! but alas, it was not paint… it was red wall paper!!!!! Now I didn’t hate it- and was willing to live with it for fear of having to take it down- but why, why, why would you put up a solid color wallpaper?!?!
But living with it I did… and then it happened… that one little tear… and then something else happened another little baby boy….
Every night I would check my little sad tear and even put a drop of glue under it for fear that one of the boys would notice and it would all be over…. Nightmaires I tell you!! a little tiny baby hand gripping that tiny little tear and pulling and pulling and pulling AHHHHH!!
ok- so this will be anti-climatic… it finally happened.
I tried to be ok with it because I knew we couldn’t afford to have someone take it down and I certainly didn’t want to!! and then I decided to do it anyway… on a Monday morning and I knew there was no going back.
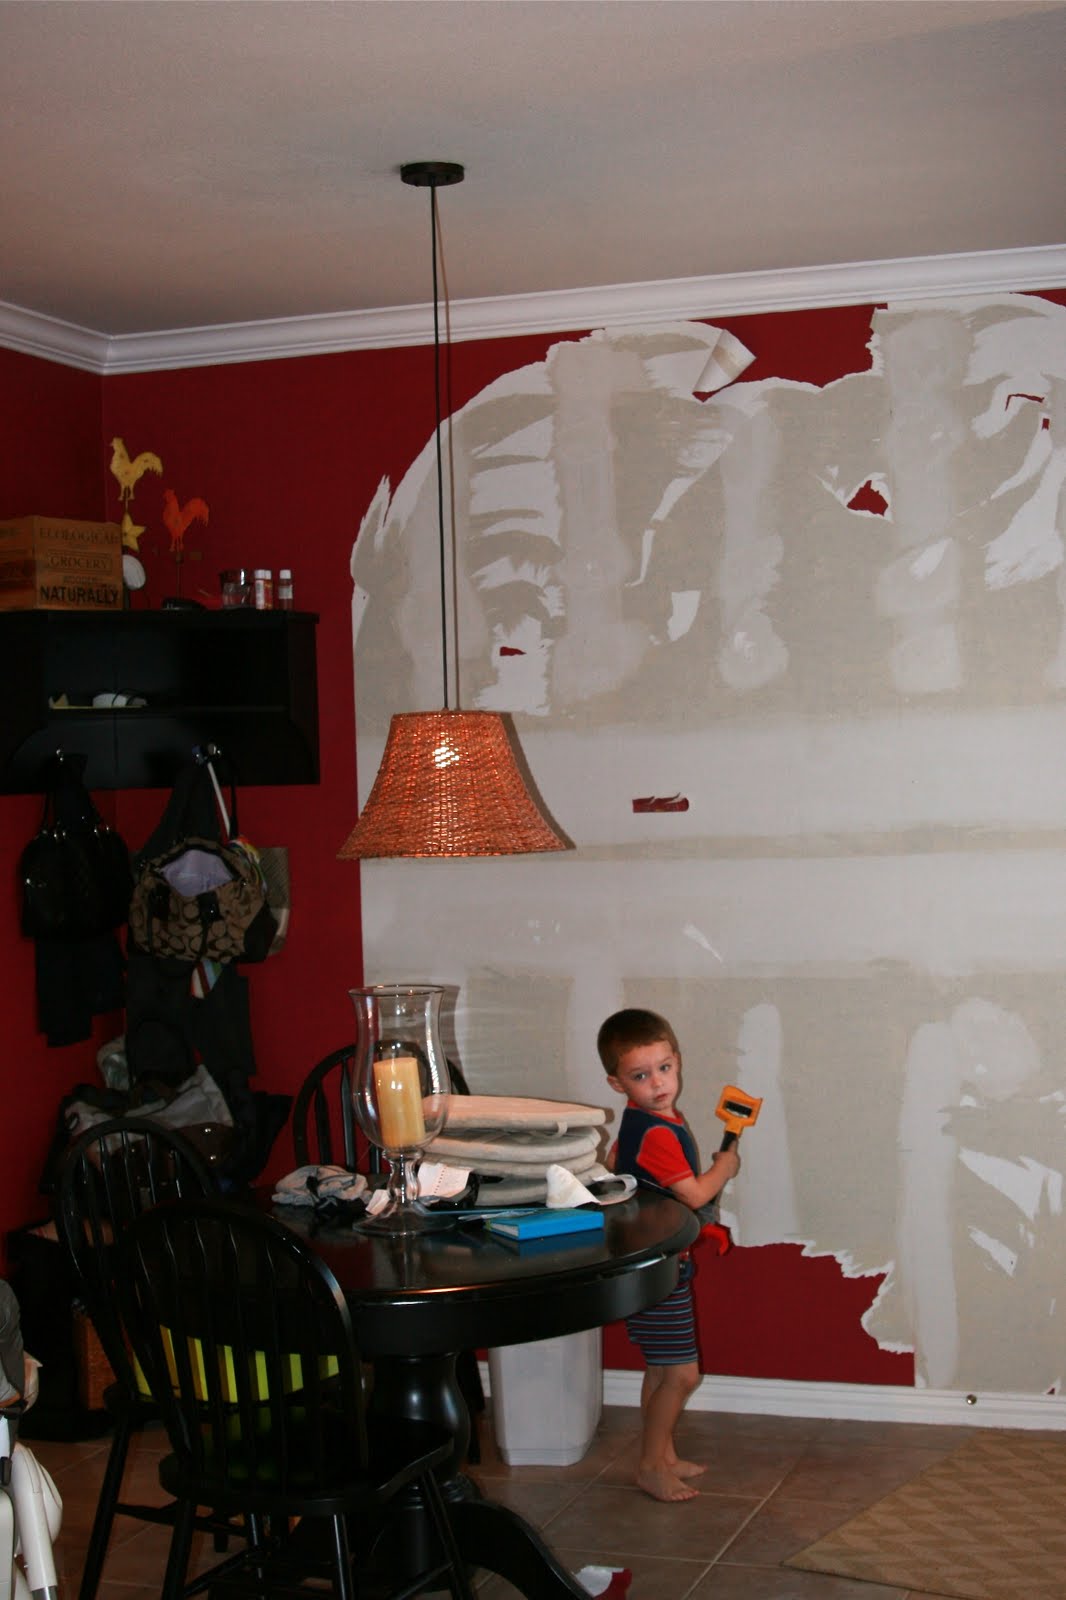
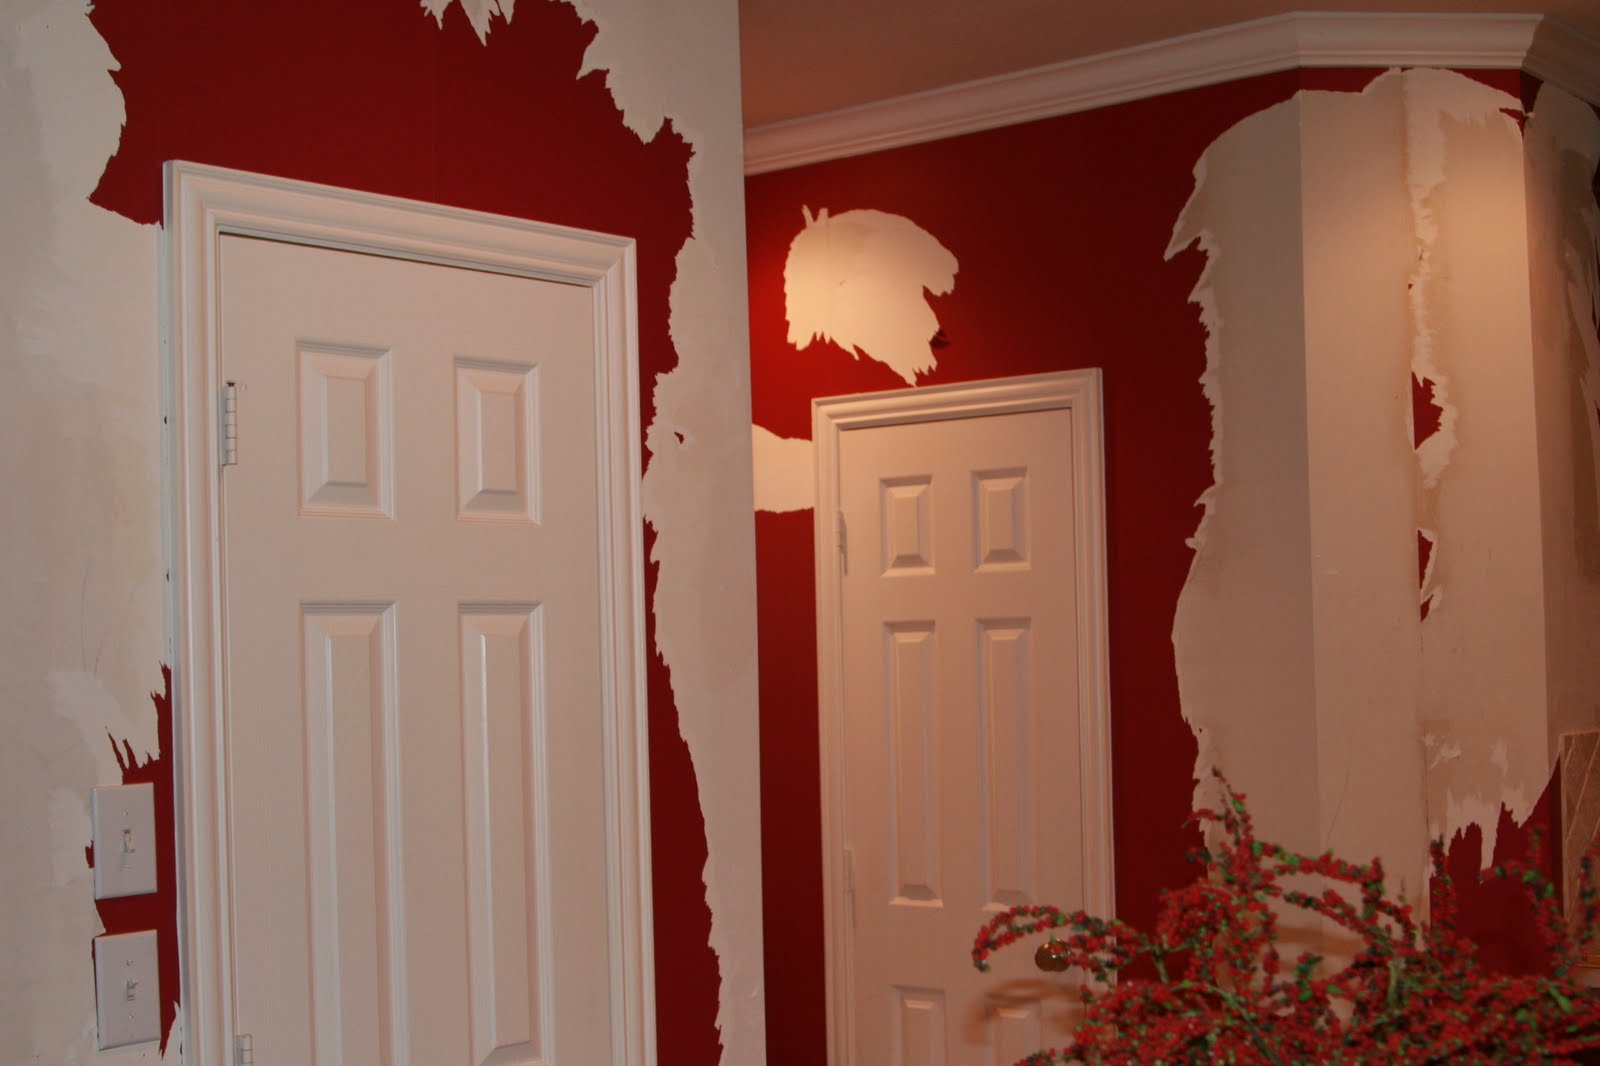
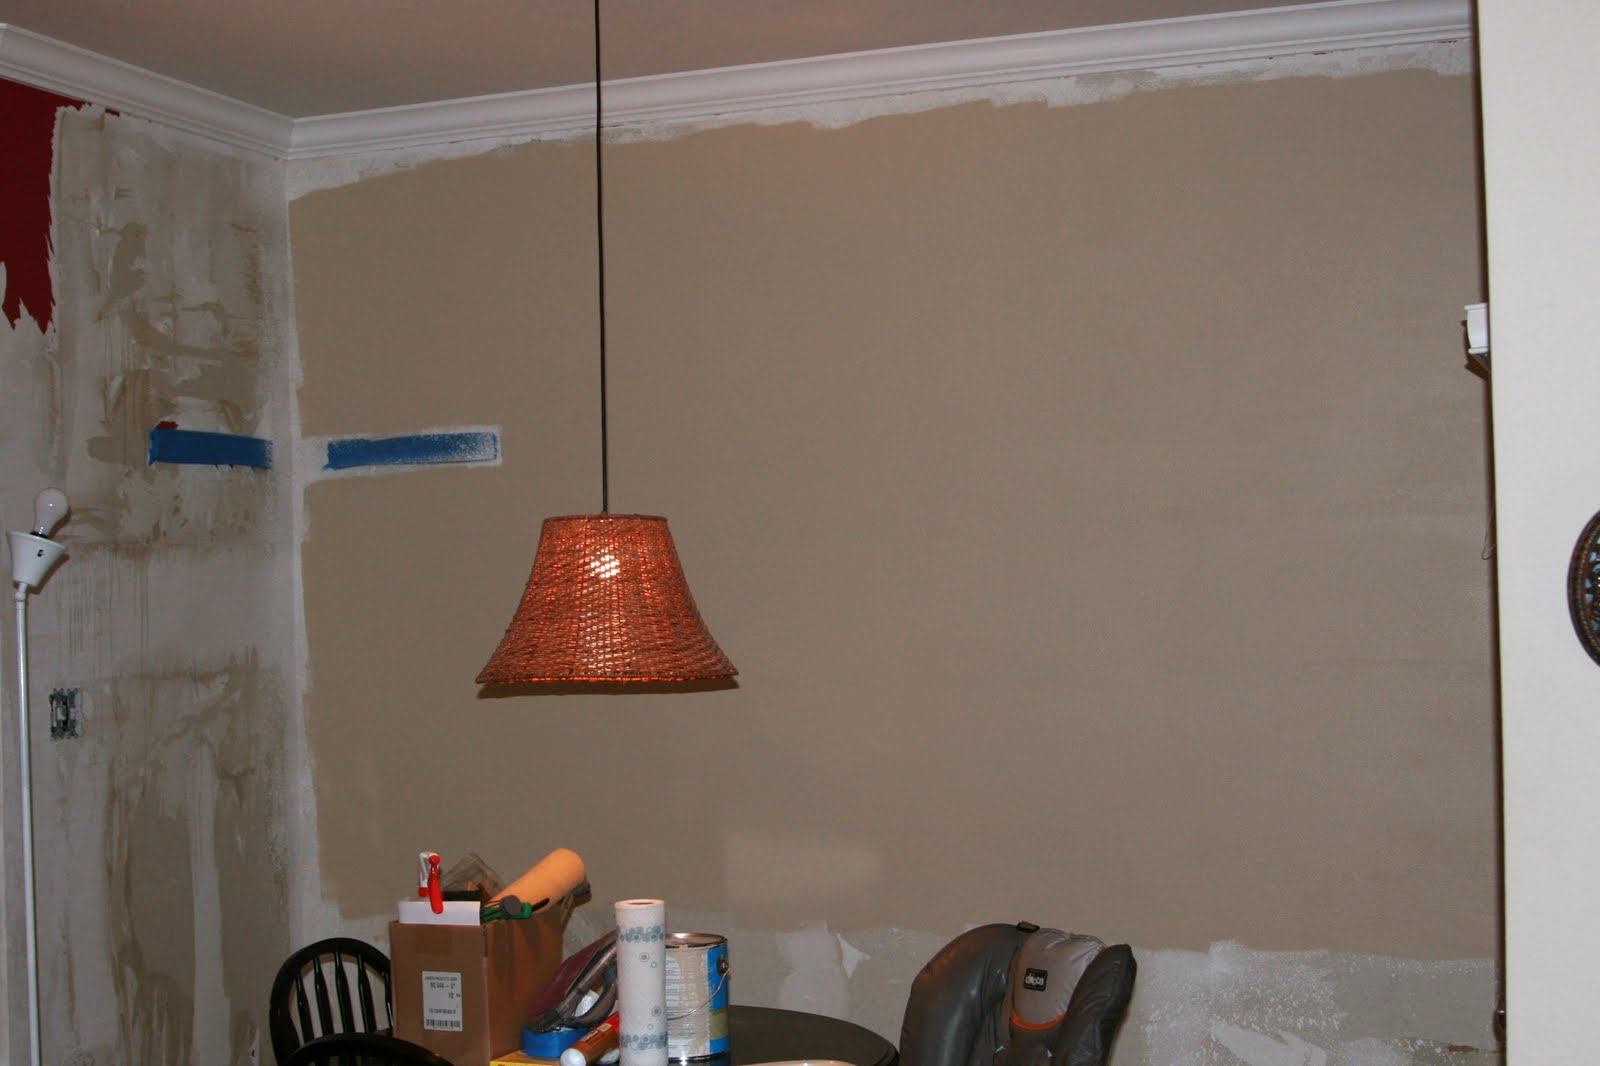
There were false promises by that wall paper… yes, I am tearing off sooo easy… no I am not and you will be up on this ladder until midnight three nights in a row crying and wondering if you will ever have fingernails again?! I am not going to lie to you people… it was rough and took about a week on my own. And there are lots of other problems that come with it, that apparently the optimist in me chose to just ignore during the initial stages of ripping it all down. Like… Wall Texture!! walls do not look perfect after wall paper removal… at least MY wall paper removal… I was using a jackhammer- kitchen knives- my teeth- the proper tools!!
So off to Lowes I went… excuse me? can you tell me how to texture a wall? nope, ok. excuse me, can you tell me how to texture a wall? nope, k. excuse me, can you do anything besides wear a Lowes Nametag?!?!? you can see it was a little frustrating… but who needs them!!
Awwww…. the paint and texture isle… awww…. little machines… maybe…. awwww…. Hairspray Cans with Wall Texture…. Don’t Mind If I Do!! Now that is the kind of machinery I can use!
Cost effective? yes, if it’s not a huge space and because I had decided to do bead board I wasn’t going to have that much wall to cover.
So- five cans of Homax Orange Peel Texture Spray did the job- and at about $13 a can- comes in much cheaper than the rental of a machine and you can just go at your own pace. I was scared but just practiced outside a couple times and it was pretty easy! Make sure you do it when your kids can be out of the house and you can also really air out the place during and after- cause it be a bit smelly!! I actually wore a mask as well.
Ok- now I will try to fast forward this Super long post!! Got the texture done- painted- then bought the 4ft. pieces of bead board ($10/each- needed 4) and chair rail to finish it off ($10).
The bead board and chair rail weren’t to hard- what was hard was the freakin uneven warped walls we have in this house!! so just liquid nails was not going to cut it- I did that and trim nails that then had to be counter sunk into the wall (there is a tool for that!) Add wood fill over them- sand- and paint and you kinda, pretty much can’t even see them!!
Now this is the part where some of you might need ear muffs… I needed a lot of caulk! ok- let’s all get it out of our systems because my husband still thinks its funny to talk about!
I caulked around the bead board- around the crown molding that was already there- everywhere!! use it! it is cheap and it hides all the little imperfections- make sure you get the paintable kind.
And now… Ladies and maybe a couple Gentlemen! I give you… My Brighter, Lovelier Kitchen!
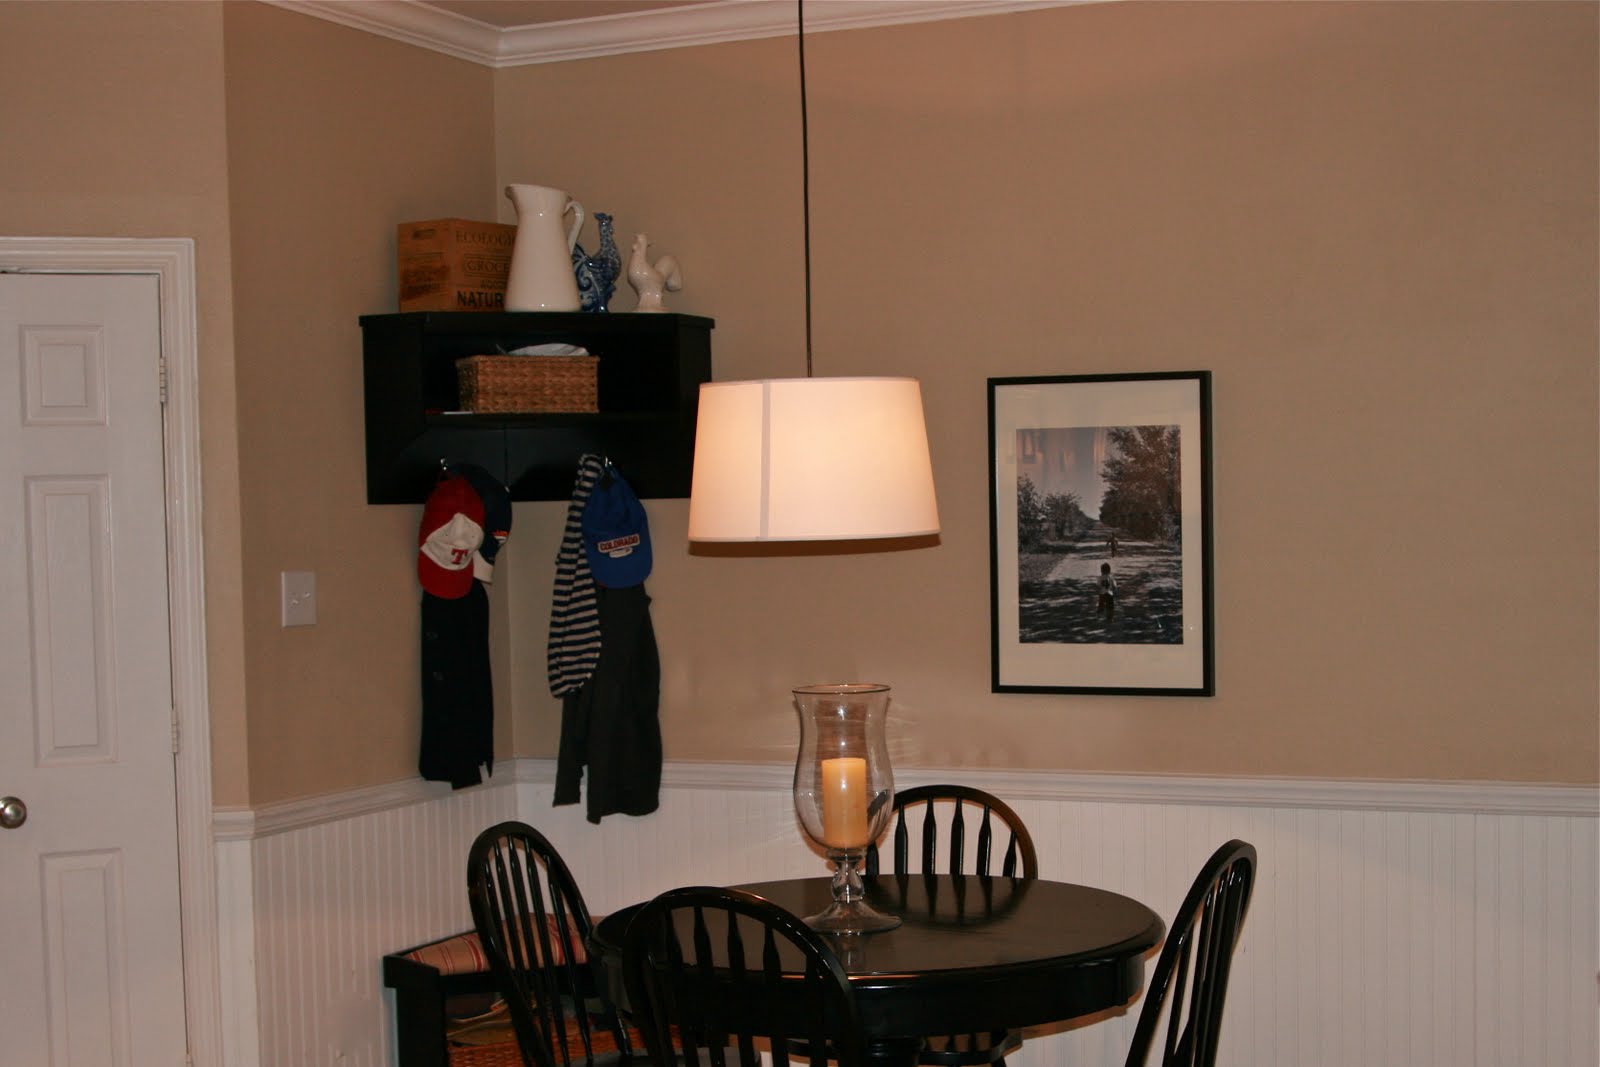
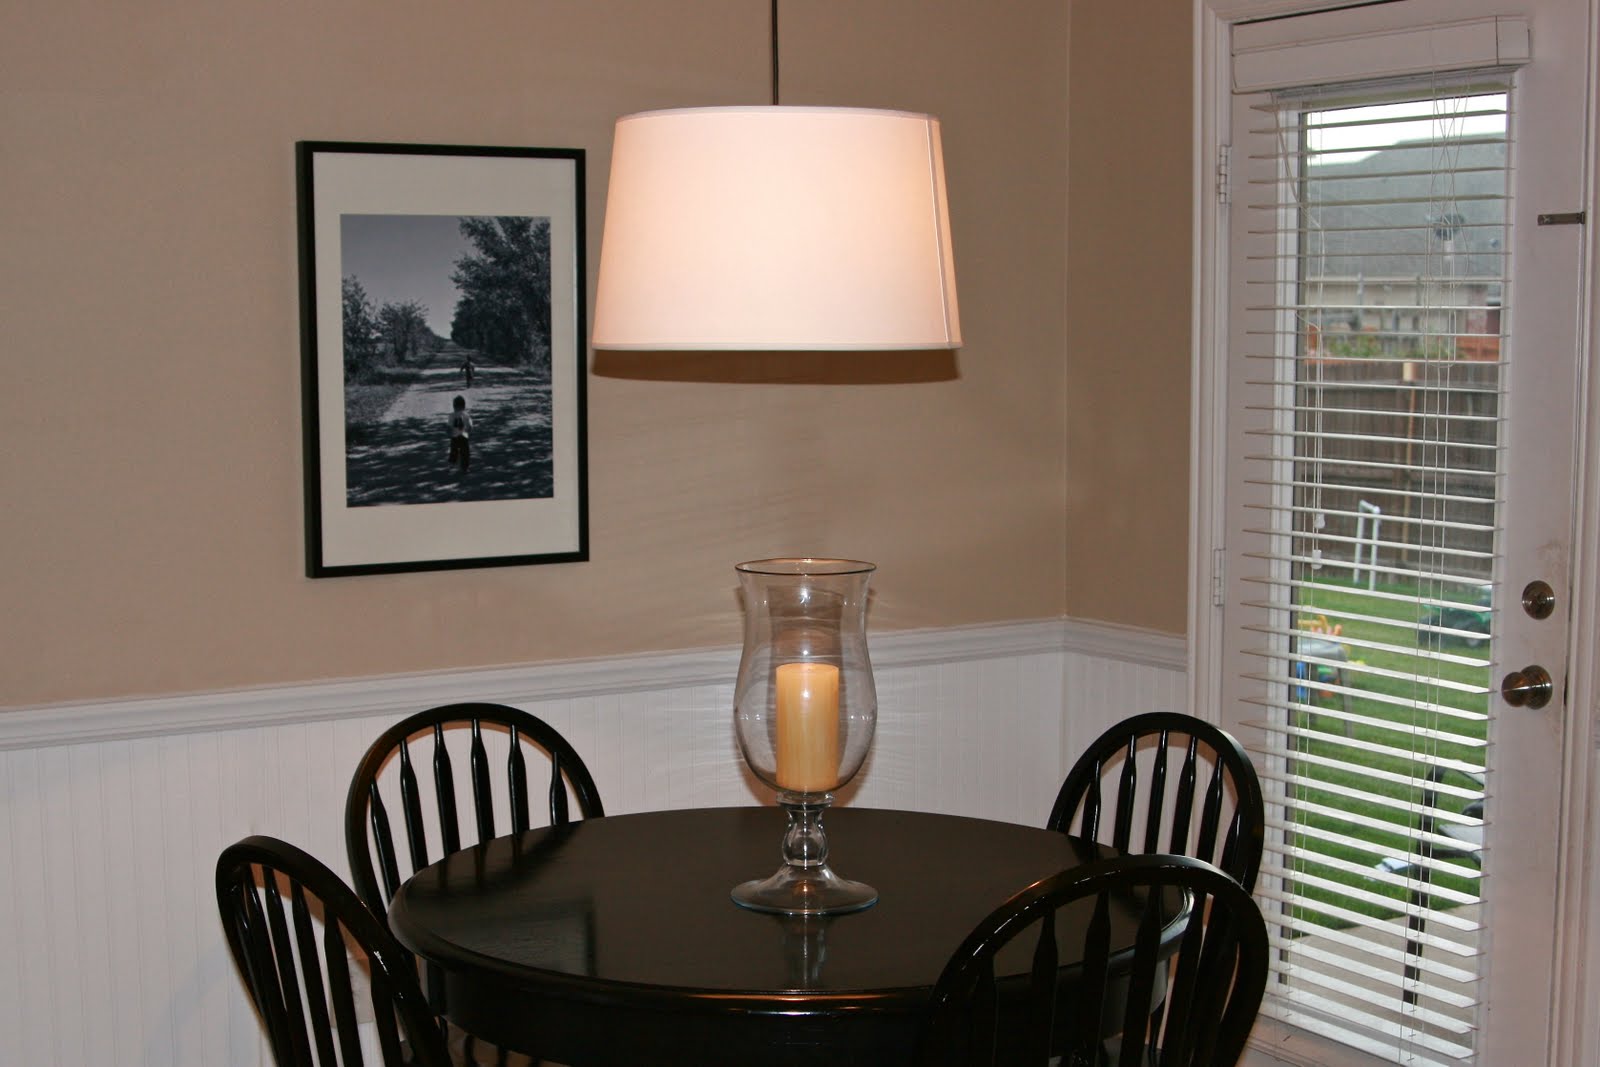
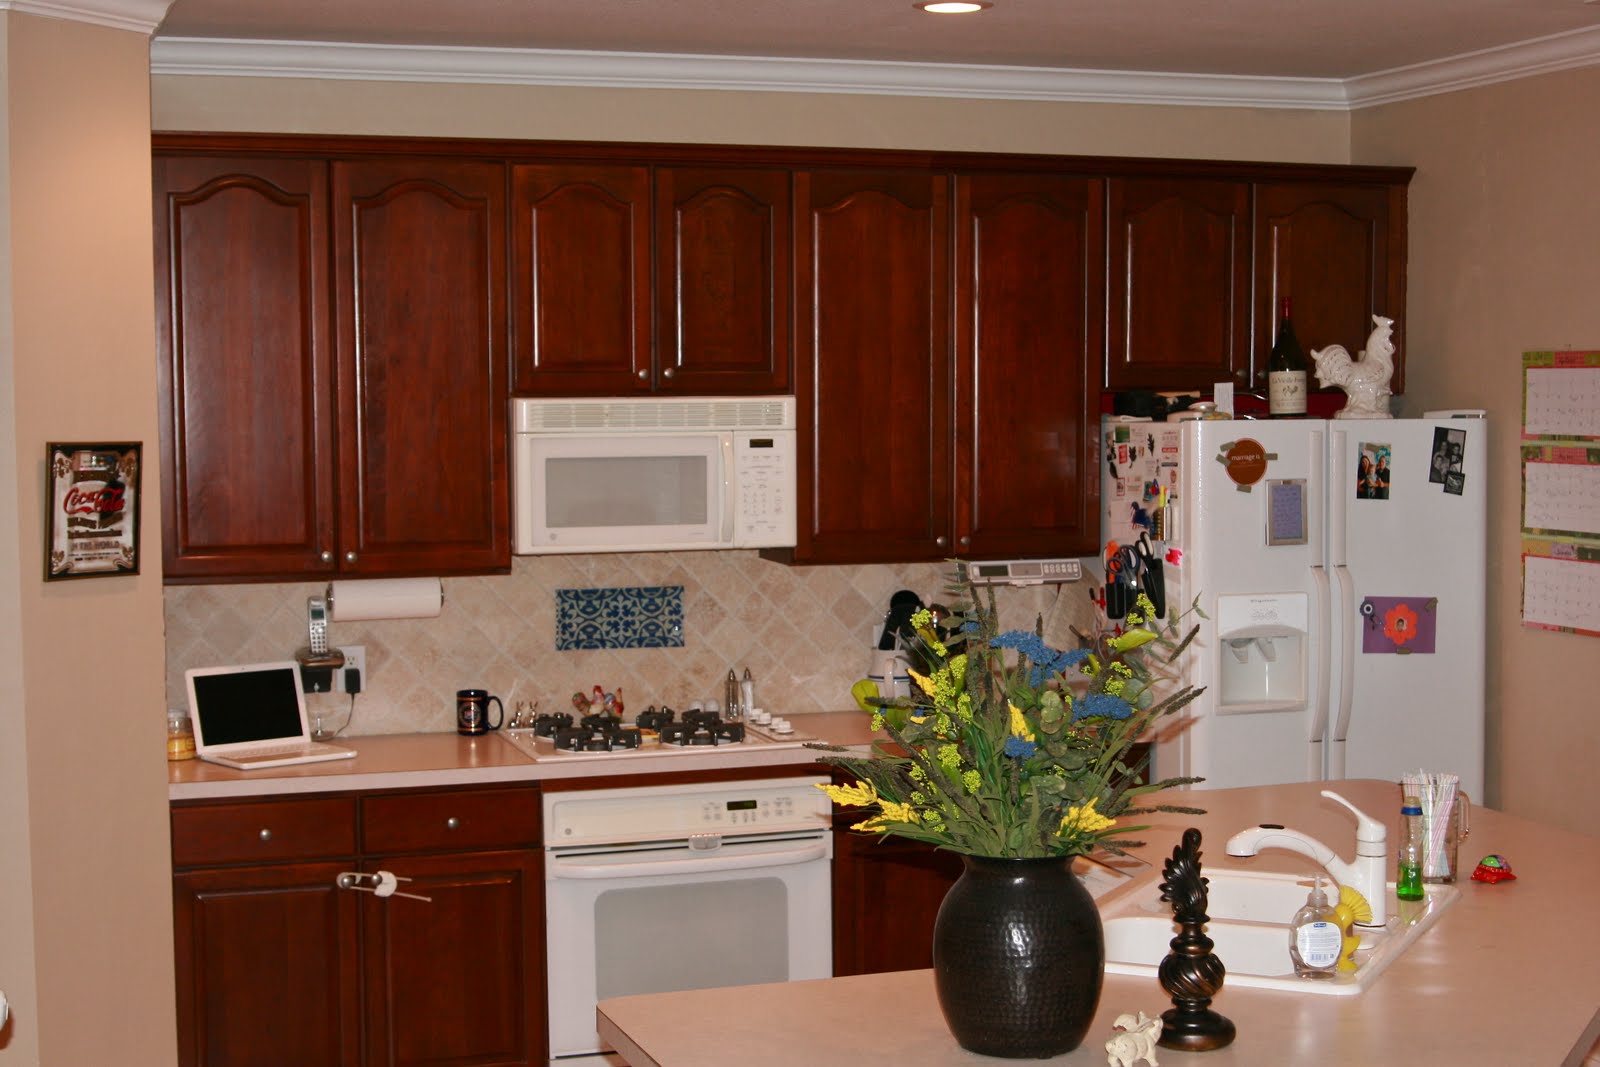
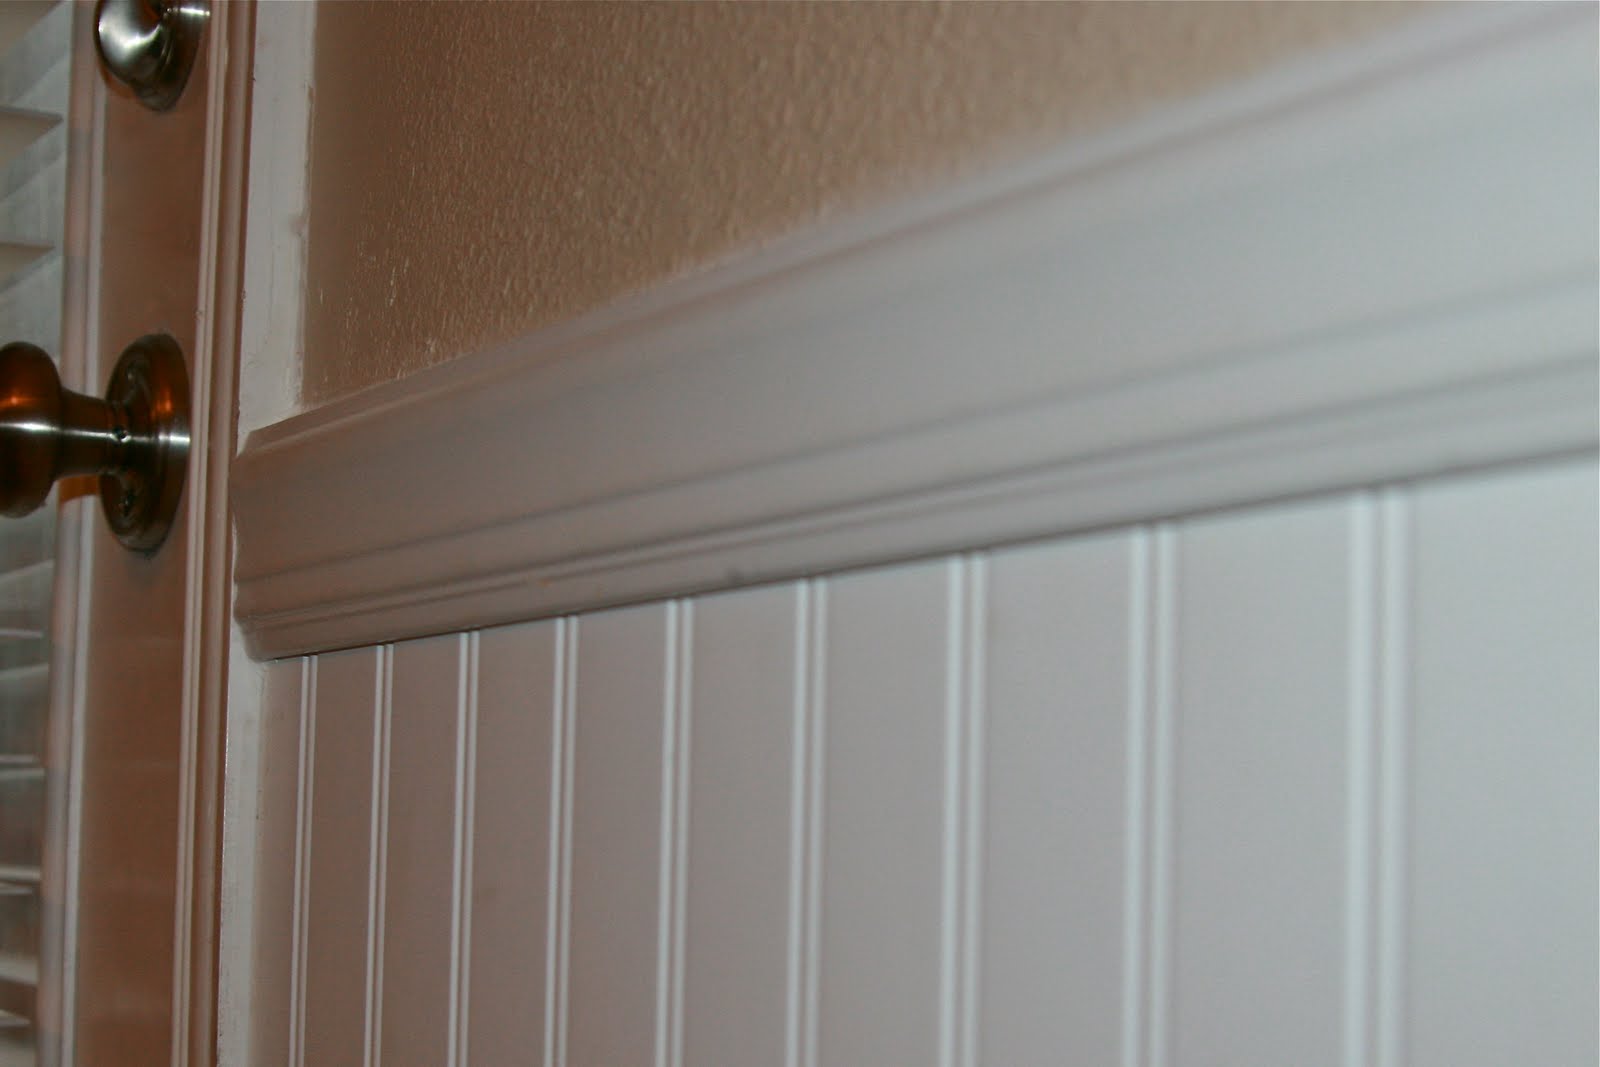
And a close up of the bead board- I am still going to repaint it a slightly off white- it is a little to white for me right now… but ya know… it’s on my list!:)
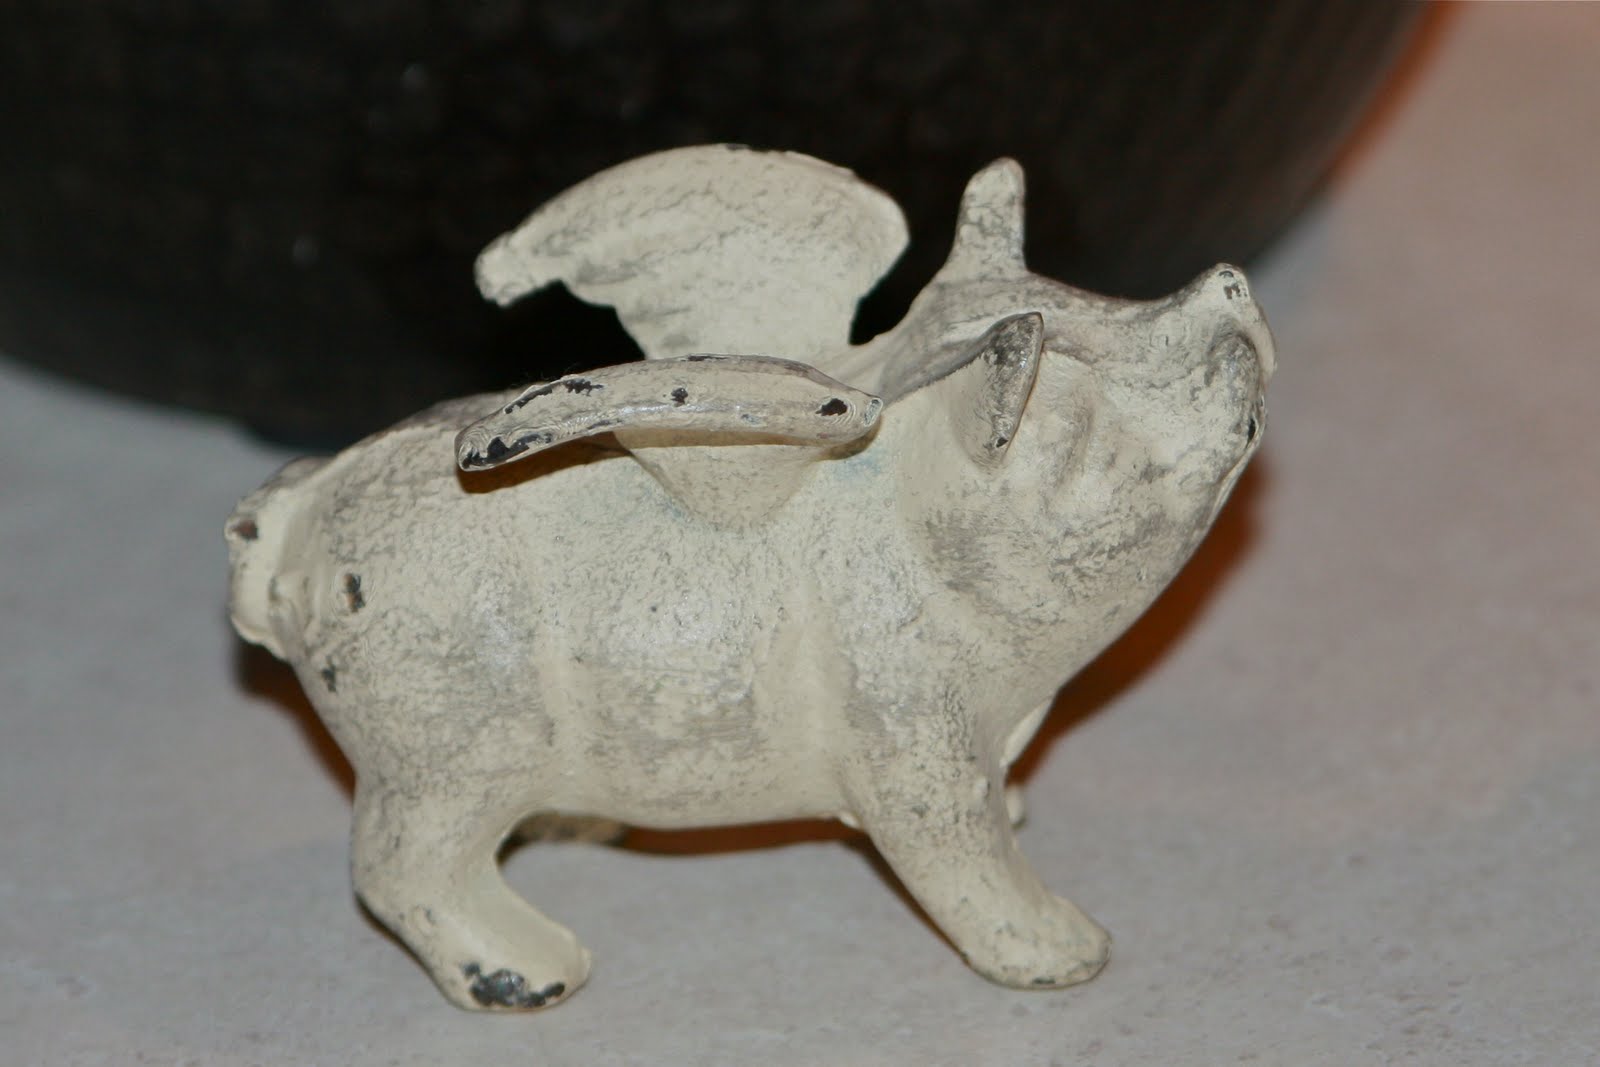
There are only a few new nicknacks that I have added- I dearly love my flying pig that I found at a flea market…
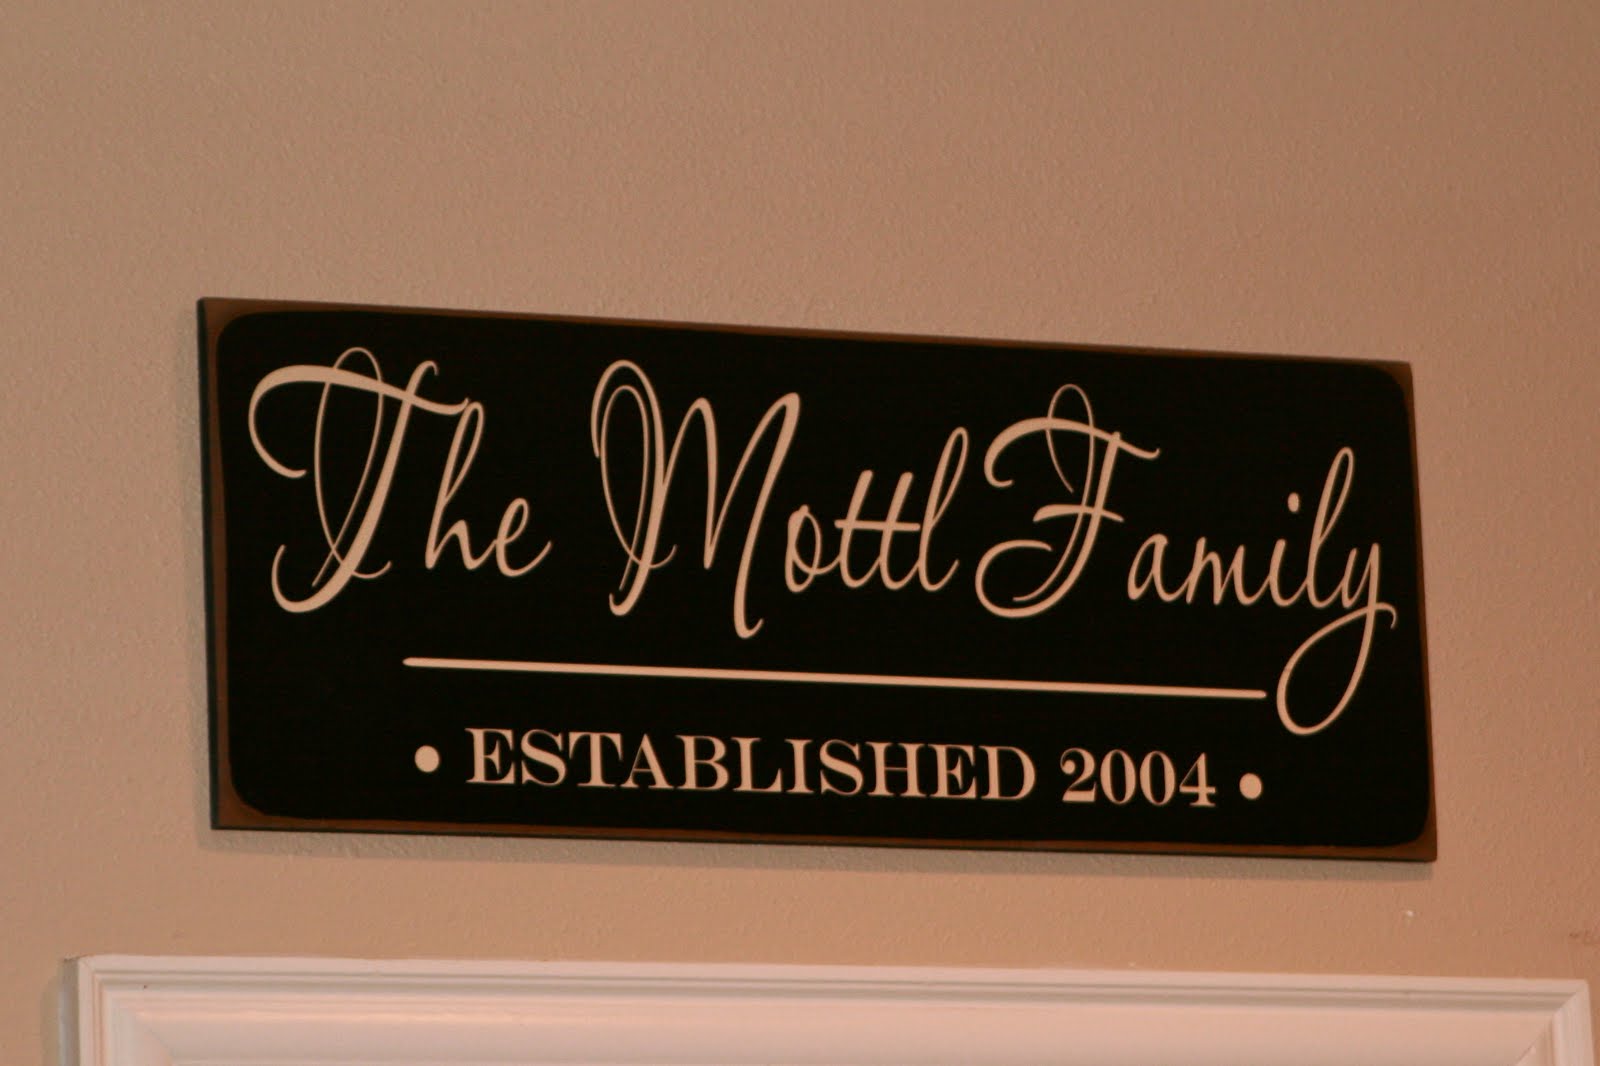
And this lovely sign that was made for me by Angela Sweeney- she has the best Etsy Shop!
And I was going to do a big picture gallery wall behind my table but I am actually loving the simplicity of this pic I took of my two little angels running down a dirt road… and blown up and printed at Kinkos for under $20…

And that is the end of the novel!! congrats if you made it!! I Hate it because it almost killed me LOVE my kitchen!! it was never horrible with that wallpaper but with no windows and dark cabinets it was always too dark and now it is light and feels so much bigger! even the Hubs was skeptical but is now totally thrilled that it was done… by me… that he didn’t have to do it…. and he didn’t have to pay for someone else to do it… and that I won’t be talking about it anymore! yay!
So- let the force be with you and take down that wallpaper! It is quite a job but once again I have to stress that every new project I take on- I remind myself that there is nothing that can’t be undone- just go for it!!
 This project was contributed by one of our fabulous readers! We love to share your projects with this great blogging community. So, if you have projects from kitchen renovation ideas to small bathroom remodels, overhauled and repurposed furniture, spray paint updates you name it please send it in! Thanks for reading Remodelaholic!
Cassity Kmetzsch started Remodelaholic after graduating from Utah State University with a degree in Interior Design. Remodelaholic is the place to share her love for knocking out walls, and building everything back up again to not only add function but beauty to her home. Together with her husband Justin, they have remodeled 6 homes and are working on a seventh. She is a mother of four amazing girls. Making a house a home is her favorite hobby.