Fully Operational Roman Shade Tutorial
.
A big thanks to Cassity for having me over again to guest post. You will find me at my blog, 33 Shades of Green, crafting, cooking, decorating, and trying out all sorts of creative projects.
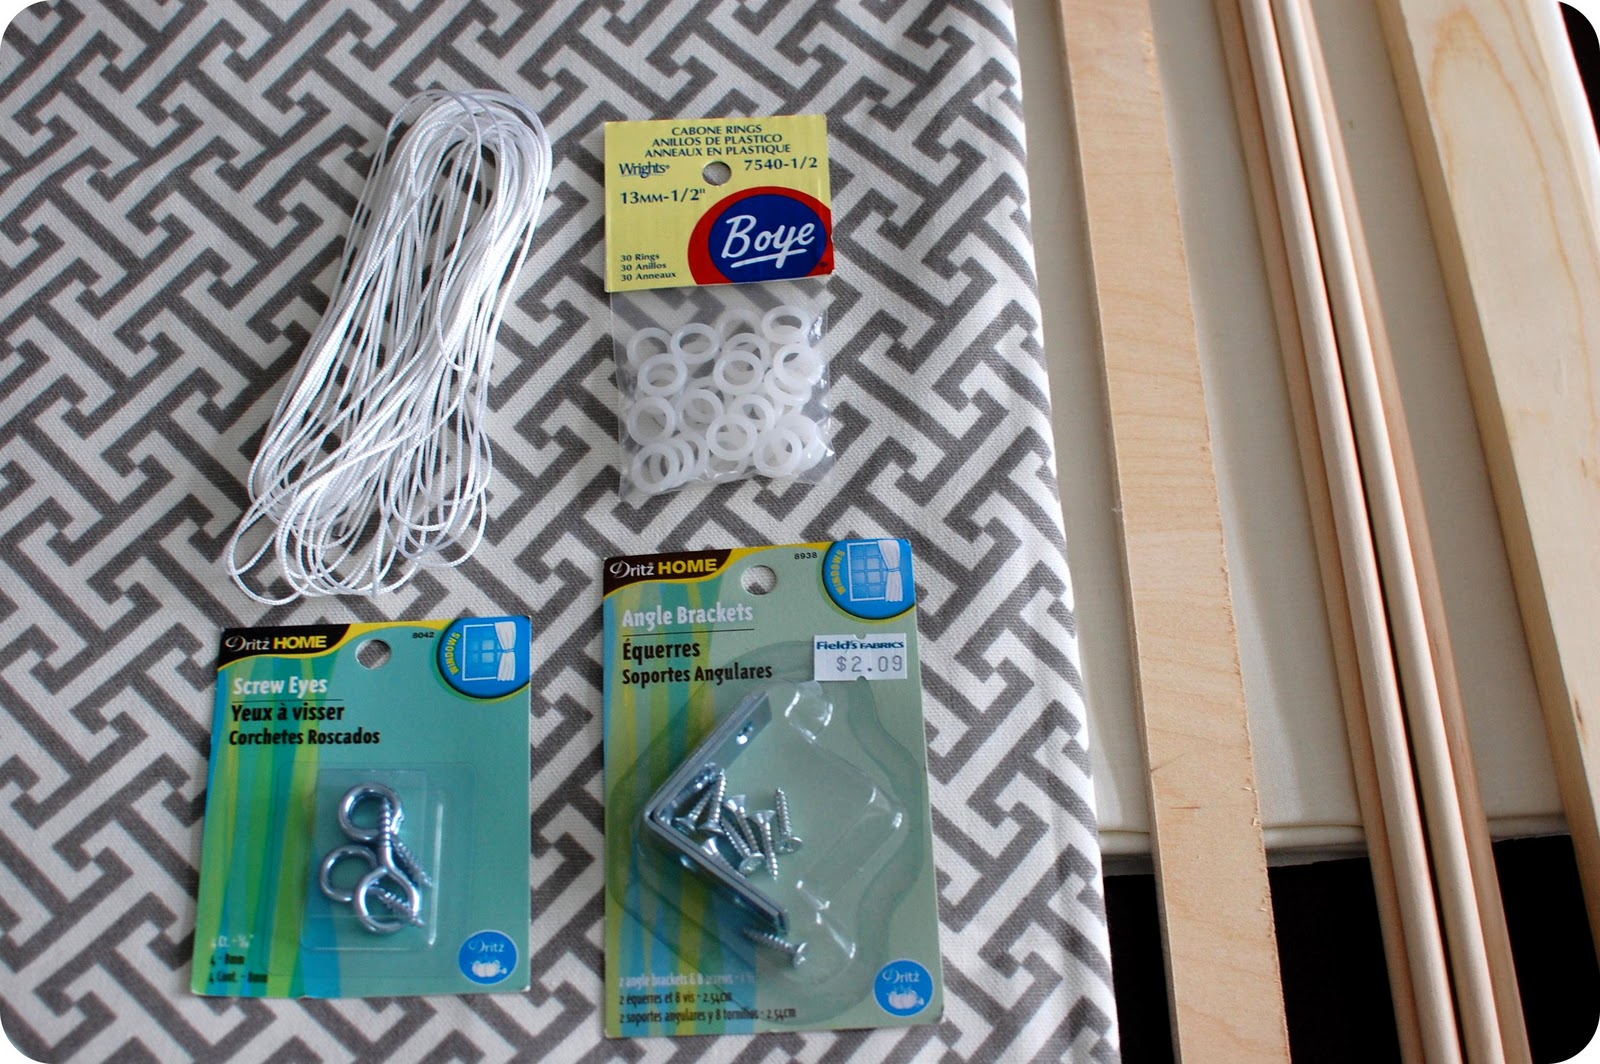
– small plastic rings (you will find these in the drapery section of the craft or sewing store)
– cord cleat
– staple gun and other misc. tools
.
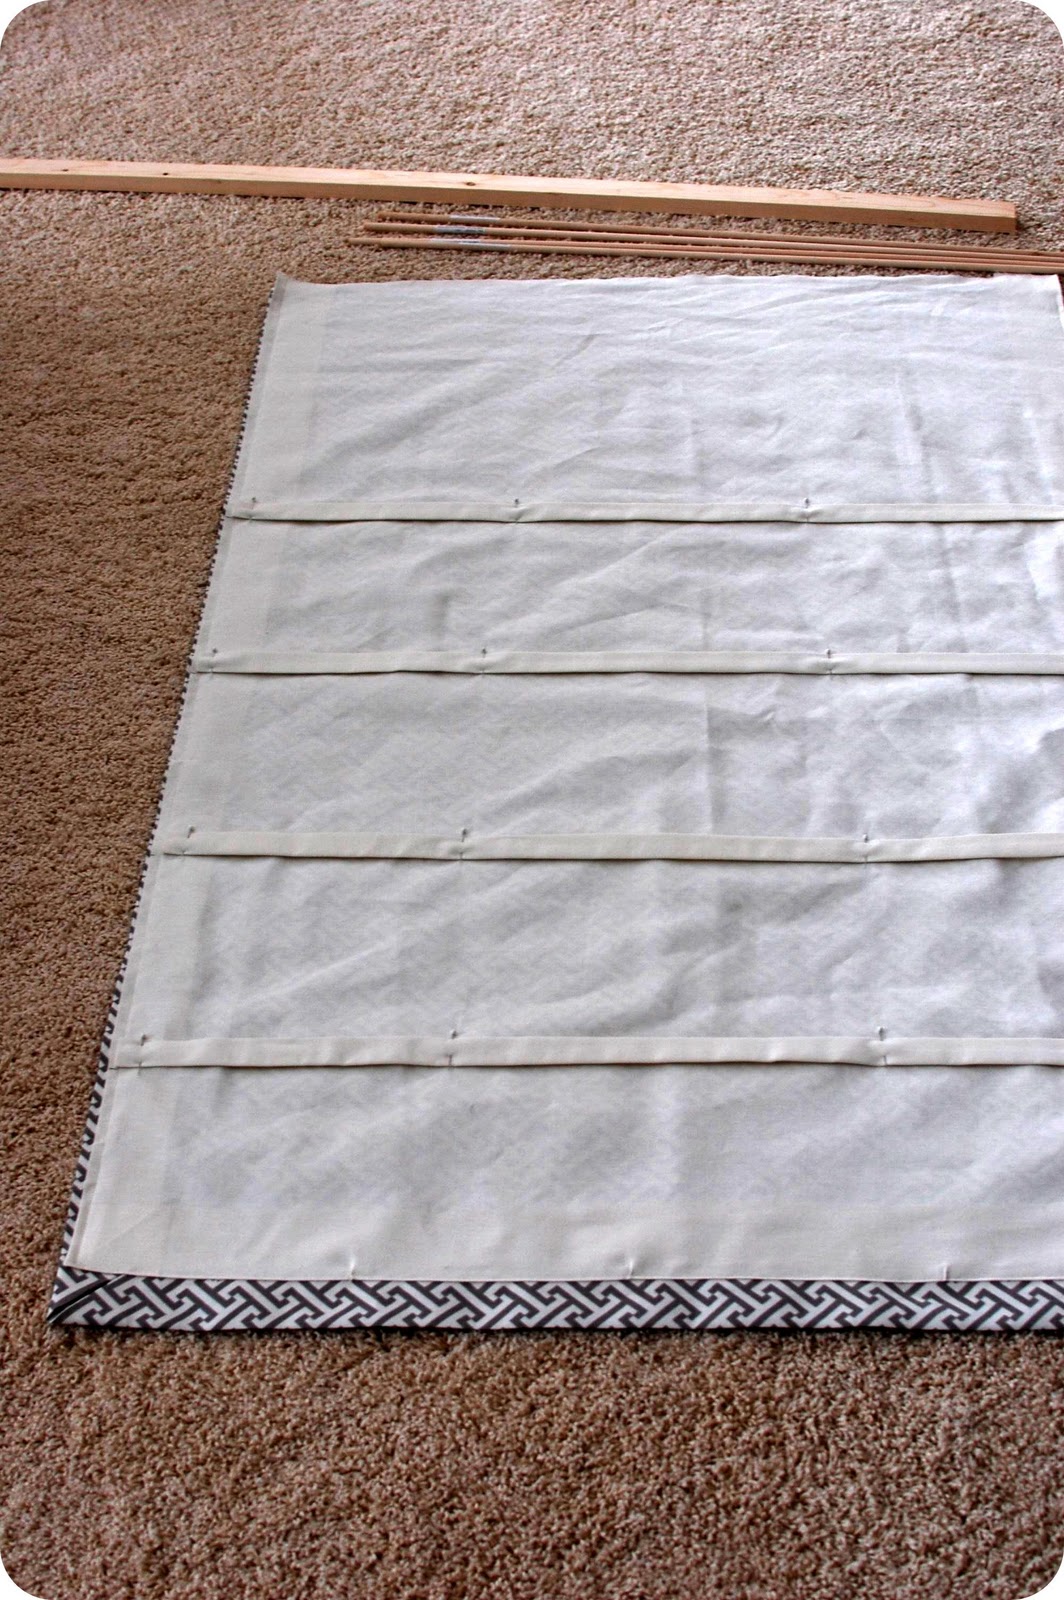
1. Determine what size to cut your fabric. Measure your window and add 4″ to the width and 8-1/2″ to the length. Cut fabric and lining to the same size. For example, I wanted my blind to be mounted on the outside of my window and wanted it to cover the wood trim. I also wanted it mounted 6″ above the window to add a little height. That dimension was 46″ h. x 33″ w. So, I needed to cut my fabric 54-1/2″ h. x 37″ w.
.
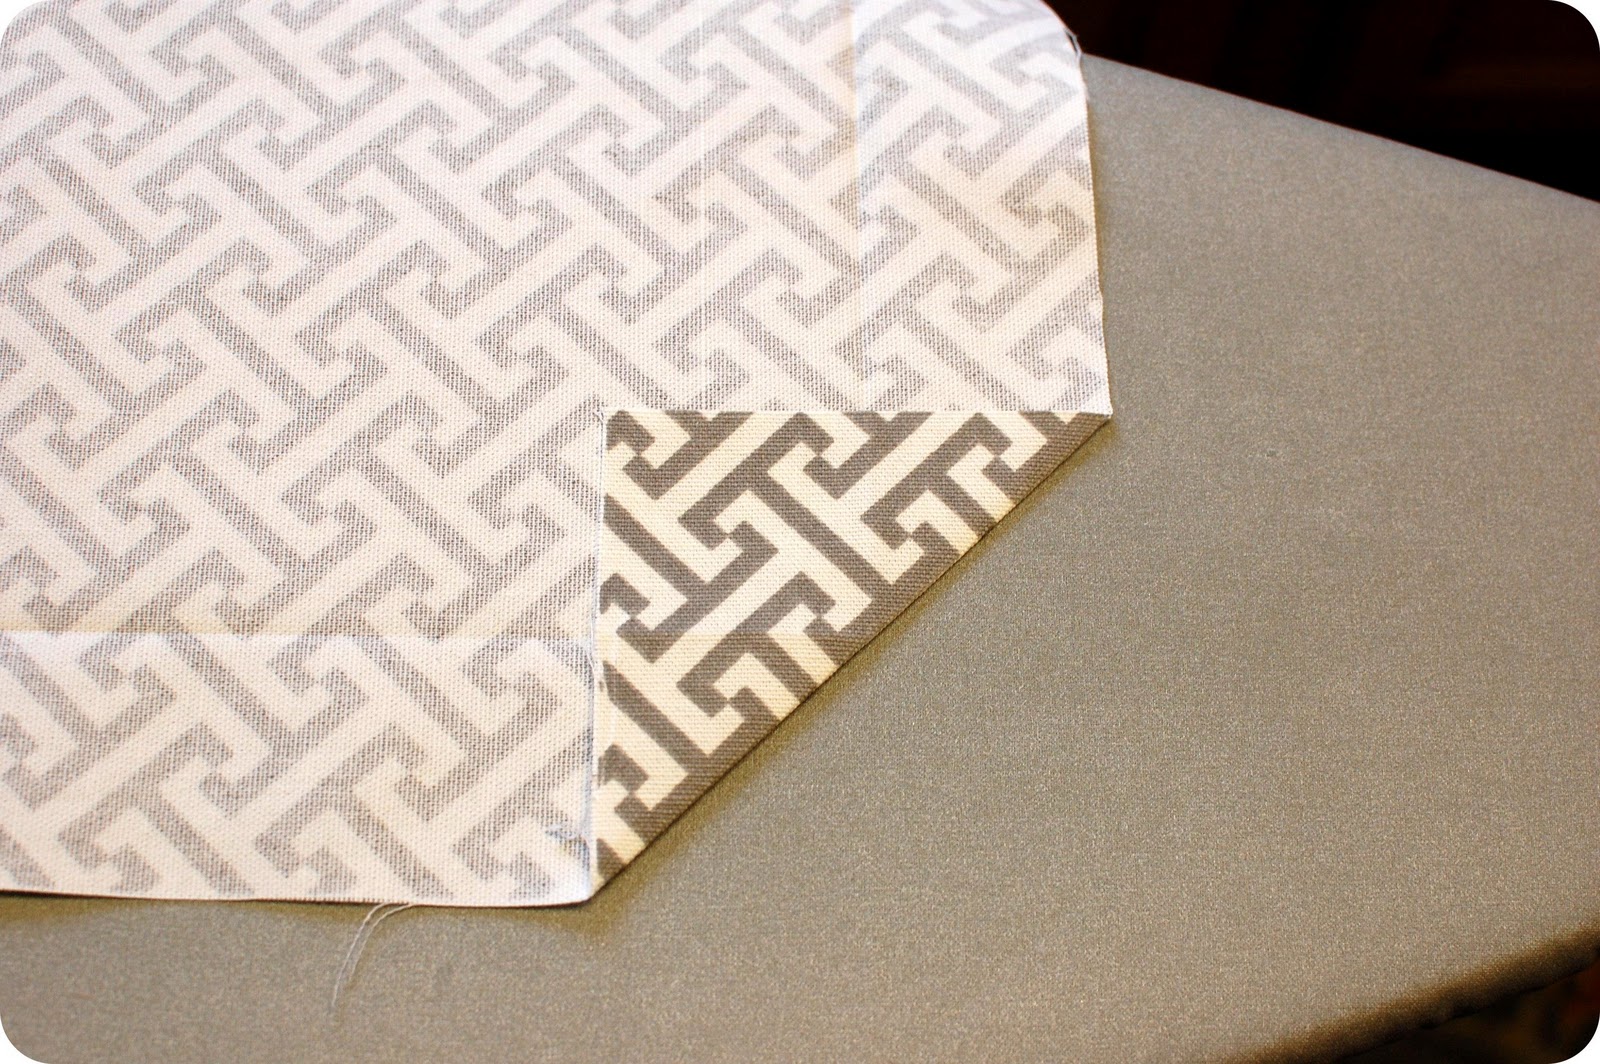
2. Use an iron and press a 2″ hem on the sides and bottom edge of your fabric.
.

.
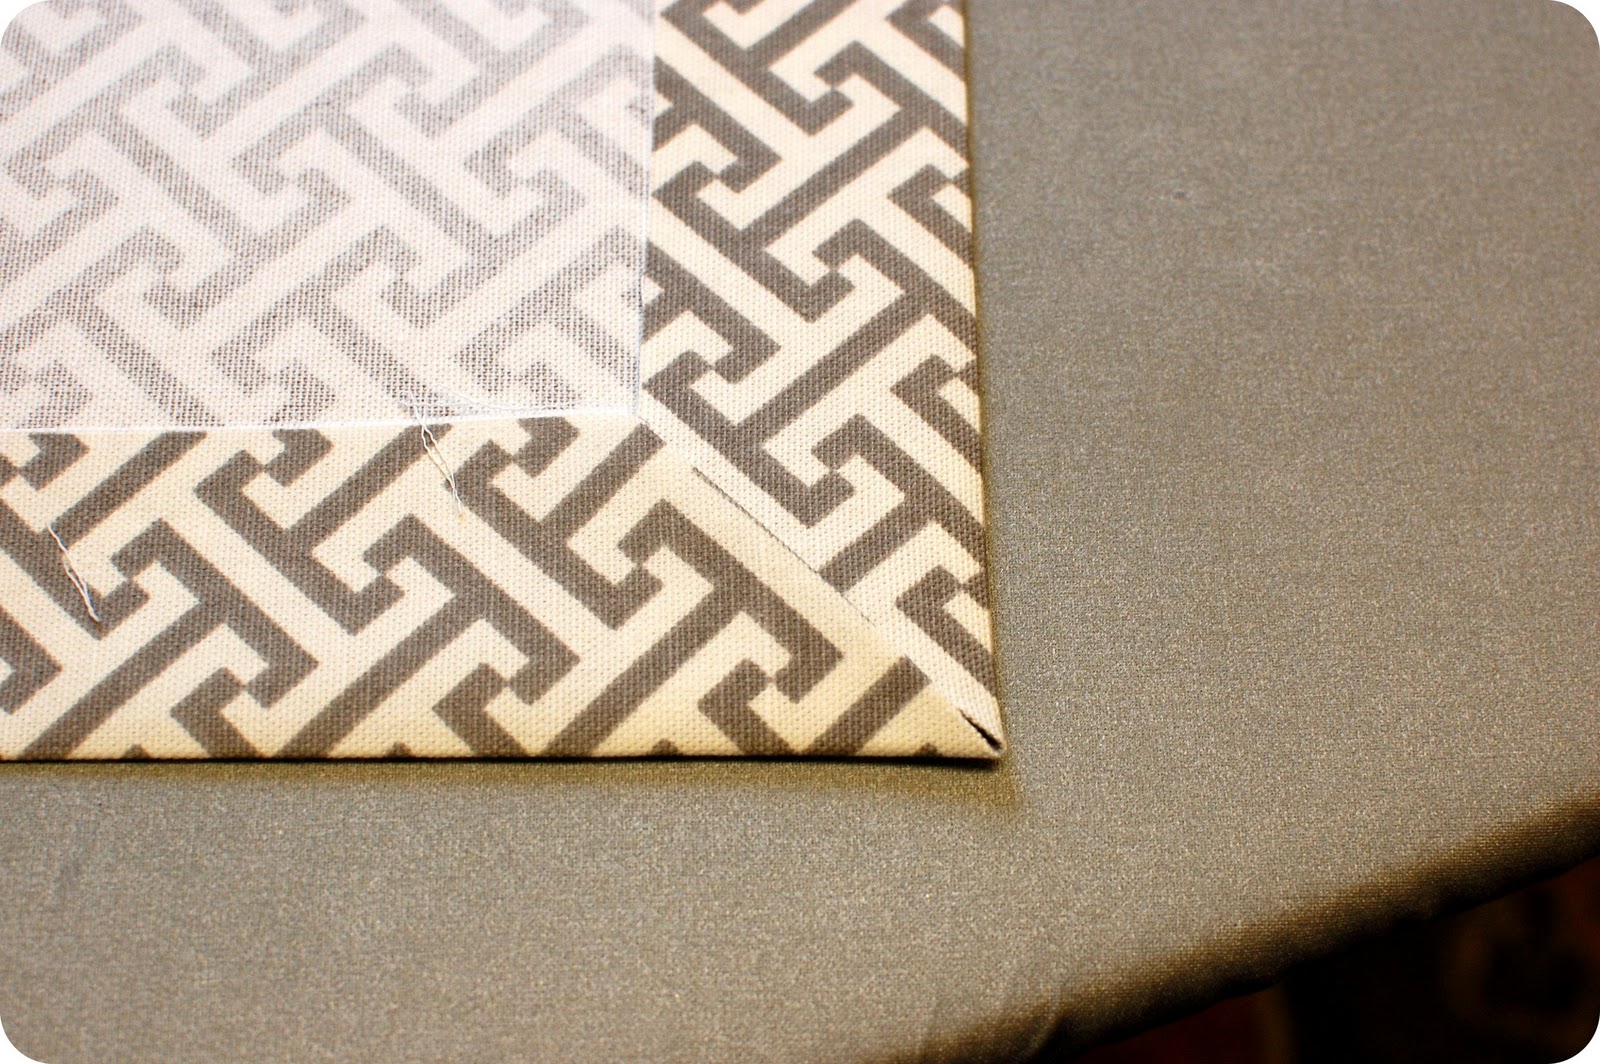
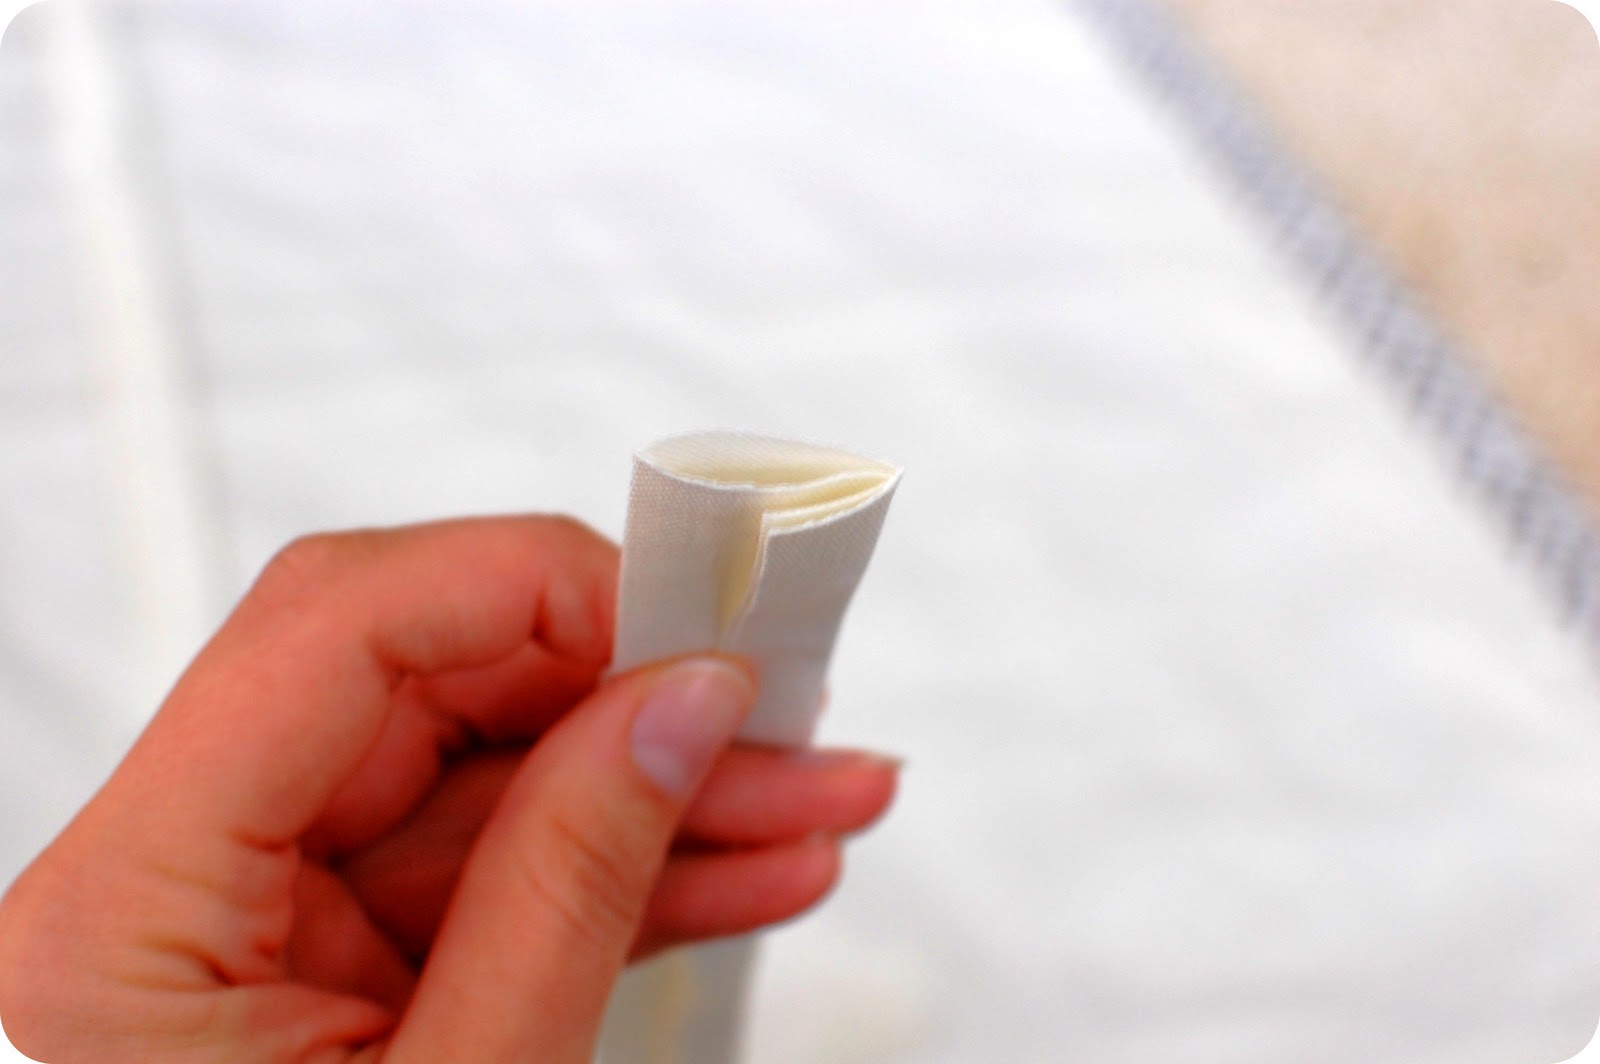
3. Make mitered corners. Unfold the hems you just ironed. Fold up each corner and iron. See photo below.
.
.
Refold hems.
.
.
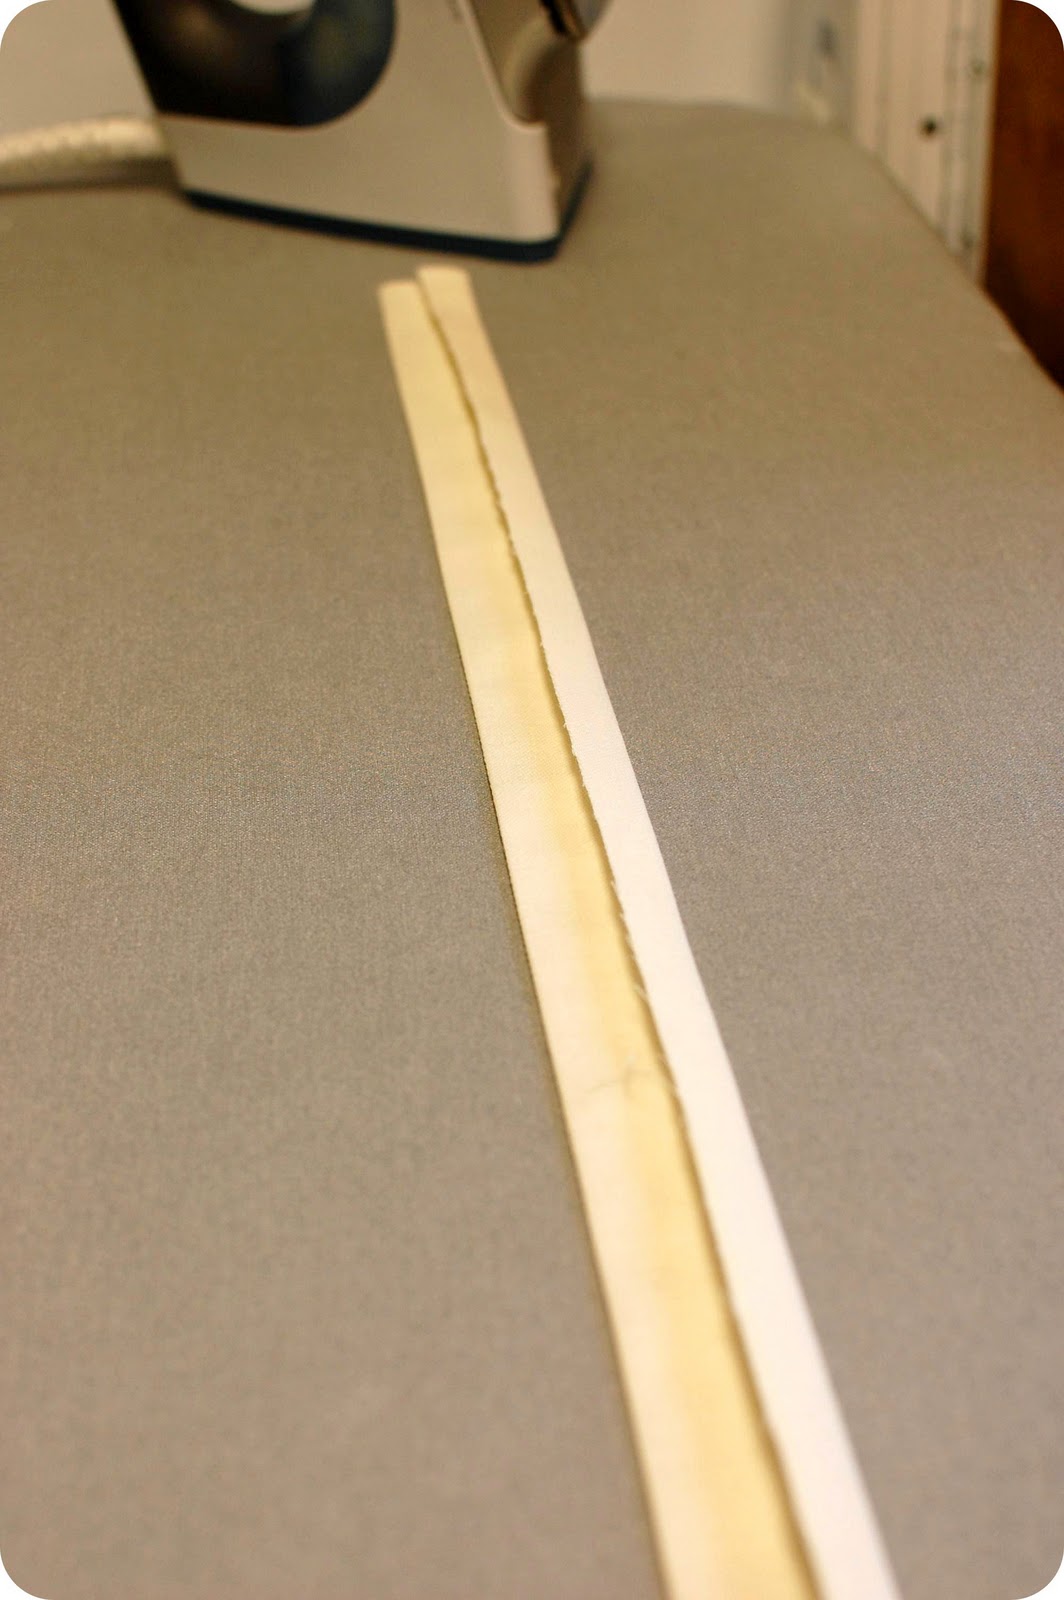
4. Now repeat hems on your lining except make hems 2-1/2″ on each side.
.
5. Lay out fabric, right side down. Place liner on fabric, right side up, and pin together. Place lining 2″ above bottom edge of fabric. Sew lining and fabric together. You only need to sew along the two side and bottom edges. You do not need to sew at the top edge.
.

.

.
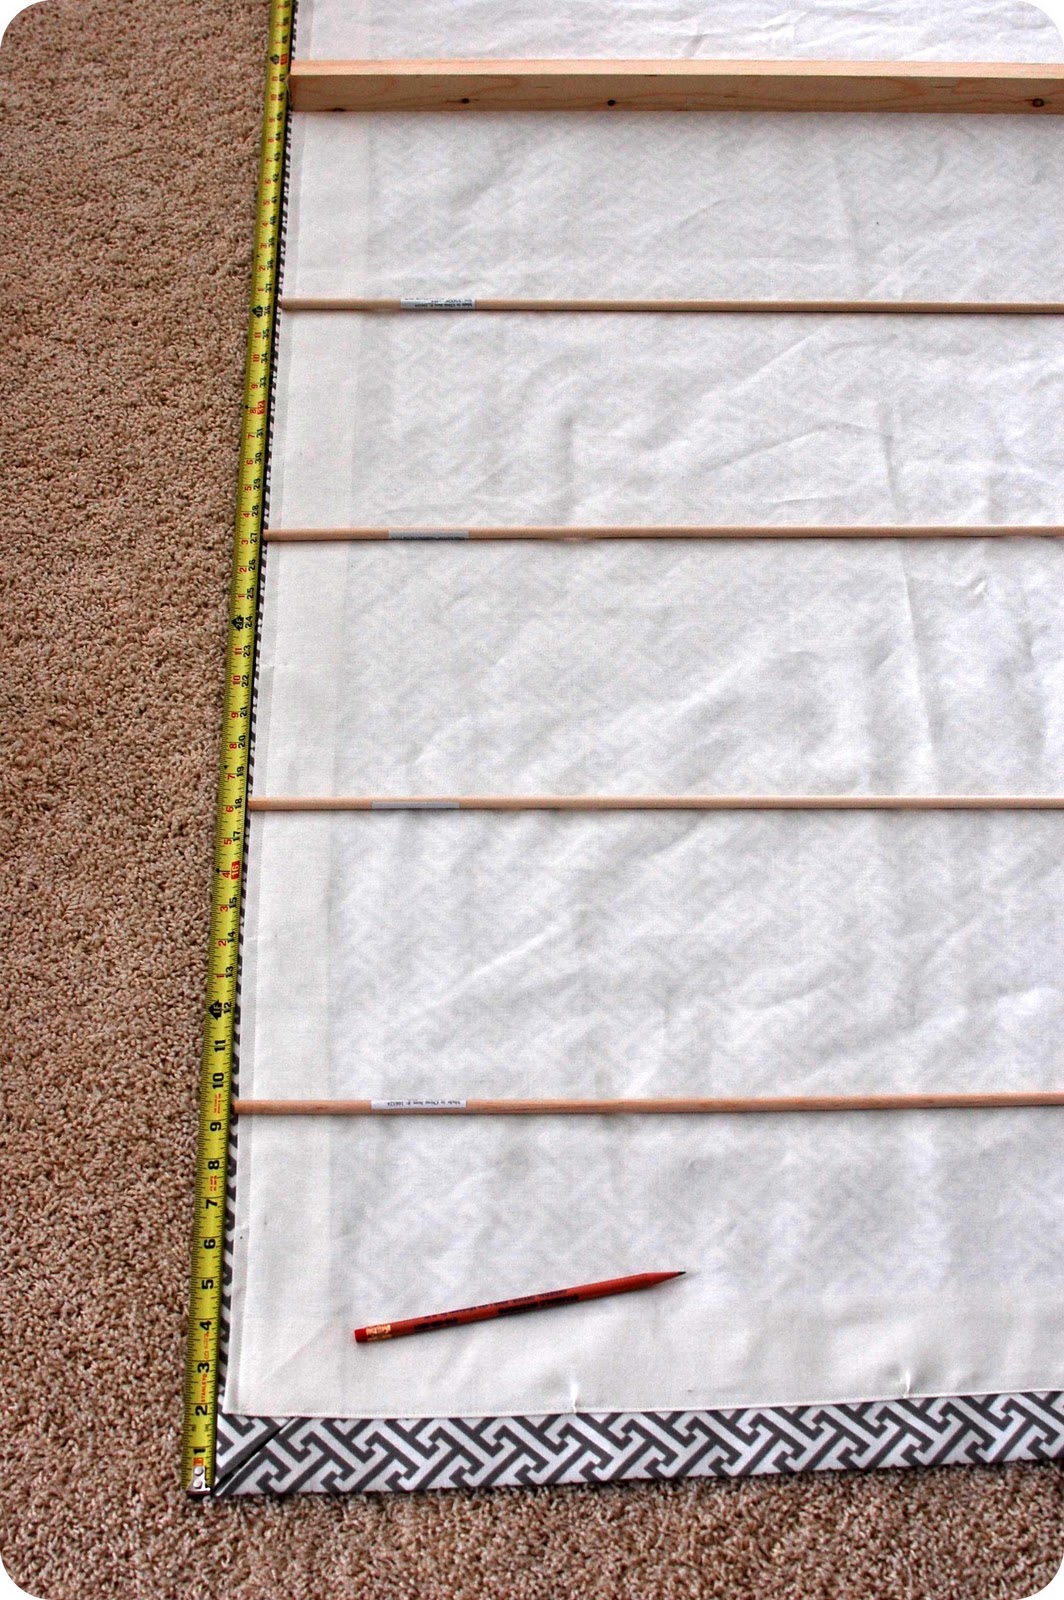
6. Now you need to determine how many dowels you need and how far apart you want them. Dowels should be 8 – 12″ apart. According to directions I followed from marthastewart.com, the position of the bottom dowel can be determined by dividing the distance of the dowel intervals by 2, and then add 1. For example, if your dowels are placed 12″ apart, the bottom pocket should be 7″ from the bottom. The top dowel should be at least 10″ from the top. The total length of my shade is 46″ and I space the dowels 9″ apart. Once you determine location for the dowels, mark with a pencil.
.
.
8. Lay the dowel pockets on the liner at each spot you made a pencil mark and pin. Place the strips with the 1/2″ folded side toward the bottom of the shade.
.
.
9. Sew along the bottom edge of each dowel pocket.
.
The sewing is finished!
.
10. Cut dowels and bottom board to size. Insert each dowel into pocket and place bottom board at the bottom of the shade. See photo below.
.

.
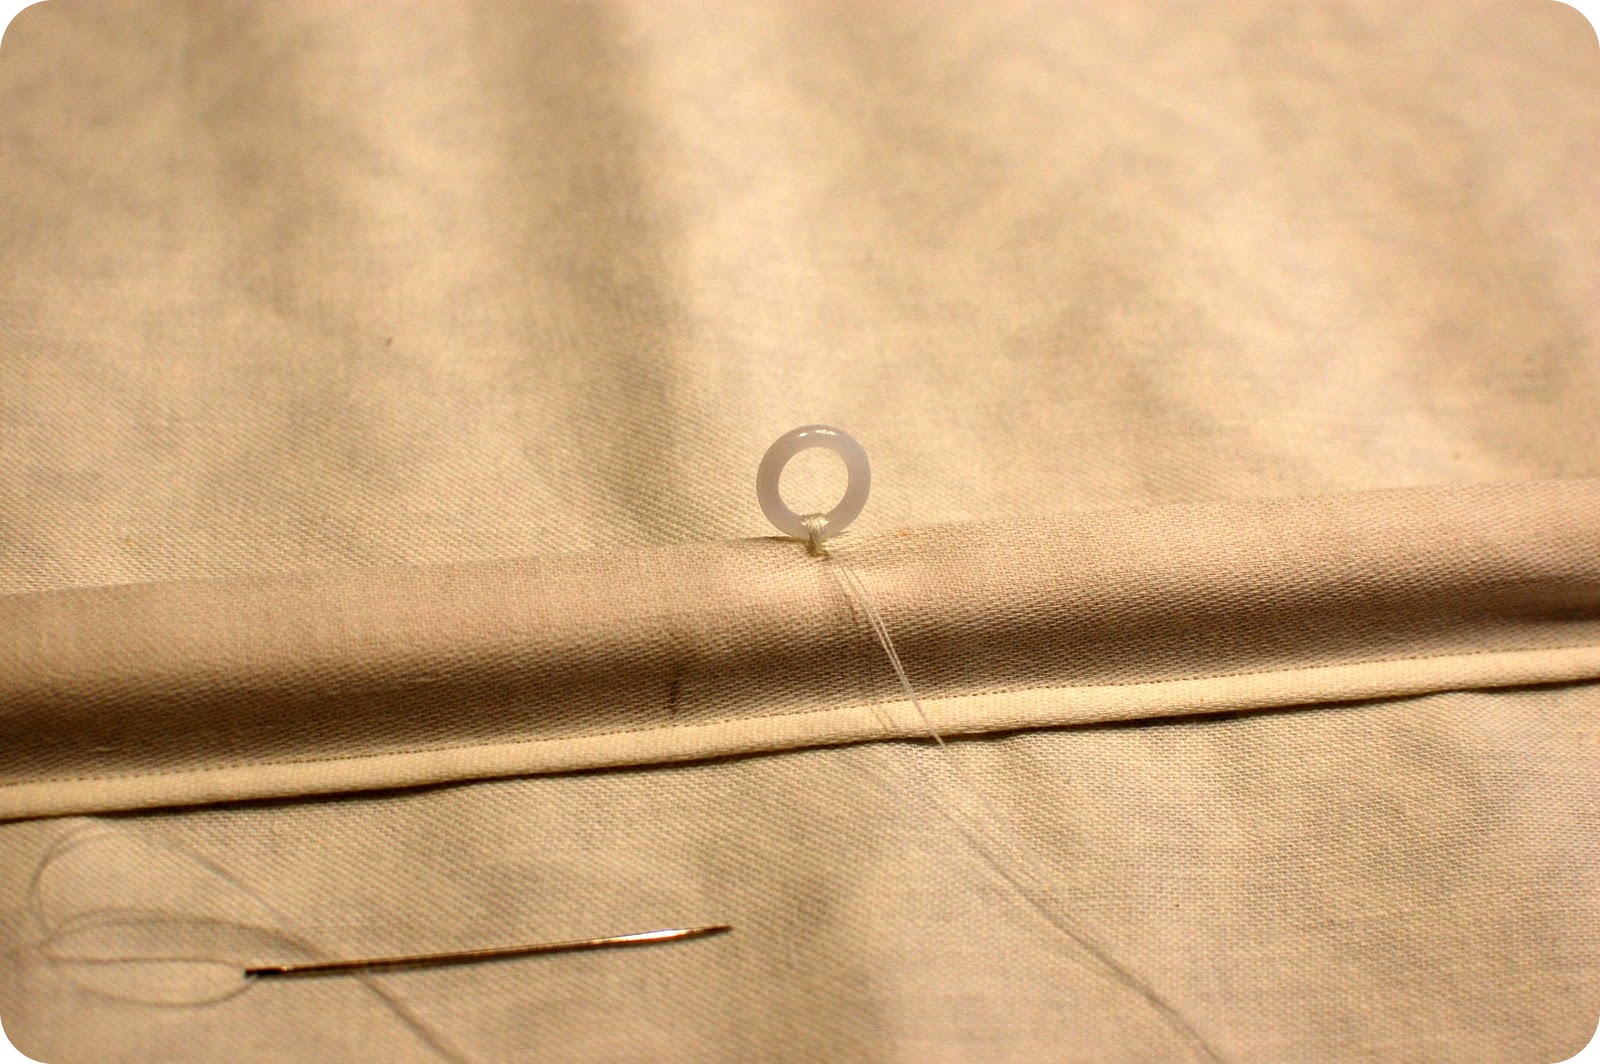
11. Sew on plastic rings. At each dowel sew, by hand, three plastic rings. One in the center and one about two inches in from each end. When you finish, you will have 3 vertical columns of rings.
.
.
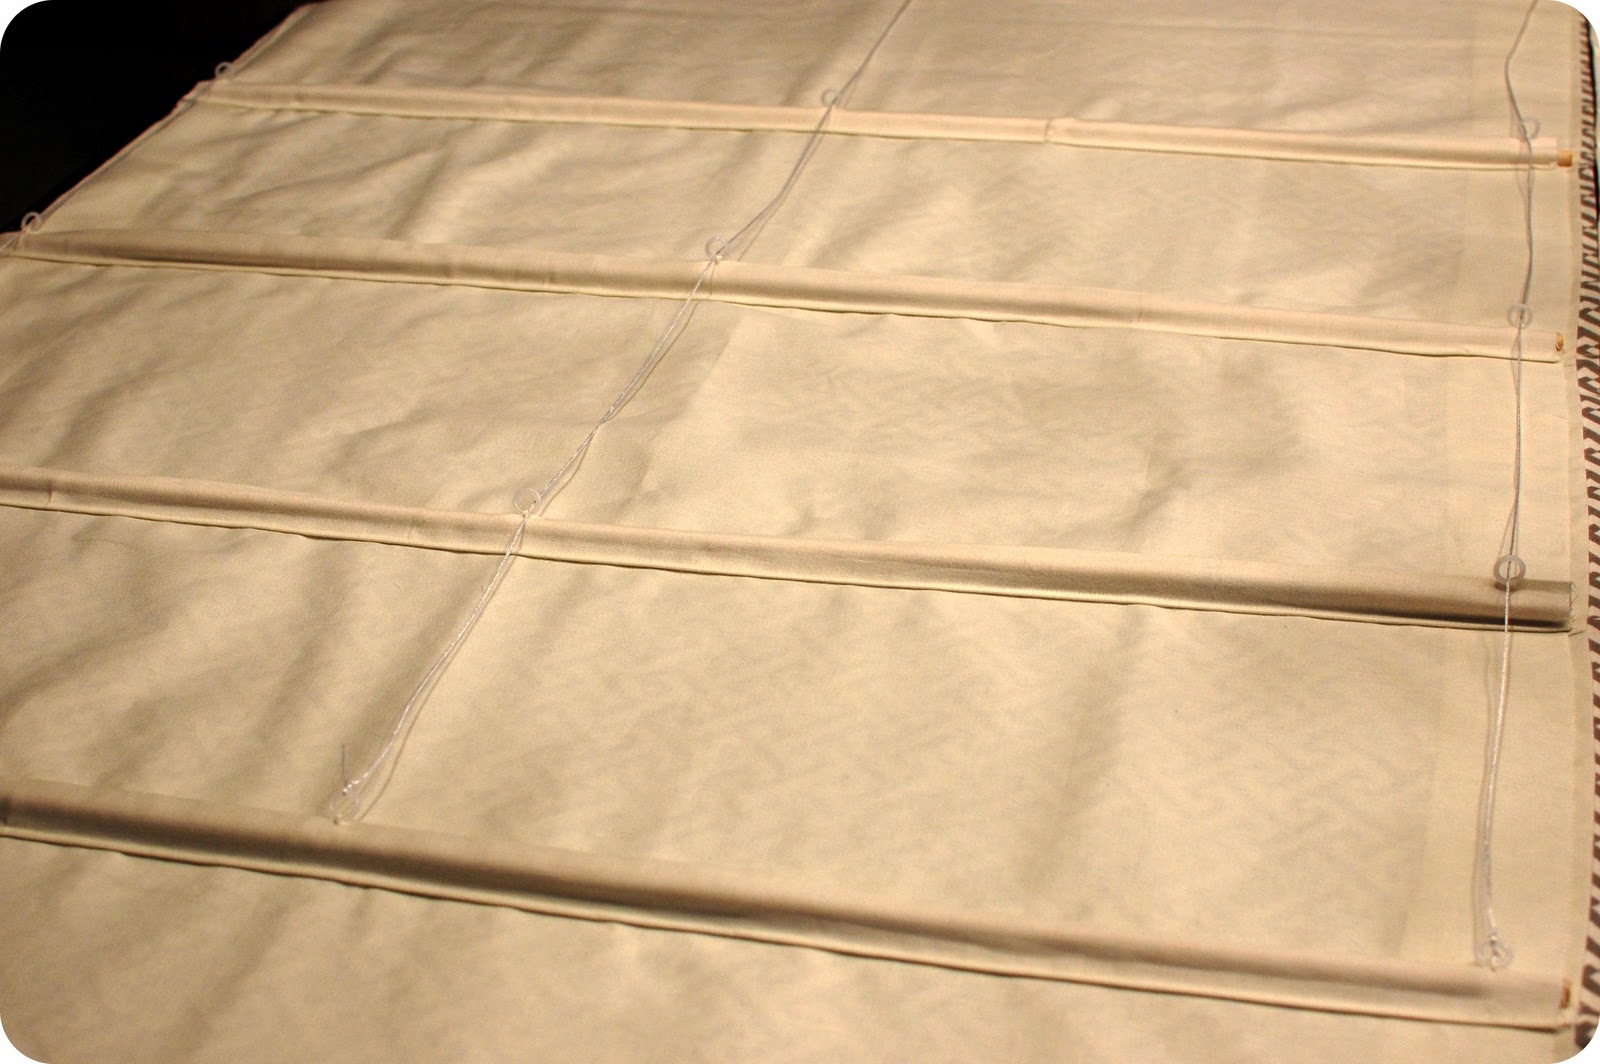
12. Divide your cord by three parts and cut. Tie one end of a cord to the lowest ring and thread up through the vertical line of rings to the top of the shade. Repeat with the other two ring columns and cord.
.
.
13. Cut the header board to size (about 1/2″ shorter than the finished width of your shade). Wrap the header board with leftover fabric or lining fabric and attach with staple gun. Now you need to determine the location of screw eyes on the header board. Lay the board next to your shade and make a mark at each of the three ring locations. Insert eye screw at each mark.
.

.
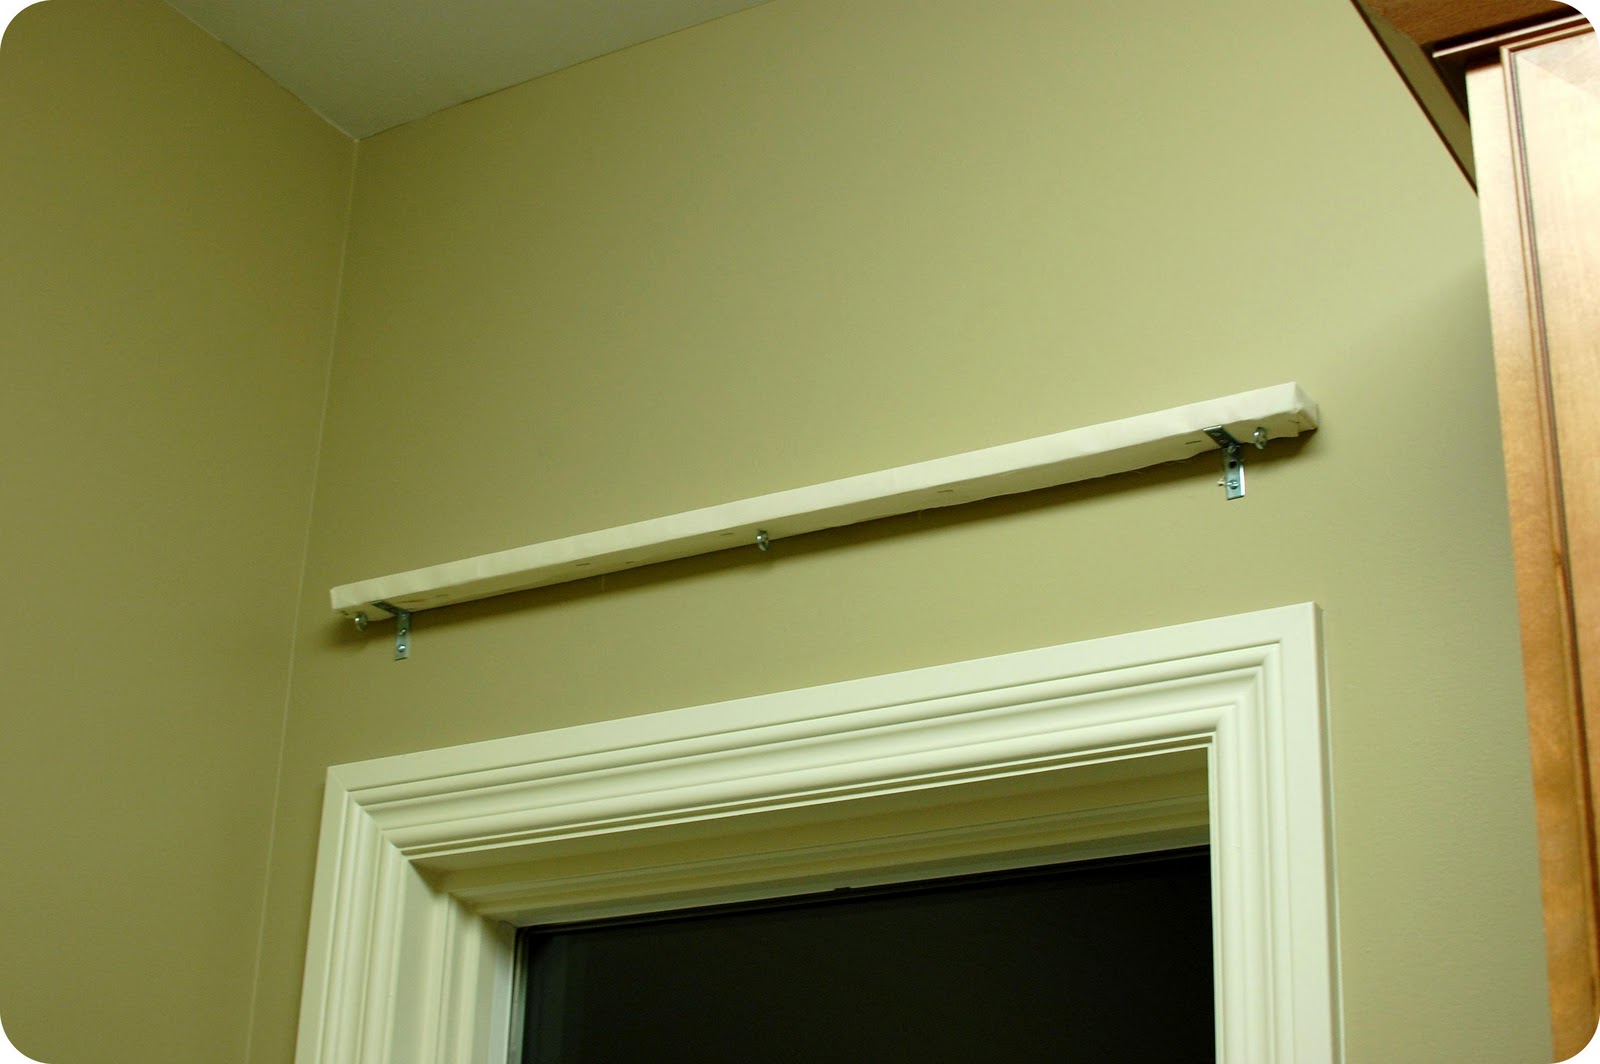
14. Attach angle brackets to header board and then mount header board to wall.
.
.
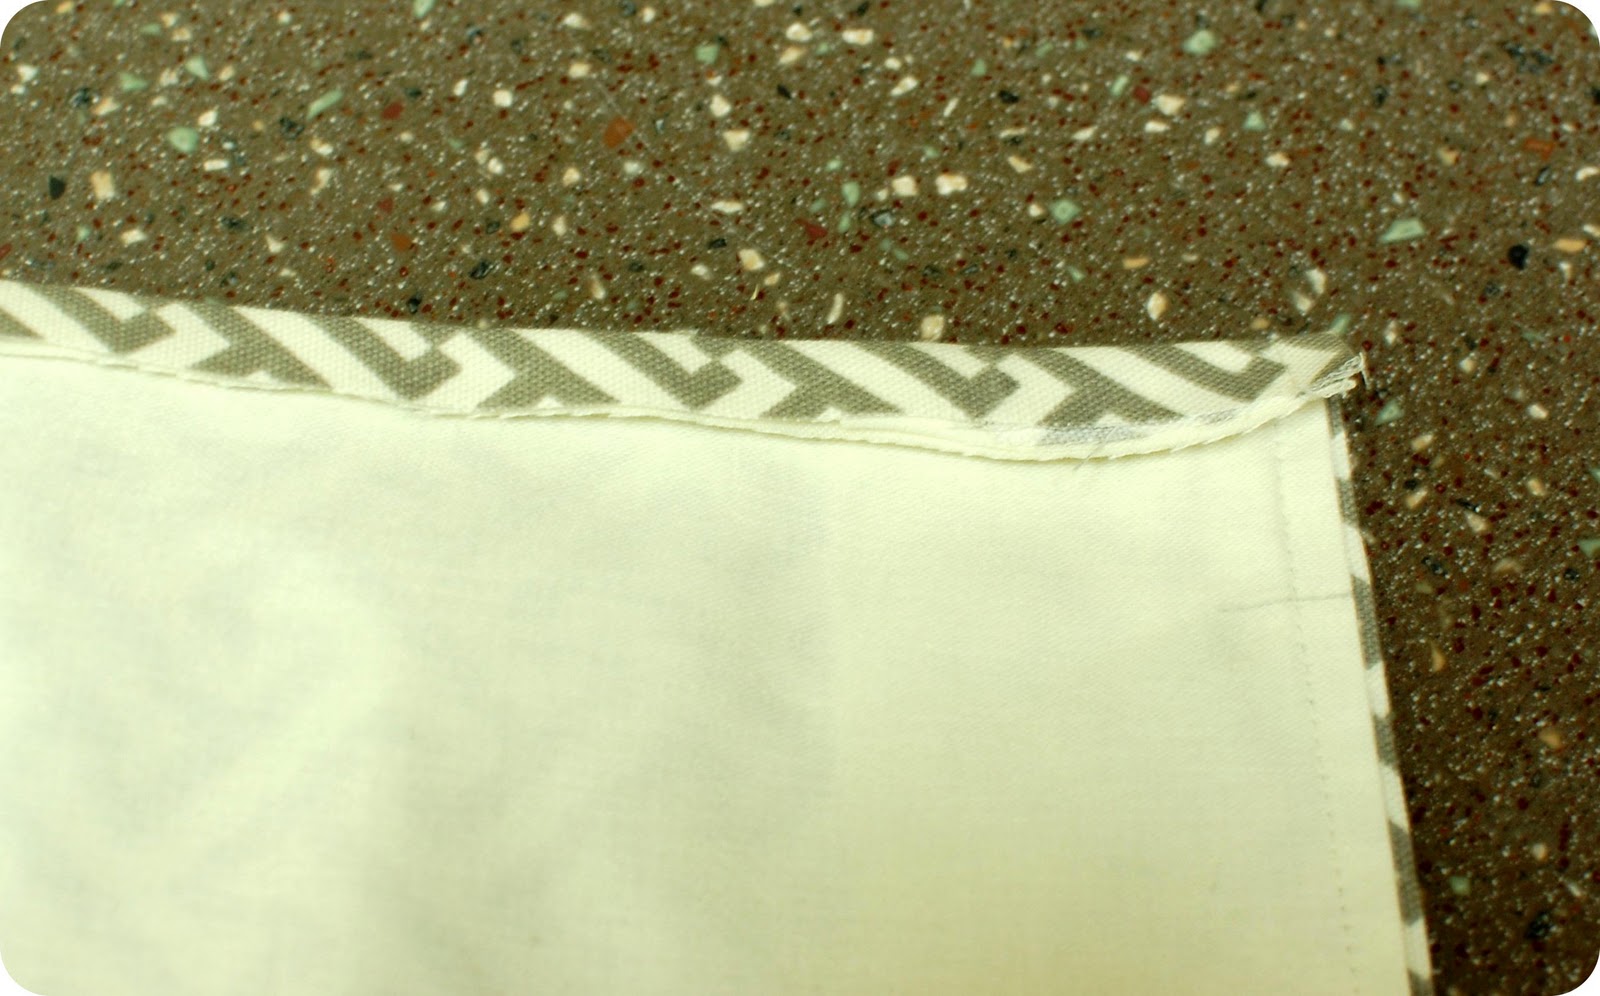
15. Hold your blind up to header board to check the length. You may need to trim the top edge a little. Leave enough so that you can fold over about 1/2 inch, like this:
.
.
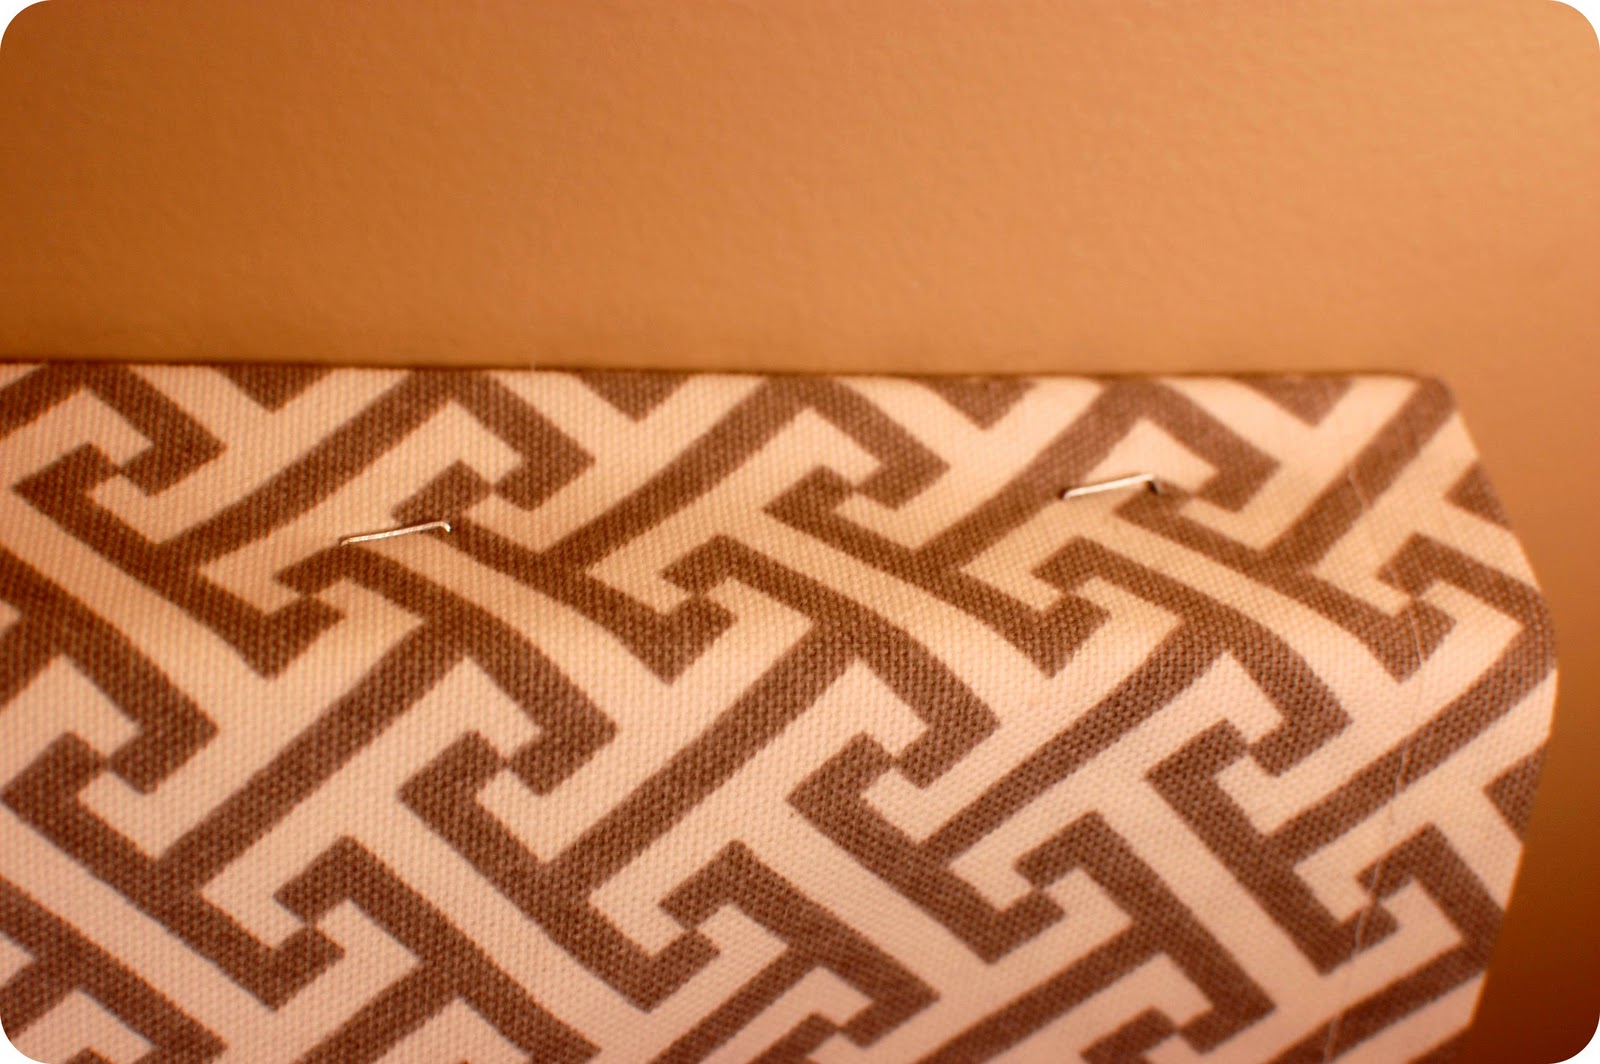
16. Use a staple gun to attach the shade to the top of the header board.
.
.
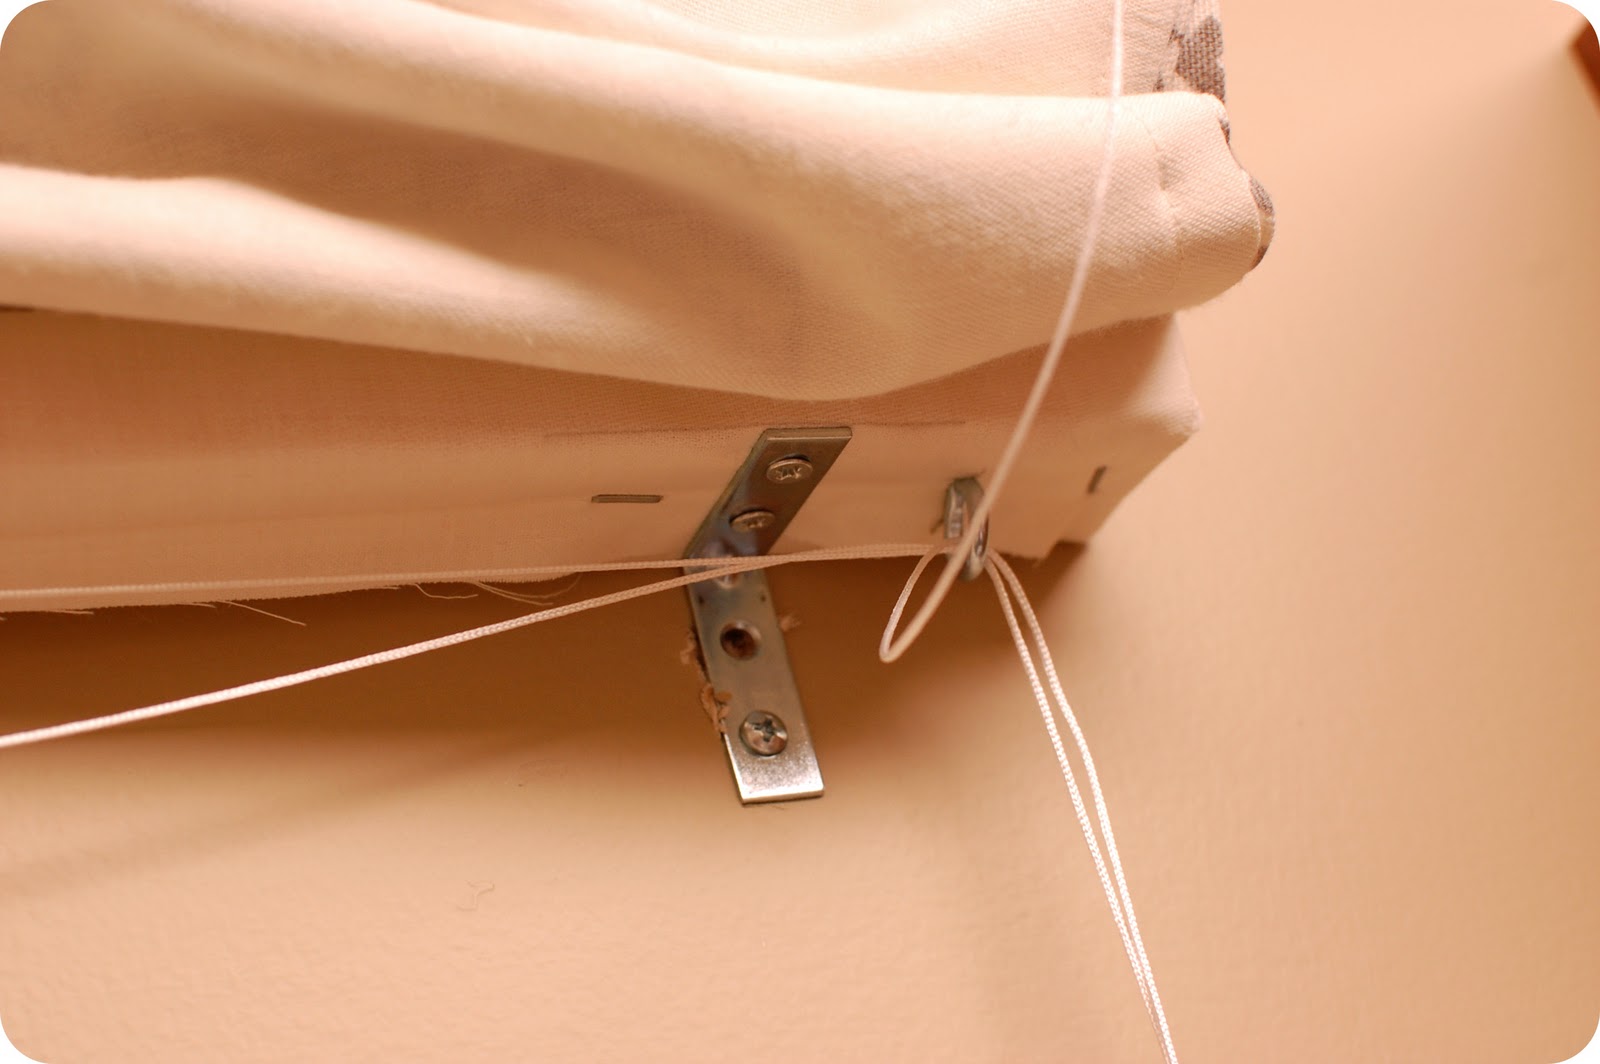
17. Thread the cords through the eyes on the header board. The first cord will need to go through all three eyes. The second cord through two, and the last one only through one.
.
The underside of the shade looks like this:
.
.
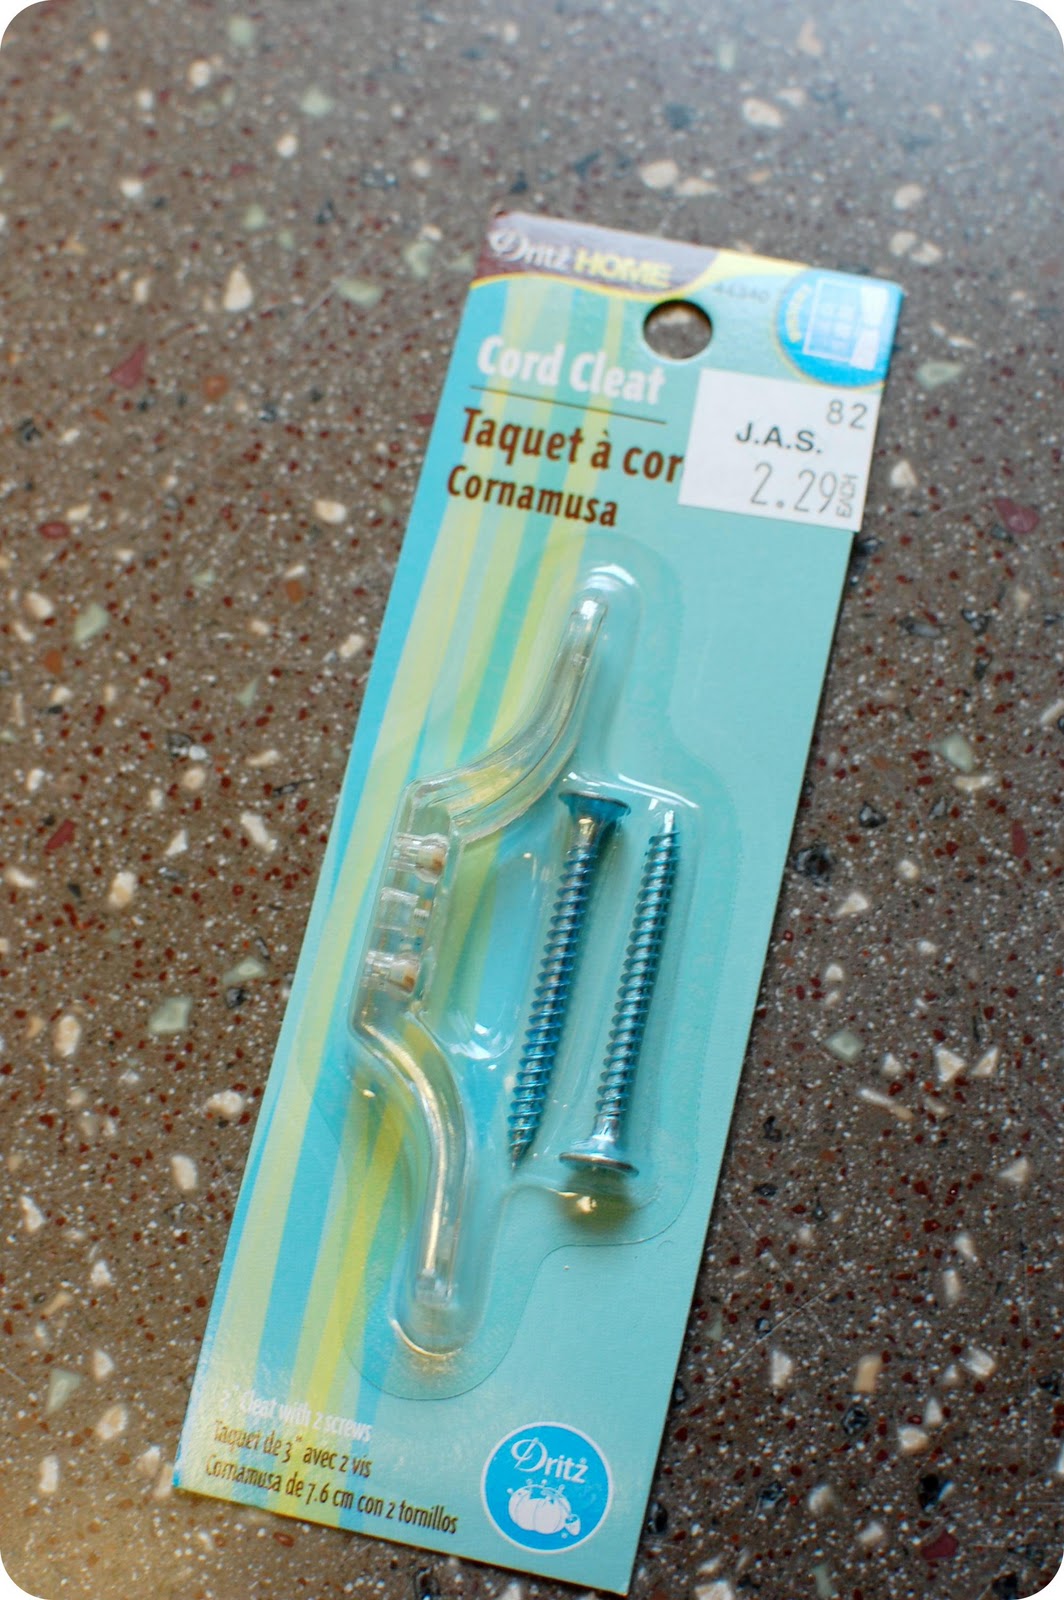
18. Attach a cord cleat on window frame so that you have something to wrap the cords around. If you want, you can also buy a cord connector with will join all three cords together.
.
.
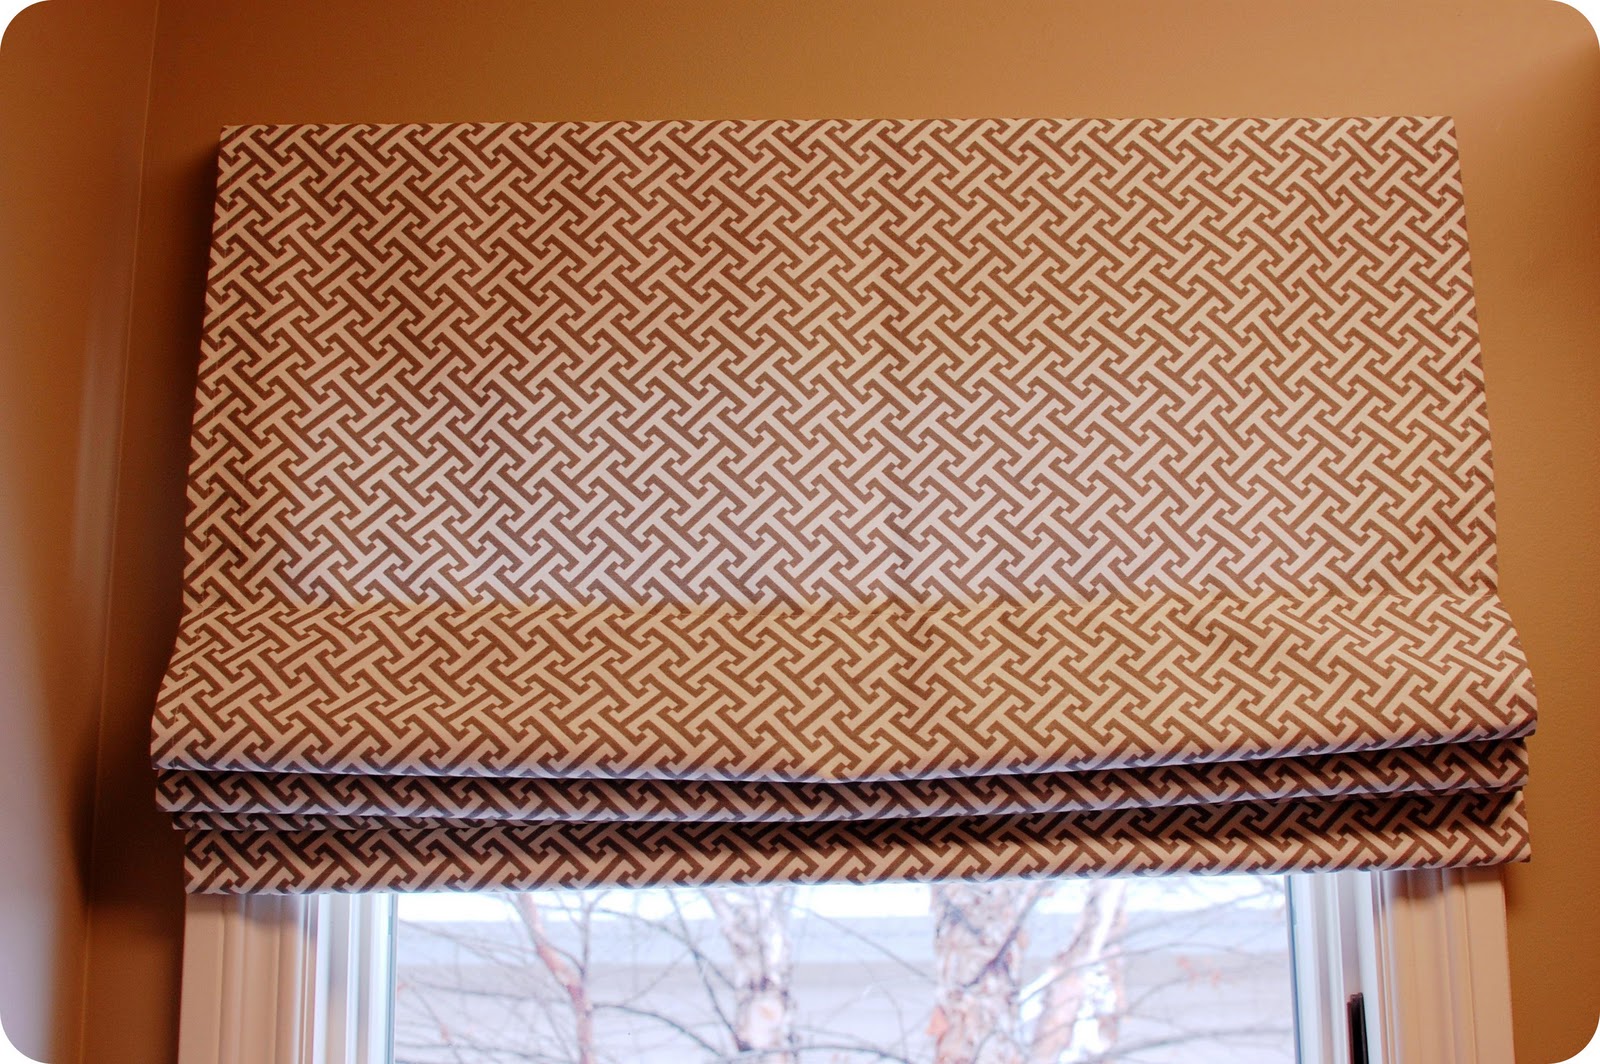
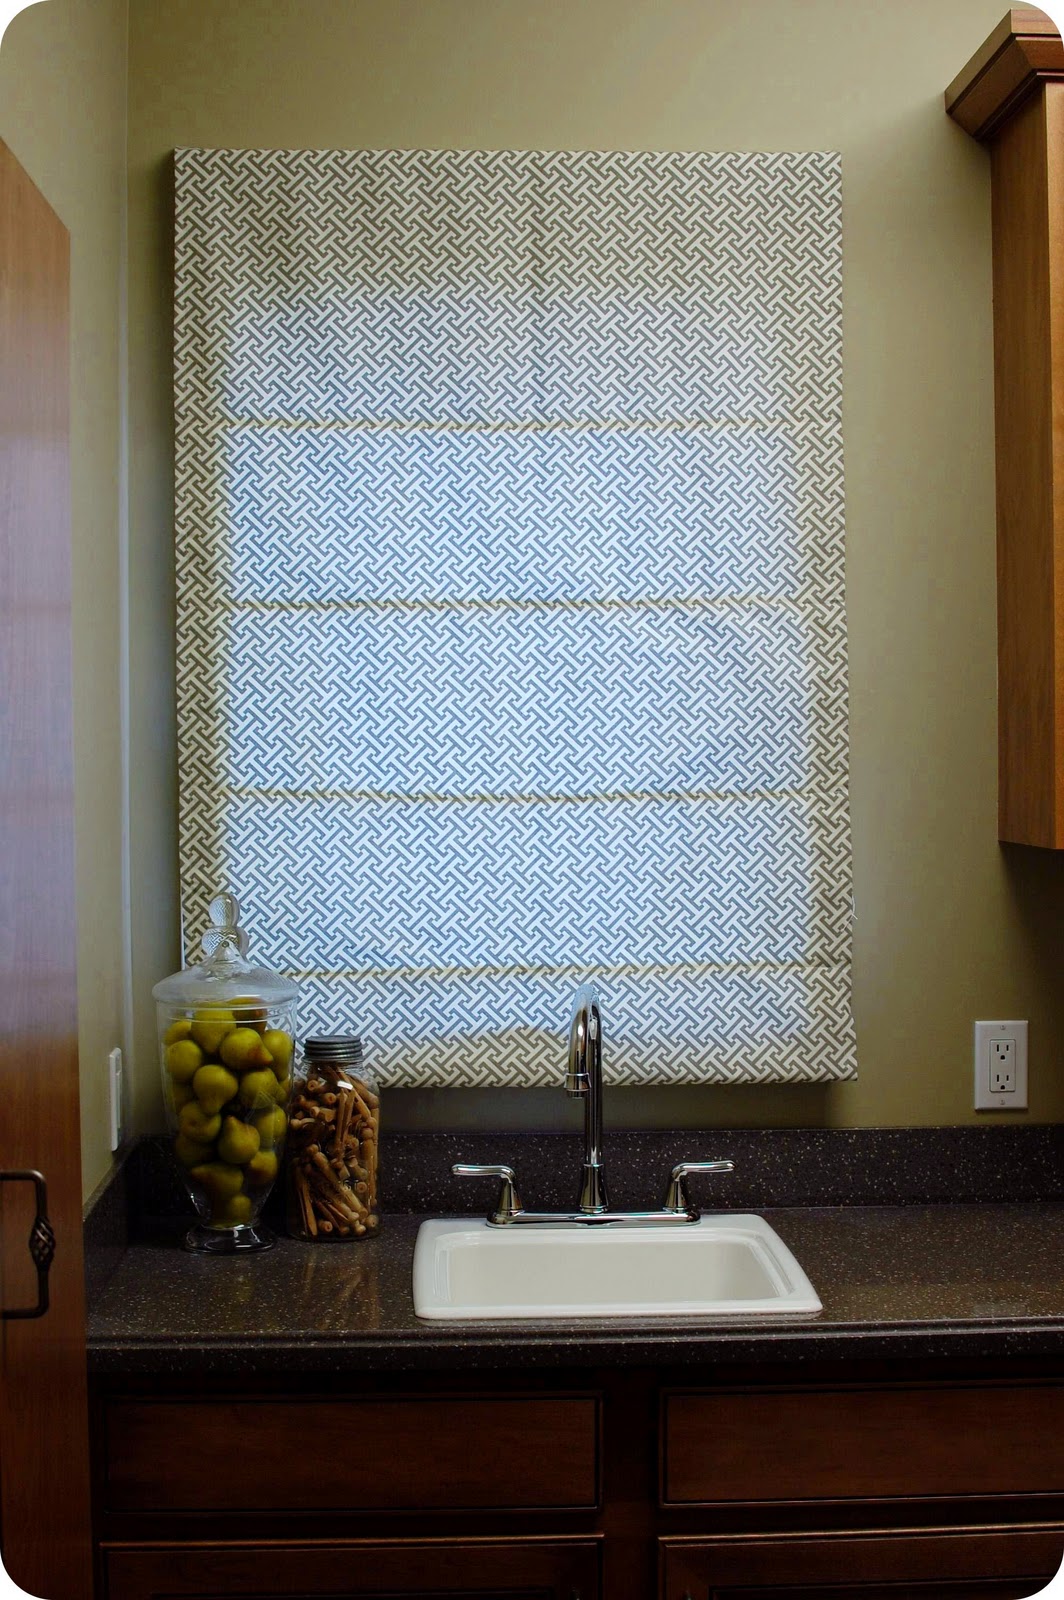
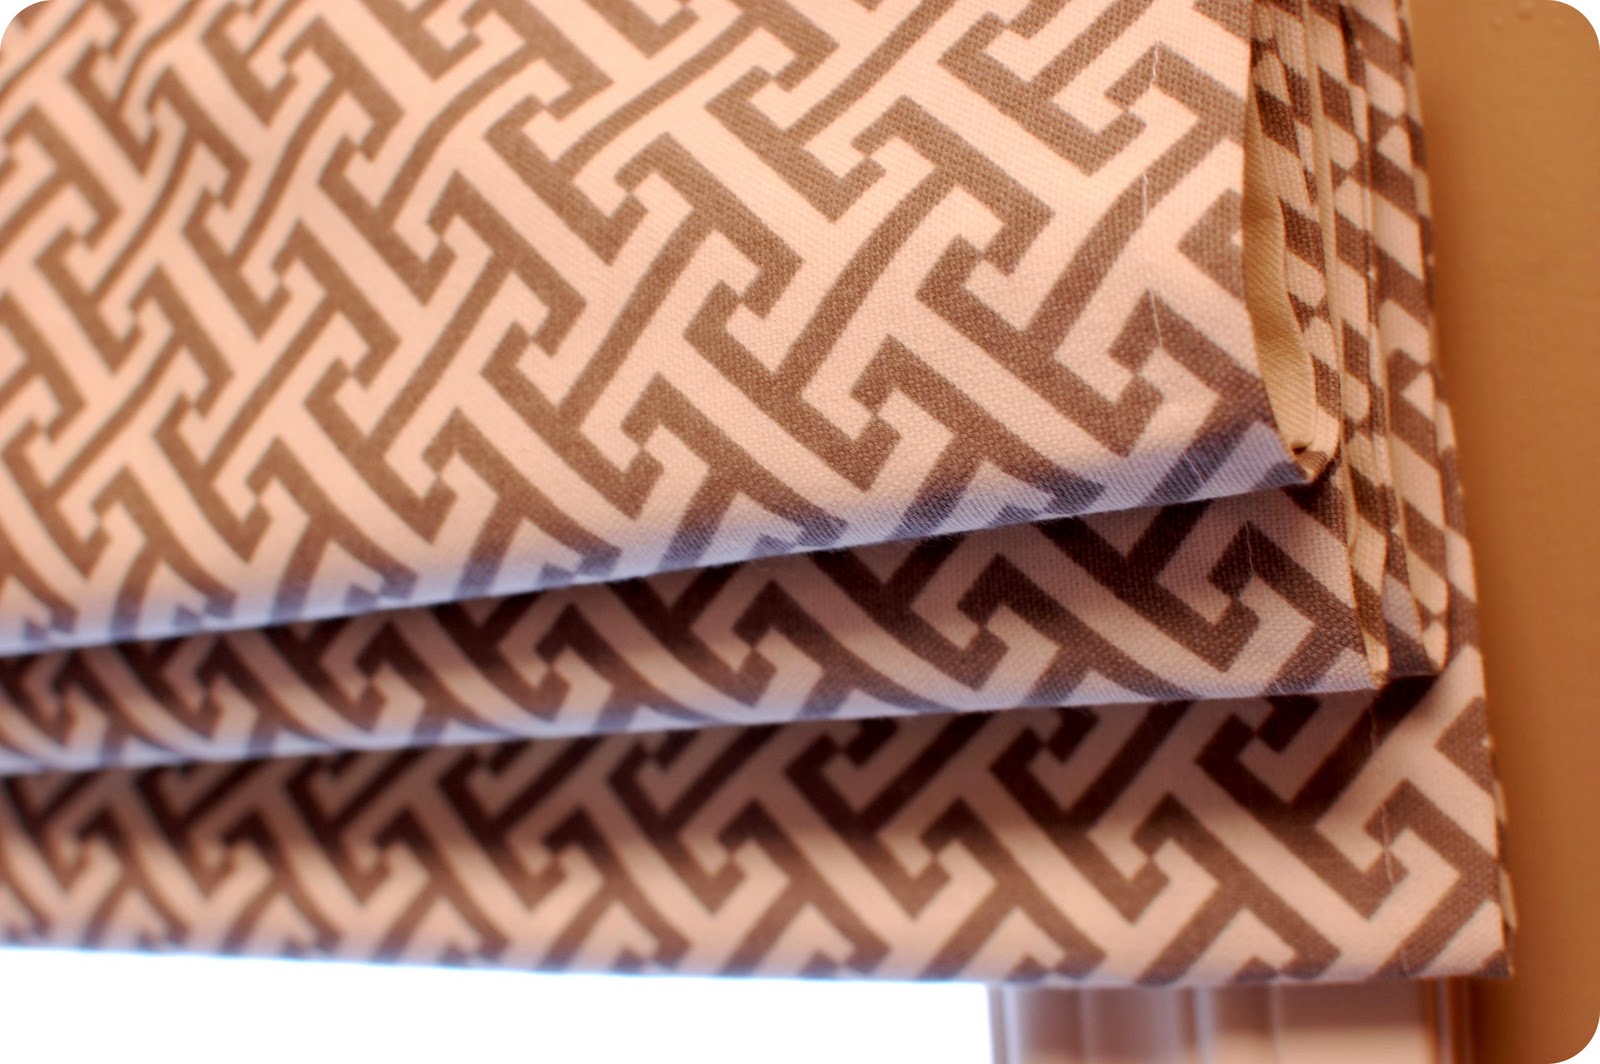
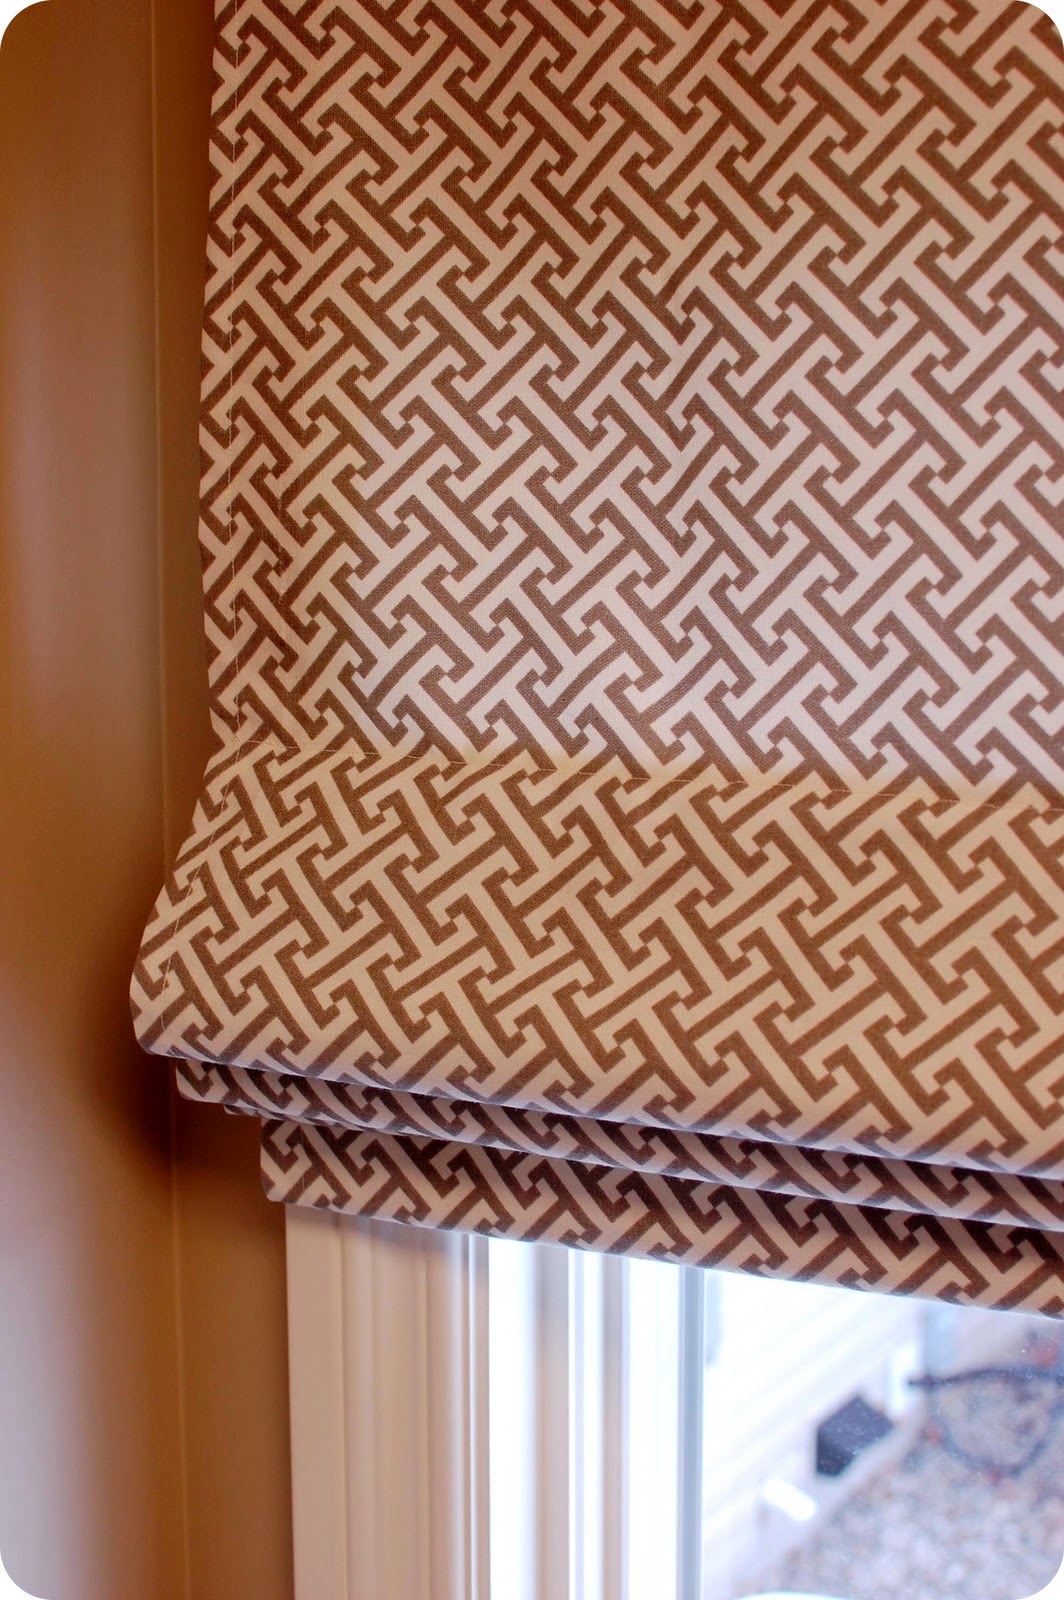
Your shade is finished!
.
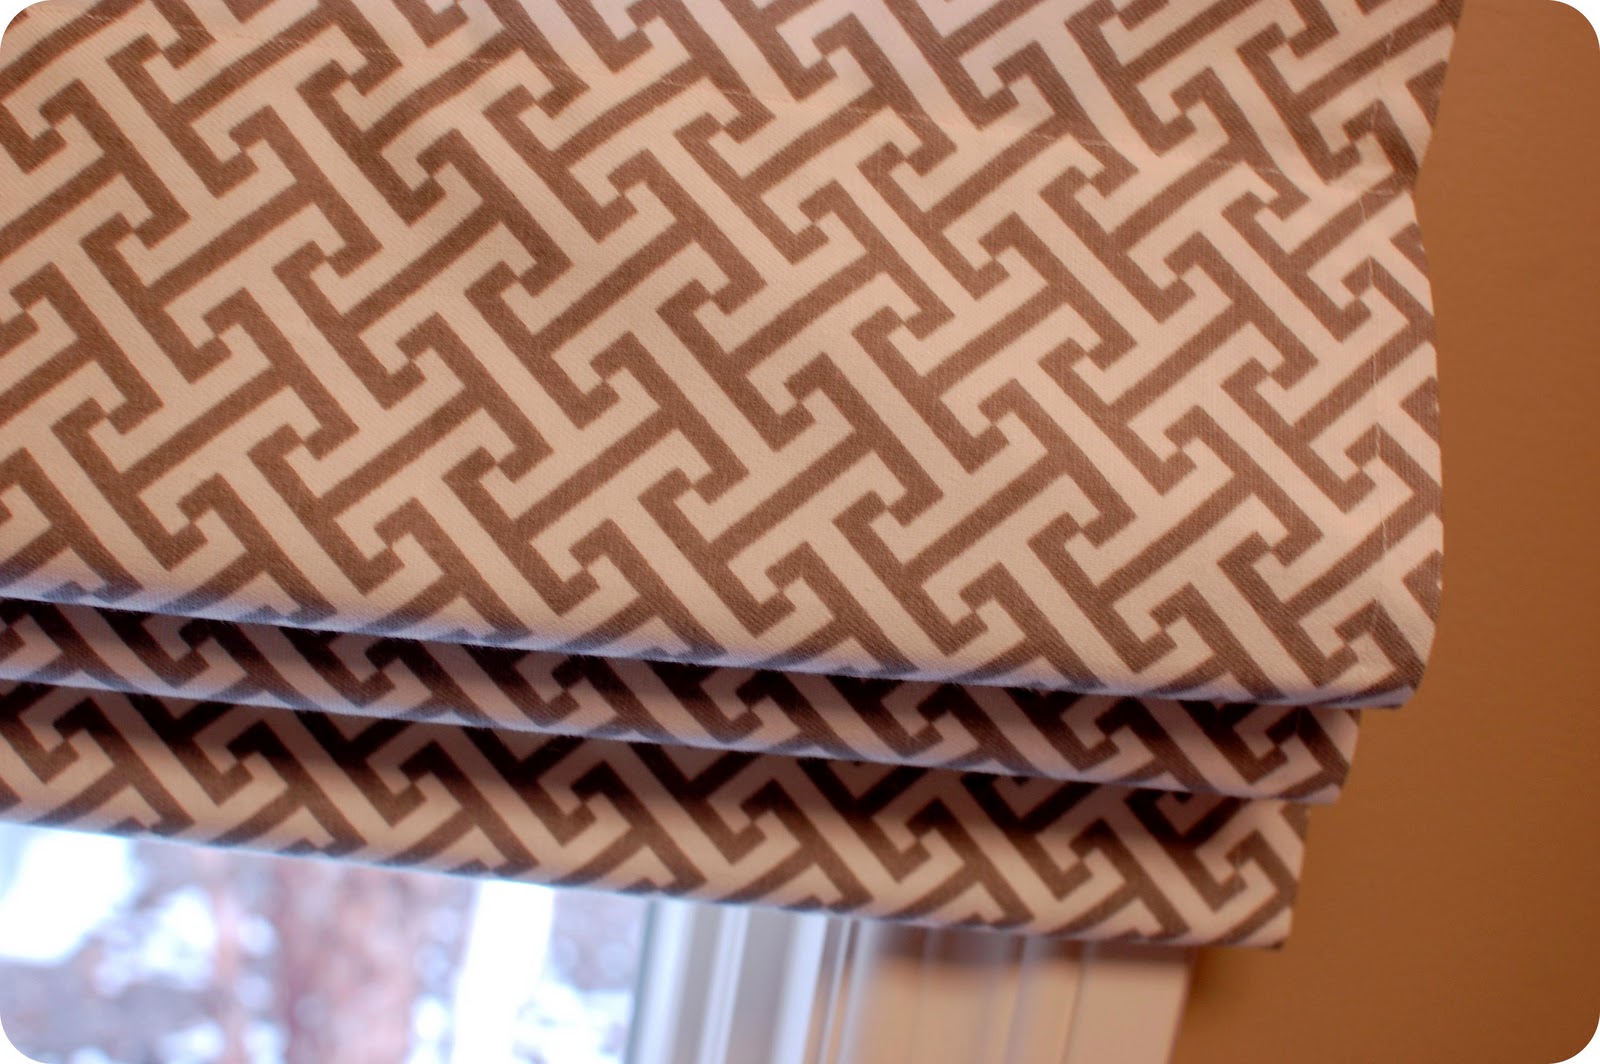
Here are a few photos of my finished shade
.
.
Here it is shut:
.
.
And open:
.

.
.
.
* The fabric I used can be found right here.
.
I hope you enjoyed this tutorial – hopefully it was helpful! If you have any questions, come visit me at 33 Shades of Green.
.
Cassity Kmetzsch started Remodelaholic after graduating from Utah State University with a degree in Interior Design. Remodelaholic is the place to share her love for knocking out walls, and building everything back up again to not only add function but beauty to her home. Together with her husband Justin, they have remodeled 6 homes and are working on a seventh. She is a mother of four amazing girls. Making a house a home is her favorite hobby.


>Thank you for such detailed instructions! As soon as I get my sewing machine, I will be trying to make a roman shade for my kitchen window using your instructions! Yours looks beautiful.
>I love the fabric she choose and what a thorough tutorial! Thanks for sharing it.
>Excellent tutorial! I make tons of roman shades for various clients, yet I always find myself reading tutorials to see if somebody comes up with new and/or better ways of doing things. Did you know that you can cord locks for your roman shades so that you don't have to use the cleat? Works VERY well and very inexpensive, to boot!
>That is absolutely beautiful. I have wanted to make one of these for so long. I'm going to try this tutorial.
>I have made roman shades before, but not like this. This is the best tutorial I have ever seen!
-Rene
>I have no less than nine planned Roman shades in one room and two more in another. I have been paralyzed by fear because if the results aren't polished and professional, I know I will be disappointed. Your tutorial provides the visual I needed to go with the many instructions I have collected. Thank you for the excellent photos and sharing your beautiful project. Maybe the job will get done in January.
>Alissa you amaze me! I've always wanted to try making roman shades, but it was something I was too scared to undertake. Your step-by-step tutorial gives me the courage I needed.
>Your shade is gorgeous and I love the fabric!
However, I hope that everyone knows that this kind of shade should never be placed where it can be reached by a baby or young child. Yours is high up over the counter in the laundry room, but I would hate for someone to use your tutorial for a child's bedroom or playroom, and risk strangulation.
Here's some information about this risk:
https://www.windowcoverings.org/pdfs/Safety_Alert.pdf
Sorry to rain on your parade, but I thought it was important! I had no idea until recently that in the US, almost one child per month dies of strangulation from window cords.
>You never disappoint, Alissa. Great job! I just love that fabric, too.
>alissa, fabulous. I am going to follow your instructions instead of that book we talked about! Your instructions are so much easier!
I’m wondering if your rod pockets are sewn to the lining and the fabric or just the lining?
-cs
I have read other instructions for Roman Blinds and yours were the ones I completely understood! Ty
I am going to make some for our vintage travel trailer:)
Alissa
Would you have a pattern for reverse (can’t think of name:( blinds coming up from bottom of window?)
They never have completely clear instructions and you are very adept at explaining .
Alissa
Would you know or do you have instructions on sewing bench seat ( long rectangle ) covers? I’m not sure on measurements length width height for material to make sure I cut right. Should I use cording for edges?
I know very simple straight lines but want them to look right:) Any advice would be appreciated.
Just wanted to complement you on a fantastic tutorial. I have been looking at many recently and I have to say yours were about the best. Unfortunately I found yours afterwards- I already took the plunge. I’m happy with mine but they took alot of work and figuring out. You might want to add some more meta data tags so your shows up in a search. I happened upon your by searching for cord locks – go figure.
Thanks again for sharing.
Thanks for the comment. 33 Shades of Green did a great job!
This is beautiful. I have searched all over the net trying to find a detailed list of supplies. And everyone else hangs these inside the window. I needed them on the outside like yours because we get a little draft under the sill. Mine will hang down and rest on a shelf when closed.
Thank you,
Joni McEachern
So glad you found us, Joni! We’d love to see a picture when you make yours 🙂
I’ve been wanting to make Roman shades for our kitchen nook and have read several DIY posts. Yours was exactly the type of Roman shade I wanted to do (no mini-blinds and over mount), and so much clearer. I think I can actually do this. Thank you!
You’re welcome! We’d love to see pictures when you’re done!
Can you elaborate on the threading process throughout the 3 rows of rings, and are they tied to begin with?
Thank you.
Corrine
Really idiot- proof tutorial. Thanks.
Thank you so much for the excellent tutorial. It explains each step very clearly.