Fully Operational Roman Shade Tutorial
.
A big thanks to Cassity for having me over again to guest post. You will find me at my blog, 33 Shades of Green, crafting, cooking, decorating, and trying out all sorts of creative projects.
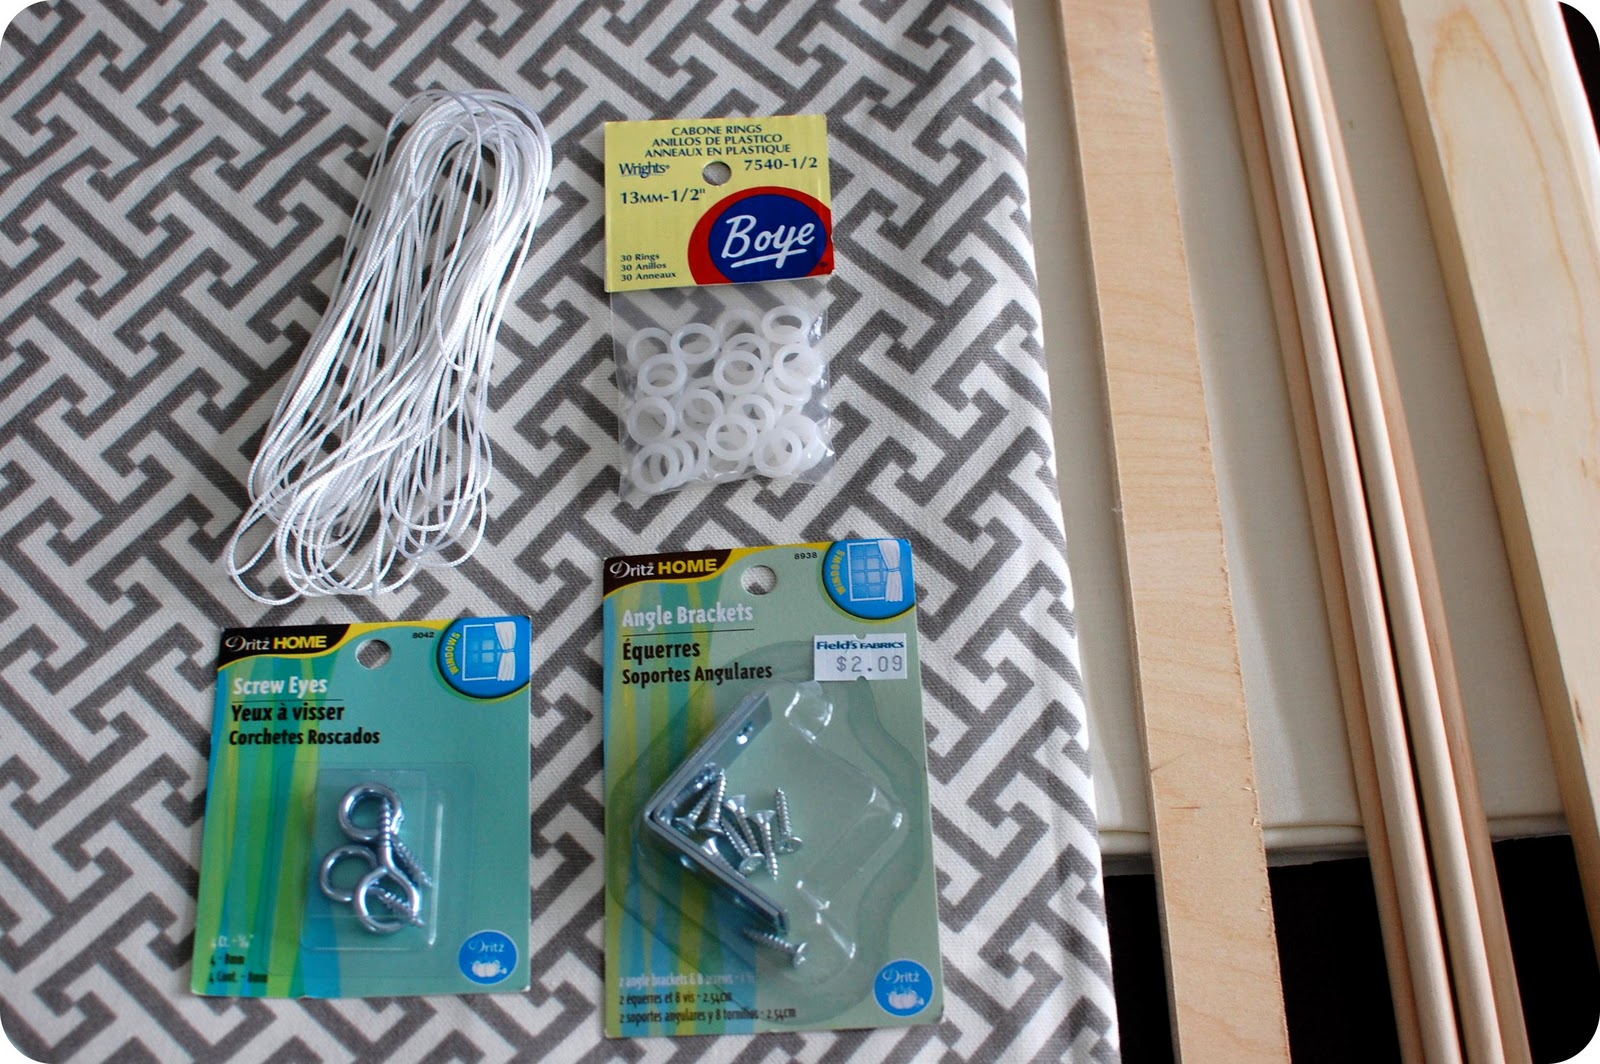
– small plastic rings (you will find these in the drapery section of the craft or sewing store)
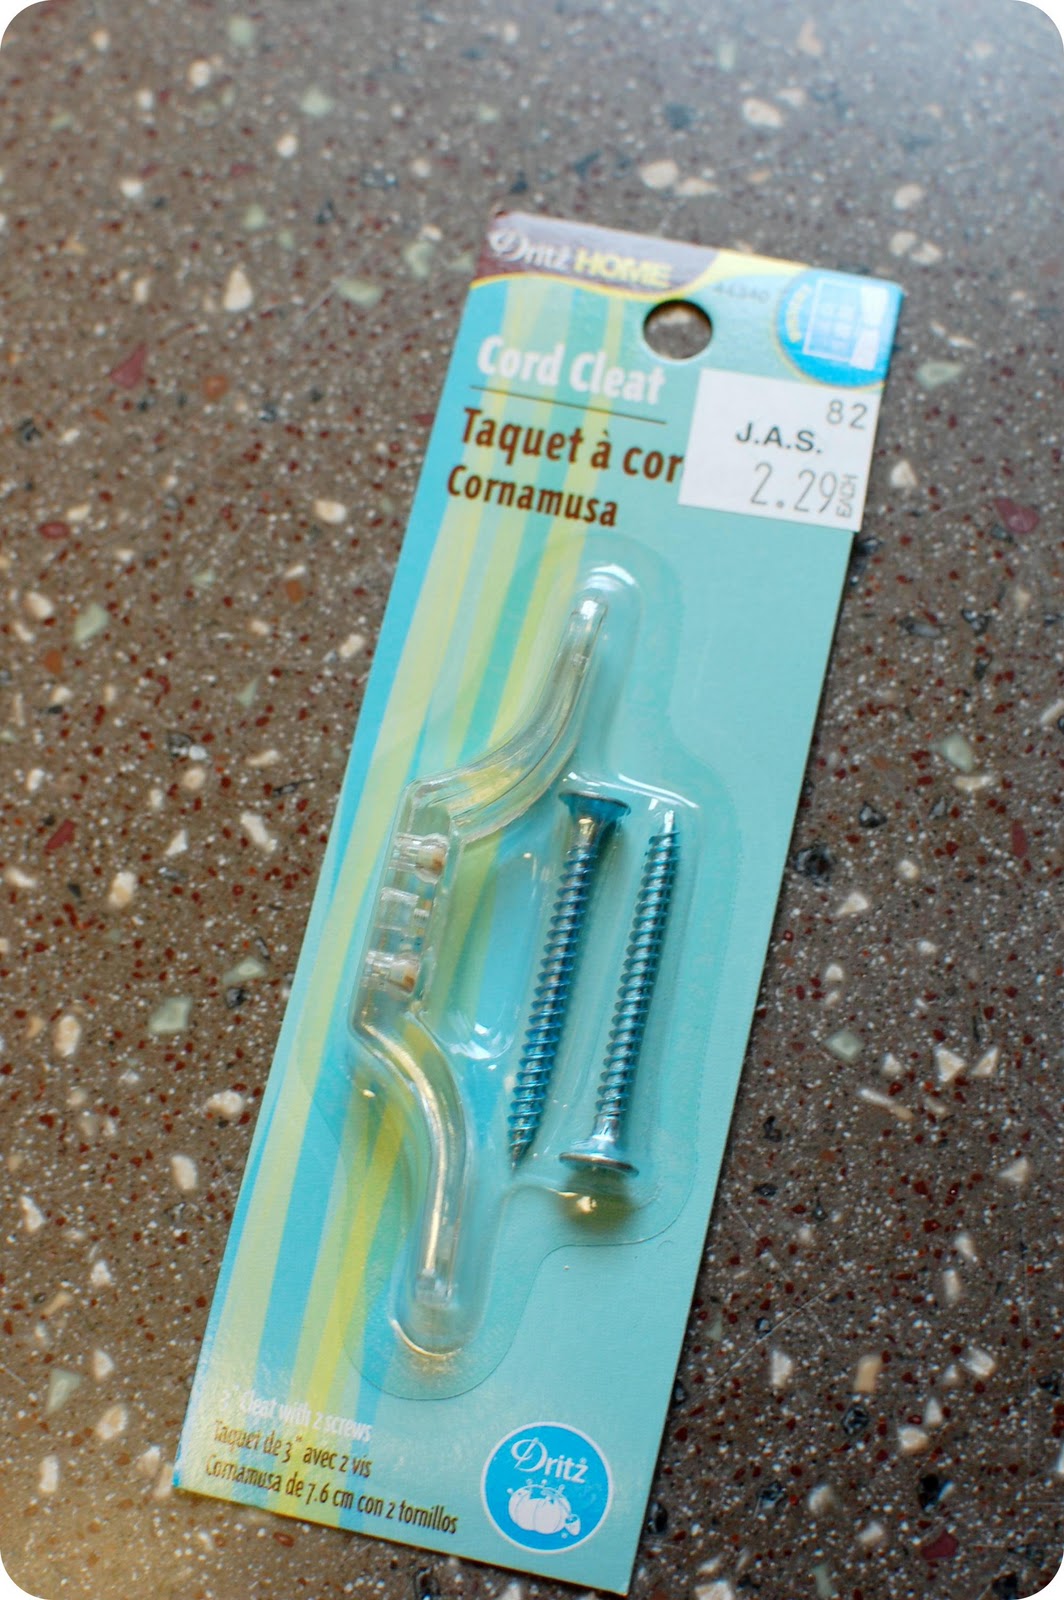
– cord cleat
– staple gun and other misc. tools
.
1. Determine what size to cut your fabric. Measure your window and add 4″ to the width and 8-1/2″ to the length. Cut fabric and lining to the same size. For example, I wanted my blind to be mounted on the outside of my window and wanted it to cover the wood trim. I also wanted it mounted 6″ above the window to add a little height. That dimension was 46″ h. x 33″ w. So, I needed to cut my fabric 54-1/2″ h. x 37″ w.
.
2. Use an iron and press a 2″ hem on the sides and bottom edge of your fabric.
.

.
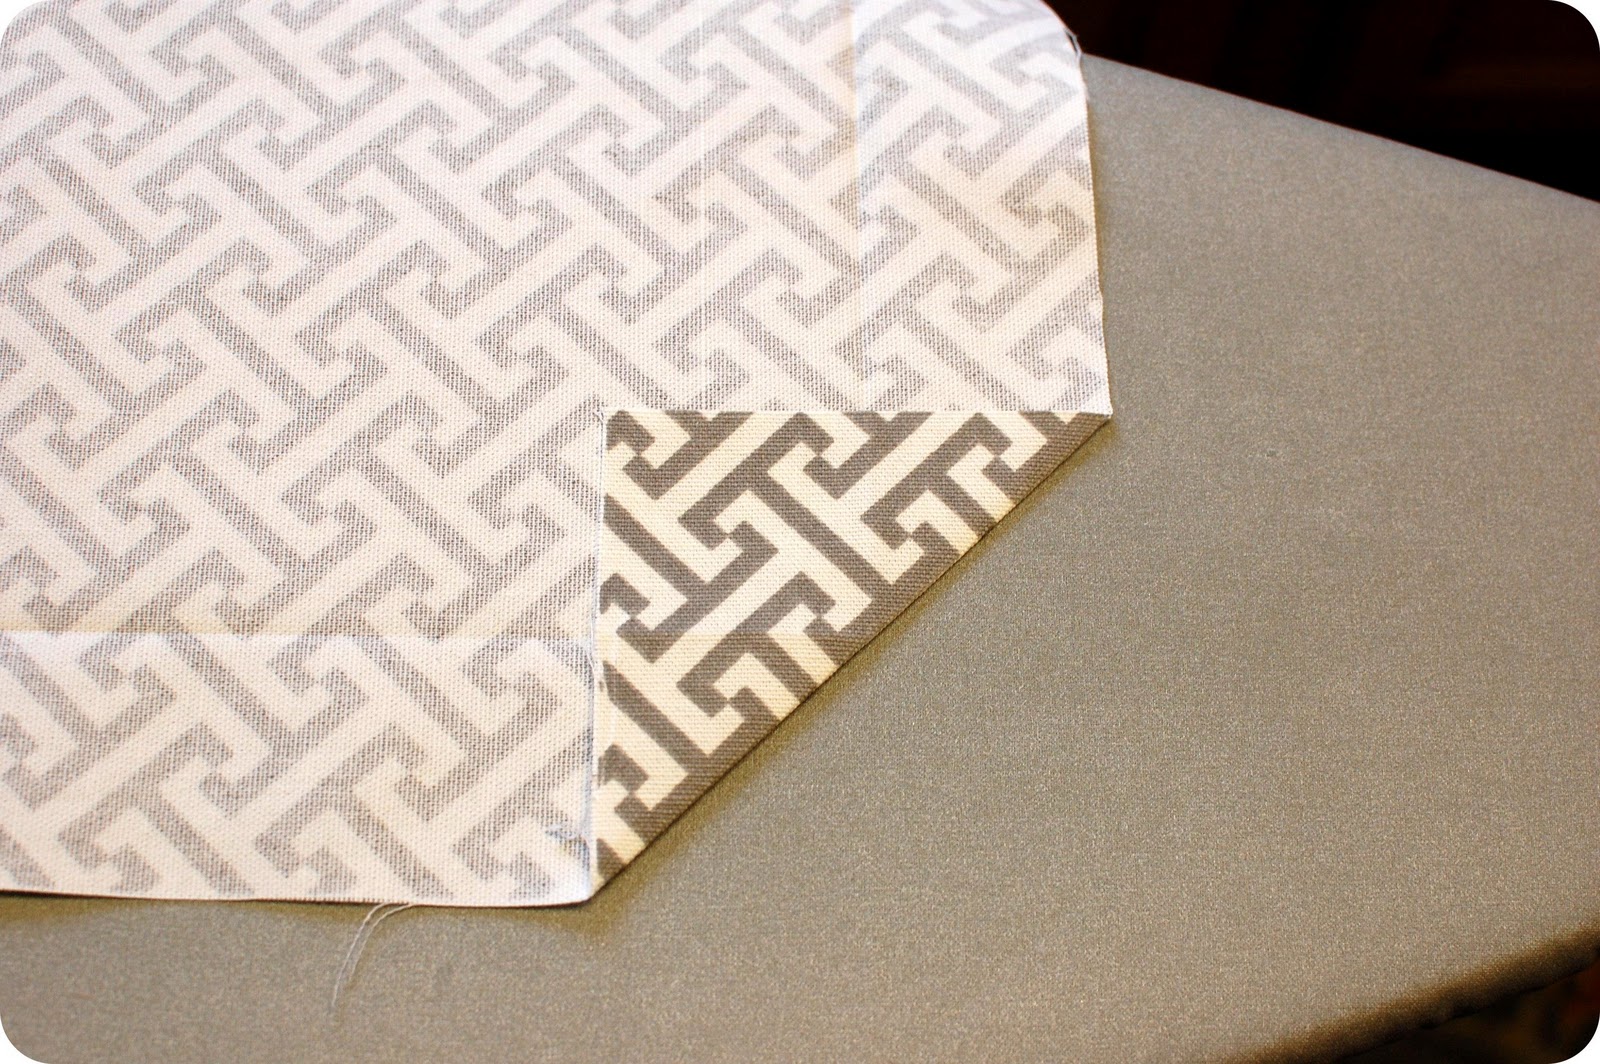
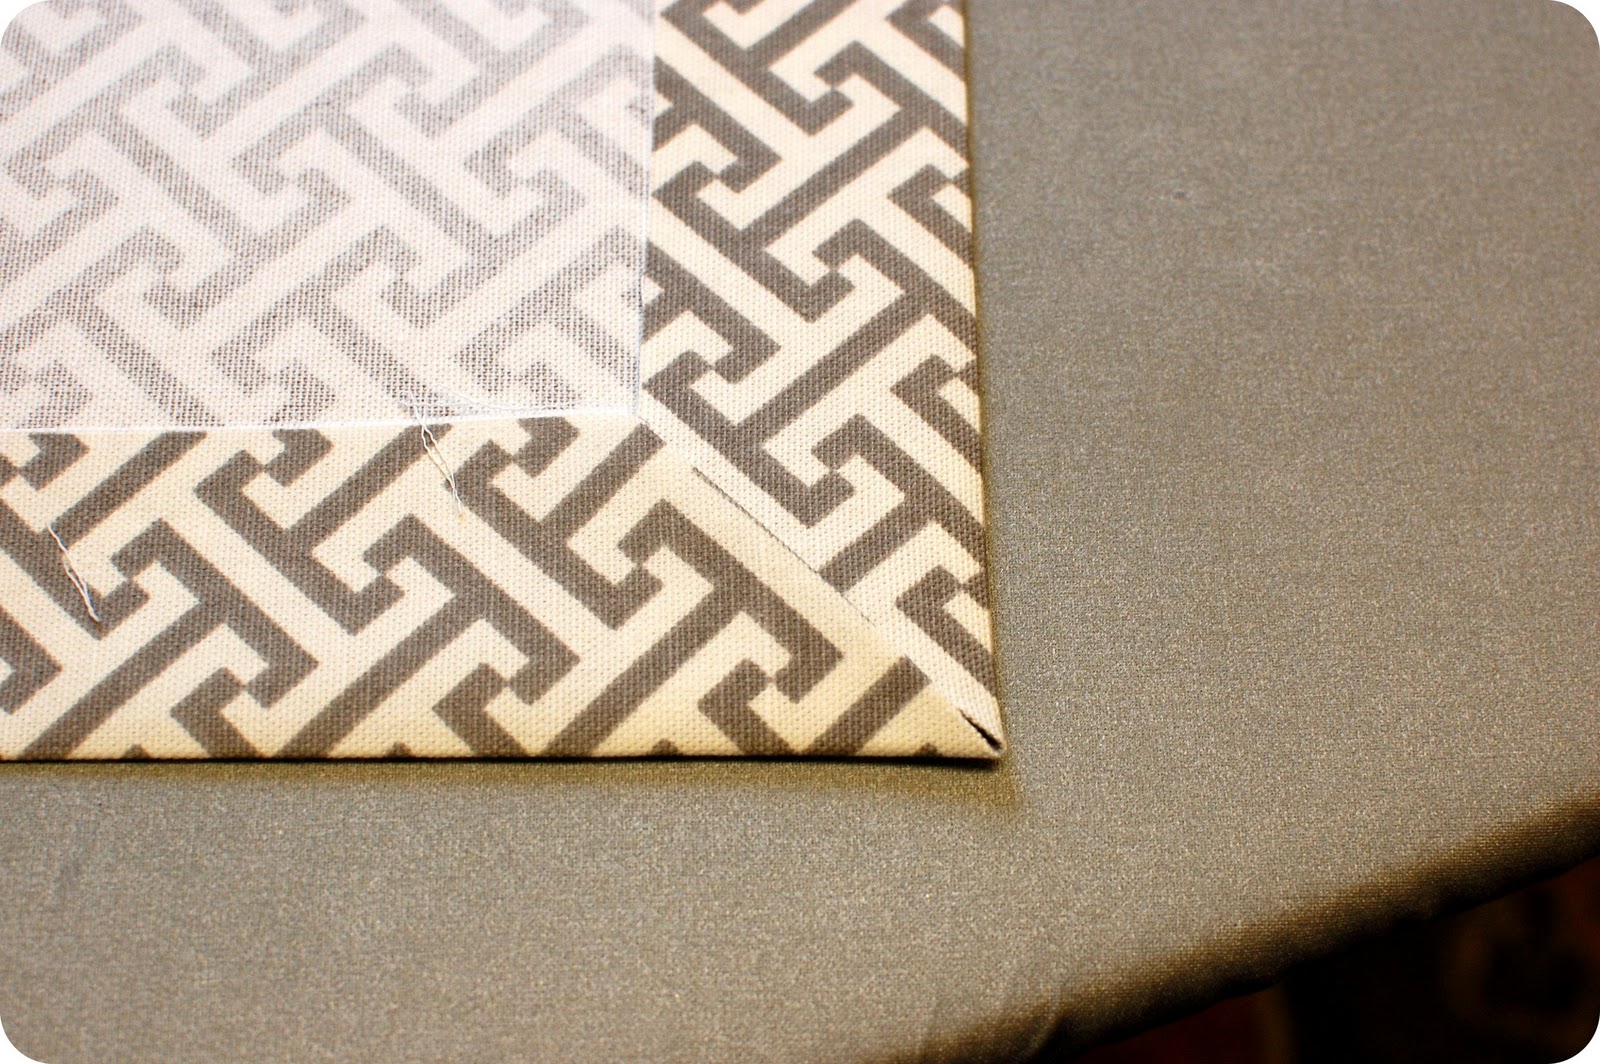
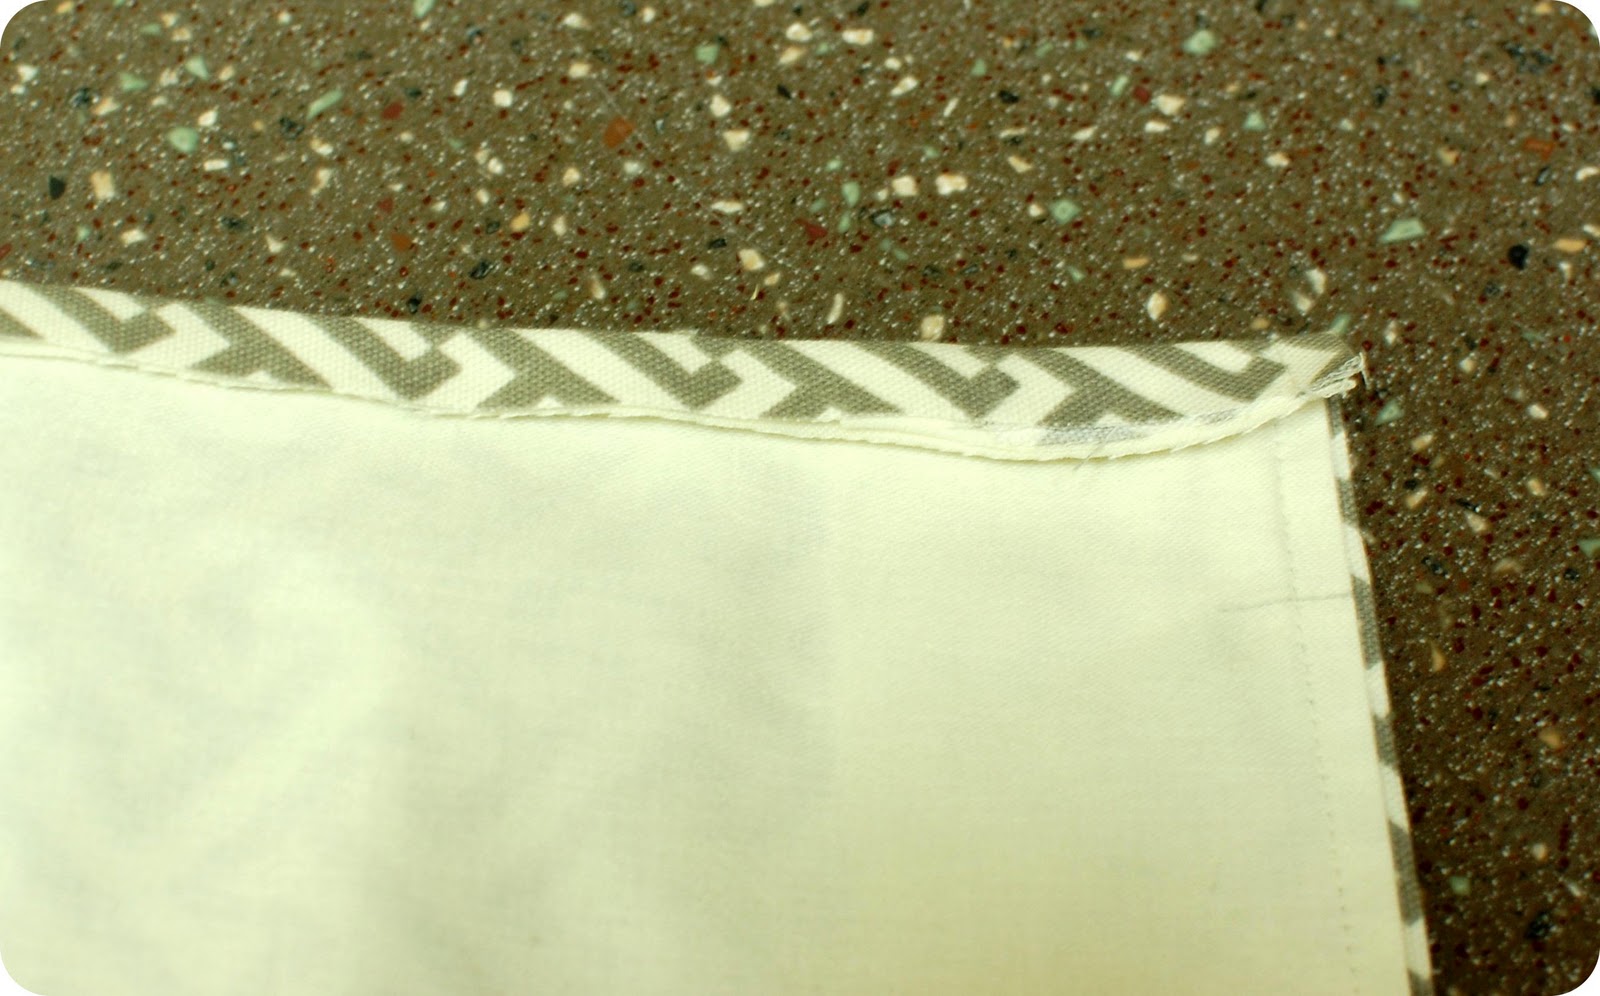
3. Make mitered corners. Unfold the hems you just ironed. Fold up each corner and iron. See photo below.
.
.
Refold hems.
.
.
4. Now repeat hems on your lining except make hems 2-1/2″ on each side.
.
5. Lay out fabric, right side down. Place liner on fabric, right side up, and pin together. Place lining 2″ above bottom edge of fabric. Sew lining and fabric together. You only need to sew along the two side and bottom edges. You do not need to sew at the top edge.
.

.

.
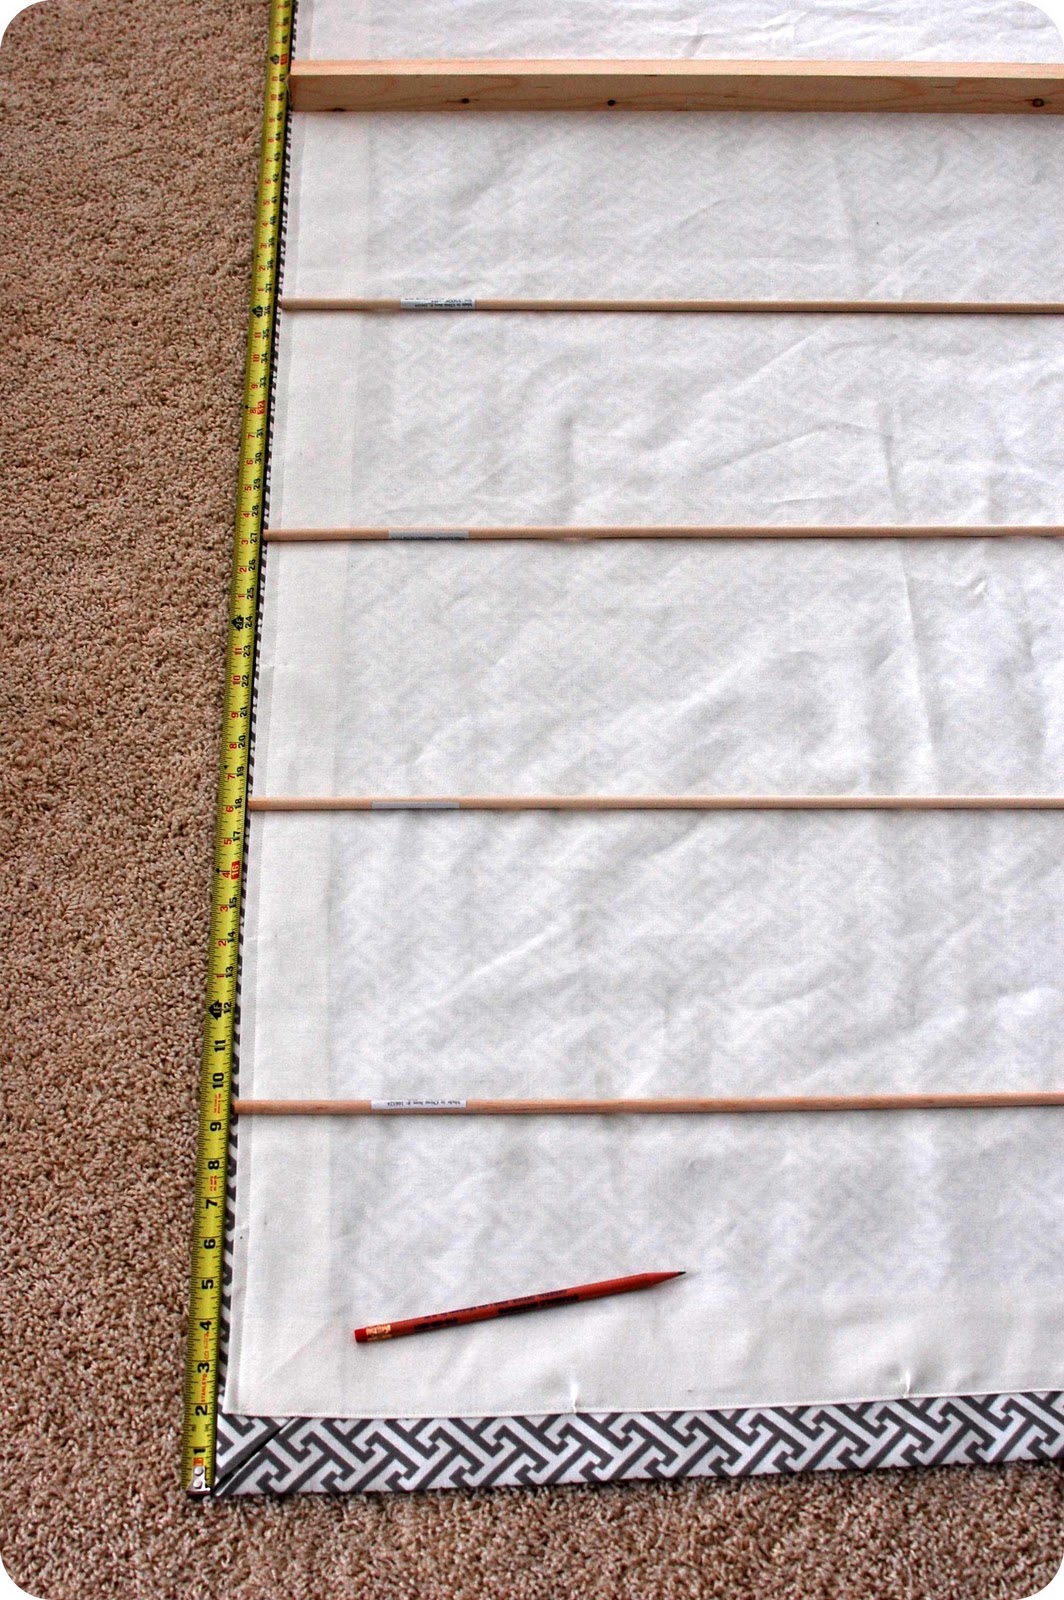
6. Now you need to determine how many dowels you need and how far apart you want them. Dowels should be 8 – 12″ apart. According to directions I followed from marthastewart.com, the position of the bottom dowel can be determined by dividing the distance of the dowel intervals by 2, and then add 1. For example, if your dowels are placed 12″ apart, the bottom pocket should be 7″ from the bottom. The top dowel should be at least 10″ from the top. The total length of my shade is 46″ and I space the dowels 9″ apart. Once you determine location for the dowels, mark with a pencil.
.
.
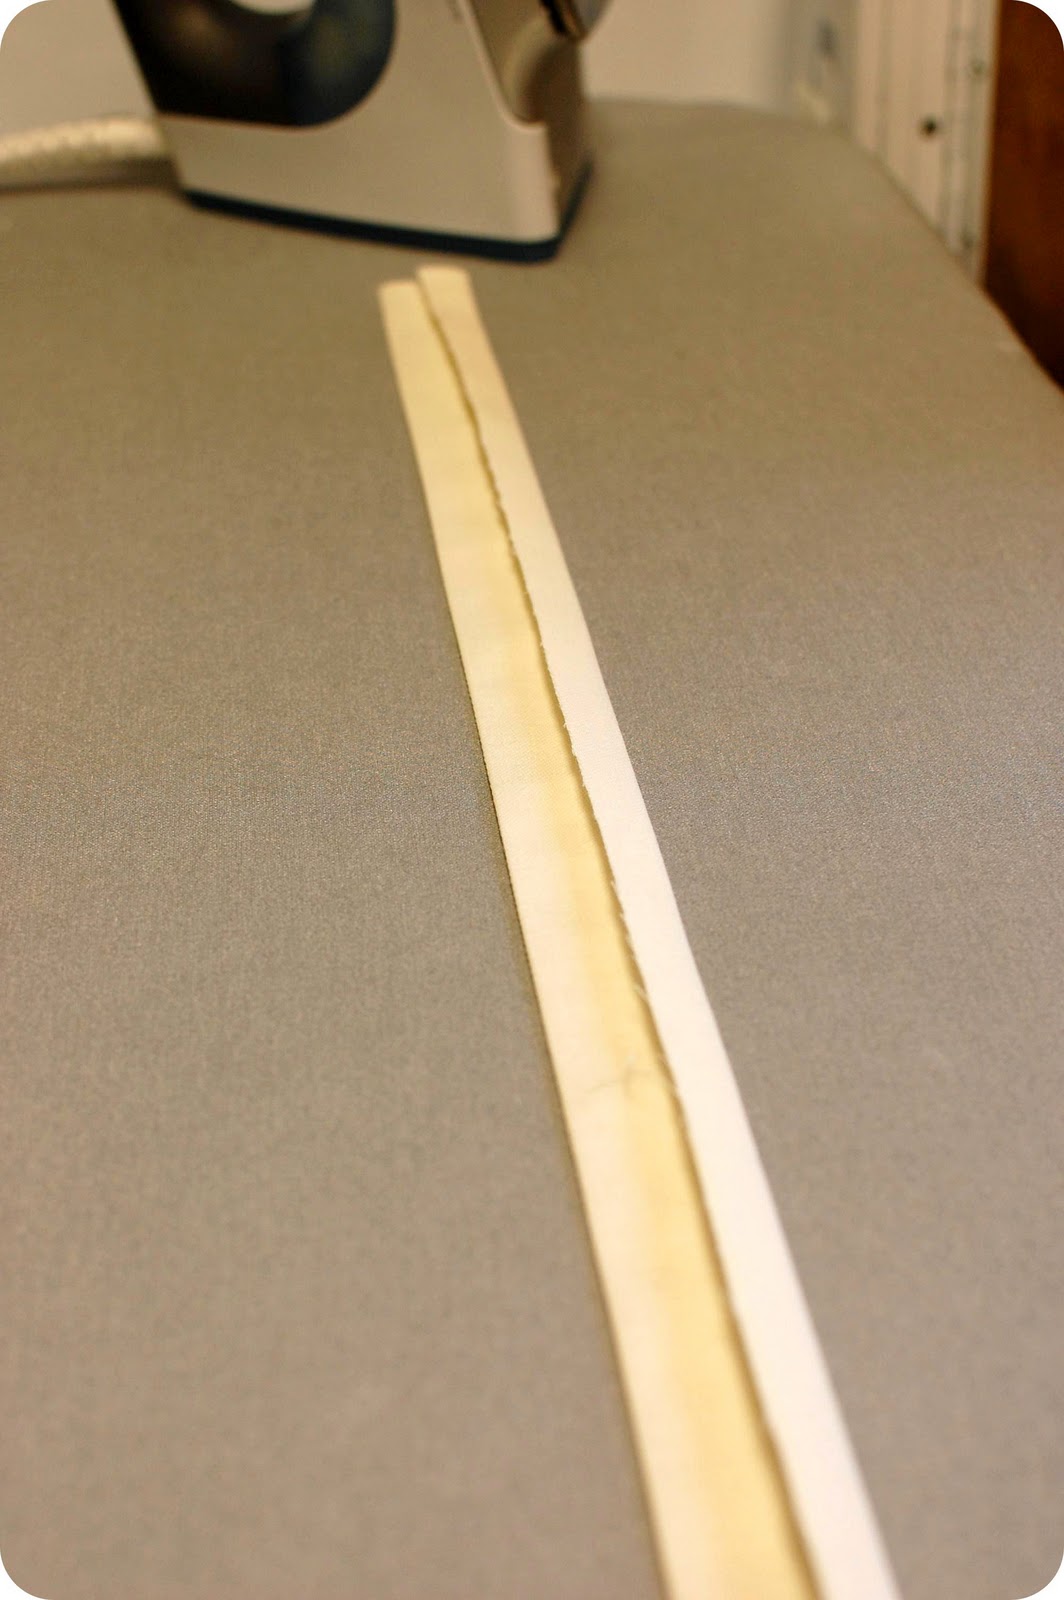
8. Lay the dowel pockets on the liner at each spot you made a pencil mark and pin. Place the strips with the 1/2″ folded side toward the bottom of the shade.
.
.
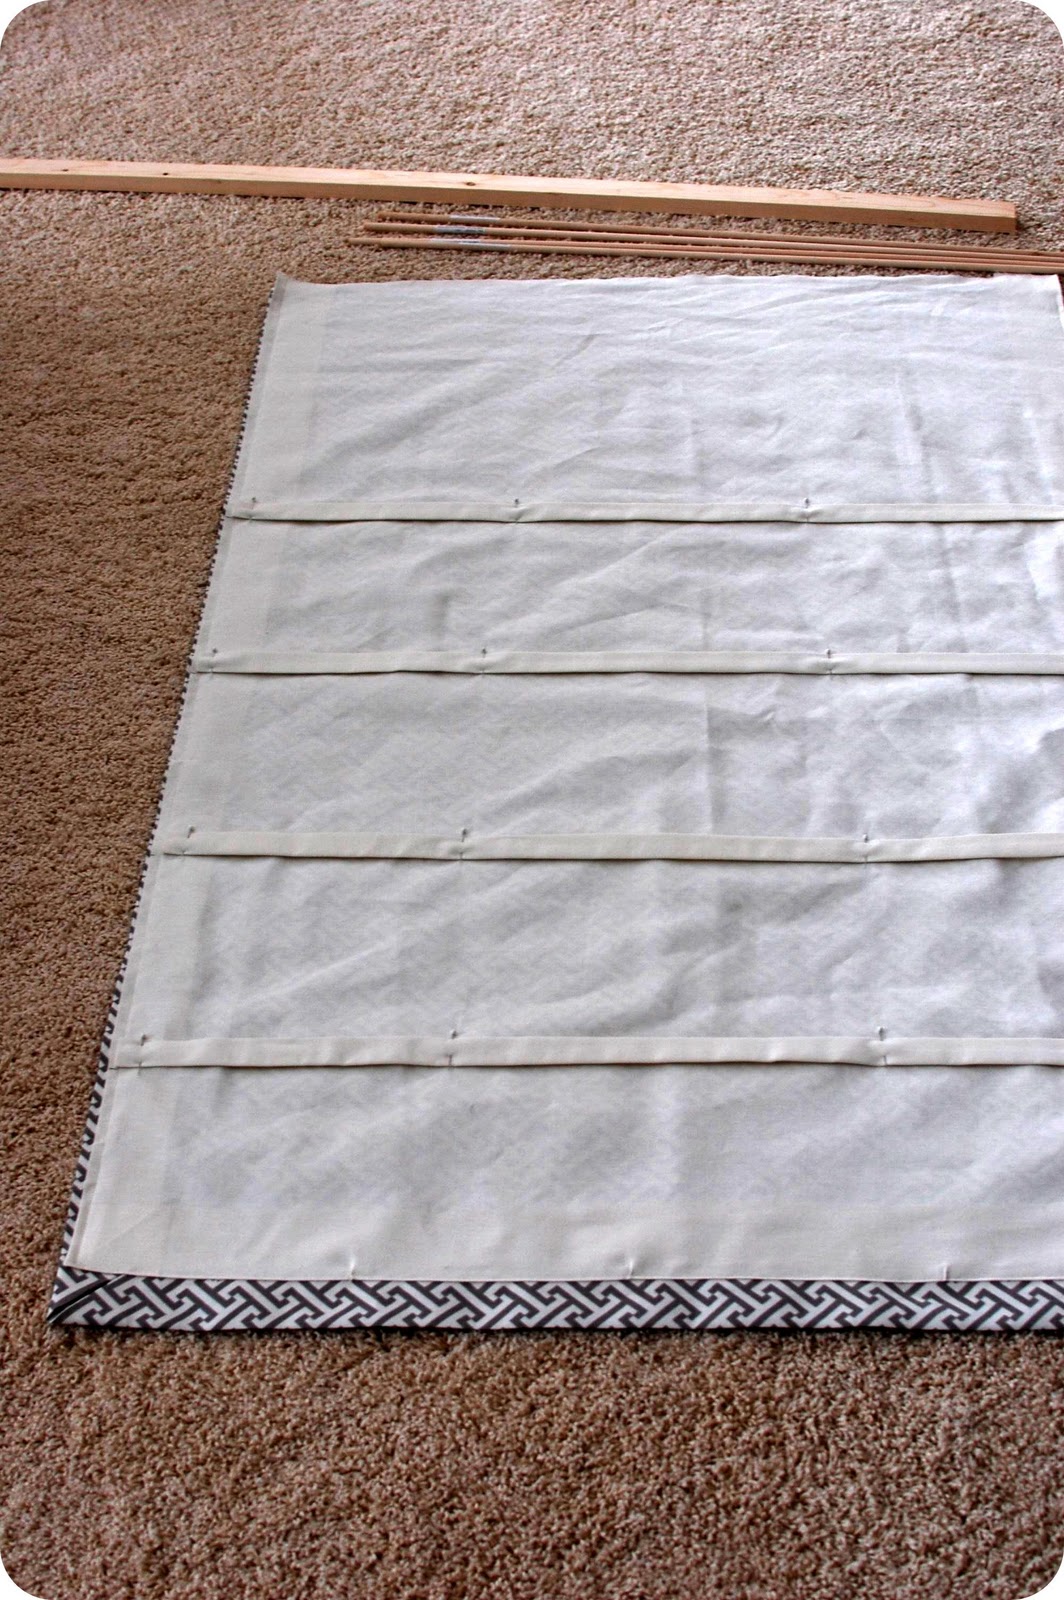
9. Sew along the bottom edge of each dowel pocket.
.
The sewing is finished!
.
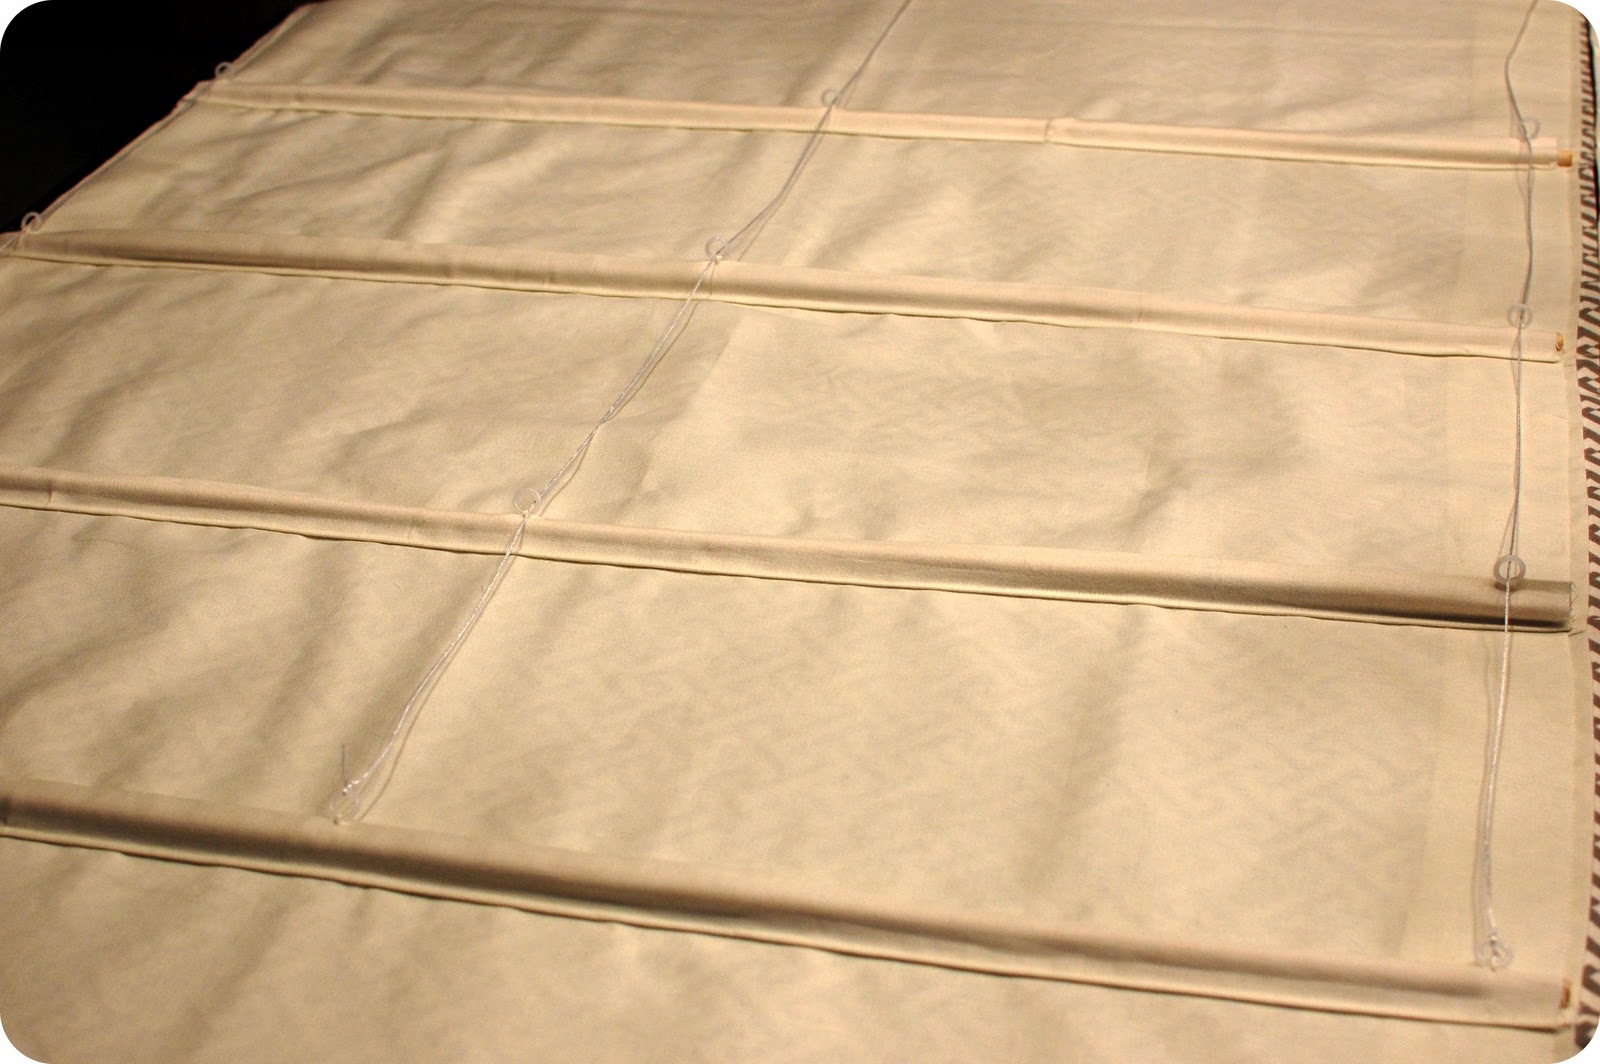
10. Cut dowels and bottom board to size. Insert each dowel into pocket and place bottom board at the bottom of the shade. See photo below.
.

.
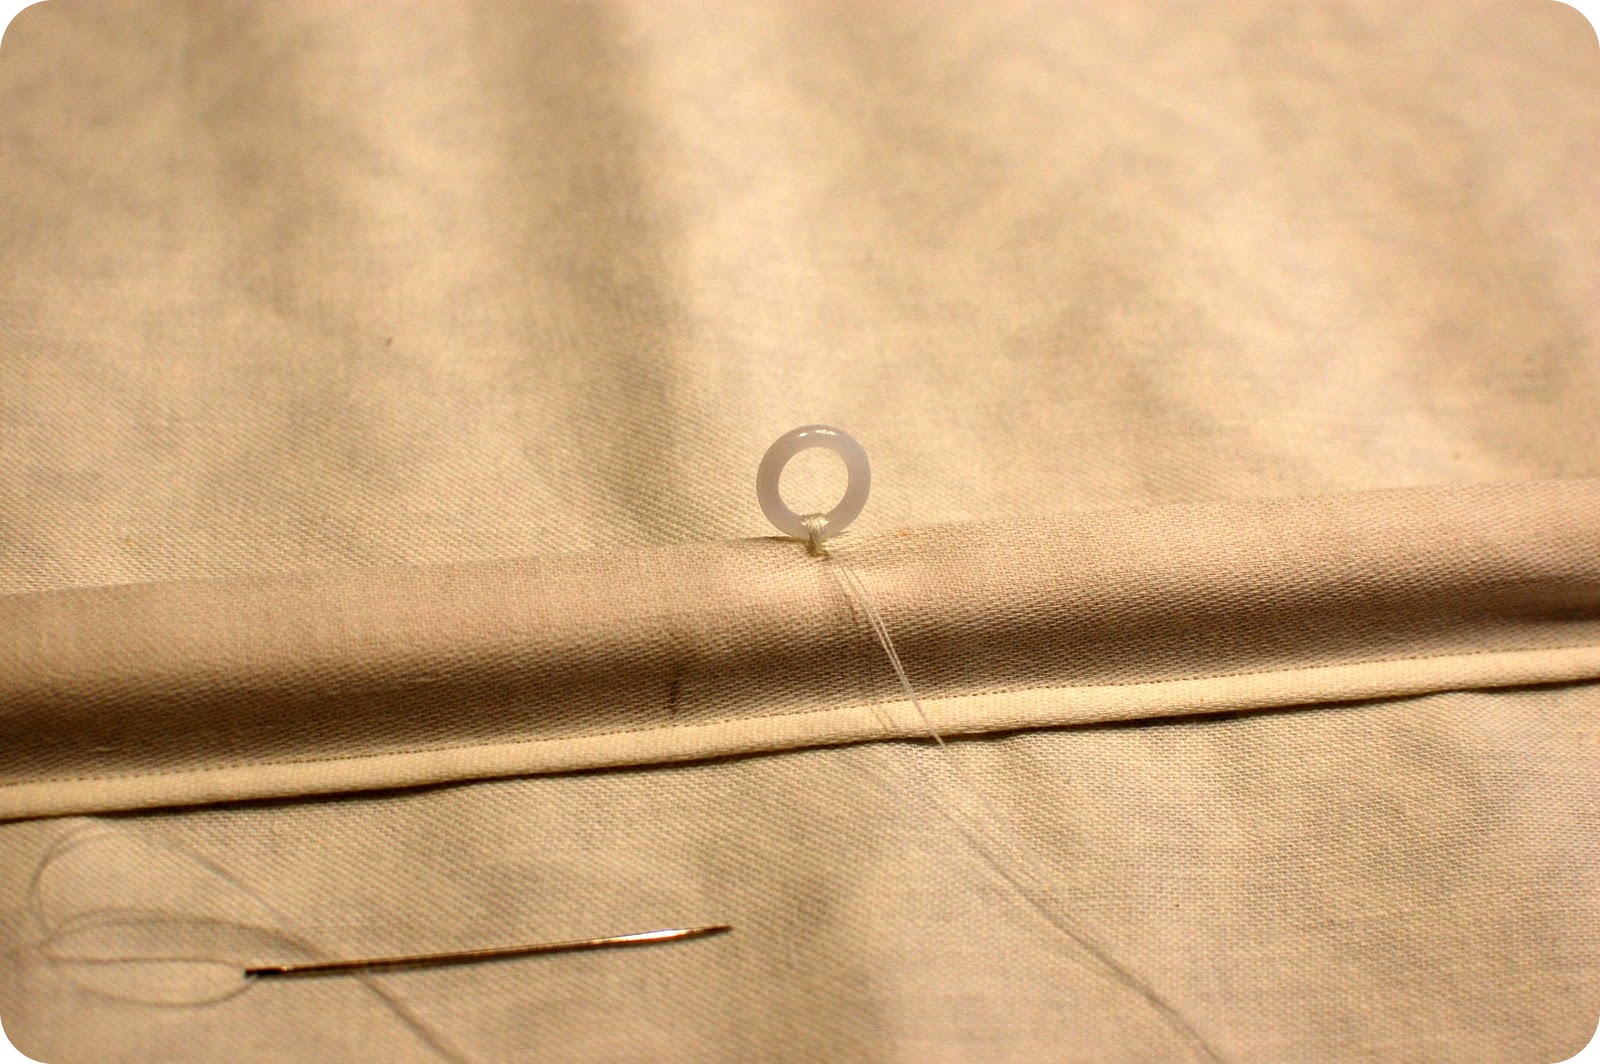
11. Sew on plastic rings. At each dowel sew, by hand, three plastic rings. One in the center and one about two inches in from each end. When you finish, you will have 3 vertical columns of rings.
.
.
12. Divide your cord by three parts and cut. Tie one end of a cord to the lowest ring and thread up through the vertical line of rings to the top of the shade. Repeat with the other two ring columns and cord.
.
.
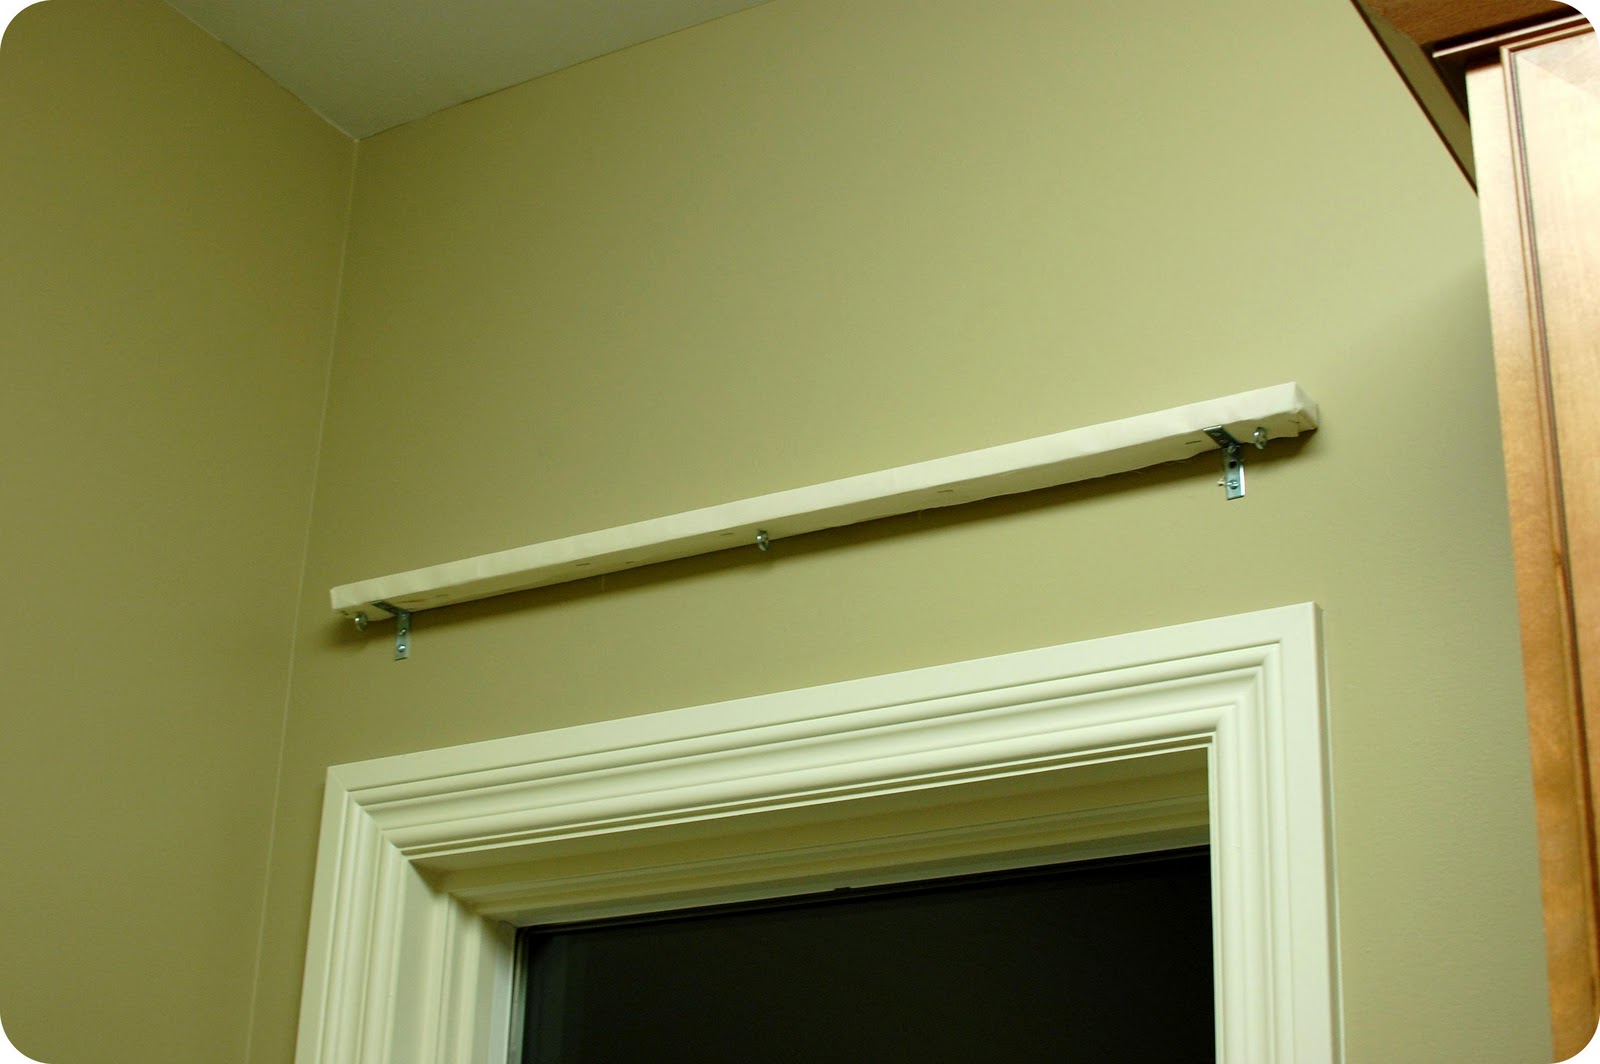
13. Cut the header board to size (about 1/2″ shorter than the finished width of your shade). Wrap the header board with leftover fabric or lining fabric and attach with staple gun. Now you need to determine the location of screw eyes on the header board. Lay the board next to your shade and make a mark at each of the three ring locations. Insert eye screw at each mark.
.

.
14. Attach angle brackets to header board and then mount header board to wall.
.
.
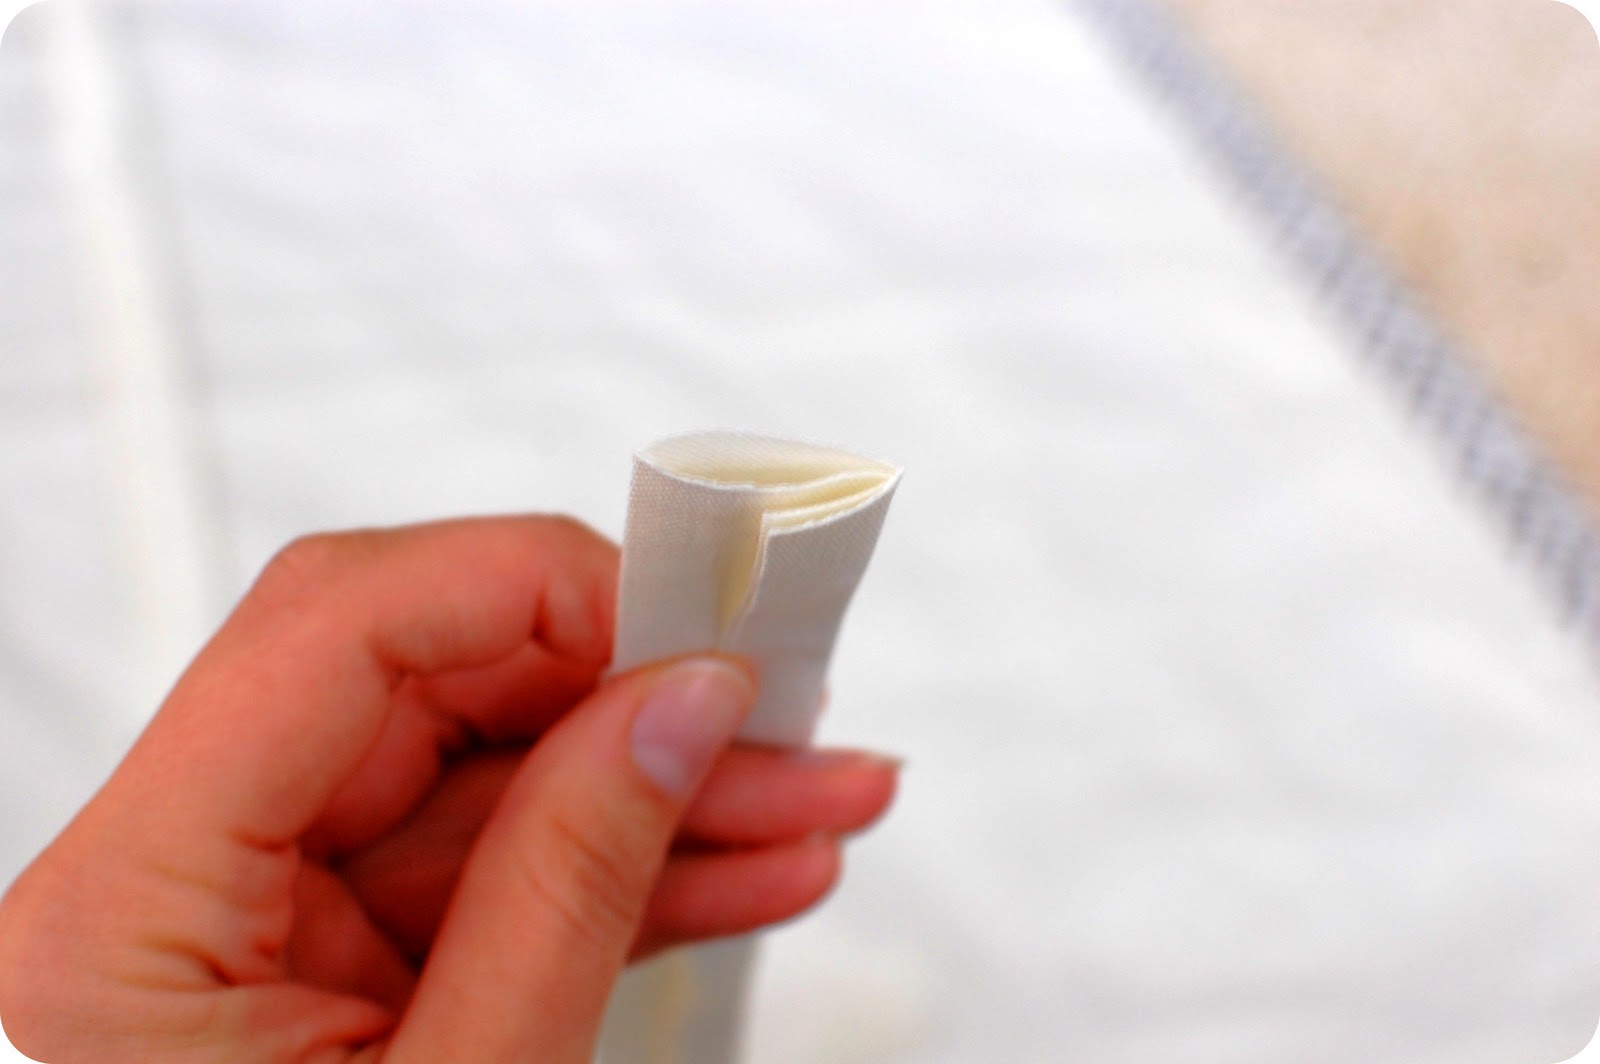
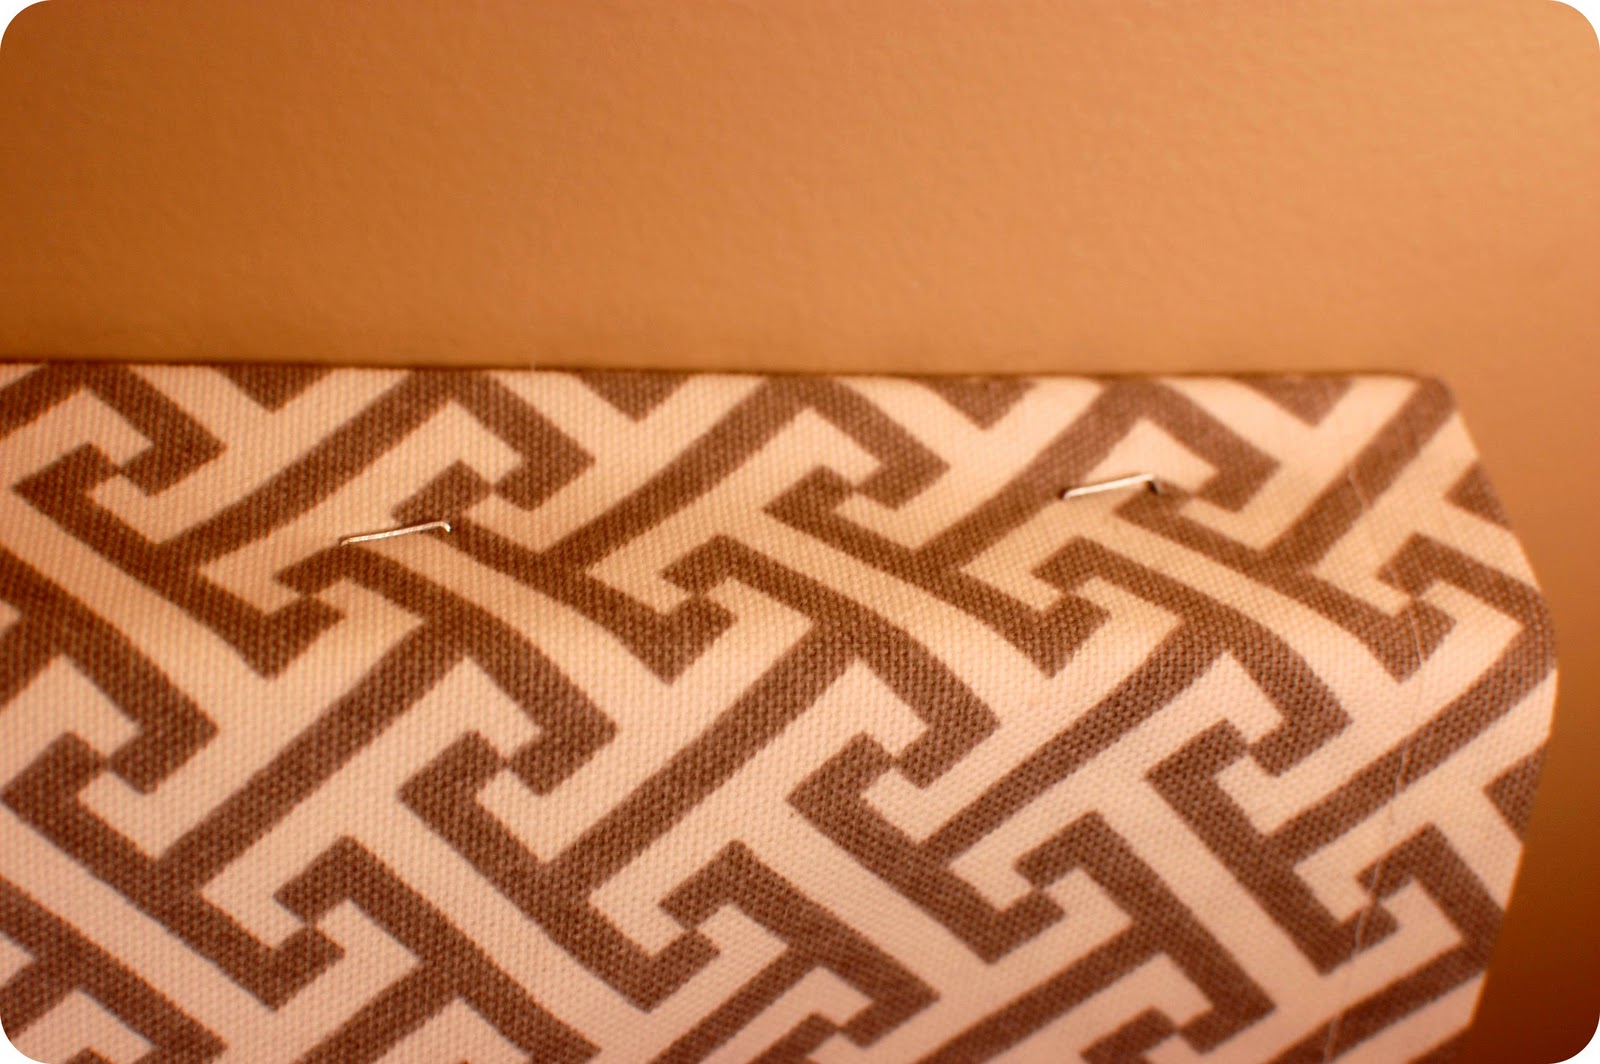
15. Hold your blind up to header board to check the length. You may need to trim the top edge a little. Leave enough so that you can fold over about 1/2 inch, like this:
.
.
16. Use a staple gun to attach the shade to the top of the header board.
.
.
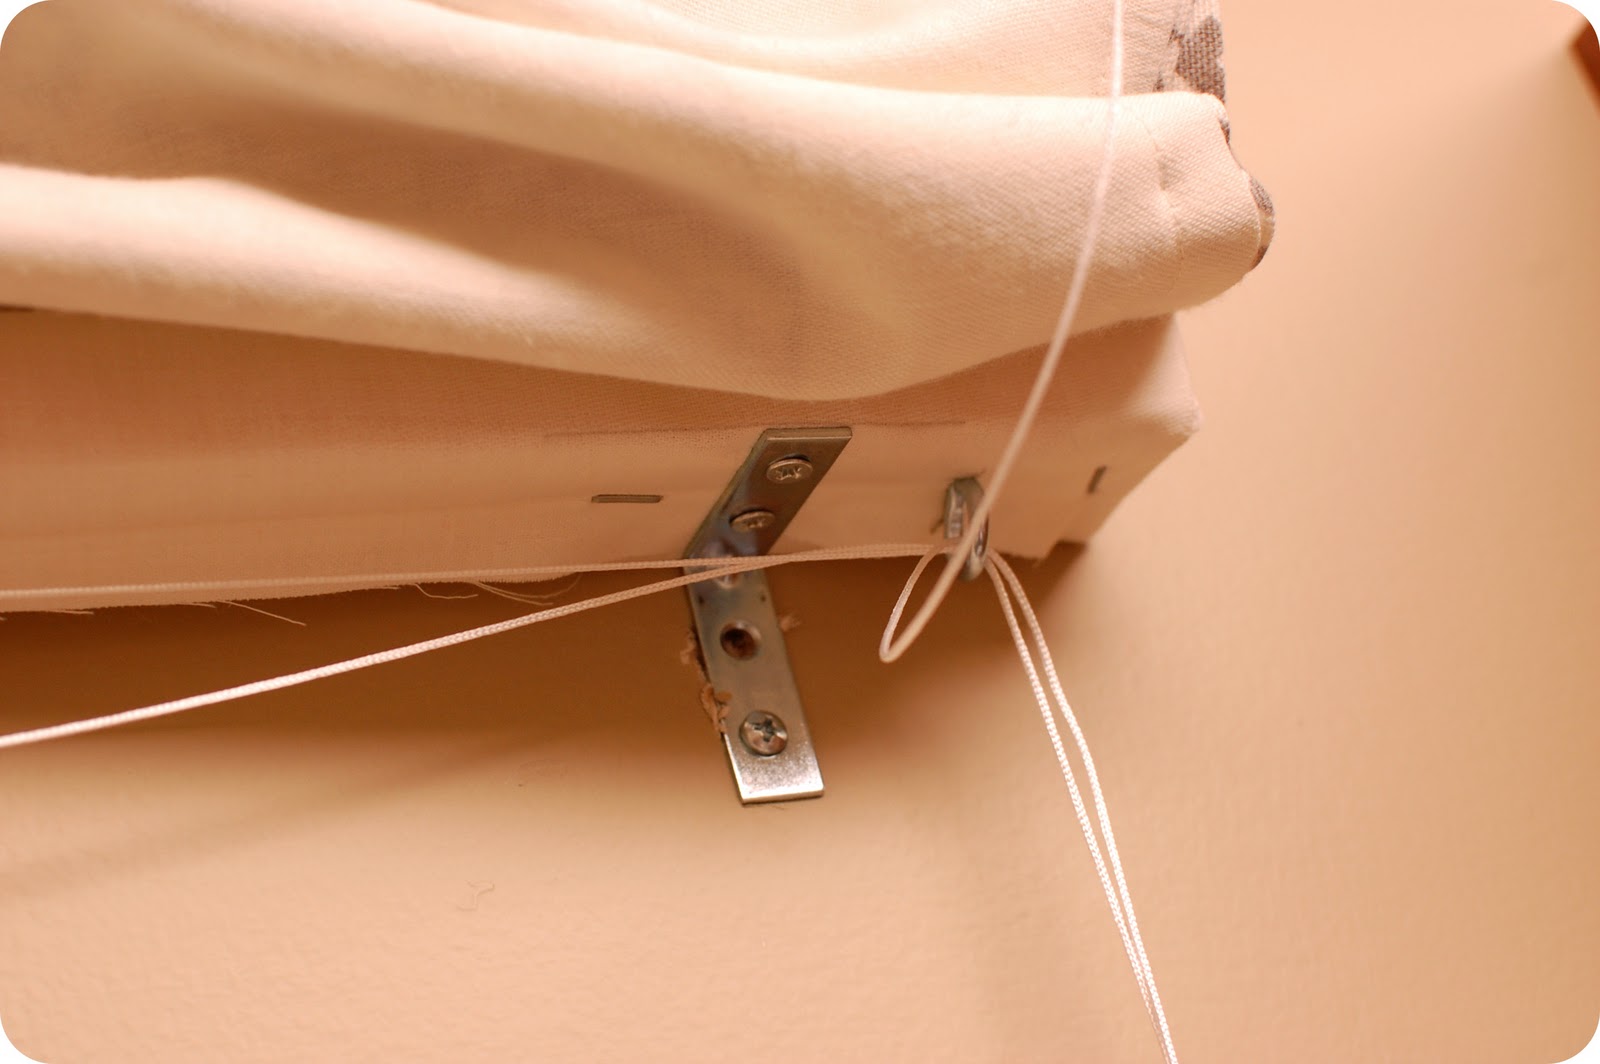
17. Thread the cords through the eyes on the header board. The first cord will need to go through all three eyes. The second cord through two, and the last one only through one.
.
The underside of the shade looks like this:
.
.
18. Attach a cord cleat on window frame so that you have something to wrap the cords around. If you want, you can also buy a cord connector with will join all three cords together.
.
.
Your shade is finished!
.
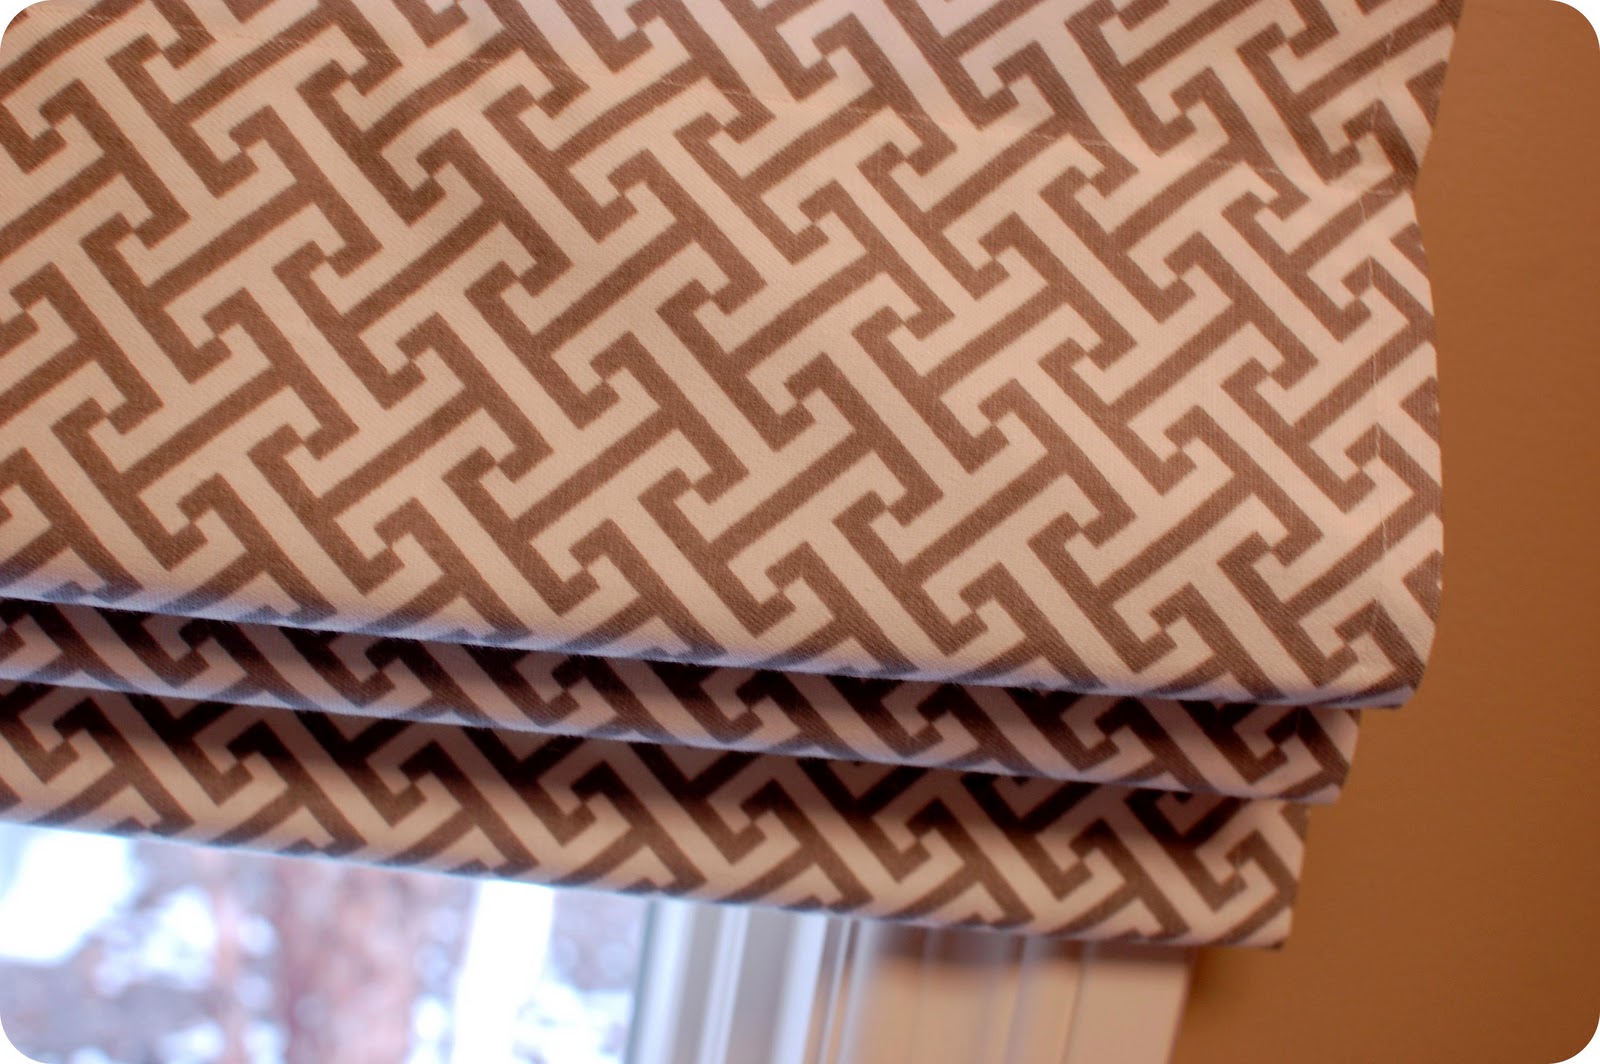
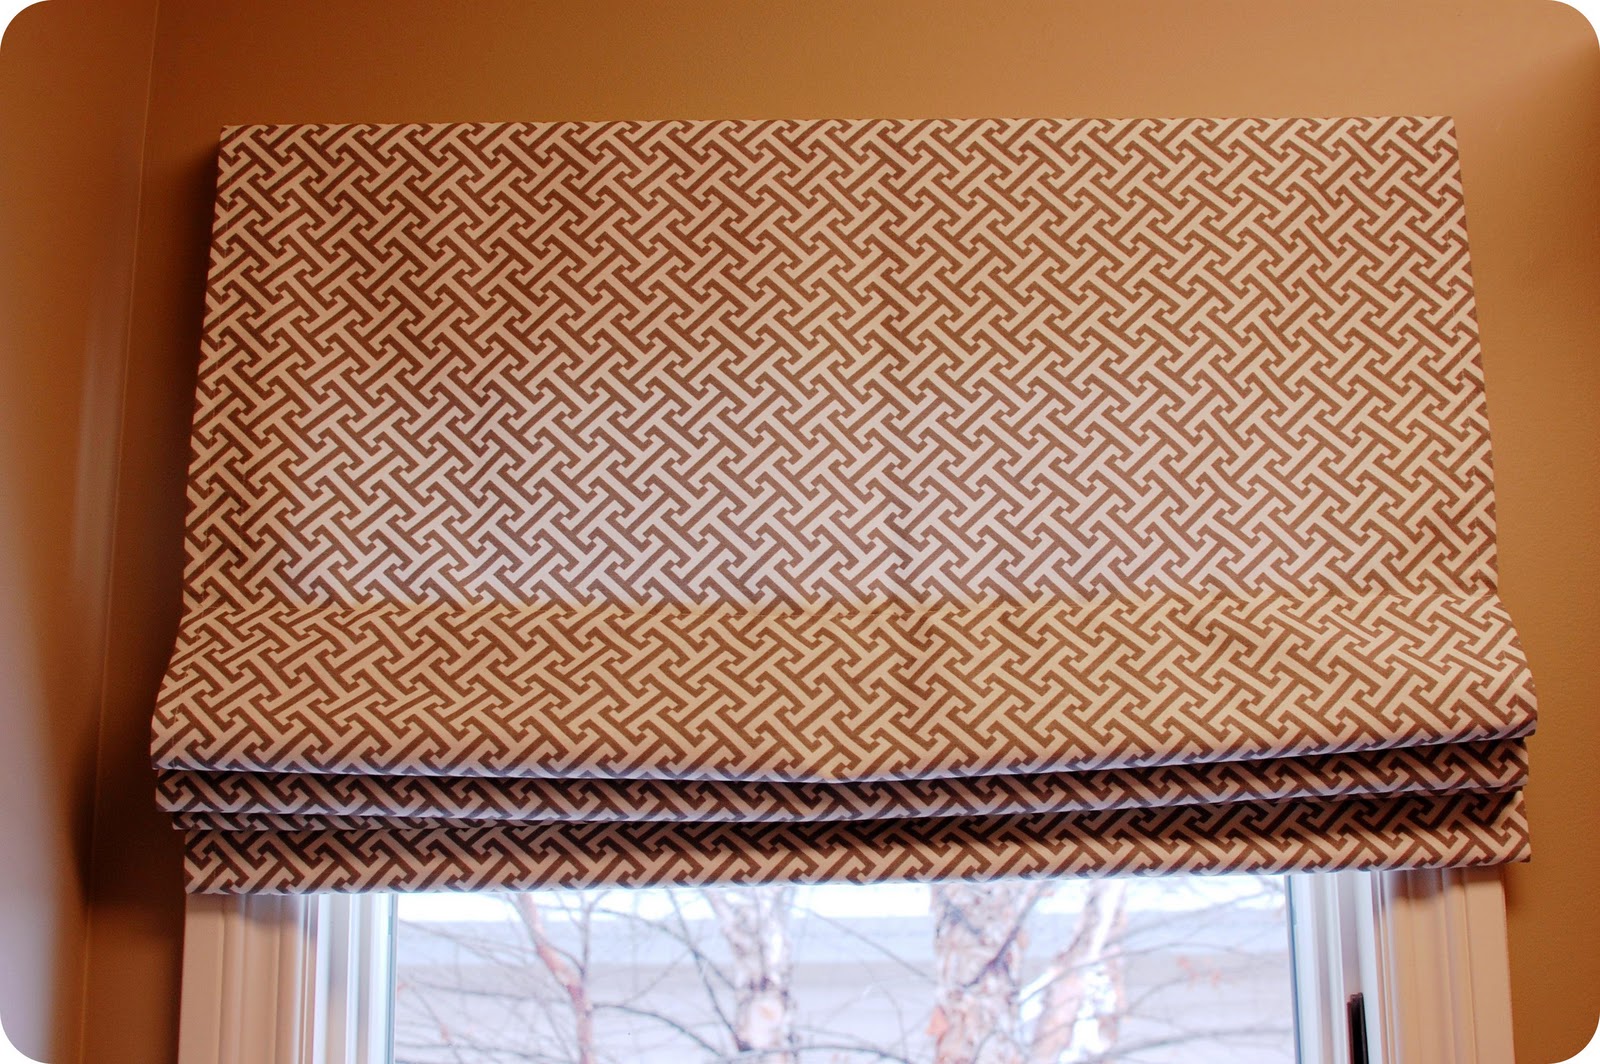
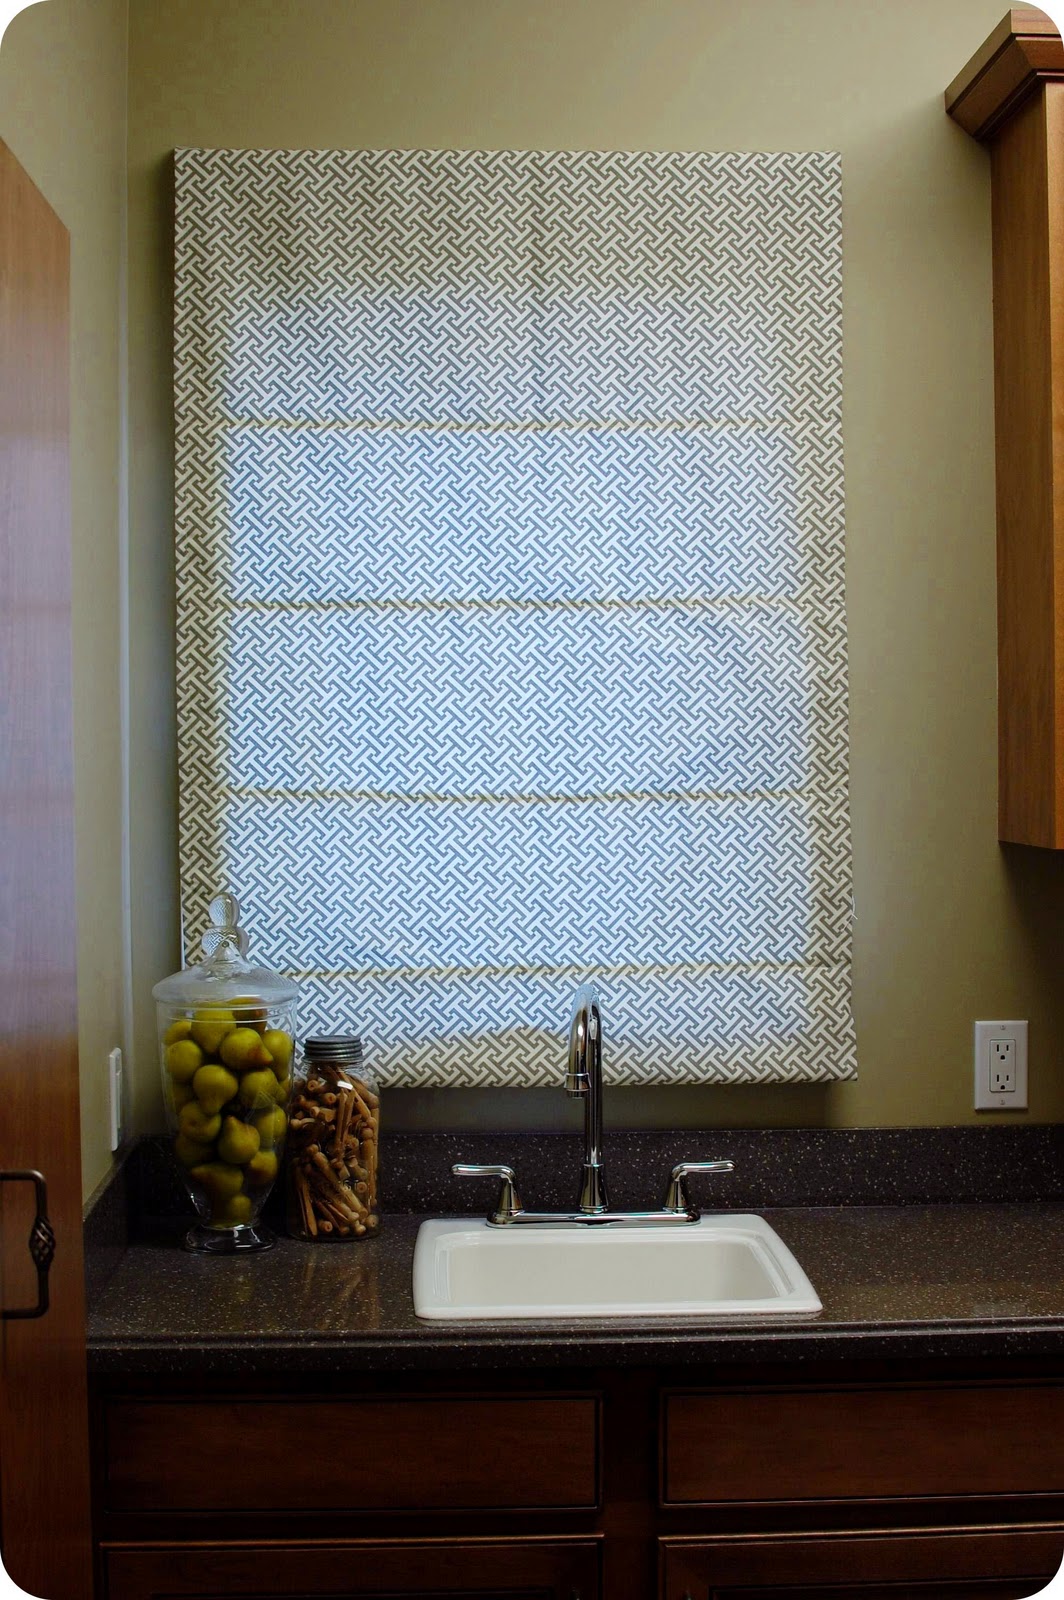
Here are a few photos of my finished shade
.
.
Here it is shut:
.
.
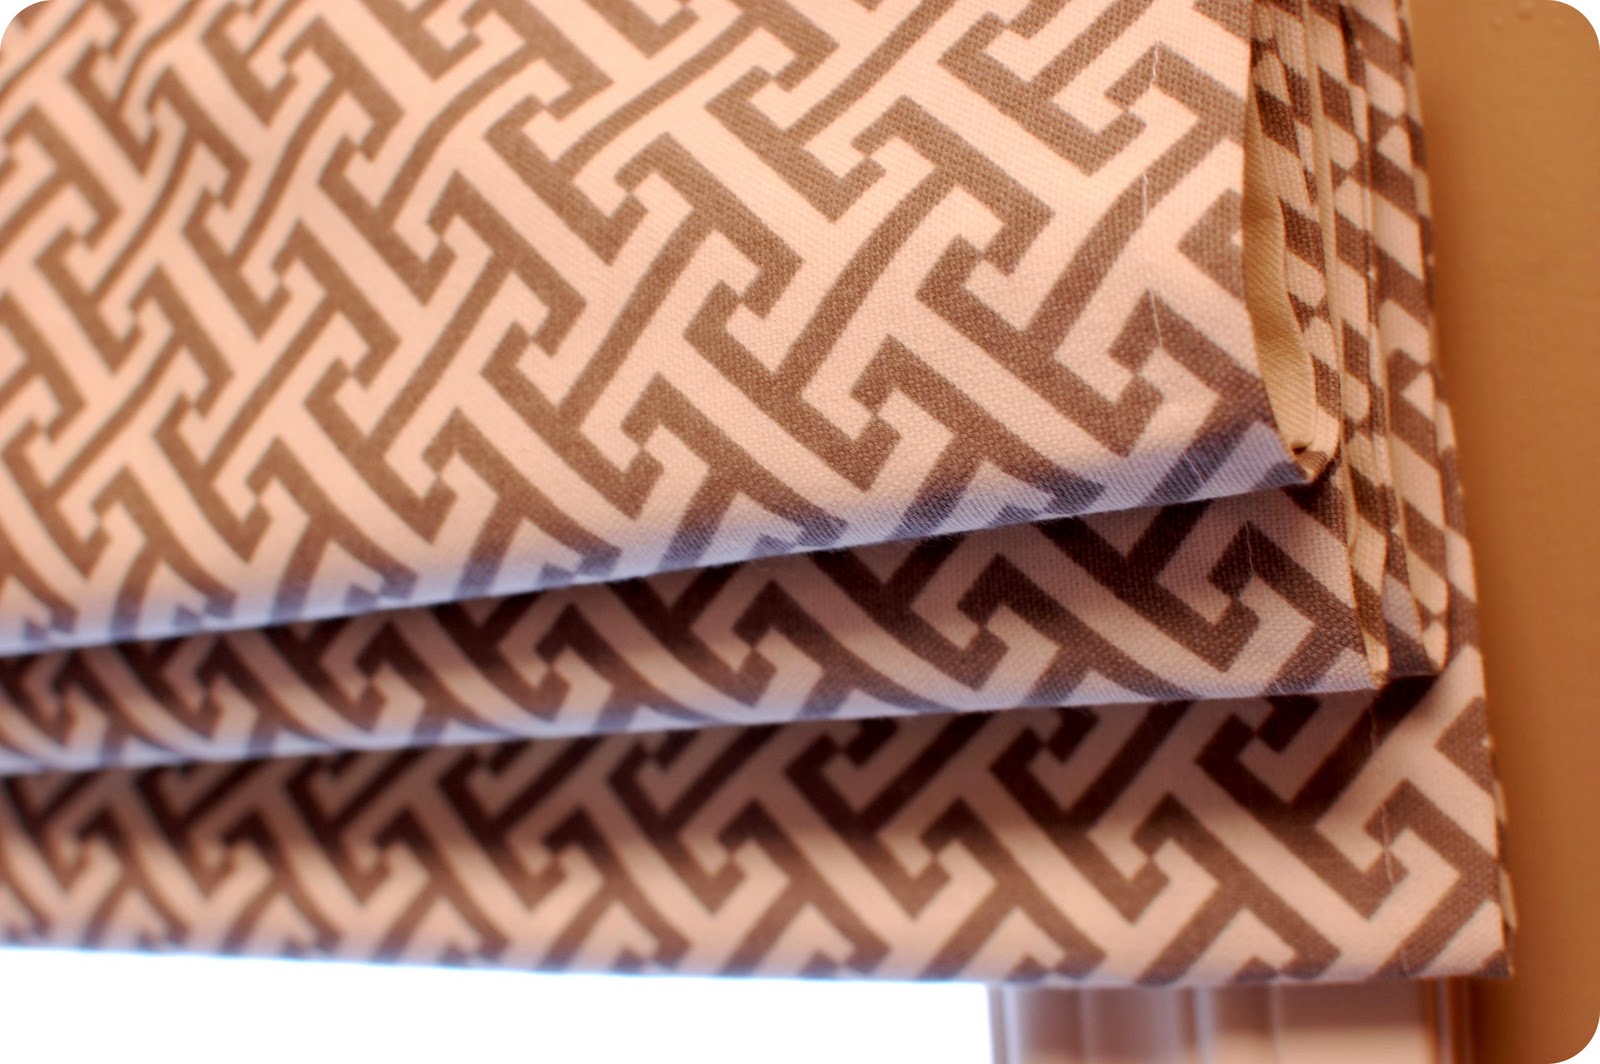
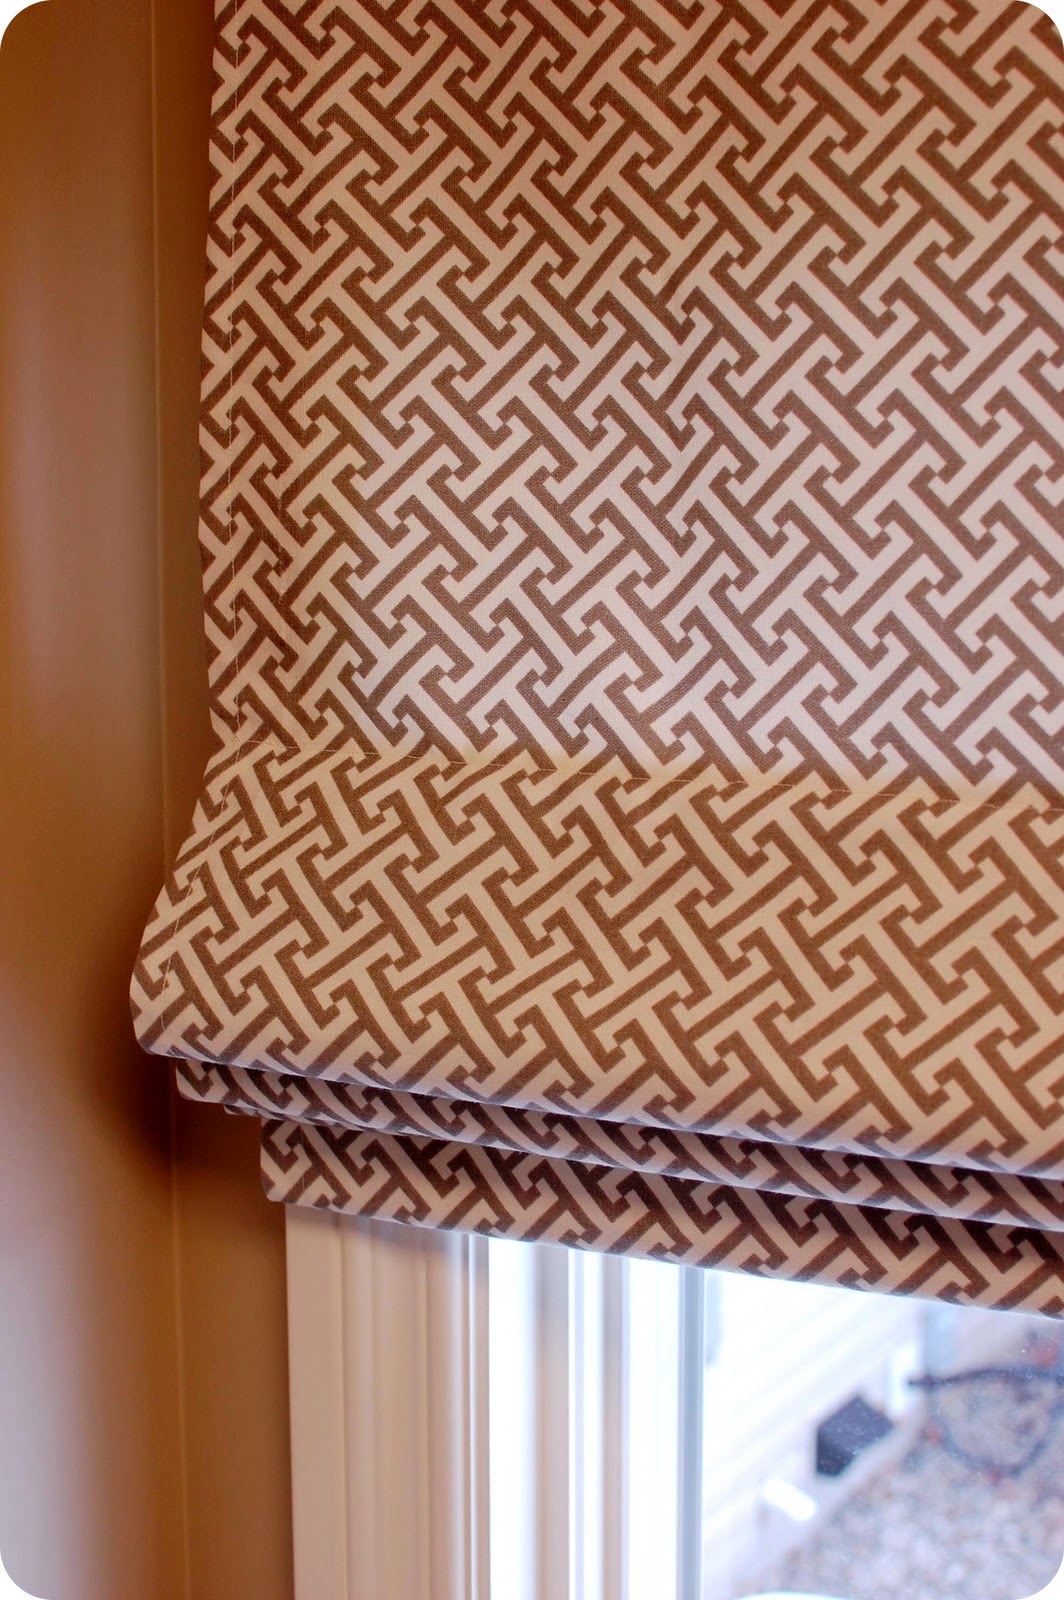
And open:
.

.
.
.
* The fabric I used can be found right here.
.
I hope you enjoyed this tutorial – hopefully it was helpful! If you have any questions, come visit me at 33 Shades of Green.
.
Cassity Kmetzsch started Remodelaholic after graduating from Utah State University with a degree in Interior Design. Remodelaholic is the place to share her love for knocking out walls, and building everything back up again to not only add function but beauty to her home. Together with her husband Justin, they have remodeled 6 homes and are working on a seventh. She is a mother of four amazing girls. Making a house a home is her favorite hobby.


I used these instructions to sew roman shades for our basement when we finished it. Thanks so much! Now, I’m using it again to make Roman shades for my son’s bedroom; he broke his fancy Levelor shades so we’ll use these and it will add a decorative flare I’ve been wanting for years in that room!
Great solution, Andrea! Thanks for the comment.
Do you put rings on the bottom bar or just the dowels?
I would like to use these in my bay windows. I hate having mini blinds that cover my window as well as the area I have decorated. I have two smaller windows with a larger one in the middle. What’s is the lowest width you can make these?
This is the best, and comprehensive set of instructions for making Roman shades that I’ve come across. Thank you
Thanks for the kind words, Maria!
I was kinda curious why the 3″ wide strip, folded over? It seems harder to measure and iron the creases than just sewing a seam down one side before attaching.
My window is 60 inches wide, and I have been unable to find dowels wide enough. What do you think about using PVC pipe instead? Is 60 inches too wide to use a Roman Shade?
Thanks
Linda
Great question, Linda. 60 inches is really wide for a window treatment and I’d be worried that the full shade would be cumbersome and heavy to raise and lower. Could you do 2 narrower shades of a little less than 30 inches each? That would solve the dowel problem and also probably be easier to raise and lower the shade.